Getting Started: How to Purchase, Download and Unzip Sweet Shoppe Products
I am really excited to share a basic tutorial on Purchasing, Downloading, and Unzipping products. This is where it all starts, and I think it is nice to have a good system in place at the beginning. Now, I will tell you that this is my system. There may be different ways to do some of this, but these are the basics that have worked for me.
PART ONE: Purchasing and Downloading Digital Scrapbooking supplies
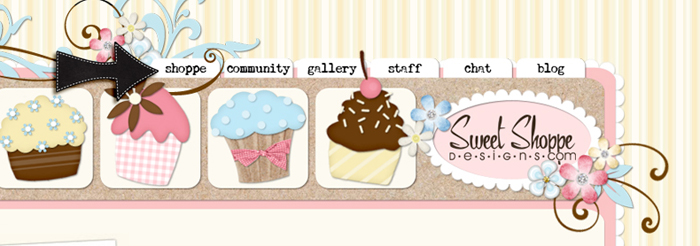
1. Go to your favorite Digi Scrapping Website and click on Shoppe.
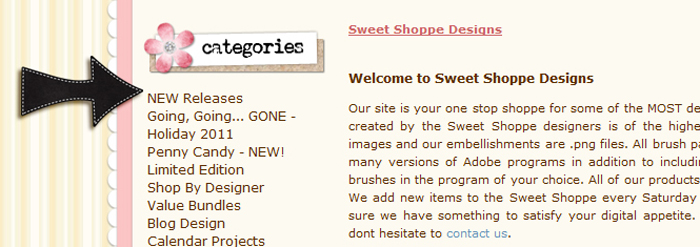
2. Choose a kit or kits to purchase.
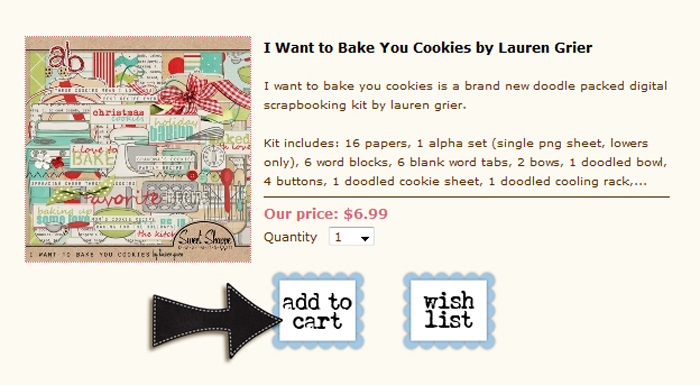
3. Add it to your cart for purchase.
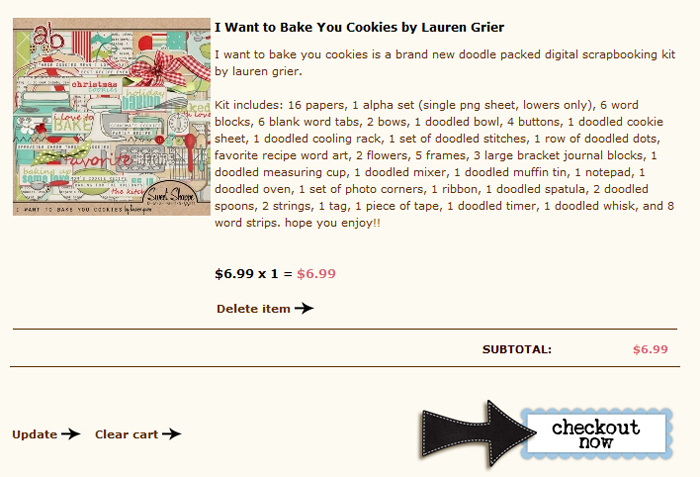
4. Check Out
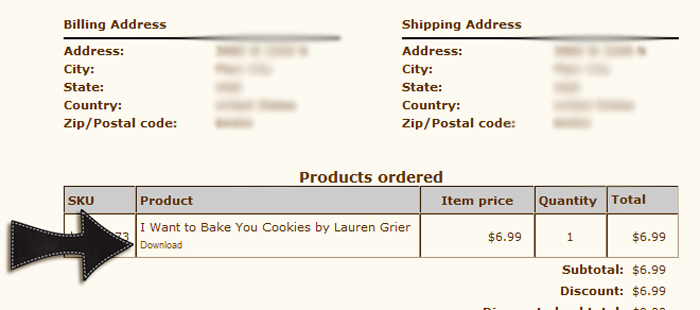
5. Go to your invoice to download your items.
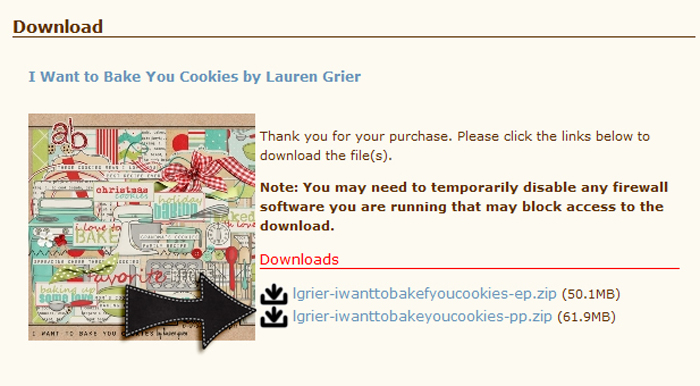
6. Download each separate file to your computer.
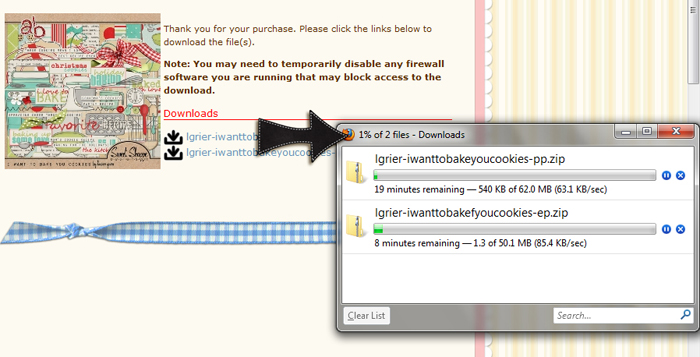
*NOTE: I am using the FireFox browser. When I click on the downloads, another screen pops up to show that the files are being downloaded into my Downloads folder on my computer.
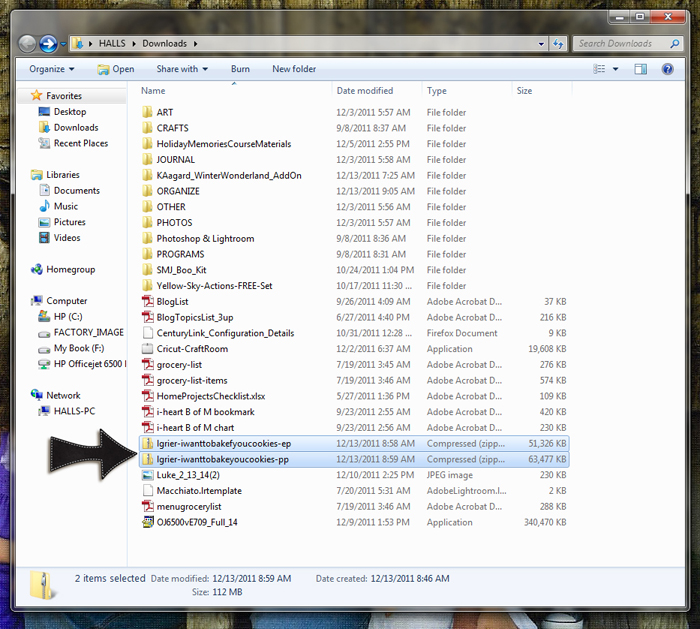
7. Once the download is complete, I go to My Downloads folder on my computer. Your downloads might go to a different folder on your computer, depending on your settings.
PART TWO: Unzipping your files
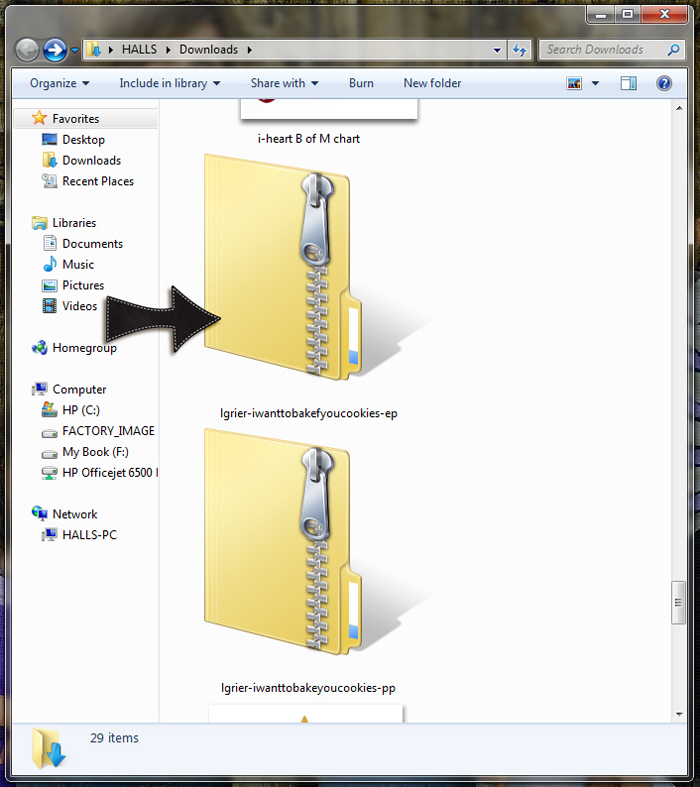
Files you download from the Internet are often compressed or zipped so that they take up less space and arrive much faster than files that haven’t been compressed. You can easily identify compressed files by their extensions, such as .zip (a common standard used in OS X and Windows) and .sit. Before you can use these files, you must unzip them.
Zipped file
1. Unzip the downloaded files
Methods to unzip files:
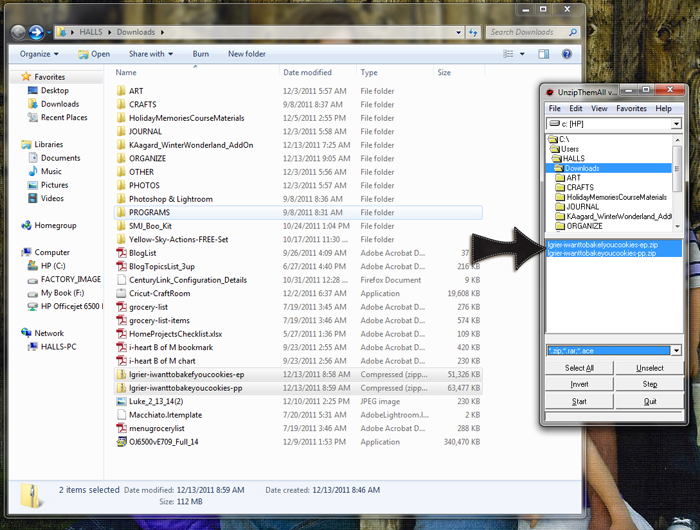
- Right click on each zipped file, then select Extract All. You must do this for each individual .zip file.
- Use an unzipping program. I use UnZip Them All (http://unzipthemall.en.softonic.com/). This will unzip multiple files at one time.
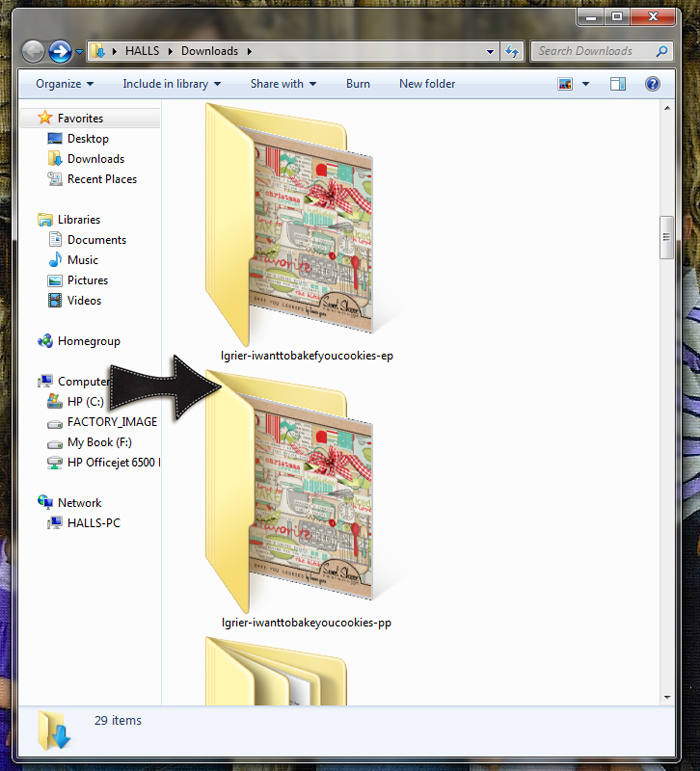
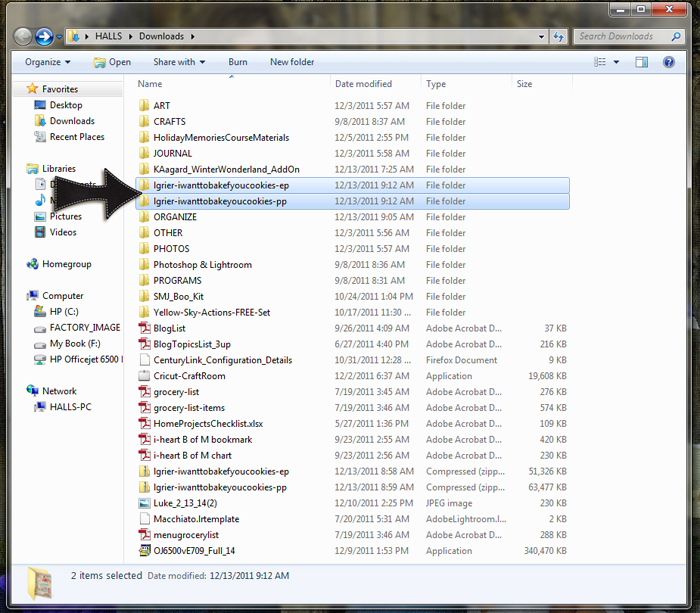
2. After the files are unzipped, they will appear as a regular folder in My Downloads.
Unzipped File
PART THREE: Organizing Files
In order to be ready to use my purchase, this is the way I like to have my files organized. Again, each person is different, so this is my personal way to do things.
1. Combine all papers and elements for each kit into one folder. I like to keep everything together so I can see it all at once when I am working with a kit.
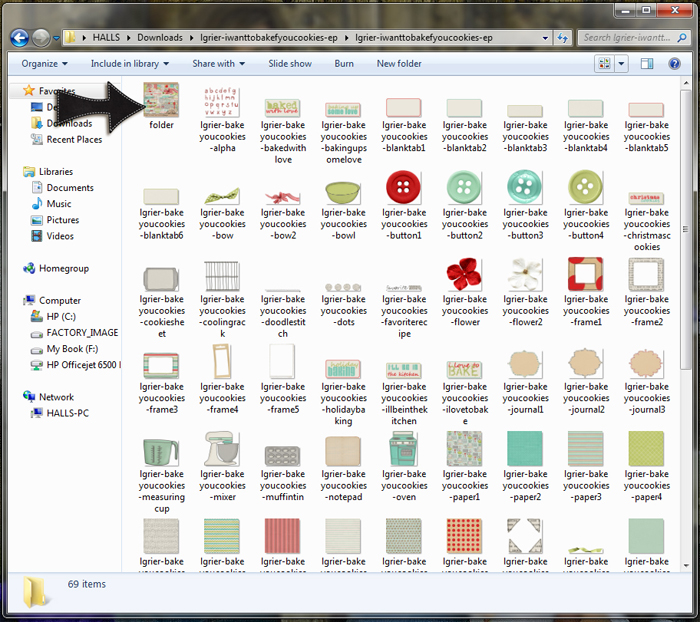
2. Create folder image. If the kit does not already have a folder image included, I like to create one, so the preview is the image I see in my folder on my computer.
Windows Method:
- Copy the preview image in the kit
- Rename the image to folder
MAC Method:
- Double click the preview file to open in Preview
- Select>All (Cmd+A). NOTE: You want to Select All in PREVIEW so that you’re selecting the whole image
- Copy the image (Cmd+C)
- Close Preview.
- Click in the white background space on the folder for your product to make sure no files are selected.
- Cmd+I to bring up the information for the folder
- Click on the small folder icon at the top of the information window
- Cmd+V to paste the image.
3. Tag items
*This is completely optional and not a step I do. Some like to tag their elements or alphas or papers a certain way, and there are many ways to do this, but that is another tutorial for another time.
4. Scrap Scrap Scrap! Enjoy your products and create some beautiful memories.


Tutorials by Sweet Shoppe Designs » Getting Started: Installing Fonts said...
on December 31st, 2011 at 5:15 pm
[…] 2. Unzip your font file (see this tutorial for unzipping instructions/suggestions) […]
Kathleen said...
on February 22nd, 2012 at 9:31 pm
Thank you for this! I am really trying to learn this. Thank you so much for all your help!