Make a Hybrid Magnetic Advent Calendar
Hi everyone! Traci here, and today I’ll be showing you how to use your digi goodies to make a hybrid advent calendar! I chose to make mine for Halloween, but you can make them for any holiday or event that you want to count down to! For this project, you’ll need the following supplies:
Supplies
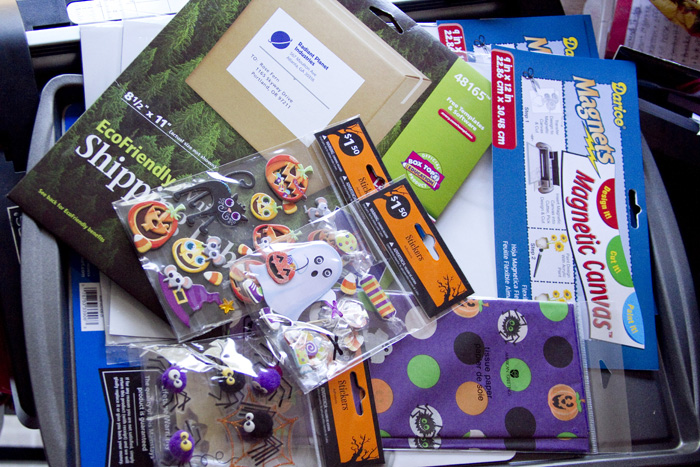
- Metal cookie sheet (Walmart – $4)
- Full page label sheets (Avery)
- Magnetic Sheets (Darice – JoAnn’s $2.99/ea – I used 2)
- Tissue Paper (Walmart – .99)
- Paper Trimmer
- Scissors
- Stickers or Other Embellishments
- Digital products of your choice—I used Fright Night by Susan Bartolini and Melissa Bennett, Ghouls Just Wanna Have Fun Alpha and 4Ever Glitter Alpha by Libby Pritchett (retired), Itty Bits Alpha and Monsters Under the Bed Alpha (retired) by Dani Mogstad, Scruffy and Stripey Alpha by Kate Hadfield, and Stampabets (retired) by Fee Jardine
Step By Step Instructions
1. Measure the useable space on your cookie sheet. You’ll need to know what space you can use on the cookie sheet in order to know what size squares to make for each day. My cookie sheet was 11”x17”.
2. Open a canvas the size of your cookie sheet (11”x17” for me).
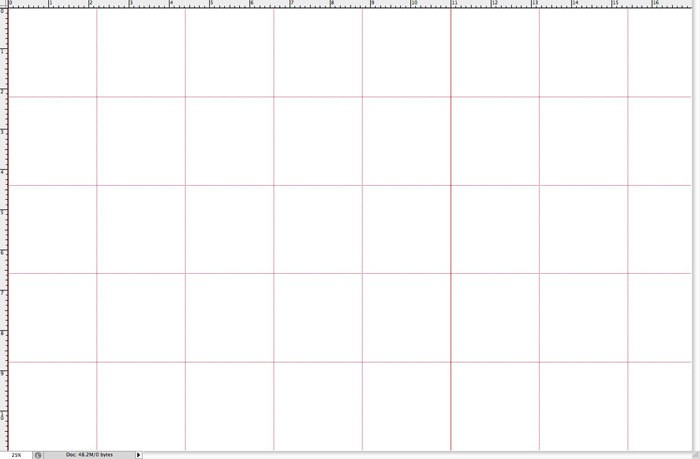
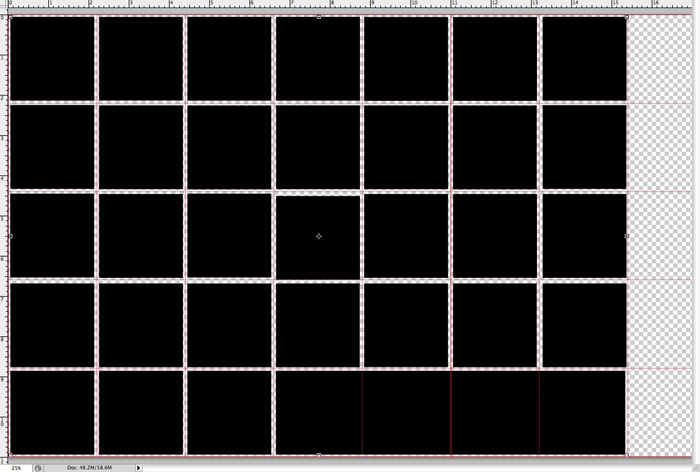
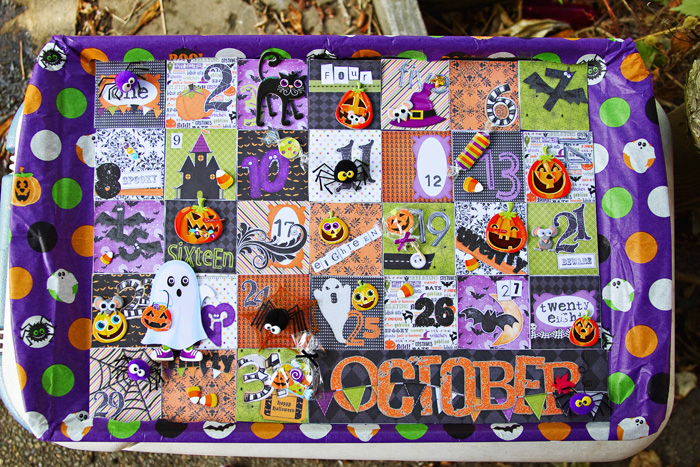
3. Decide the layout of the squares on your cookie sheet. I chose to lay mine out like a calendar, starting on day 1 with 5 rows of 7 days each (3 days on the last row with a title bar to fill the rest of the space to the end of the row).
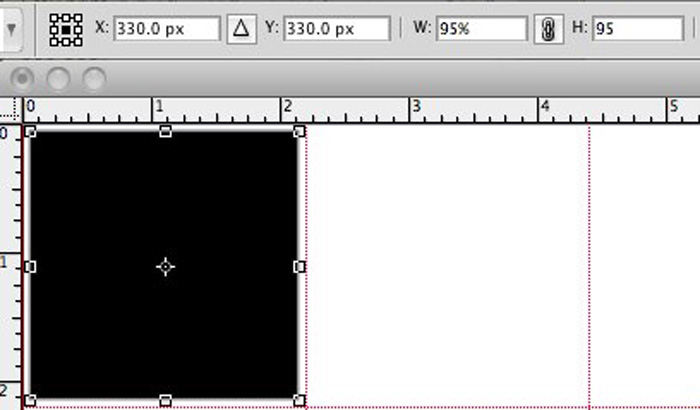
4. Don’t do the math! To make it easy on yourself, don’t even bother doing the math to figure out what size your squares will be, I’ll show you a neat trick in Photoshop that will do it for you!
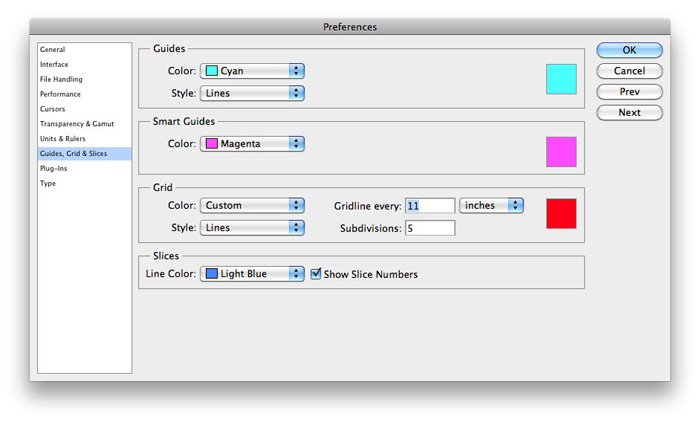
- Double click on your ruler at the edge of your canvas to bring up the preferences dialogue box (ctrl+r (cmd+r on a Mac)) to make the rulers visible if you can’t see them.
- Click on Grids and Guides.
- In the “Gridline every” box, put in the length of the shorter side of your cookie sheet (11 for me).
- In the “Subdivisions” box, put in the number of rows you’ll be using for your calendar (5 on mine). Hit OK.
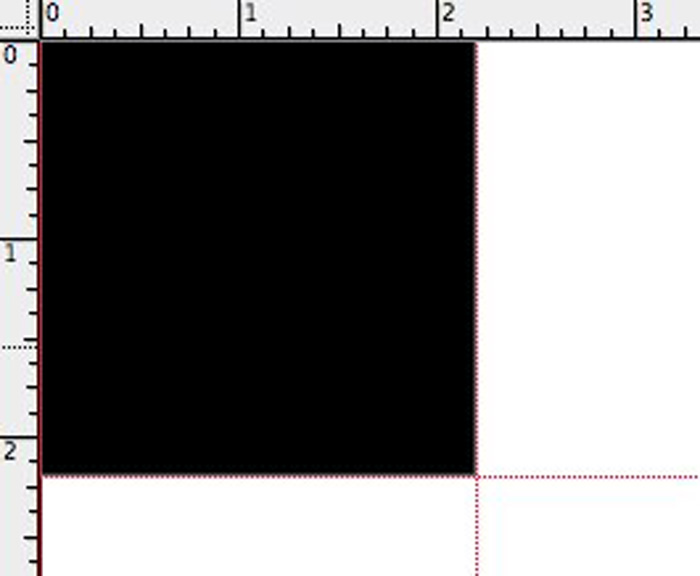
8. Duplicate the squares all the way across and down your canvas so you now have the number you need for each day of your calendar. I chose to also create a “title bar” for my calendar to fill up the remaining space.
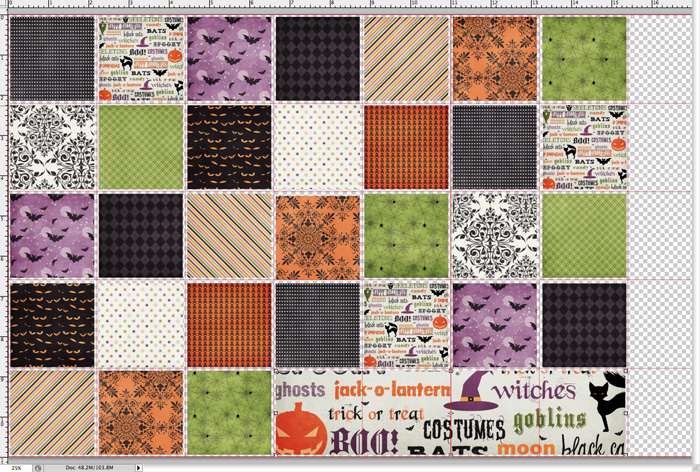
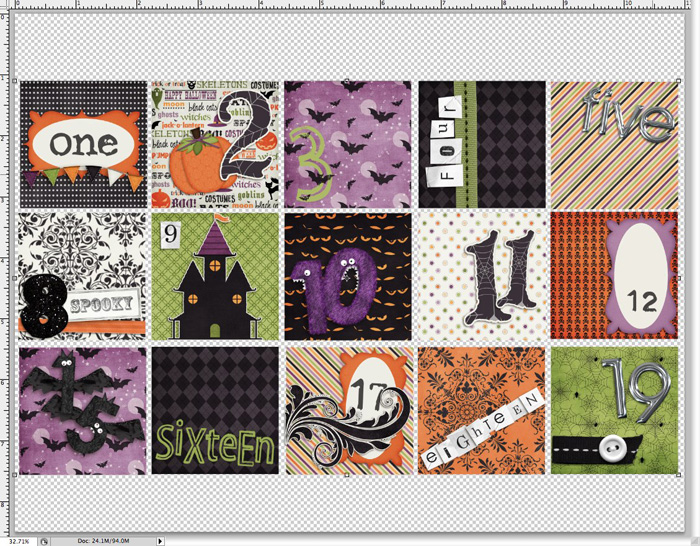
9. Now comes the fun part! Open up the papers you’re going to use and clip them in whatever order you want on your calendar. I like to build my calendar visually in Photoshop before I print it, but it’s not necessary.
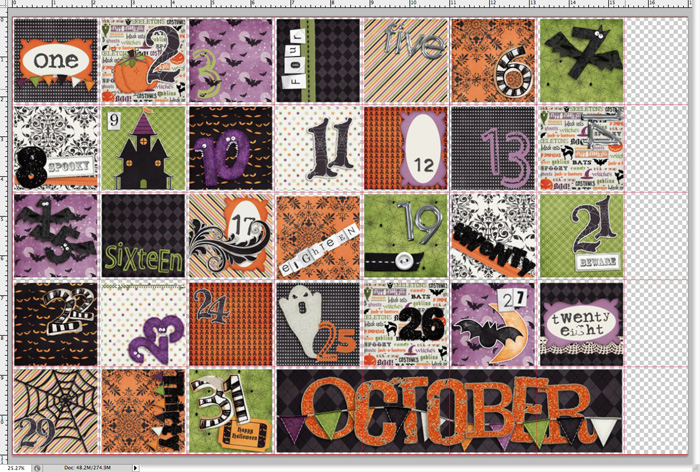
10. Next, add your numbers and embellishments. I chose a mixture of alphas and methods of placement, even switching up whether I spelled out a number or just used numbers. This adds visual interest to the finished product and makes it more fun for you to build!
11. Save your work!
12. Duplicate your canvas and delete all the layers you added except the original template squares.
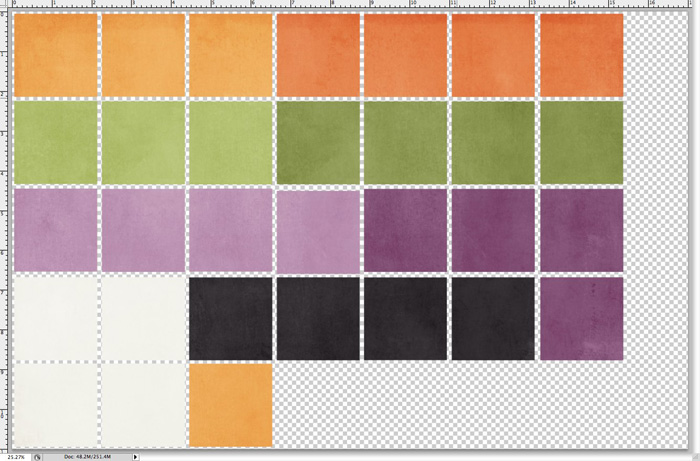
13. Clip solid papers to the now-blank squares in whatever order you want, I chose a random smattering of color, using all the coordinating solids.
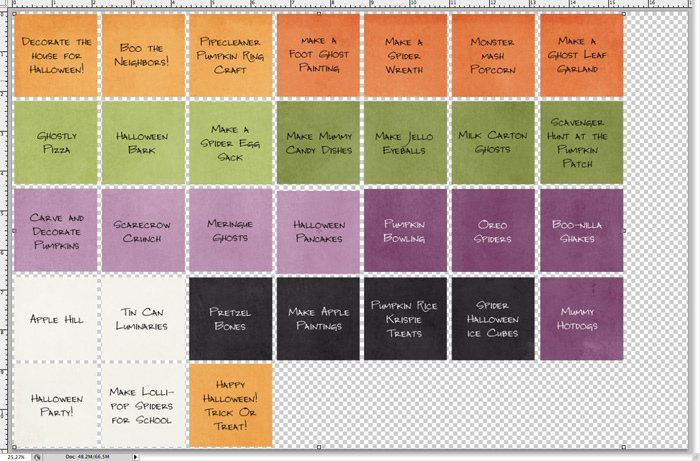
14. Type out all of your advent activities in the squares.
15. Save this as a new document.
16. Open a new 8.5”x11” canvas for printing.
17. Drag squares onto the new canvas, leaving a little room in between for trimming.
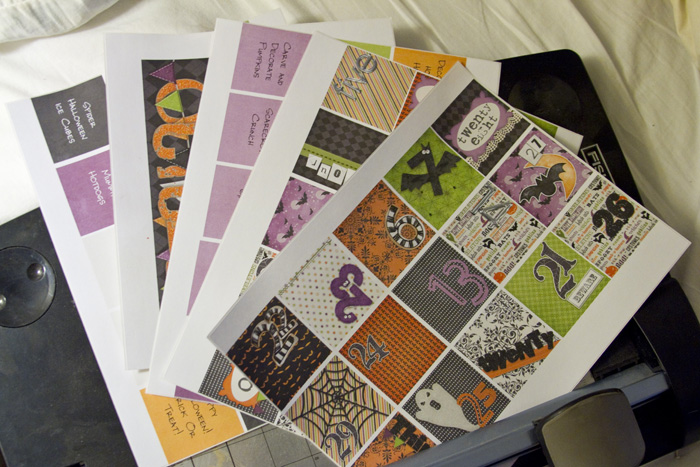
18. I could only fit 3 rows of 5 squares on my canvas so I had to create 5 pages to print.
19. Print your squares on the label sheets. I had 2 options, the magnetic sheets I bought were printable, so I could print the “fronts” of my squares directly on that but I chose to print them on the full page labels instead.
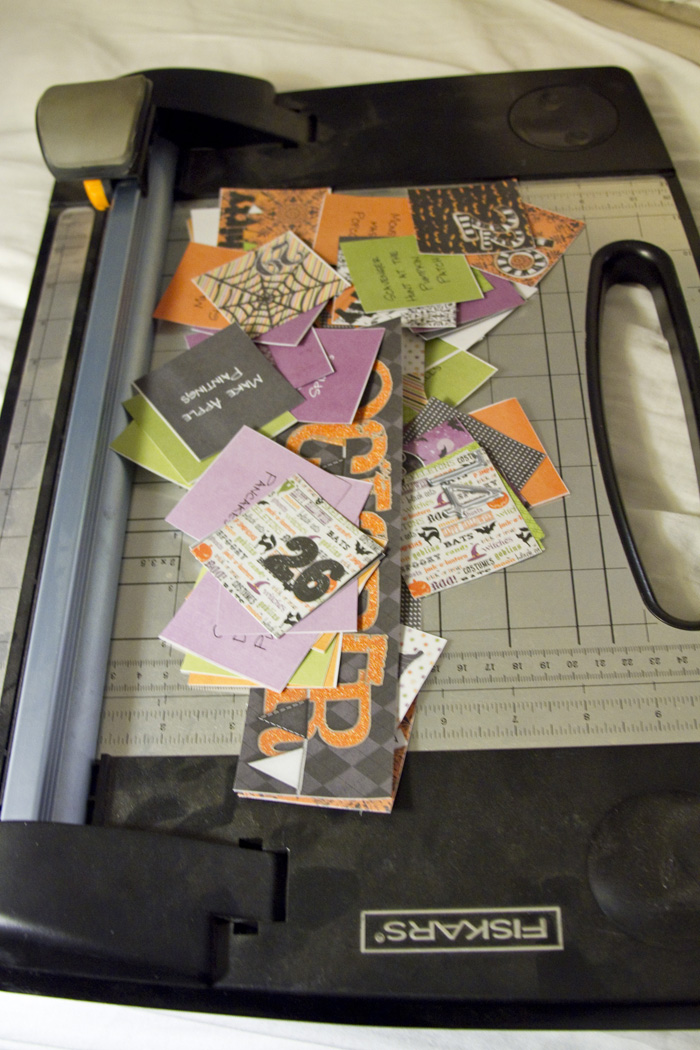
20. Trim the squares with a paper trimmer or scissors.
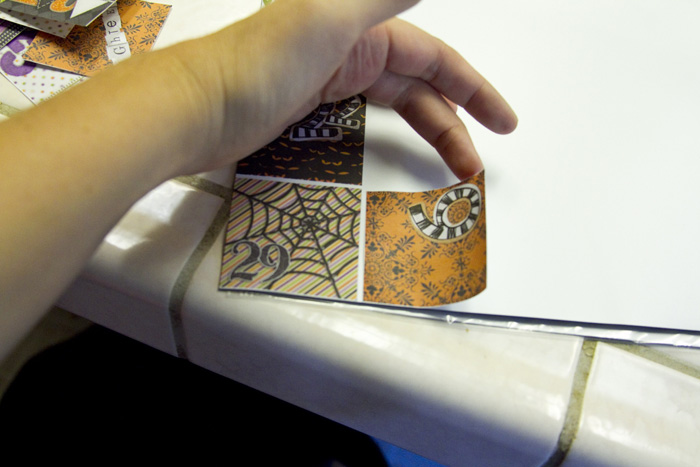
21. Adhere the “date side” squares to the magnetic sheets, taking care to leave a little room between each square for trimming.
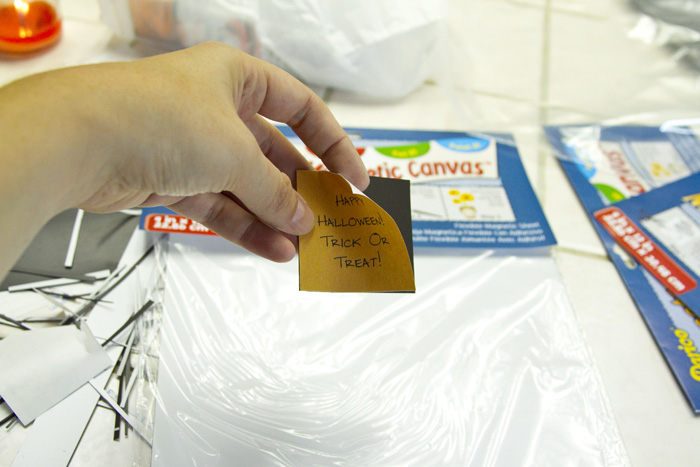
22. Adhere the correct “activity” to each day on the reverse side of each magnet.
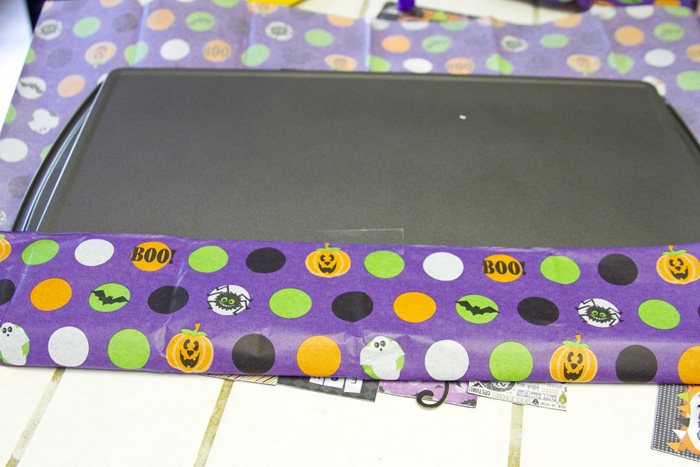
23. To add a little more festive detail, I chose to “wrap” my cookie sheet with themed tissue paper.
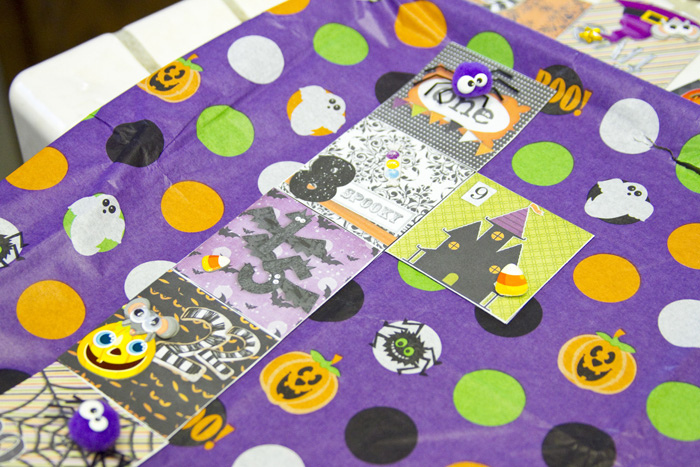
24. Lay out your squares on the cookie sheet and add embellishments to the “date side” of your squares. Get creative! You can add ribbons, stickers—anything you want!
25. Voila!

Jolene said...
on July 20th, 2012 at 6:29 pm
I love this idea! Thank you….can see many holiday possibilities !
Christine J said...
on July 9th, 2013 at 4:25 am
Absolutely love this! Pinning it and plan to use it alot! I am even considering a countdown of the rest of summer til school starts! Thanks for sharing!!!!!!