Up-Cycled Coffee Cup Sleeves Album
I, Rebecca, have a slight coffee addiction, especially during the holiday season when they tempt me with Pumpkin Spice and Peppermint Mocha flavors . . . yum! So, I have collected a number of these coffee cup sleeves. Today, I’ll show you how to create a quick and cute album out of them. And, since they are “open” in the middle, you can close up the bottom part and create a nifty envelope to hold tags, photos, or small mementos.
Supplies
- Uniformed sized Coffee Cup Sleeves
- Binder Rings (Office Depot)
- Hemp String (Walmart)
- Form Adhesive (Michaels)
- Glue Dots (Office Depot)
- Scissors
- Crop-a-Dial (or any other hole punching tool)
- Digital Products of your choice – I used Capture the Story by Lauren Grier and Be Defined 1 by Eva Kipler.
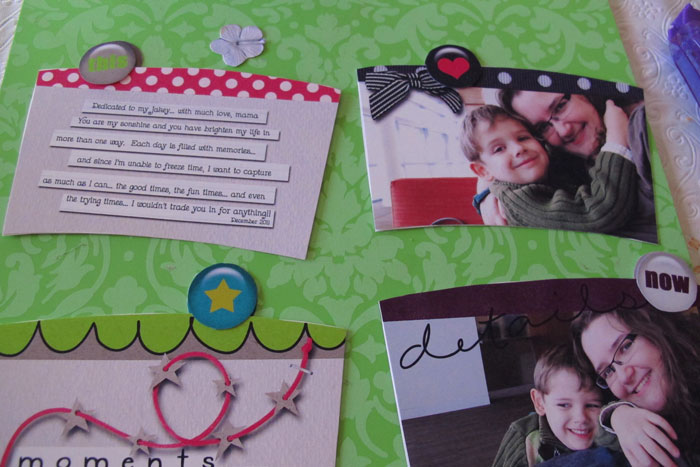
Step by Step Directions
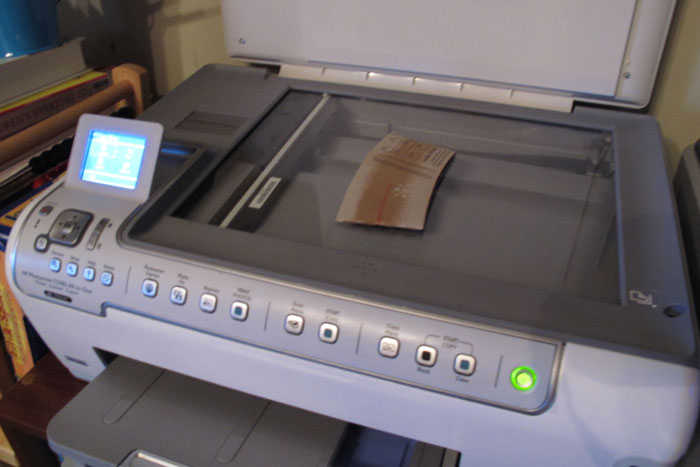
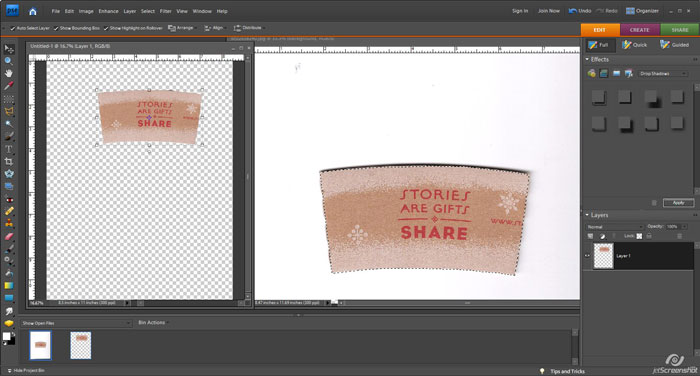
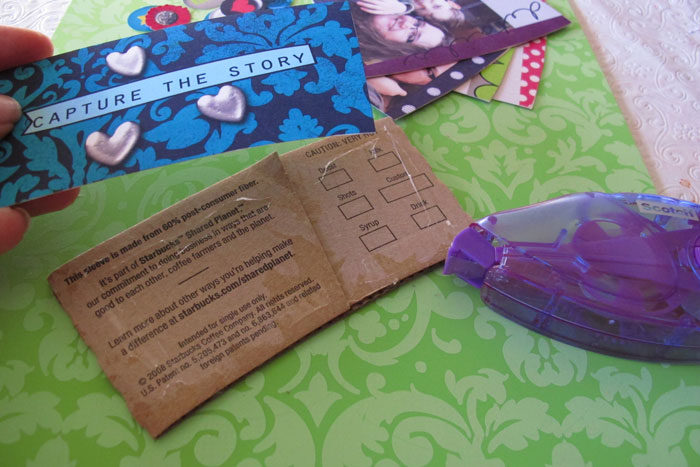
1. Scan one of the coffee cup sleeves. Note: Double check that your scanner is scanning at 300 dpi. If you are unsure and you are using Adobe Photoshop, you can easily resize it to 300 from the Image Size menu.
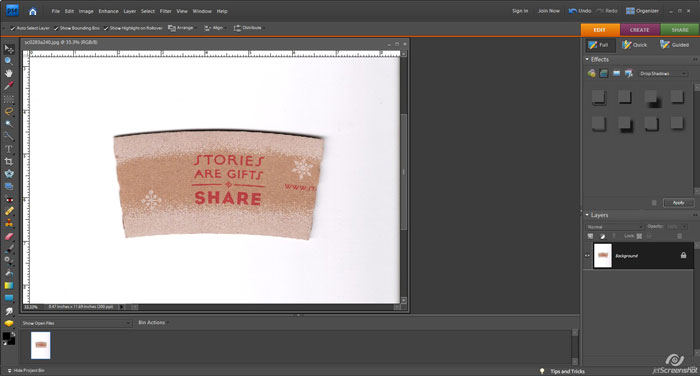
2. Open your scanned image in your photo editing software. For this tutorial, I will be using Adobe PSE 7.0.
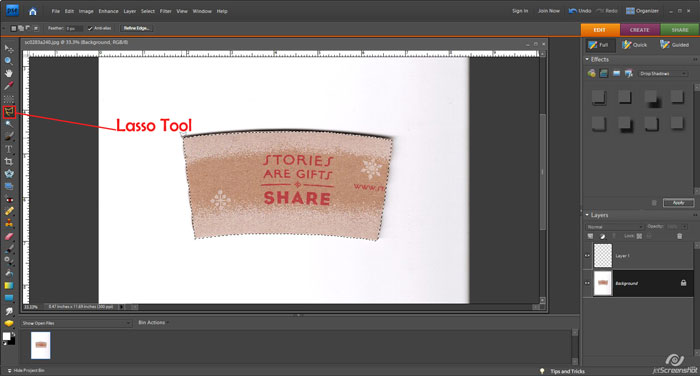
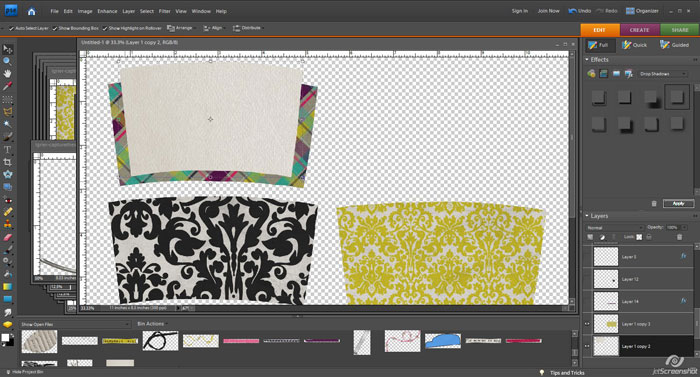
3. Select the Lasso tool from the toolbox and draw around the shape. Note: I know there are many ways to extract an item in Photoshop. This is what works for me. However, use the method you prefer. 
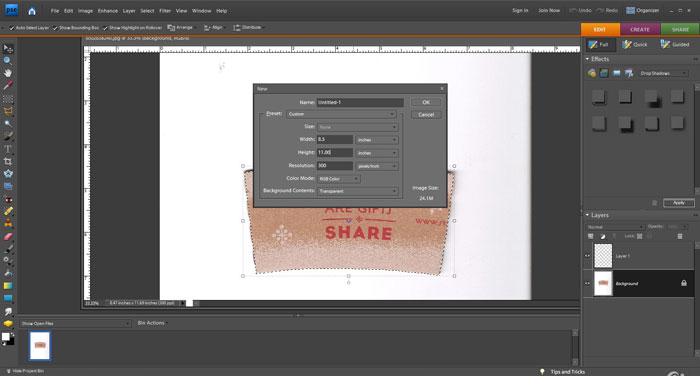
4. Press Ctrl-N to open a new file. (My new document is 11×8.5 inches.)
5. Drag the selected coffee cup sleeve shape to the new document.
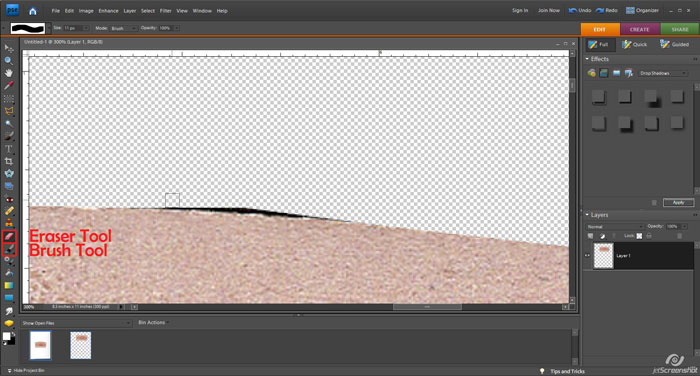
6. Fix any extraction problems by using the Eraser Tool to remove pixels around the shape. If you accidently cut into the shape during extraction, you can use the Brush Tool to “fill” in the spots.
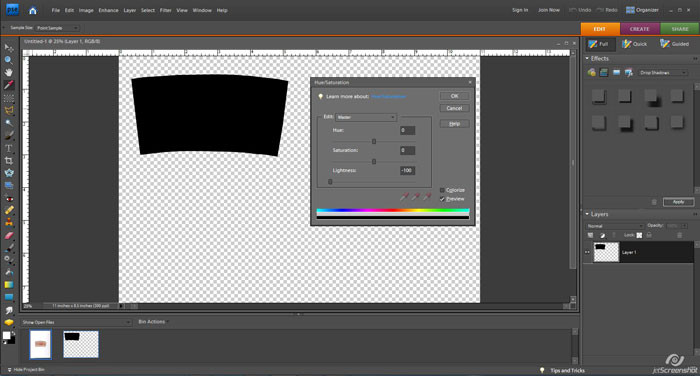
7. (Optional Step) Press Ctrl-U to open the Hue/Saturation Window and slide the Lightness Ruler to 100.
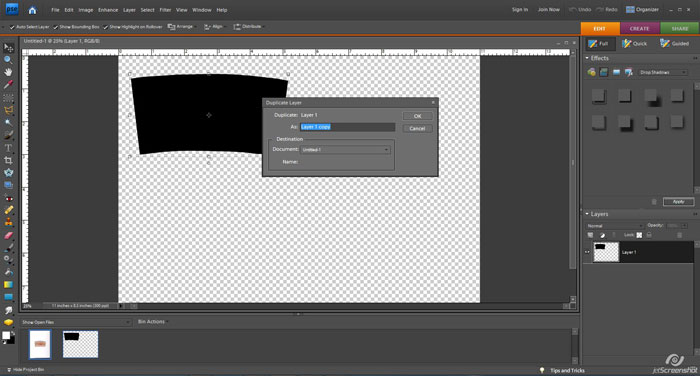
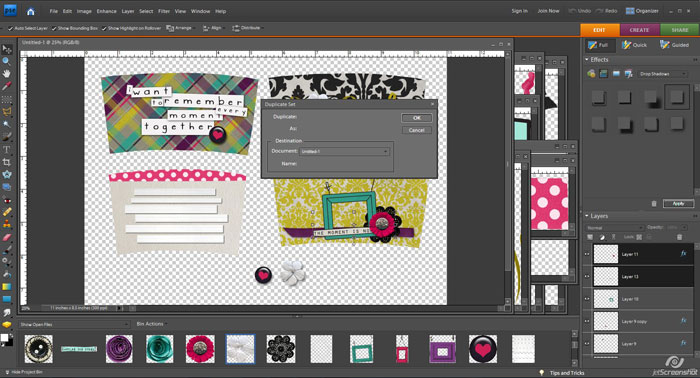
8. Select Layer >> Duplicate Layer from the Layer drop-down menu. Note: I was able to fit 6 sleeve shapes on one landscape document.
9. Clip your favorite papers to each album page.
10. To create the tag, resize the shape to be able to fit inside the sleeve. Allow yourself room around the tag for adhesive and binding of the album.
11. Decorate each page with fun embellishments, journaling, and photos. I love to add 3D elements to my finished project by duplicating elements and adding foam adhesive. Select the elements to duplicate and pull them either to a new document or into the white spaces around the album pages.
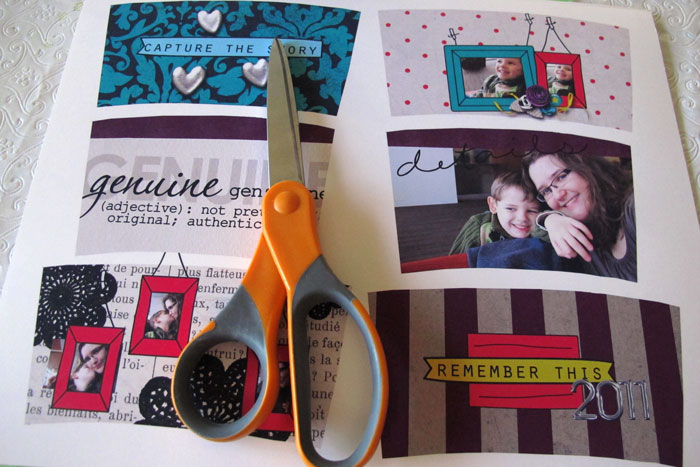
12. Print out your designed pages. Note: Please refer to the printing tutorial.
13. Cut out each page and 3D element.
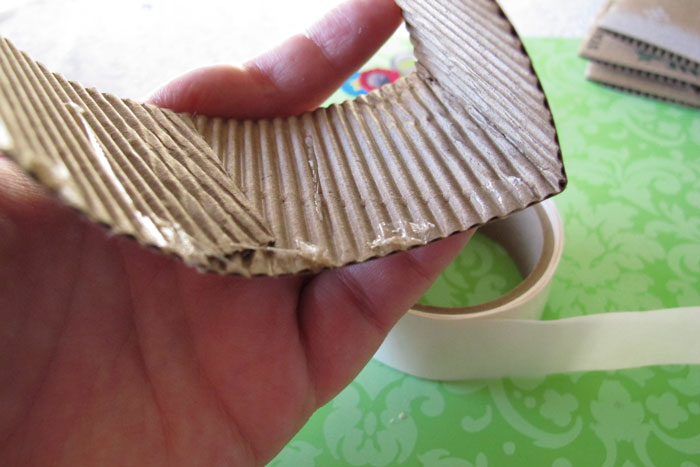
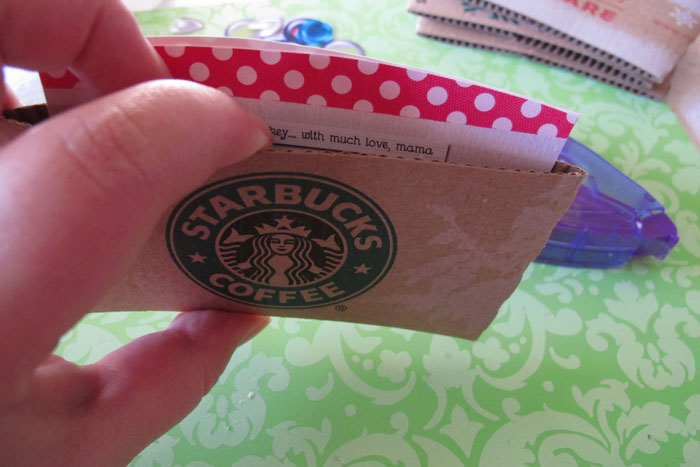
14. Glue the bottom of the sleeve closed. I used glue dots because I don’t like to wait for wet glue to dry… LOL! Another option to close the edge is using a sewing machine.
The finished “pocket”…
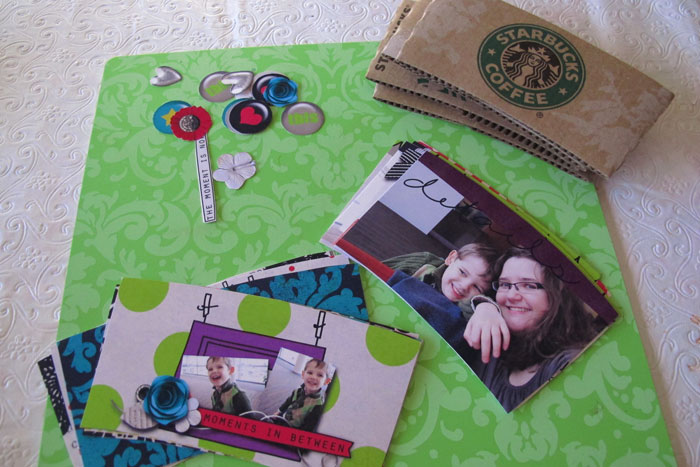
15. Adhere all the pages to the coffee cup sleeves.
16. For the pocket inserts, adhere the two sides of the cards together, back to back.
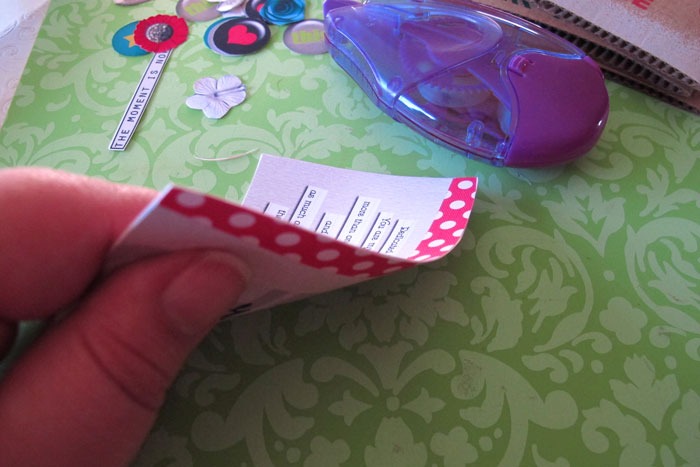
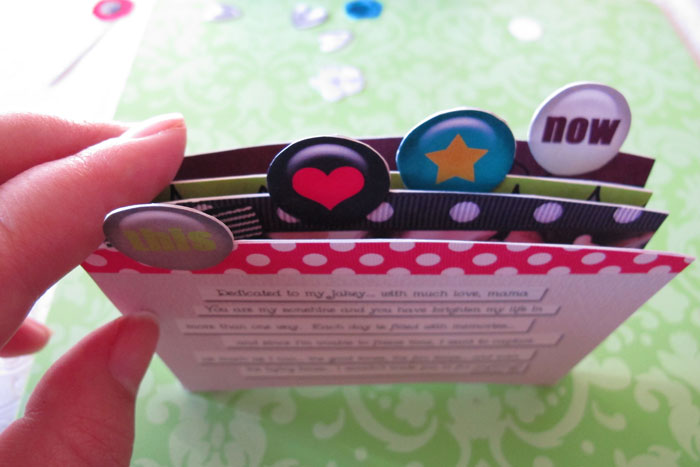
17. Adhere the tabs to the cards.
This is what the tabs will look like once glued on…
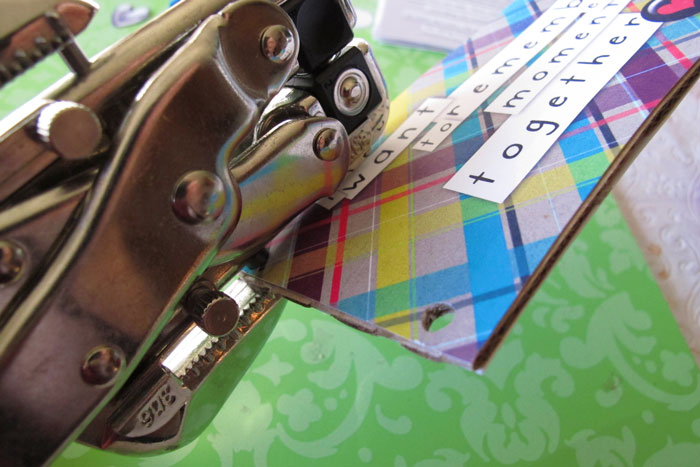
18. Punch holes in the cover sleeve.
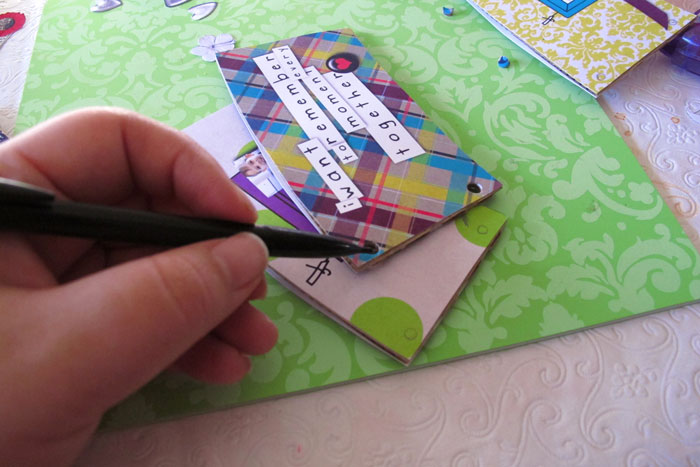
19. Mark and punch the holes in the following pages to ensure the holes are in same place.
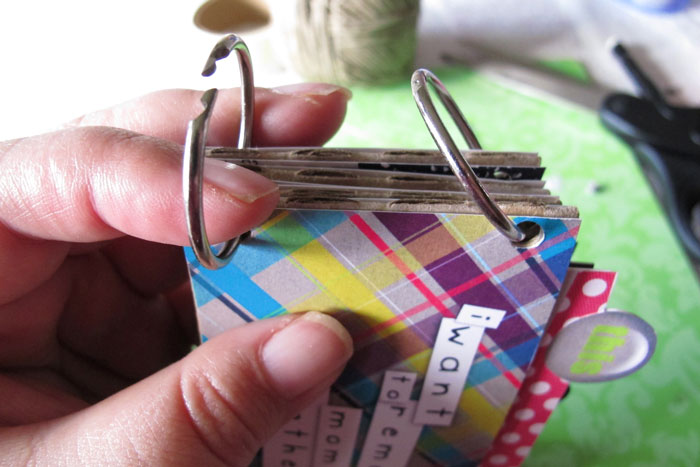
20. Thread the binder ring through the holes.
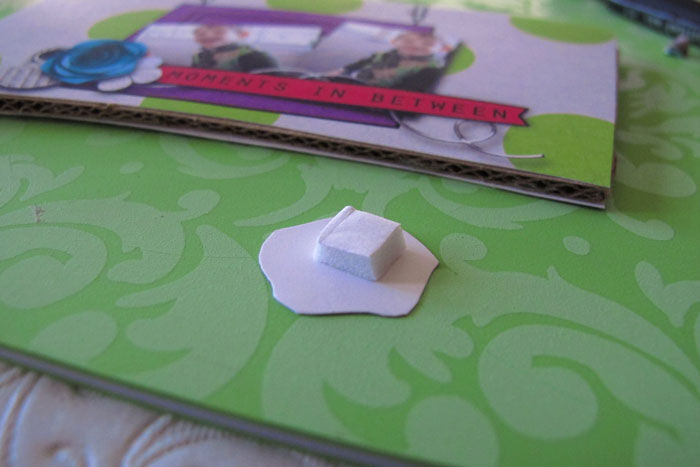
21. Use foam adhesives to create your 3D elements.
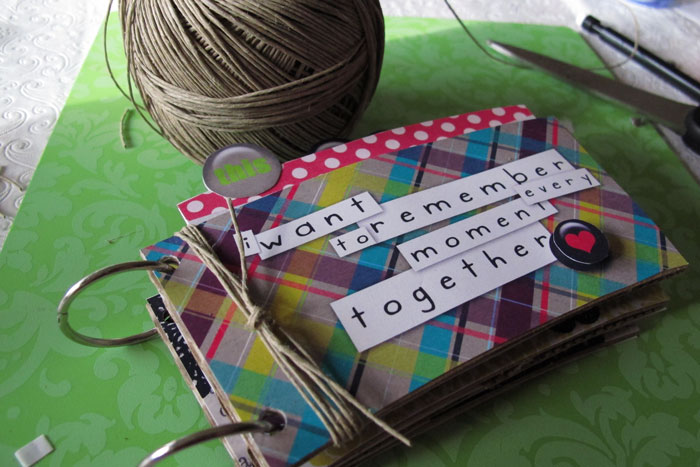
22. Wrap hemp string around the cover a number of times and knot to complete.
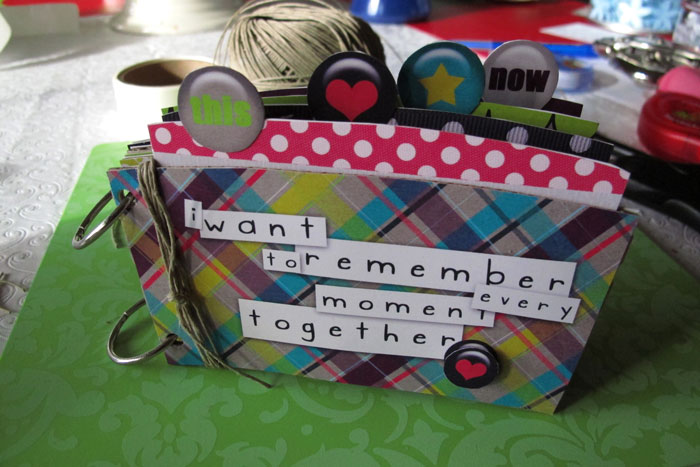
23. And here is the finished album… so many possibilities and quite fun to put together!! 
