Sticker Effect in PSP
Hey Sweet Shoppers! Nikki H. here today to share a short PSP tutorial. This is one of my favorite “tricks” for adding a little something extra to my layouts. I will admit…sometimes I’m lazy with titles. I just don’t like always having to pull 10-20 letters onto my page and such. So sometimes I will type out part of my title using a font and then add a sticker effect to make it stand out like I did on this layout here using Krystal and Traci’s Kiss My Grits.

Step 1:
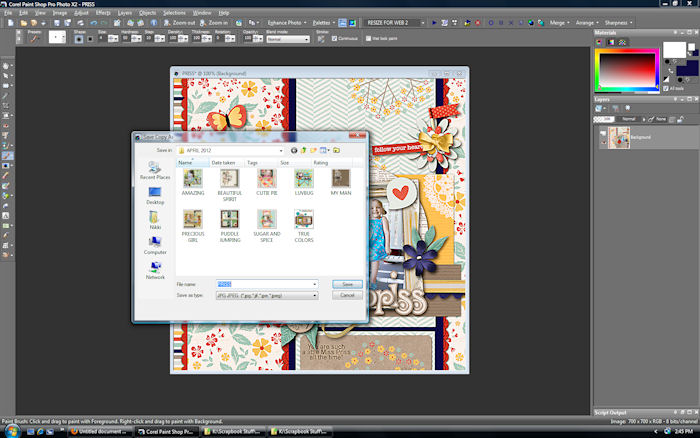
Open up a blank image and choose your font, text size and color. For this layout I used Font: Lavenderia Text Size: 150 and drew a color from my layout using my dropper tool. I usually size the text much larger than I will need because we all know it’s better to size down than up. Then just type your title text into the text box. I spaced my words far enough apart so that I can cut them out and drag them separately onto my layout. This will also keep them for being stuck together when we apply the sticker effect.

Step 2:
Convert the text layer to a raster layer.
Layers>Convert to Raster Layer (you can also do this by right clicking the text layer in your layers palette and choosing “convert to raster layer”)

Optional Step:
Sometimes I like to “distress” my words to give them a little more character. For this layout I chose my Eraser Tool from the tool bar and chose my favorite distressed brush. I set Hardness to 0 and Opacity to 10. Then I just ran my eraser over my words a few times until I got the effect I wanted.

Step 3:
Go to Image>Add Borders

Choose white as your color and set left, right, top and bottom sizes to 50.

Step 4:
Choose the Magic Wand from the Toolbar and click on the white area of your image. This should put marching and up around the borders of the words.


Now you also want the inside of the words to be selected so hold down the shift key and click with your magic wand inside all of the letters that have a space, like the S, O, E etc. When you are done you should have marching ants all along the square of your image, along the outside AND the inside of your words.

Step 5:
Go to Selections>Invert or Ctrl+Shift+I on your keyboard to invert the selection.

Step 6:
Go to Selections>Modify>Expand

In the screen that pops up set the number of pixels to 15. You can actually increase or decrease this number according to how thick you want your sticker border to be. Click OK.

Now your image should look like this. Don’t worry we’re about to get rid of all that white.

Step 7:
Once again go to Selections>Invert or Ctrl>Shift>I on your keyboard.

Step 8:
We now need to promote the background layer, so that when we cut out the words the background is transparent. Go to Layers>Promote Background Layer. (You can also right click on the layer in your layers palette and choose Promote Background Layer from there)

Step 9:
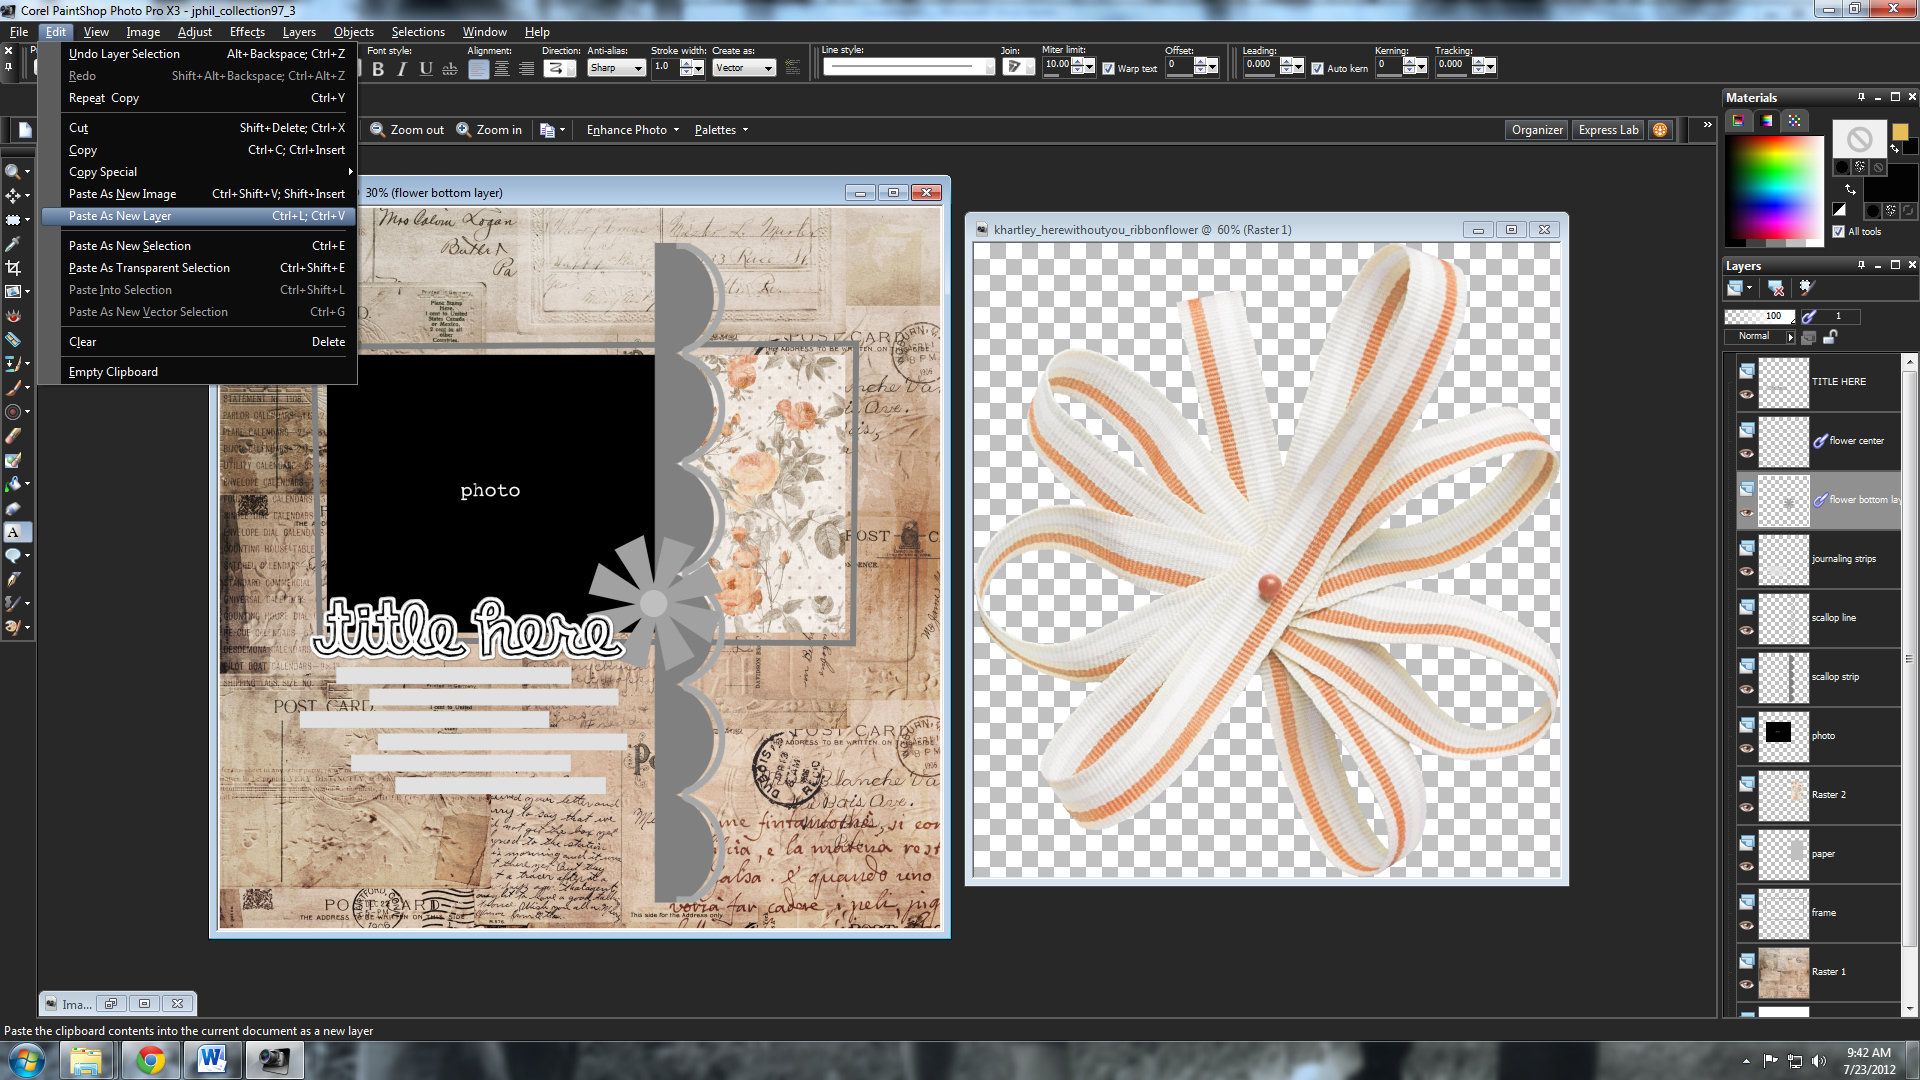
Now we’re going to cut out our words. Go to Edit>Cut or hit Shift+Delete on your keyboard.

Tada! Now you have sticker words to use for your layout. Now all you have to do is drag them to your layout and position where ever you want.

And once again here is what I ended up with on my finished layout:

Mari said...
on September 22nd, 2012 at 4:26 pm
Yay! Thanks for doing this one, Nikki! I can never remember how to do it when I try. Now I can just look here.
RachelR said...
on December 1st, 2012 at 6:12 pm
Great effect! Thanks for the tut.
Can you do one showing how you got it to look like the text in the Layout? With the white inside the capital S.
Sally said...
on December 10th, 2012 at 10:24 am
I am so happy to have found Sweet Shoppe through Flergs FB page. I have had PSPX2 for a couple of years now and could not figure out how designers did this effect. Thank you so much for this tutorial, I will become one of your biggest fans.
Msjbelle said...
on May 30th, 2013 at 5:12 am
Tutorials are how I taught myself PSP thank you thank you I haven’t made graphics in a few years so my skills are rusty.
LeAnne said...
on January 5th, 2016 at 1:00 am
Thank you so much for posting this! I used PSP years ago and recently began using again and needed a refresher. I am so grateful!
jessica31876 said...
on July 14th, 2016 at 3:48 am
I love doing this. I also sometimes play with the transparency so it gets sort of a transparent sticker look. Not quite all the way transparent and not quite opaque.