How To Make Your Own Brushes in Photoshop and PSE!
Hi everyone! Traci here with a quick an easy tutorial on how to make your own brushes! You can make a brush out of anything you’d like to, as long as you remember one thing: When creating brushes, color = opacity. What do I mean by that? Let’s take a look!
First, let’s look at this handy little colored date stamp from my “Little Joys” kit:

The process for creating a brush is simple, simply select the object you’d like to make into a brush, so that it has marching ants around it (the easiest way to do this is ctrl(cmd)+click the layer thumbnail in the layers palette) and then go to Edit>Define Brush Preset

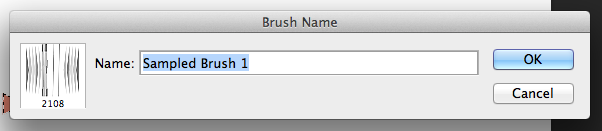
Up will pop a little box where you can name your new brush:
and then it will be available to you in your brushes palette!
Now, if we just create a brush out of this colored image, you’ll see that it does not create a fully opaque image. The lighter the color of the object you are turning into a brush, the less opacity it will have:
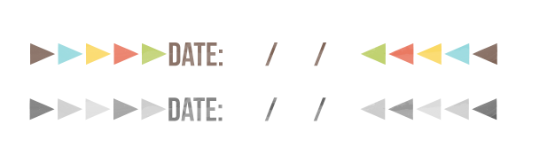
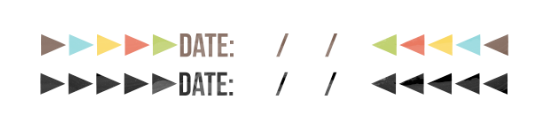
You can see that the places where the brush was darker (brown), the “darker” the stamp is, therefore the more opacity it has. To avoid this, we will need to turn the object we’re making into a brush completely black. We can accomplish this using a simple color overlay

Now you can see when we make it a brush for the second time, it’s completely black (opaque) and will now stamp a solid image, no matter which color you chose:
Using a color overlay obviously won’t work with more complex images such as a flower, but for line art such as word art and doodles, it works perfectly!


Tutorial: Make Your Own Brushes in Photoshop! | Traci Reed Designs said...
on February 21st, 2013 at 9:56 pm
[…] I have a new tutorial on the SSD Tutorial Blog today! Get some tips on making your own brushes! […]
Geri said...
on February 23rd, 2013 at 6:24 pm
Thanks, this is so simple the way you show it.
wendy said...
on April 3rd, 2013 at 1:16 pm
Great!!! Thanks a lot!