Scrap Like a Sugarbabe: Juli Fish
 About Juli:
I have been in love with paper and papercrafting since I was twelve. I’ve tried every kind of paper crafting there is…rubber stamping, art journaling, paper scrapping…I’ve done it all! Eight years ago I decided to make the jump to digi scrapping due to have an crazy 2 year old that was in to everything which made it impossible to scrap. I was also fed up with all the drama at the local scrapbook store and wanted to find a place where I felt like I really belonged. I’ve been a customer at Sweet Shoppe for seven years now and this is the perfect place for me! On the personal side, I work full time as an Operations Manager for a large primary care physician group in Florida. When I’m not working or scrapping you can find me driving my SUV as a taxi for Katie (14) and Hannah (11). I’m married to Jason, my college sweetheart, for 15 years now. Our family is big in to traveling and the YMCA. Finding time to scrap isn’t easy, but projects like mini-albums make it fun.
My Claim To Fame:
I came on the Sugarbabe team as a Hybrid Babe and I have to say that hybrid is really what I do best. I think my claim to fame has to be the mini albums I create. I love to take pictures from a weekend adventure or a trip and make them into a little album my girls can enjoy. It makes my heart happy to see mini albums in their rooms and that they are thumbed through often.
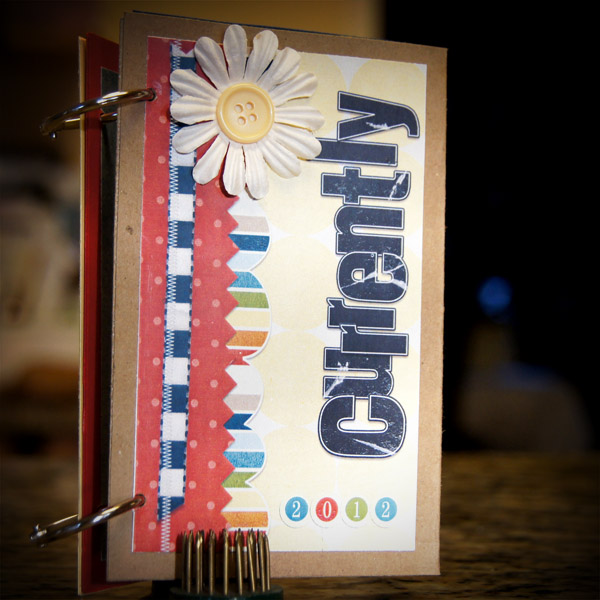
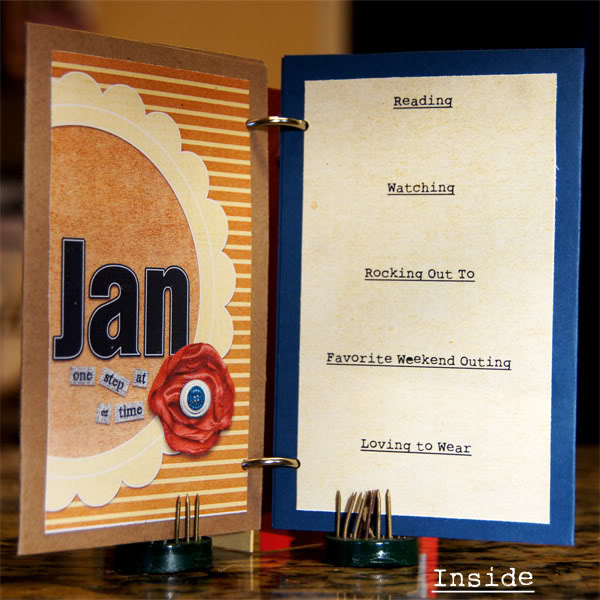
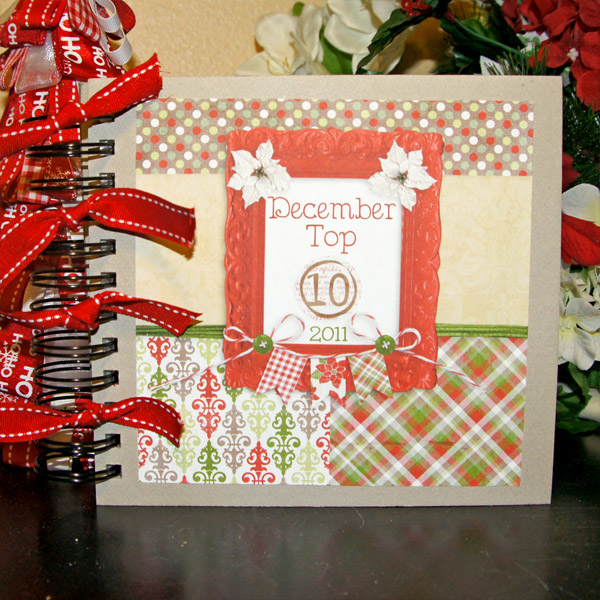
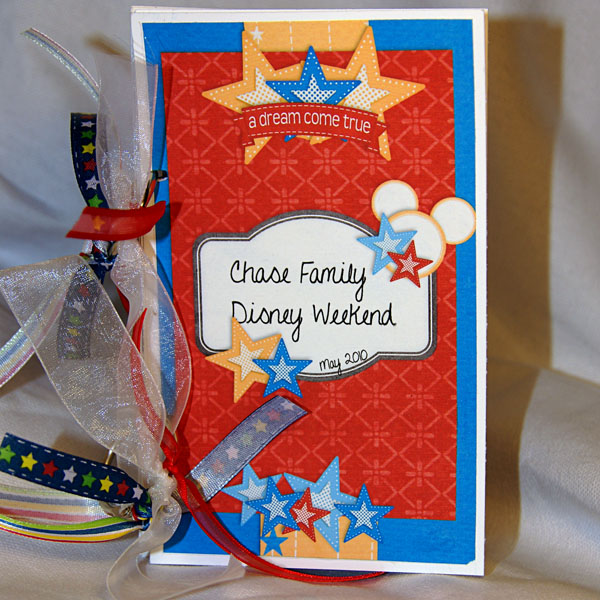
Here are some of my all time favorite mini album/book projects I’ve made.
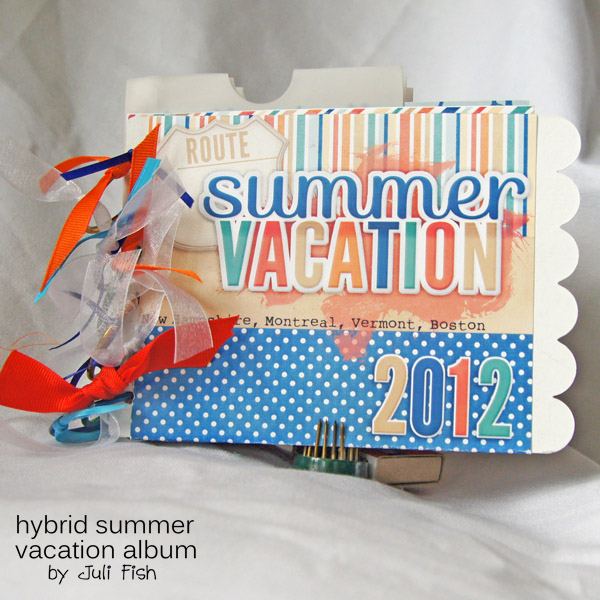
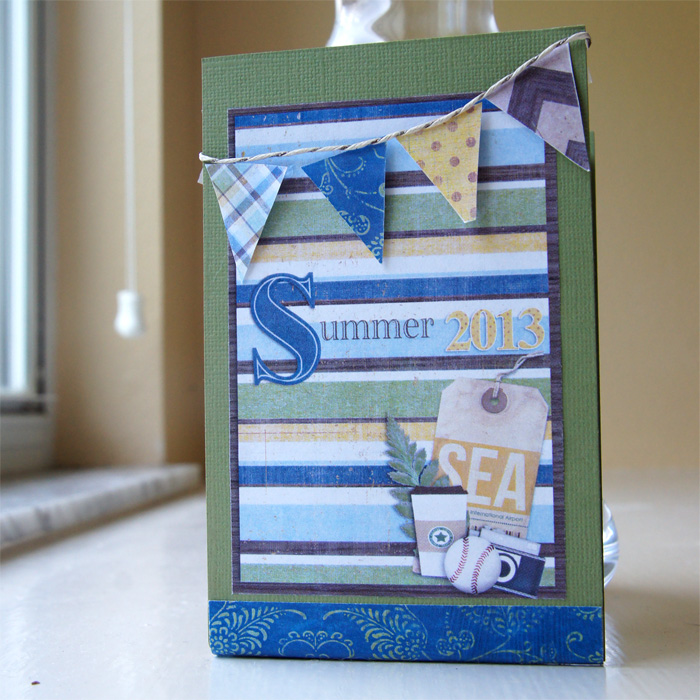
I’d like to share with you my process for creating a fun Summer Vacation themed mini album using pre-made mini paper bags. This is a quick and easy project to make before you go on vacation so you can easily slip your mementos into the pockets created by the paper bags. When you get home you can add in photos and a little bit of journaling to make your album complete. I like easy project like this that look impressive when done, but really they are cinch to put together.
Here is what our finished project will look like:
Supplies:
Northwest Beauty digital kit by Misty Cato
1 – 12 x 12 sheet of Bazzil Card stock or equivalent
6-10 mini paper party bags that look simliar to lunch bags (I got mine at that big craft store that starts with an M)
Tape Runner
Fiskar’s Paper Trimmer
Scissors
Photoshop Elements
Ruler
Color Printer
White Printer paper
Directions
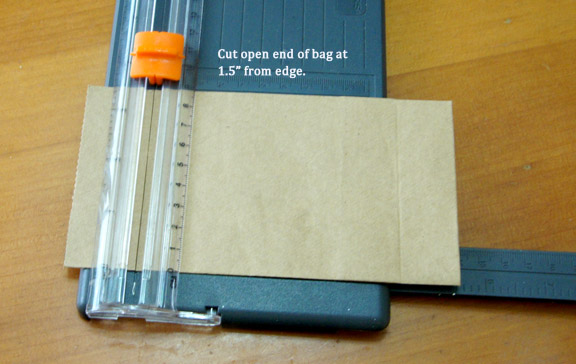
1. Use the Fiskar’s Paper Trimmer to trim 1.5″ off the open end of each of the paper bags you are going to use for the pockets of your album. I used 6 bags total for my project.
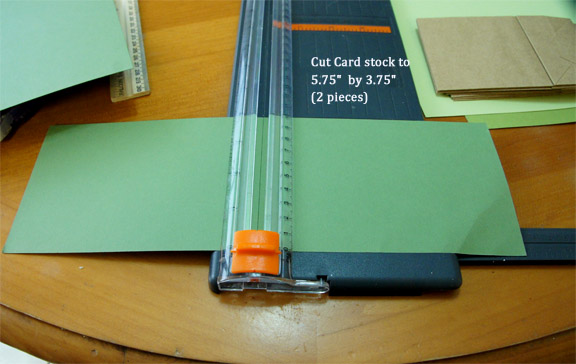
2. Cut two pieces of Bazzil Card stock to 5.75″ by 3.75″. This will become the front and back cover base for your album.
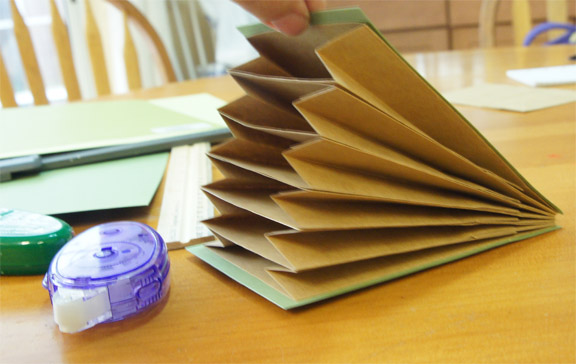
3. Take a look at your paper bags. They have a flat side and a side with a flap. Next you pre-stack your album pages so that they are ready to be adhered together. Create a stack as follows. Bottom piece: Flat side faces down to the table and the flap side faces up at you. Put the open edge to your right. Then stack the rest of your pieces the opposite. Flat side up with the flap side down making sure the open edge is on the right. This leaves you with a stack that has a flat top and a flat bottom.
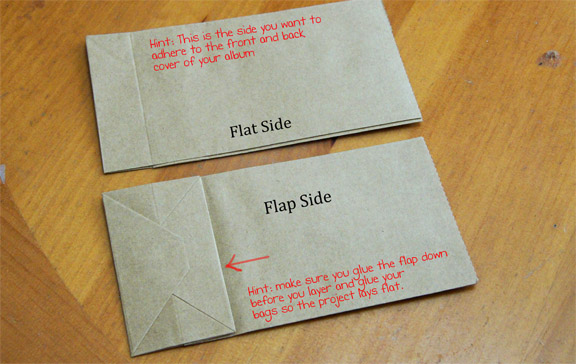
Next…assembly. Now you really can’t do this part wrong as long as you keep all the open sides on the same side and you need to make sure the top and bottom bags have to have their flat sides out to be able to adhere the cover base.
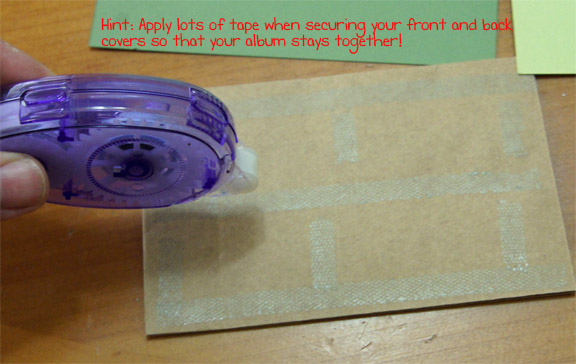
4. Adhere the paper bag to the bottom base cover by applying tape runner to the bag making sure to cover the outside edges and a few places in the middle. Once the tape is on the bag place the back cover base on to the bag making sure to line up the closed edge of the bag to the edge of the paper and then leaving equal distance above and below the bag.
5. With the base cover down on the table, the paper bag should be on the top with the flap side facing up. Put some tape runner in the flap to help keep it closed.
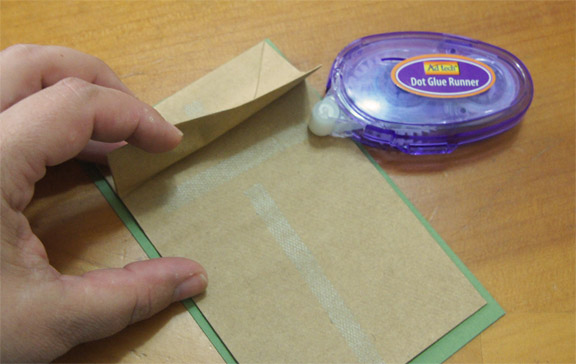
6. Then start attaching the other paper bags by applying tape runner to the bags and then sticking them together with the open ends to the right and the closed ends to the left being careful to try to keep the stack in line. The only part being taped is the outside of one bag to the other. Make sure to tape down the flap pieces as you layer.
7. The last bag you stack should have the flat side facing up. Adhere the front base cover to the flat top making sure it aligns with the bottom base cover.
Spot Check: If you did it right – the project should look like this.
8. Open a 8.5″ x 11″ canvas in Photoshop Elements. Make a 3.75″ x 5.75″ rectangle on the page to represent the front of your project.
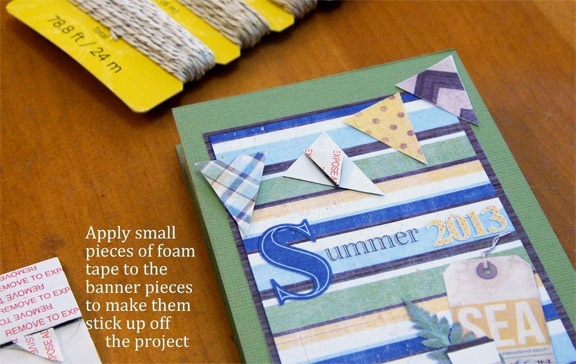
9. Use Northwest Beauty (or your favorite Sweet Shoppe Album) and create the front of your project. I created some triangles to layer on my finished project to make a little banner. I also create a spine for the album by making a 3.75″ wide by 1.5″ rectangle out of contrasting paper.
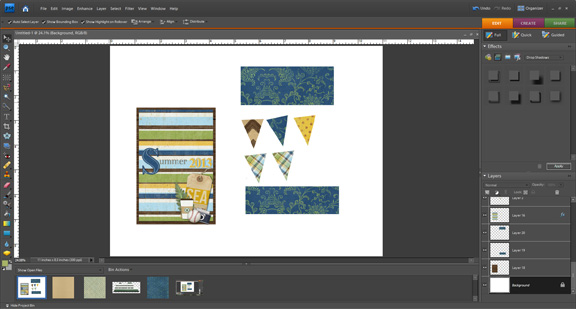
Hint: Before I print I make sure that everything is shadowed at a 90 degree angle so that it will look more realistic when printed.
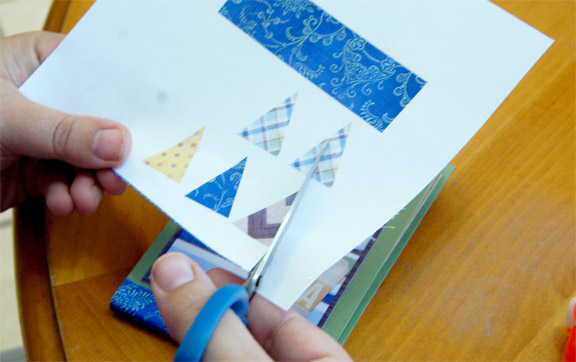
10. Print out your front and layering pieces on to white printer paper (presentation paper can be substituted here, but I had white printer paper so that’s what I used).
11. Use scissors and cut out the digital pieces to go on the front cover of the album.
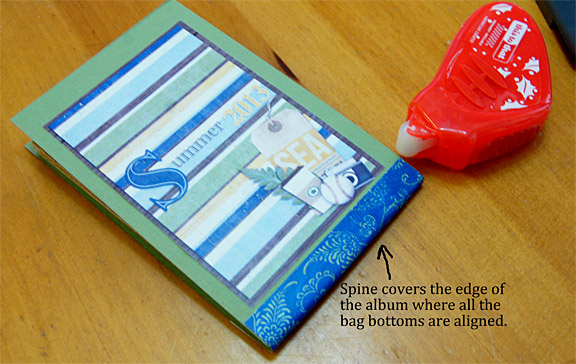
12. Adhere the spine to the bottom of the album (or side if you chose to make your sideways). Just apply tape runner to the extra, contrasting piece of paper you printed out and and then use it to cover over the closed end of the bags and bind the front and back covers together.
13. Adhere the front cover to your album and then layer on the pieces you want to elevate using foam tape to give it dimension. I personally don’t like to use too much foam tape and 3-d elements because I want all of my album to last at least for a while. I find the 3-D pieces have a tendency to take too much of a beating from people opening and closing the album over time. So I don’t go crazy with the 3-D work.
Now you have a complete album ready to to take with you on vacation. When you come back (I’ve learnt this from experience) you can add ribbons and other decorations to the inside bags as well as inserts for each section to help identify the mementos you put in there.
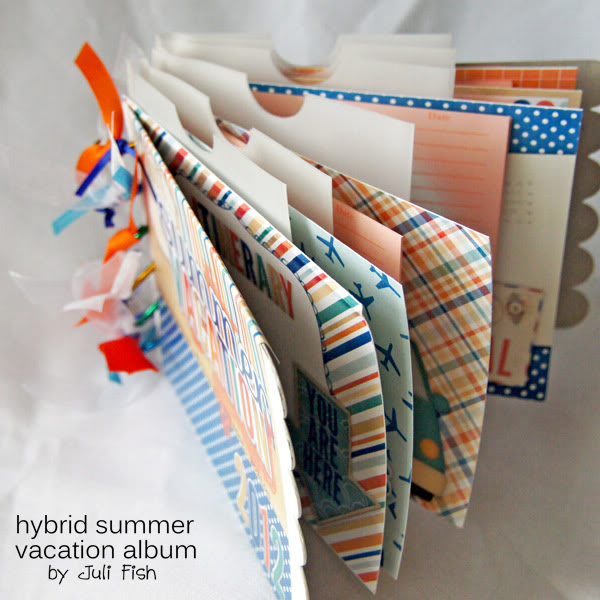
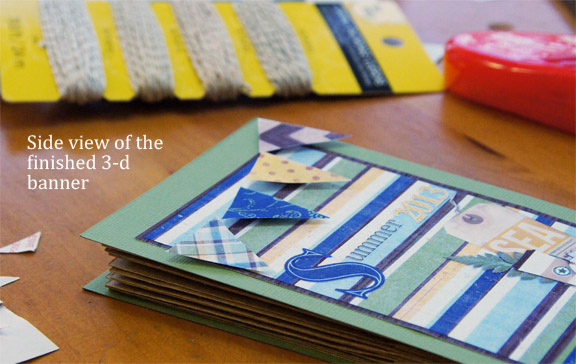
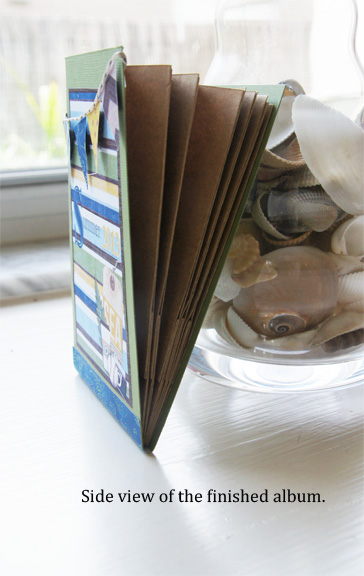
Here’s one last peak at the side view of the finished project.


Andrea said...
on July 11th, 2013 at 1:15 am
I would really love to try this but am a bit confused. It would help to see a step by step of how the pages are taped together. I’m not sure if I’m supposed to tape just the flaps together or the whole side of a bag and if you tape the whole side of each bag, then it’s just going to be an accordion style holder and not a book right? Sorry I’m so dense lol, but I’d really like to try this, just having a brain fart at the moment.
Juli Fish said...
on July 29th, 2013 at 5:02 pm
Andrea –
Sorry it took me so long to reply.
First you seal the flaps closed on each bag. Then you lay the bags so that the bottom one is flat side down and flap (now secured) side up) Then you can layer the next bags however you like.
The top bag is layered so the flat side is up. The main thing to think about is that you wan the flat sides out when you are done. How you layer the inside bags doesn’t matter because with the flaps secured with tape it won’t open up on you. I hope that helps! If not PM me via Sweet Shoppe Designs and we can talk more.