Create A Layered Paper Layout Using a Digital Template
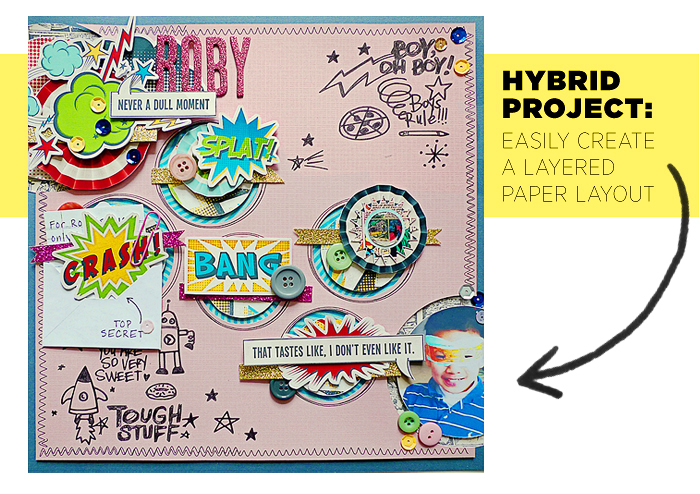 I Had Almost Given Up On Paper Layouts . . .
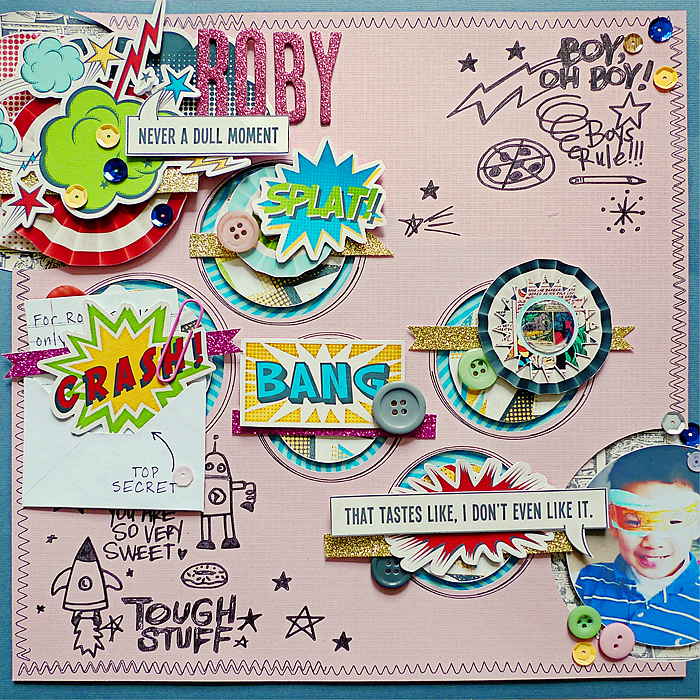
Today I’m going to share how I created this paper layout. But first, I have a confession–this is the first paper layout I’ve ever been able to complete (well, aside from my Project Life layouts, that is). I think pocket scrapbooking comes so much easier to me because I can begin my layouts at the computer before I even touch any paper supplies. I realized I could employ a similar technique for my traditional scrapbook layouts with the help of digital templates. The result is the paper layout you see below . . . I was finally able to conquer the dreaded blank page syndrome I suffered from every time I sat down to scrapbook!
Because I used a digital template to first create a mock up of my layout, it was just a matter of assembling the various pieces once everything was printed out. This tutorial will go through my process step by step, starting with choosing a template and ending with some tips and tricks to add more interest and dimension to your printed elements. I also have a bunch of pointers for all the Silhouette users out there, but don’t worry if you don’t have a die cutting machine! Although I used one for this project, I argue I did so from pure laziness and I could have easily cut everything out by hand.
Part 1 of my tutorial will cover the following:
- Choosing a Template
- Preparing Print Documents
- Putting Everything Together
- Life Without Ctrl+Z
- Tips & Tricks for Added Depth
Silhouette users can check out Part 2 here. I share additional tips and tricks, including how I used the Sketch Pen feature to incorporate Yep A Doodles by Darcy Baldwin + Brook McGee onto a 12″ x 12″ canvas. I also go over my Print & Cut work flow and share a download that simplifies the mind numbingly boring task of merging multiple files into document when using the Silhouette software.
So without further ado, here is Part 1–I hope it helps out other people who are feeling a little stuck with their paper layouts!
PART 1:
Choosing a Template
Ultimately, the template you choose should translate easily to paper, but also have some nice dimension to it. For this project, I wanted something with a simple design (something I could actually make!) and bold composition. There are so many amazing templates in the shop that would have worked perfectly, but I ended up choosing a template from Nettio Design’s FAVE-O-RITES collection. Below some other templates I’m planning to use for my next paper layouts (I can’t wait!).
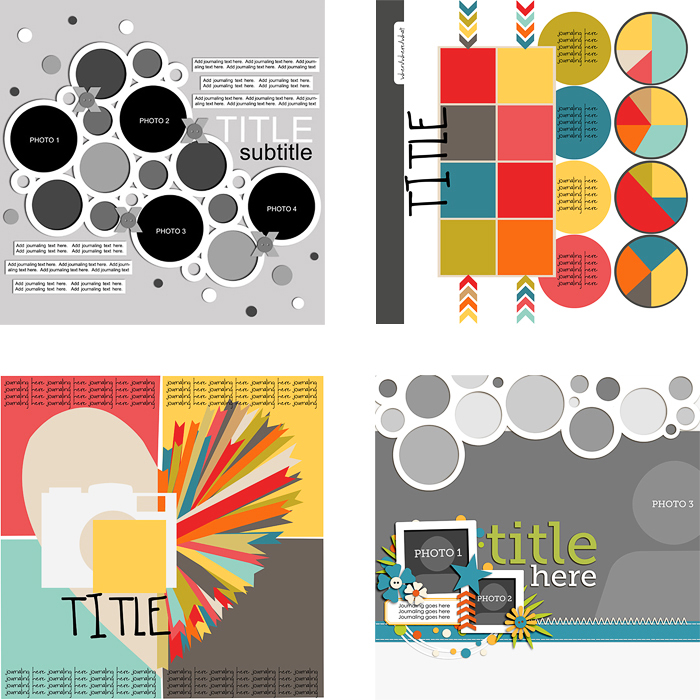
Cindy’s Layered Templates – Trio Pack 8: Framed 3 by Cindy Schneider // Double the Trouble Templates #4 by Studio Basic // Go Big or Go Home Templates Vol. 1 by Nettio Designs
Once you decide on a template, start creating your layout as you normally would. Below is my finished digital layout using Traci Reed’s Heroic kit. When I was laying everything out in Photoshop, I knew I wanted use some embellishments from my physical scrap stash including various buttons, ribbons from the Dear Lizzy 5th and Frolic Collection, and Taffy colored glitter chipboard Thickers.
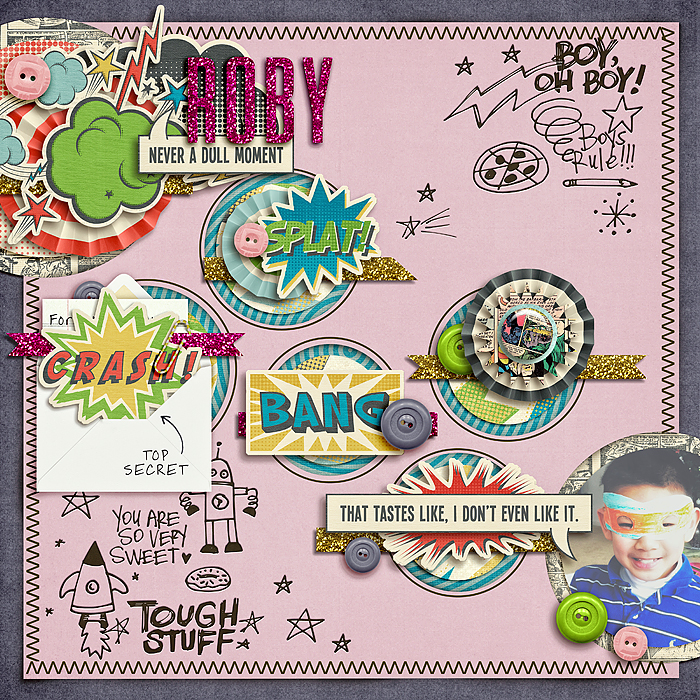
Technically, I only needed to include those digital elements that had to be printed, but as you can see, I decided to include everything. I even added drop shadows and colored my elements/background to closely match my paper layout. Creating a matching digital layout is definitely optional, but I really wanted one for a couple reasons: 1) I knew I would have an easier time completing my paper layout if I had a full mock up to reference 2) I wanted digital files I could easily share and a print ready file to use in photo books, or gifts, etc.
Once you have your layout in place, you’re ready to move onto the next phase–preparing all your elements for printing.
Preparing Print Documents
Basically, any elements you want printed should be arranged on an 8.5″ x11″ canvas, avoiding any overlap. This is easily accomplished by first duplicating your layers onto a new document.
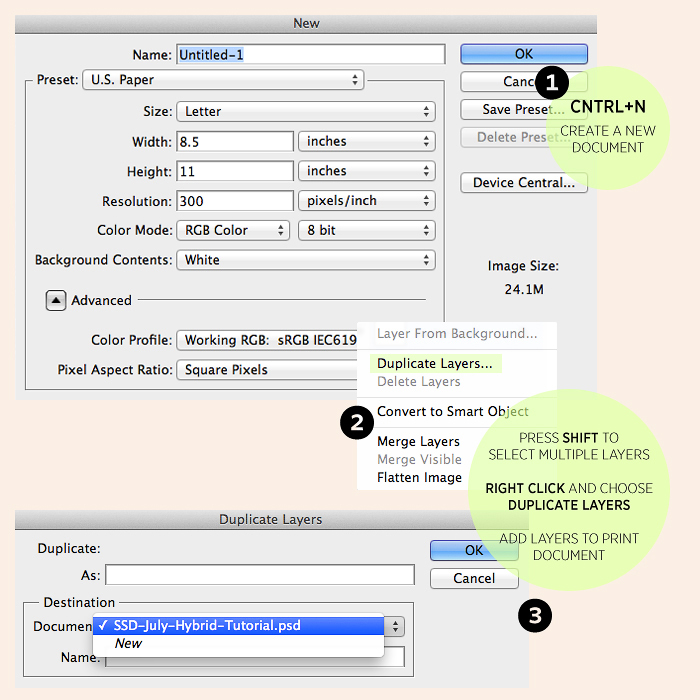
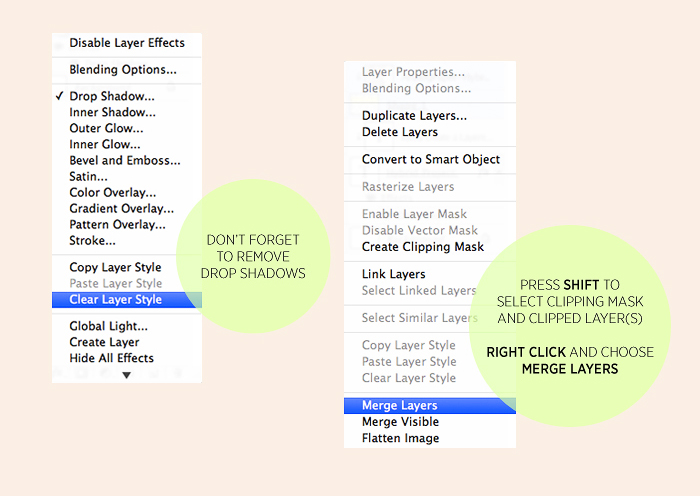
Make sure to delete any layers you don’t need to print and begin arranging everything on your new canvas. Merging your clipping masks is also optional, but I think it makes this process a lot easier. And remember, if you added layer styles, like I did, don’t forget to clear them!
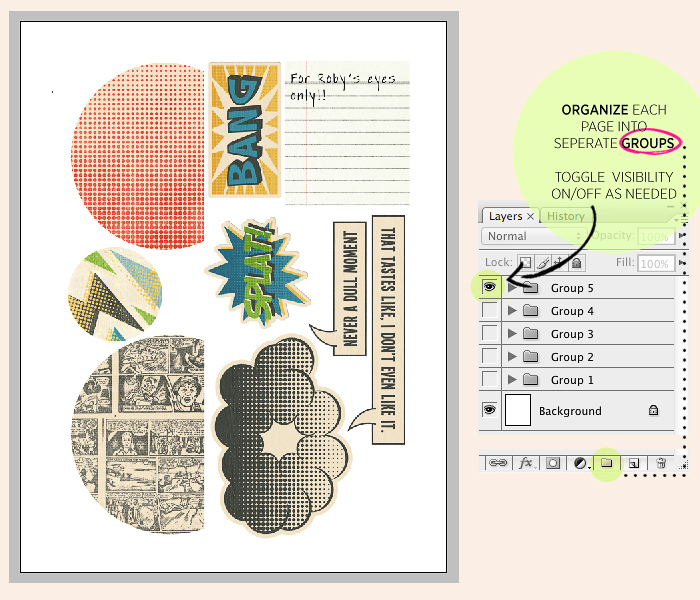
You will most likely need to print your elements on several sheets of paper. In this case, I suggest organizing each page into separate groups. Then, just toggle the visibility of each group on/off as needed.
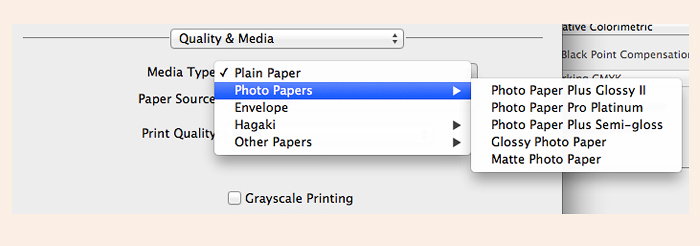
Your printing experience will vary depending on your printer model and the paper you decide to use. I have a Canon Pixma ix6500 and used matte photo paper for this project. Your printing results will also vary depending on the program you use to print your documents. It’s best to test all the different variables to determine how to achieve the best results. I use the software that came with my printer and make sure the appropriate media is selected when my OS dialogue box pops up.
Putting Everything Together
When you’re ready to cut, a craft knife may be necessary for more intricate shapes. I use one with a rounded edge and always cut on top of a self healing mat. Tip: If you have difficulty making a cut, gently rock the craft knife back and forth on the rounded edge.
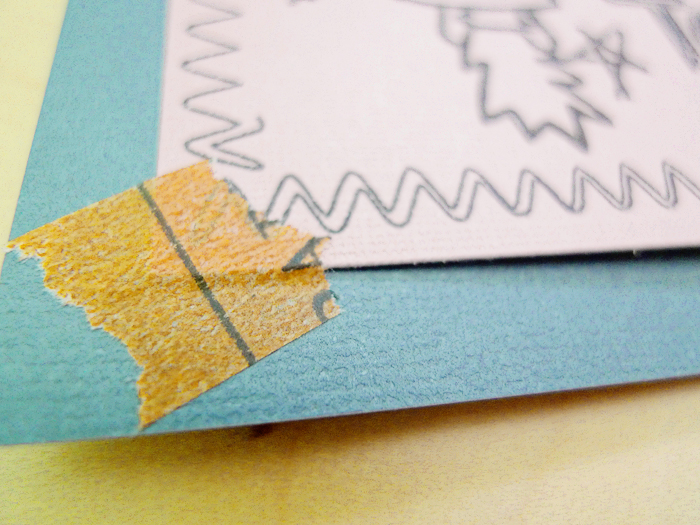
Once everything is cut out, simply move all of your pieces into place and start attaching them to your base! I used washi tape to temporarily hold certain layers in place while I lined everything up. And, of course, my digital layout was a super handy reference point through out the process.
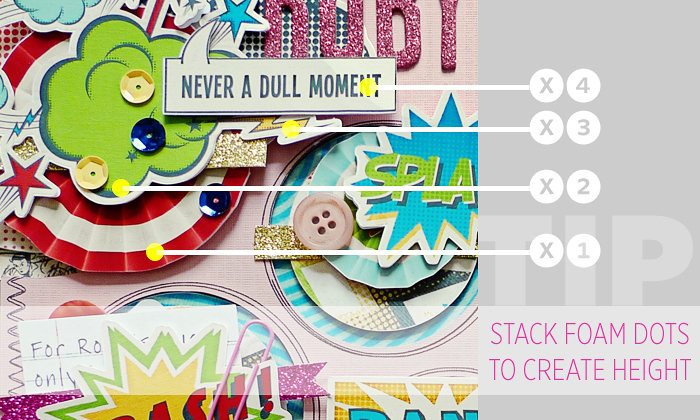
To achieve a layered effect, I used foam dots to adhere my elements For areas with more complicated clustering, you can stack foam dots to create varying depths. In the diagram below, I note how many foam dots I stack in different areas of a cluster to illustrate what I mean:
Tip: To reinforce my thin photo paper, I adhered white card stock to the backside of each element.
Life Without Ctrl+Z
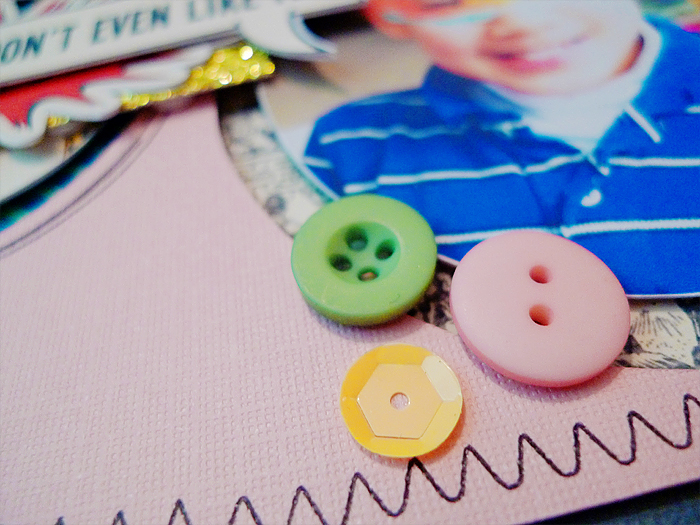
So, even with all this extra technological help, mistakes will still happen–a terrifying thought when you can’t just hit undo. Here you’ll notice I ripped the pattern off of my photo mat. My quick fix? Sequins! I just added a sprinkling of sequins to other parts of my page to tie them into the composition a bit more.
But really, mistakes are soooo much less scary with hybrid projects because you can just reprint! It definitely takes a lot of the pressure off. Oftentimes, when I experienced scrapping block, I think I was just too scared to cut into my pretty paper!
Tips & Tricks for Added Depth
By now, you will have an awesome paper layout sure to amaze your family and friends. But before I wrap up Part 1 of this tutorial, I want to share a couple of extra tips to add dimension to your elements:
1) There are a number of really cool mediums that add dimension to paper. Here I printed out an epoxy element from Traci’s kit and used Inkssentials Glossy Accents in Pearl Shine to add depth.
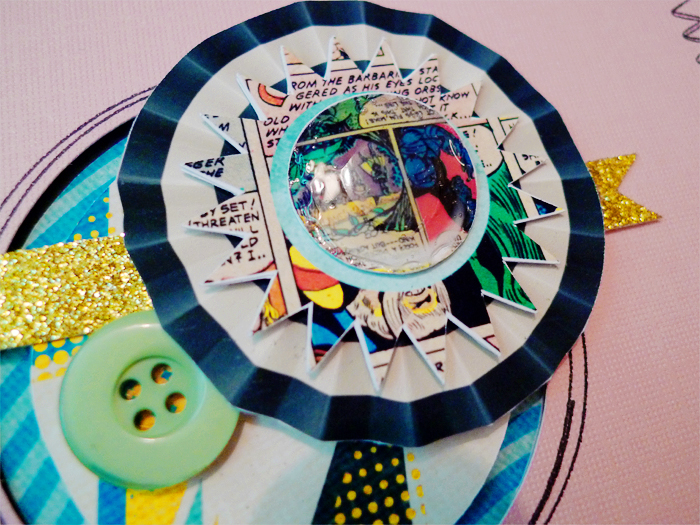
2) If you’d rather just stick to paper, check out all the printable project templates and cutting files in the shop–I especially love all the paper flowes–super fast and easy. I could have also used these rosettes to make all the pinwheels in my layout 3dimensional.
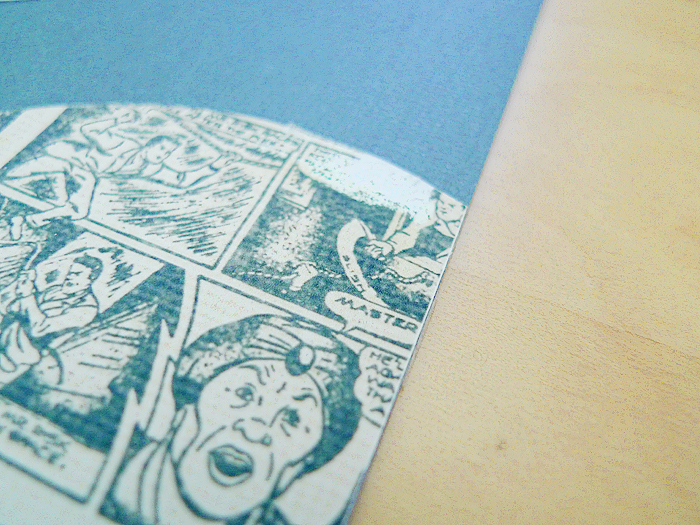
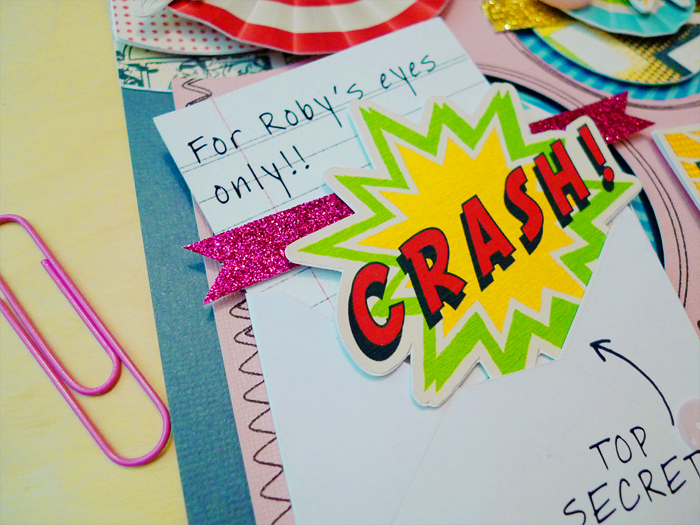
3) And finally, pockets are a great way to add interest to yours layouts. Below is the little paper envelope I made to hide some journaling. All I did was leave extra space on the sides of the envelope when I was cutting out the top layer. Then I just folded the extra paper under to create flaps that I could glue onto the envelope base.
And that hat’s it for Part 1! I hope it inspired some of you to give paper layouts another go if you given up on them like I did! For more details on my Silhouette work flow plus some doodling tips using the Silhouette Sketch Pen, check out Part 2 of my tutorial here.
Thanks for stopping by and taking a look at my hybrid process!


Carrie (carrie1977) said...
on July 25th, 2013 at 5:34 pm
Amazing….really amazing!
Maria Lacuesta said...
on July 25th, 2013 at 5:43 pm
Thanks so much!!