Scrap Like a Sugarbabe: Jacq Delfin
 Jacq’s Claim to Fame:
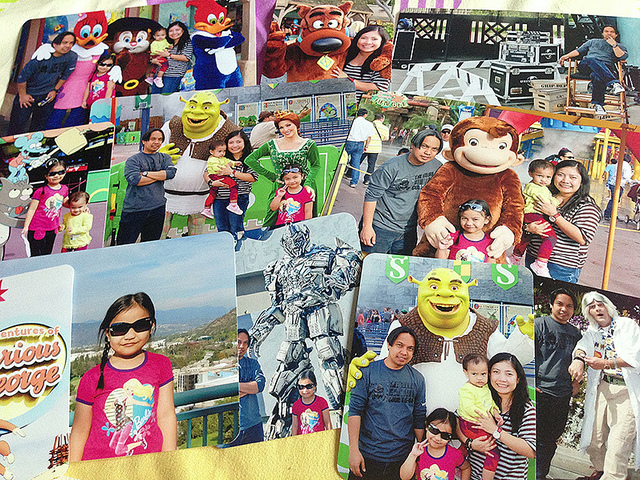
Hi everyone! This is Jacq sharing with you how I scrapbook our vacation photos. This year I jumped in the bandwagon and started Project Life once again (after trying and failing miserably last year) and I’m happy to say that I’m keeping up with it. Sure I’m about three weeks behind but I’ve stuck to it and actually found it to be really fun. Now with this idea in mind I’ve tackled one dilemma that I’m sure a lot of scrapbookers are familiar with…scrapbooking vacation photos! I’ve never finished a single themed album I’ve started in the past, I would start a project and then get overwhelmed with the choices I have to make so I stop doing it altogether. For the past year me and my family were blessed to have traveled to three different countries. It was a great experience for all of us and I want to document everything in something tangible that I can share with my family. I have tons of photos to use, I have a lot of memorabilia that I wanted to include and stories to tell…now what do I have to show for it? Nothing, nada, zero! I challenged myself to do something with our photos, and I came up with the idea of doing a mini album and gave myself few options so I can finish it faster.
I’m going to share my process with you and hopefully this will inspire you in some way.
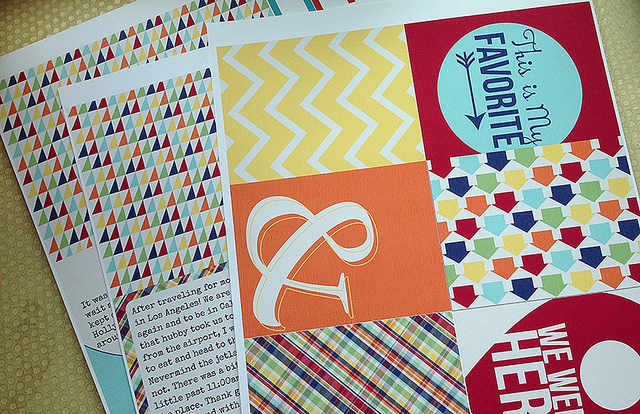
The first thing you should do for this project is to choose the papers you will use and print it. I do all my printing at home using a Canon Pixma MG5270 printer, Canon Matte photo paper (for journal cards) and Canon Glossy Photo Plus II (for photos).

I’m using 365Unscripted: Oh Snap! 3×4 Journalers by Traci Reed and 365Unscripted: Oh Snap! 4×6 Journalers by Traci Reed for this album. It has a ready to print PDF file included so you can go ahead and print that straight away or you can choose the cards/add journaling and arrange them how you like before you print like I did.
After you printed all your cards and photos it’s time to trim each one to size which is either 4×6 or 3×4. Since I’m using an A4 photo paper I don’t want to waste the white space on the sides that the cards are too big to fill so what I do is I fill it up with labels, word snips and circles that I know I can use to embellish my cards.
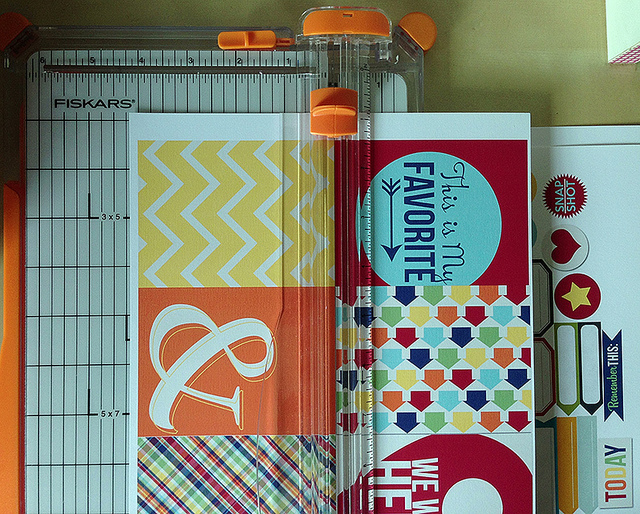
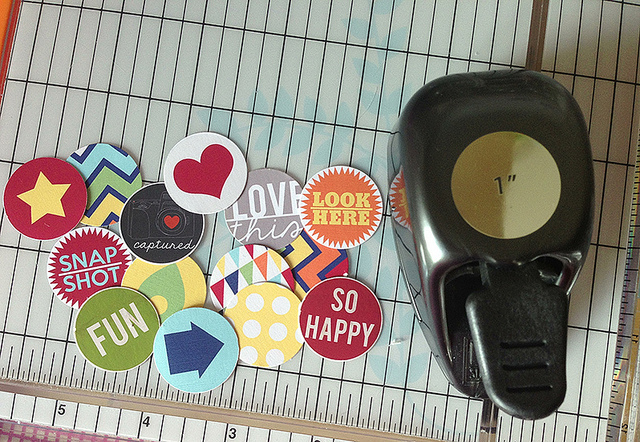
I used my Fiskars paper trimmer for the cards and my 1″ circle punch for the circles. The labels I had to cut by hand, it’s the most tedious part of the whole thing but once that’s over comes the fun part of putting everything together.
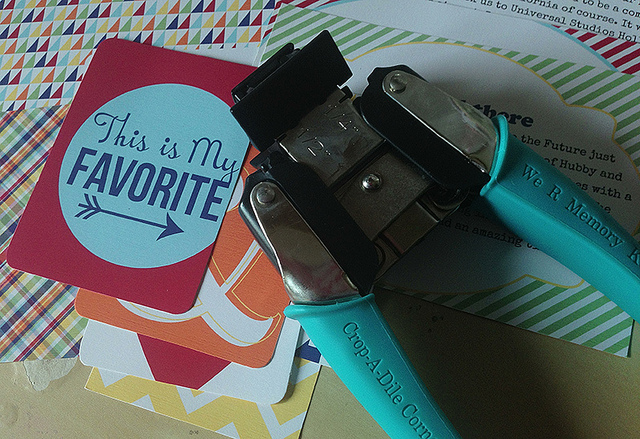
Before you put together the cards and photos in your mini album, you might want to consider rounding up the corners using a corner punch. The choice is up to you of course, I choose to round my corners using a 1/4′ corner punch.
Now that everything is ready you can start putting your album together, starting with the cover page. Now you can do this however you like, it can be as simple as slipping the cards and photos on the pockets and call it done or you can take it a step further and add embellishments. The mini album I used have the pockets sewn together, I can’t add anymore pages if I want to so I wanted to limit my embellishments to keep it flat.
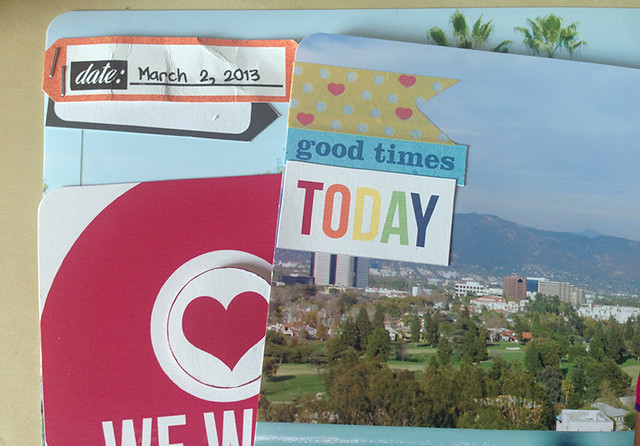
Just have fun with it and make it your own. I used pop dots for the heart circle of the geotag card, stapled labels on photos and used washi tape to add color to my photos and cards. I kept the rest simple. Here are the finished pages of my vacation mini album:
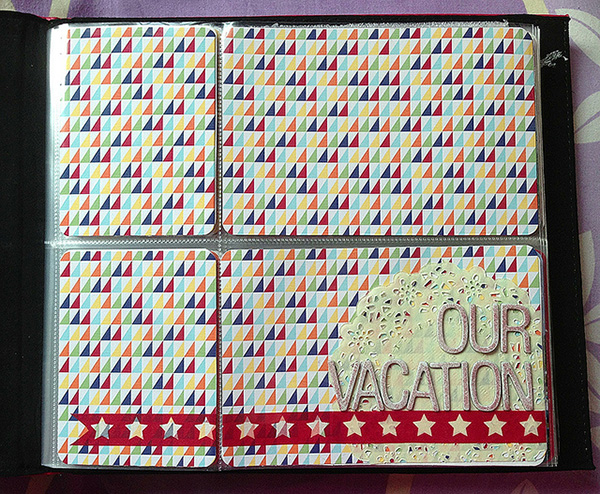
Cover page

Pages 2 and 3
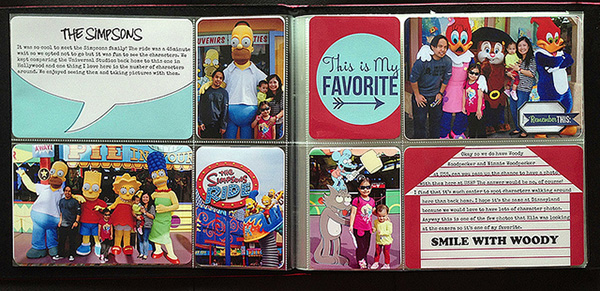
Pages 4 and 5
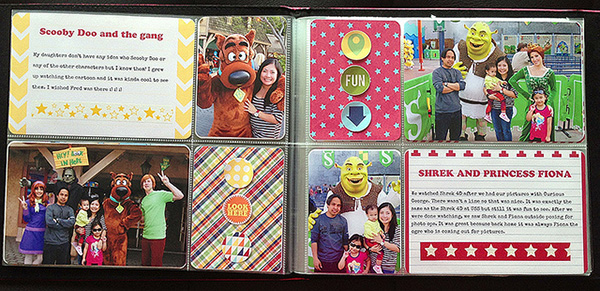
Pages 6 and 7
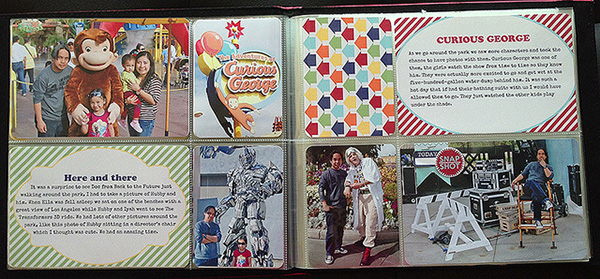
Pages 8 and 9
I’m so happy to be able to put a day of our US vacation in a mini album, that’s progress! I’m really happy with how this turned out and I’ll be doing more pages like this that’s for sure.