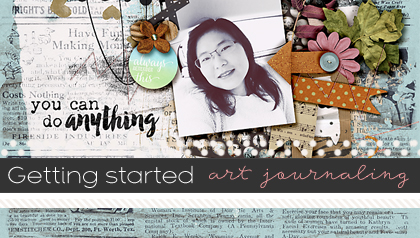
How to Get Started with Digital Art Journaling
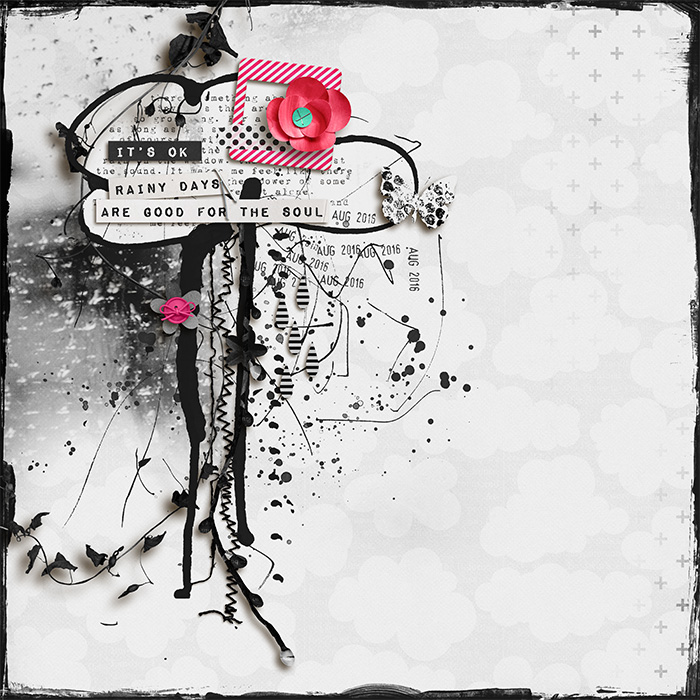
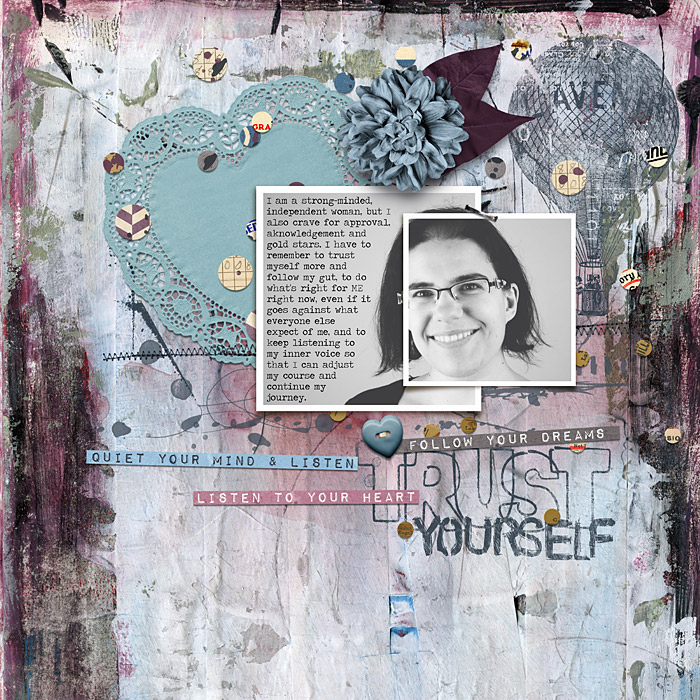
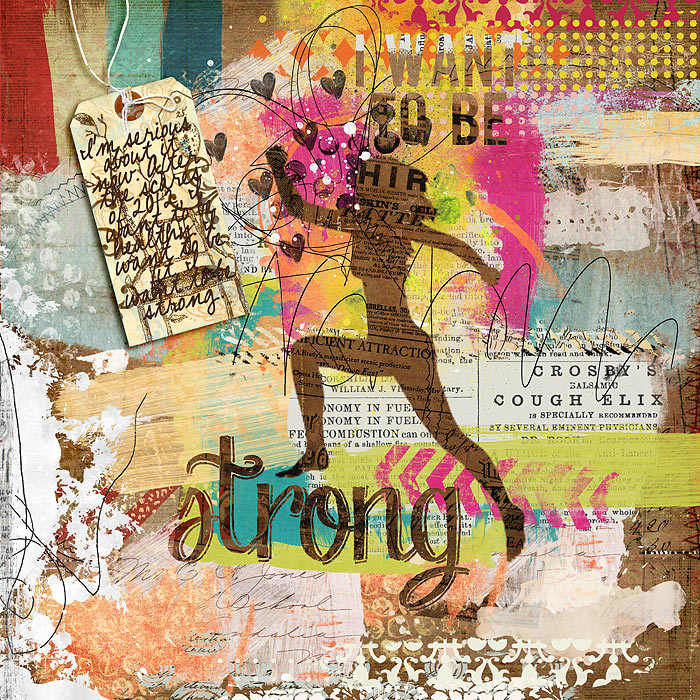
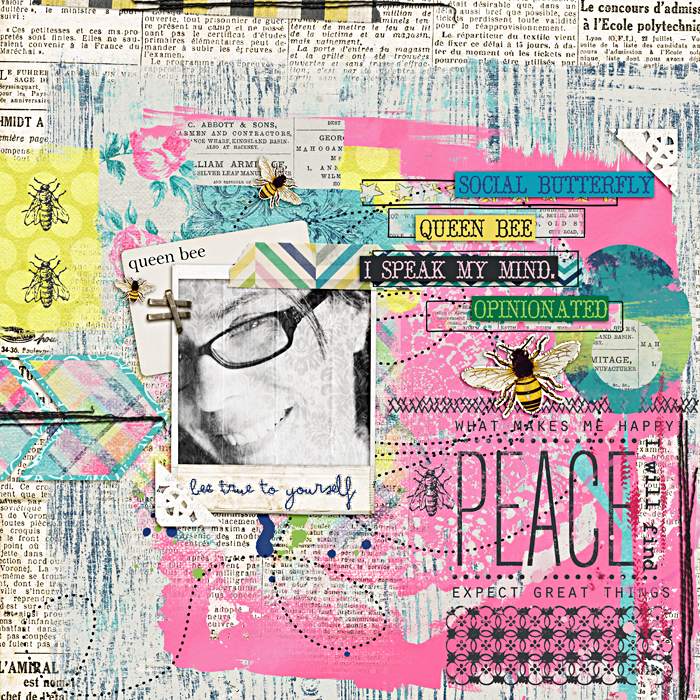
If you’re a Pinterest Lover, I’m sure you’ve seen some beautiful art journaling pages pinned there. They can be so beautiful—yet so intimidating. The thought of splattering at the wrong place or cutting/gluing stuffs and how it might not look the way we envision it in our head… yet, it does not stop me from drooling and admiring the beautiful creations of those awesome (and braver than me) artists! Here are a couple of projects that I found and love from Pinterest recently:


Aren’t they gorgeous?
I’ve heard people say that they tried paper scrapbooking only to fall in love with digital because there were a hundred and one reasons to love it more: less mess, the undo button, the speed, no clutter, etc. It’s just easier! Well, the same can be said for digital art journaling, too. So, I’m here today to break it down for you and help you get started making your own digital art!
What is Art Journaling?
First, let’s talk for a minute about art journaling as a whole. What the heck is it?
Here’s the great thing—it’s whatever YOU want it to be! An art journal is a book that’s just for you. Or it’s a canvas masterpiece that you made with a favorite quote. It’s something you look at that makes you smile. It’s not for your family or your kids. It’s just for you! It’s the most “All About Me” book you can make. Whether you fill your books with quotes or journaling, this book is your journal—your place to pretty it up or have fun making a mess. And it’s the best “scrap therapy” there is!
There are no rules. It is whatever you want to make it.
How Do I Even Get Started?
Just like you did when you first started digi scrapping: you lift someone!
You can use Pinterest to help you find other people’s gorgeous work. And once you know what you like, you’ll know what you need! Here is one Art Journaling Ideas board on Pinterest, that is full of amazing art journaling examples.
Find out what type of art journaling appeals to you. Then you’ll be able to gather the supplies you need to start making your own digital art!
What Kind of Art Do You Want to Make?
Ask yourself what you’d like to do with your art: Do you want to make a 8 x 8 Shutterfly book that’s just for you? Do you want to have your finished work printed on a canvas? Once you have an idea of what you’d like to make, you’ll be able to focus in on your work and get started!
Gathering Your Supplies
So, if we were getting ready to paint, here is where I’d have a list for you of things to gather… paintbrushes, paint, bubble wrap.
But we aren’t messing around with paint! We’re going to do things digitally! So, instead, we should gather some digital gorgeousness to create with!
For the page I am working on, I have decided to use these products, which you can click on the images below to find them in the Shoppe:
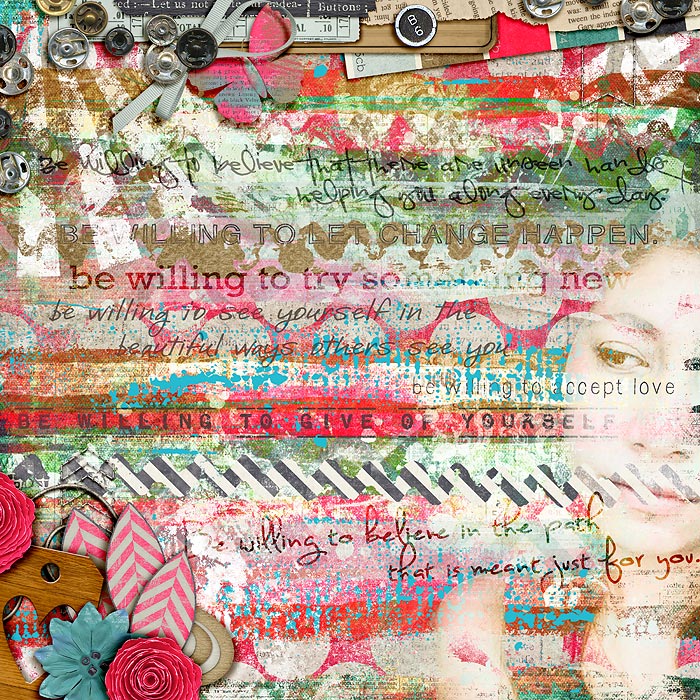
STEP 1:
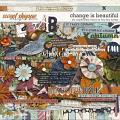
You’ll start, as always, with a piece of background paper. I chose this one from the Change Is Beautiful kit by Captivated Visions & Two Tiny Turtles because most of the distressing is already done for me:

STEP 2:
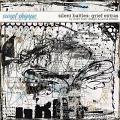
Now add some paint! These layered paint pieces are from the Silent Battles: Grief – Mixed Media by Captivated Visions & Studio Basic Designs:

The best thing about digital paint? You can move it around you page over and over again. LOL! It never has to dry.
STEP 3:
Next I added some paper pieces and stitches, elements from Change Is Beautiful kit on top of the paint to my liking:

STEP 4:
Next I added a photo of me and some more embellishment from the same kit:

STEP 5
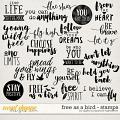
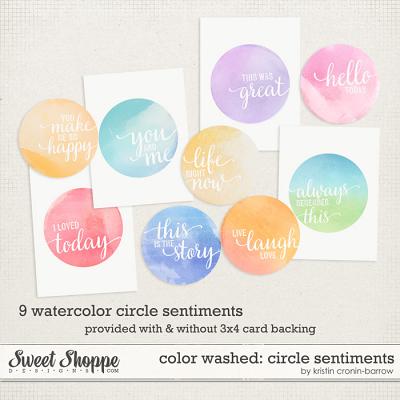
And finally, I added some word art and a sentiment to my page as my title:

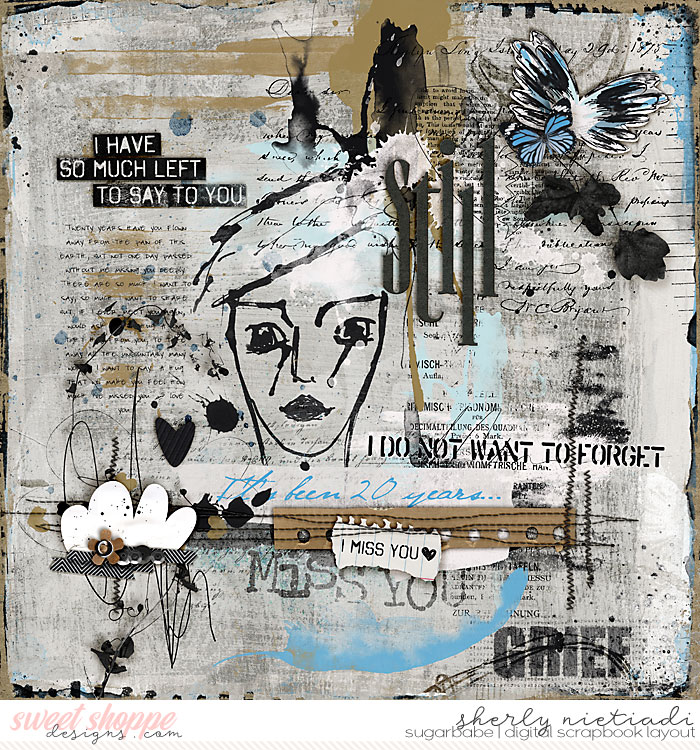
And now for some inspiration from the gallery! The images are all linked so that you can leave some love, too. First, here’s another one from me:
Sherly:
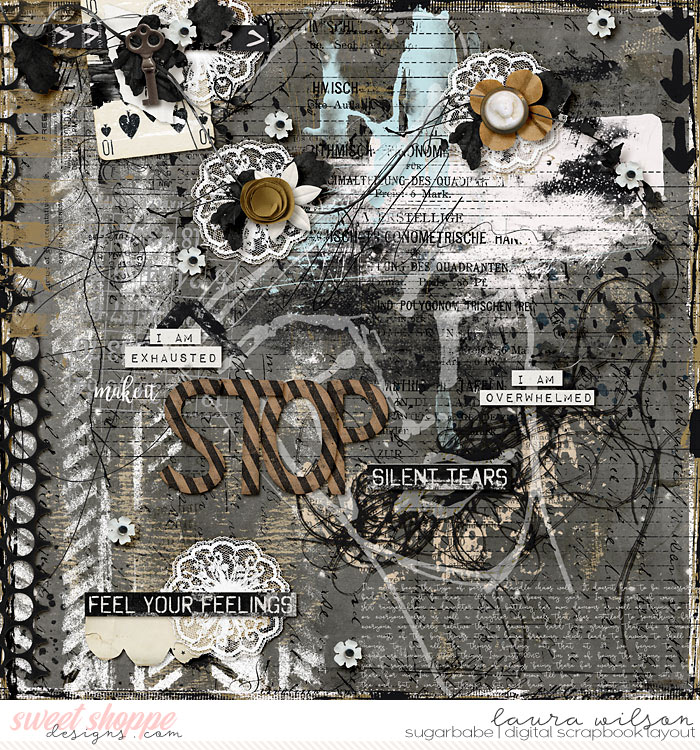
Laura:
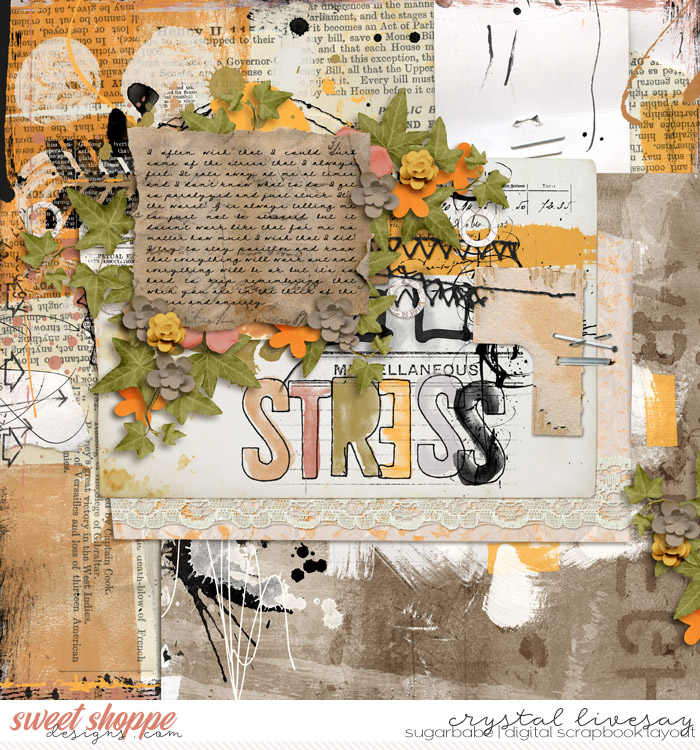
Crystal:
Rachel of Captivated Visions:
Chloe:
AJM:

zanthia122:

Dalis:

As you can see, there are so many ways to make an art journaling page! It all depends on what moves you. The layouts here are a great place to start. Pick one you like and lift it! (And if you do, be sure to come back and leave me a link in the comments section. I would love to see your work!)
I hope you’ve enjoyed learning a little bit more about digital art journaling. I hope you have fun playing with this wonderful creative outlet.
Happy Scrapping!
Monnie Poplar said...
on November 22nd, 2012 at 8:25 am
Such a talented group! It was so fun to participate, it really got me motivated. I just finished another project from Pinterest that I will be posting about soon…I like the idea of being challenged! I am going to try to challenge myself to do 1-2 projects a month. Think of how many new awesome projects you could have done in a year if you did that!
Luquintal said...
on November 25th, 2012 at 1:34 pm
Olá. Sou nova nas coisas digitais. Mas os tutoriais que encontrei aqui me animam a seguir adiante. Devagar, quando posso, venho espiar os LOs que são maravilhosos. Parabéns a todo esse pessoal e que Deus possa abençoa-los por disponibilizar essas gostosuras para nós.
12 Fantastic Digital Art Journaling Resources | Dee Birks said...
on April 29th, 2013 at 7:59 pm
[…] How to Get Started with Digital Art Journaling […]
Debbie said...
on July 21st, 2013 at 8:00 am
OMG! Thanks soooo very much for this! I’ve been wanting to do this but for some reason couldn’t grasp the ‘how’ to! Thanks thanks thanks!
Diane said...
on May 6th, 2016 at 1:47 pm
Sorry if this is a stupid question, but what software are you using? I’m guessing Photoshop?
I’m trying out digital art journaling using apps on my iPad that simulate painting, coloring, markers, etc.
I create a background and then add elements to that background to create my art.
Jennifer Berger said...
on April 28th, 2021 at 3:25 am
How can you do th e layered textured effect like that online being as it is so 2d? its not like you can allow the paint to dry and then add more layers and use foam square tapes to elevate an embellishment. Suggestions? Thanks. They are gorgeous though!