Scrap Like a Sugarbabe: Brook Magee
About Brook:
I’m a Florida girl… I love the beach on Sunday afternoons, drinking coffee, going to the movie theater, and eating sushi. I’m blessed to be able to stay home with my kids and homeschool them. My son Benjamin is 6 and my daughter Grace is 3. I’ve been married to my handsome husband, Aaron, for 10 years (as of next weekend)! I have a bachelor’s in Fine Art, so before becoming a mom, I worked in the Arts. Some of my work involved conceptualizing & building stage sets, fine art painting, murals, illustration, and graphic design. I love painting, drawing, and being crafty. I need to be artistic… it’s absolutely in my blood. My recent adventures in art involved sewing original stuffed animals and dolls with my creative Mom for our Etsy shop (which I recently closed to allow myself more time for schooling & scrapping). Digital scrapbooking is my creative outlet of choice now! I love how satisfying it is to complete a project that not only allows me to create something beautiful but also gives my family a treasured heirloom. I also love that it doesn’t involve any clean-up!
My Claim To Fame:
I guess my claim to fame is filling a page… more often than not you’ll notice I like using lots of embellishments and patterned papers on my layouts. I love trying to design a layout that uses almost every single paper in a kit. I especially love “cutting” them into shapes and patterns! Before I became a digital scrapbooker I was a major patterned paper hoarder! I had a big nice stash of pretty papers but hardly used them. I had SUCH a hard time cutting them because it was so… permanent. Well, now I can cut away and try things out without losing or wasting a single paper. I just love that! I think the freedom of digital scrapbooking has allowed my creativity to soar. I love adding on buckets of embellishments, re-arranging stuff a million times, swapping things out at the last minute, and trying new designs for my pages. I love trying new things on my pages, taking risks, and I aim to do something new & unexpected whenever possible.
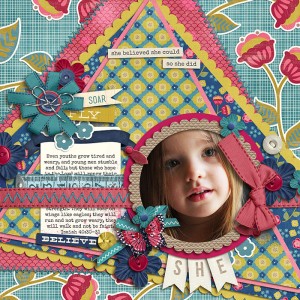
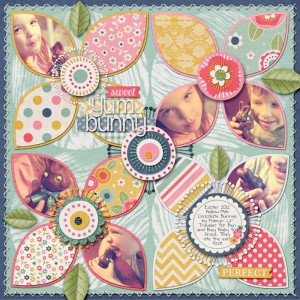
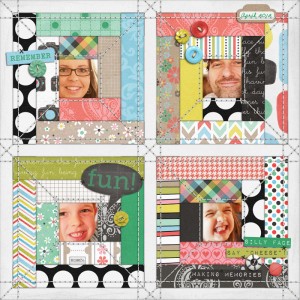
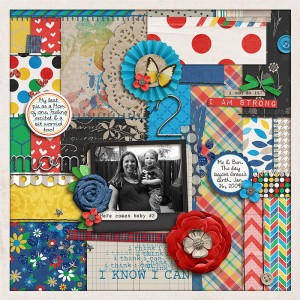
When I’m scrapping, I always start with some photos in mind… but then I like to go straight to the papers. So many times I find myself seeking out a fun pattern to inspire my layout instead of just doing the usual square and circle shaped papers. Quilts are such a fun starting point since they use lots of shapes… shapes that can be filled with yummy patterned papers. I also like looking at graphic illustrations for iconic shapes that I can use in my pages. Another great inspiration is the theme of the kit. Sometimes I will create a paper-pieced shape (i.e. owl, tree, bird) that connects visually to the kit.
Brook’s Favorite Paper-Loving Pages:
Using A Quilt Pattern As Inspiration:
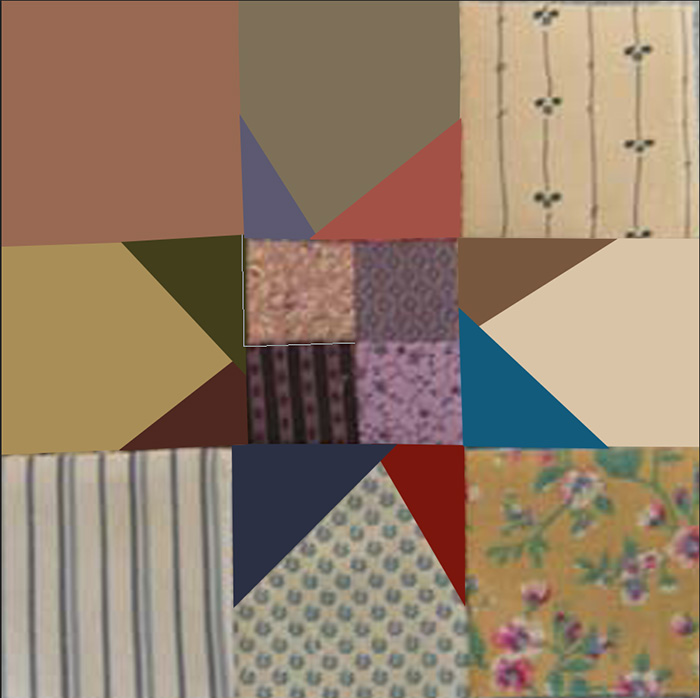
I’d love to show you how I make one of my layouts like the ones above. I just downloaded a great kit from Kristin called “Pumpkins and Spice” that I’m itching to use. I’ve also found a great quilt block pattern with a wonky star-like pattern on Pinterest that I think would be fun as the basis for a scrapbook page, so let’s get started!
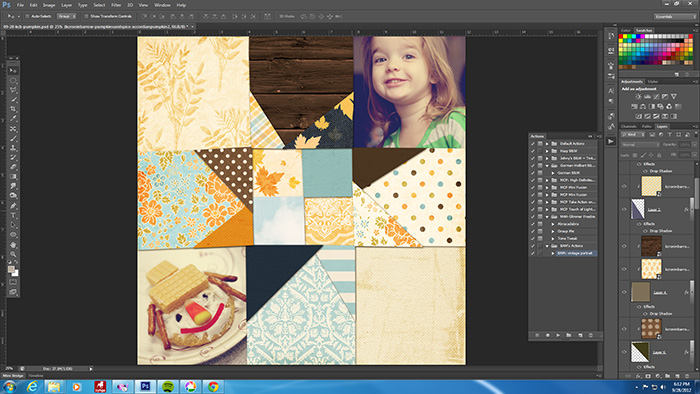
I grabbed the photo of the block, dropped it into a new layout, and re-sized it to fit the 12×12 page… it’s a bit blurry now because I scaled it up a lot, but that’s OK because I’m only using it for reference… to “trace” the shapes for a template of sorts. For these simple shapes without curves I like to use the Polygonal Lasso Tool. I select the points around each shape until I’ve surrounded each one completely, then I fill the shapes (on separate layers) in different colors. I work around from shape to shape trying to make sure I don’t leave any small gaps between them. This is a bit time consuming and very repetitive, but I love it… it’s calming. I just grab myself a mug of coffee, put on some tunes on Spotify, and work away until the whole page is traced.
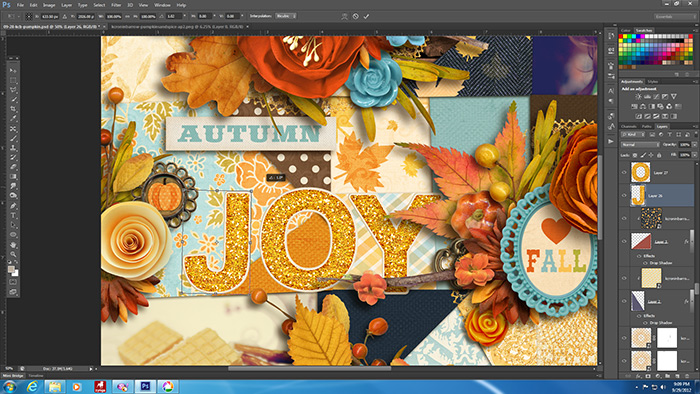
Once I get all of my shapes cut out, the fun part begins! Clipping papers! After a few tries, I think I have all the papers where I want them. I decide to use the square on the bottom right for journaling and the squares in the upper right and the bottom left to clip my photos. Now I pull my photos into Photoshop and sharpen before running one of my vintage photo actions on them. Then I plop them into their spots. My usual process is to assess the balance of the page about now. When my papers and photos are in the layout, I can see which areas of the page carry more weight. I want to balance the page with my elements… in other words, I don’t want my elements to be placed in a way that makes the page look too empty anywhere or too cluttered either. My goal is to make sure nothing distracts from the photos too much. I have a main photo on this page, my daughter, and that’s the one I’m focusing on here. The secondary photo of the cookie can get lost a little and that’s OK. This page took me a little while to figure out… I like the cool star pattern with the papers in the center and want to preserve it with a more simple page, but because my photos are in the corners I feel like I need to have something more going on in the inner portions of my page.
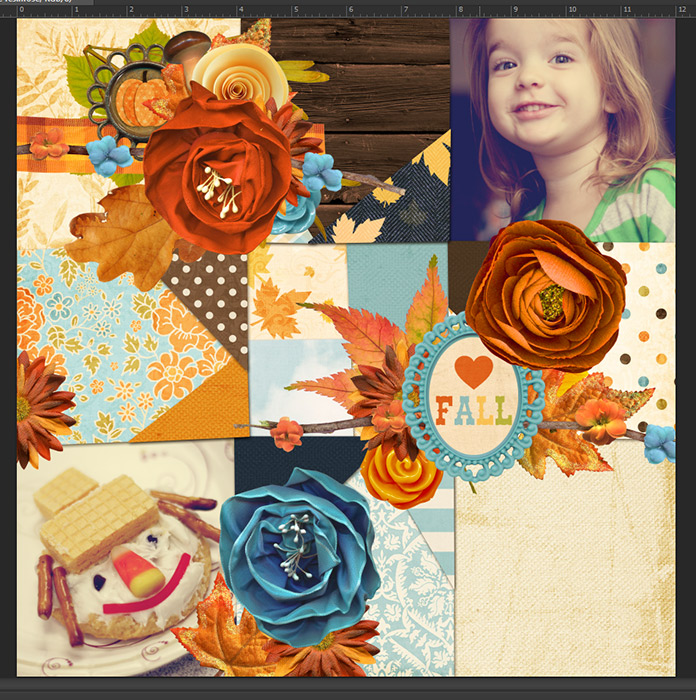
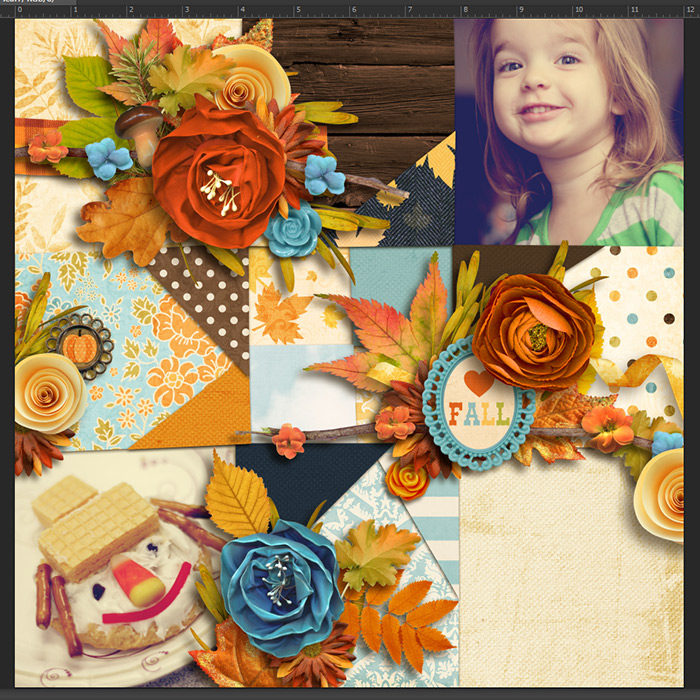
I start placing my elements pretty quickly. After glancing through the elements folder I see Kristin has included GOBS of gorgeous autumn greenery and flowers in this kit! Yay! I know I want to use as much of it as I can, so I decide to do some pretty heavy clustering. I grab the 3 flowers I decide will be anchor points and position them where the page seems empty… I like to sort of drop them without thinking about it too much. So, I cross my eyes and try not to THINK about it too much: drop drop drop goes the flowers, some leaves, and the embellies I want to make sure have a place on the page. And then I stare at it a minute… hmmm…. the 3 clusters seem too contrived and stiff to me, so I add a 4th “random” cluster spot over to the left above the cookie… but I want this one to be a smaller one. I don’t really bother shadowing at this point because nothing is permanent yet and I don’t want to waste my time. I already spent enough time with my quilt-y paper background!
Now I start the tweaking process. I re-size a few things, add masks to hide stems on a few leaves, add a few things, and start shadowing. Even though it’s not finished and I still might delete stuff or swap things out, I like to shadow most of my elements at this time. It helps me to visualize what the completed page will look like. I select all of the elements that are similar and apply my shadow styles to them… the shadowing process is so much faster for me now that I’ve saved my settings in the styles palette! Anyways, I look at the elements here and it’s not quite right yet… I still have a lot of work to do. I think I need more leaves here or there, but not too much more orange I’m thinking of adding in a little more green. I also think the cute mushroom is too hidden right now and everything seems too large scale or something…
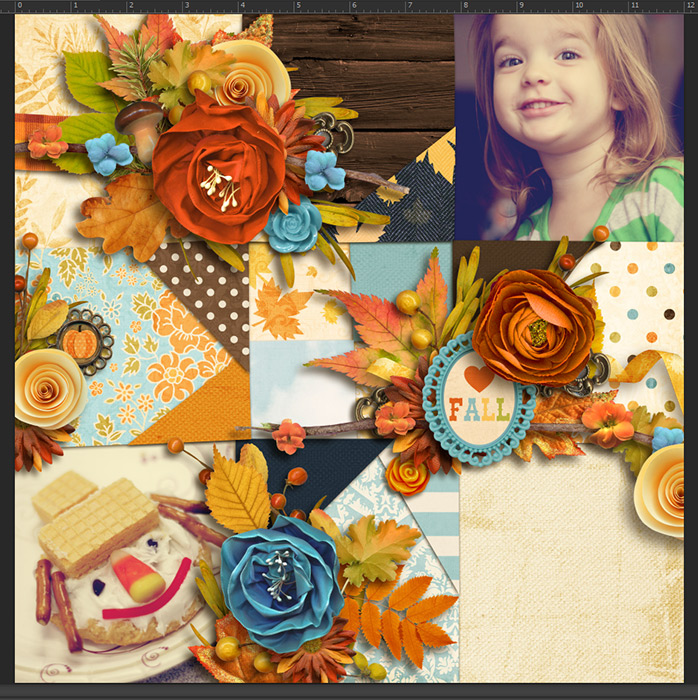
Aha! That’s it! I scaled everything down and it’s sooo much better… stuff can breathe! I also add more greenery, move the mushroom, move the pumpkin, and adjust a few shadows. Then I refresh my beverage and scrap on…
I add more details. The berries are nice for adding whimsy and leading the eye around the page. They stretch out of the clusters and make them less “clustery” to me. I like doing this on my layouts a lot. Some other embellishments that act like my berries on this page: looped strings, a flourish of some kind, doodles, greenery with finer stems or leaves, a bead scatter, or even some paint-y splatters behind the clusters… it has the same effect. Hm… my page is looking good but I also feel like there’s so much organic stuff going on… predictable! It needs a touch of unexpected. I considered adding buttons but I always use buttons so I pick the metal bookplates. I like how they look peeking out. Now it’s time for some word strips. I love me some word strips!!!
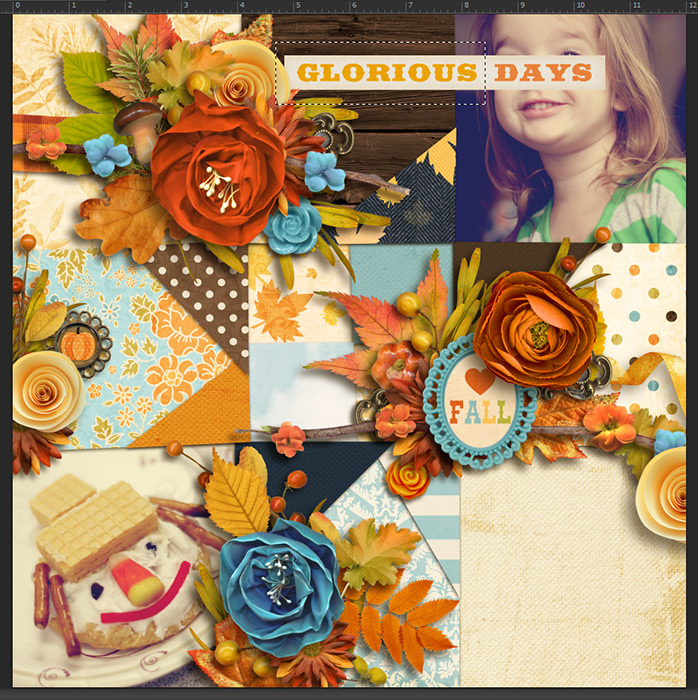
I’m thinking the word strip would be nice in that dark square up there with the brown woodgrain paper. It would break it up a bit and act as a directional line to my daughter’s face… buuuut, it’s too long! Eeep. Not good. So, I cut it! First I rasterize it so I can edit it, then I select half of it and cut it. I paste the half I clipped into a new layer.
I like things to be a little haphazard on my pages. I think it adds a little realism. So, I take one half of the word strip and rotate it a little. I plan to select them both and pull them over, tucking their ends into that cluster of flowers to their left. As I’m looking for another word strip to add to my page, I notice the awesome glittery alpha! I wasn’t really planning on adding a title… I don’t love title work. It’s kind of a chore for me sometimes… but I’ve got that empty-ish space above the cookie that needs something and nothing else is really working, so I decide on a title. I’m clipping another long word art in half to use the word “autumn” as part of my title.
When I add my alphas, I tweak around half of them by rotating them a smidge either left or right. I also tap them up or down a pixel or too so they’re not lined up all straight and perfect. I think this looks more realistic.
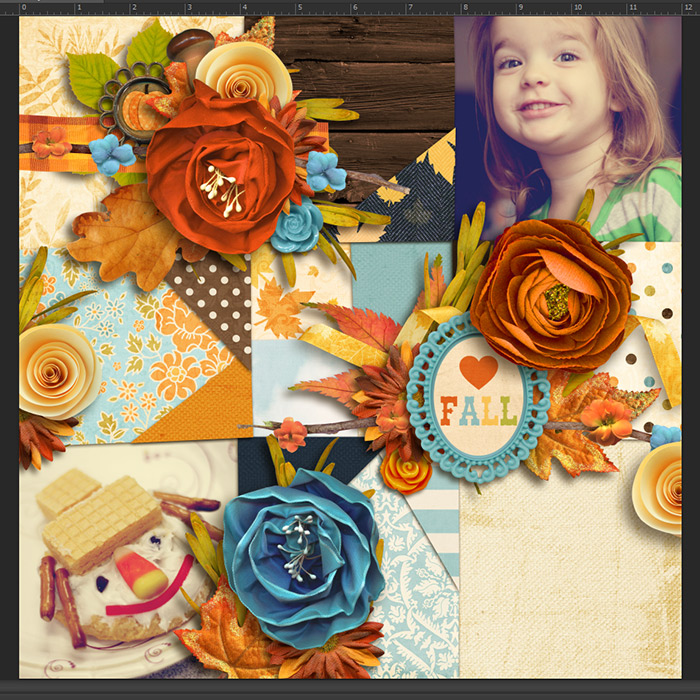
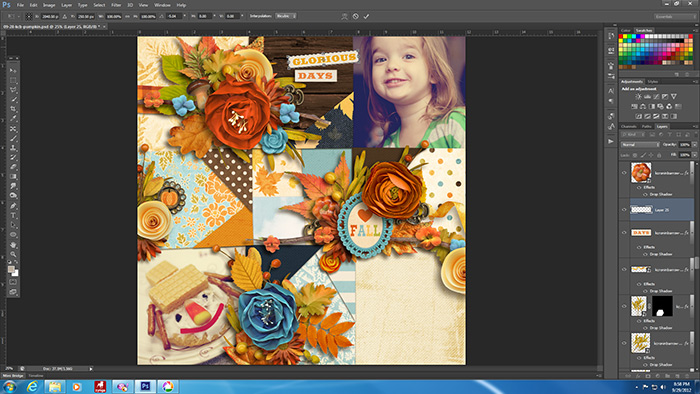
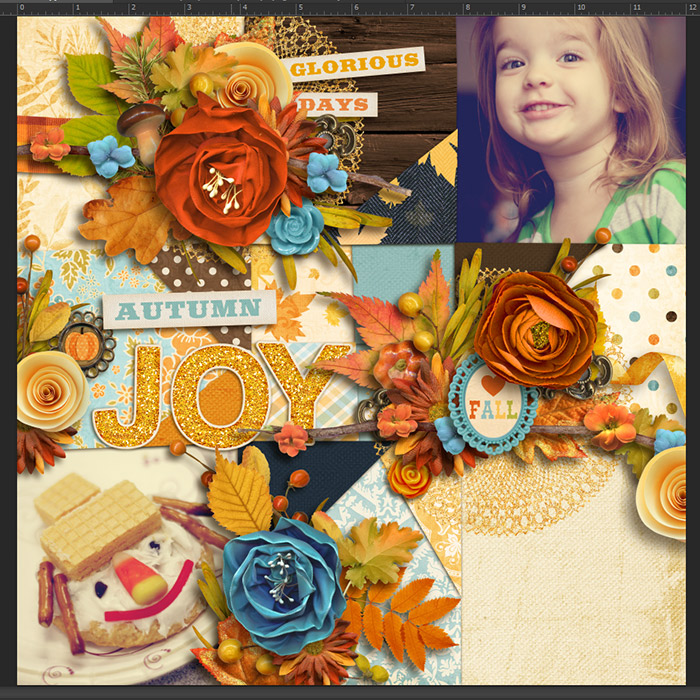
My page is nearly finished!!! I swapped around a few of the papers, shadowed my title, and did some doily stamping. At the seams spots where the pieces of paper meet up under the stamping, I erase the stamp so it looks like it’s real gaps from different surface levels. I’m ready to journal now… BUT WAIT!
Notice anything here that wasn’t shadowed in the previous screenshot??? Dude… I swear this happens to me every time! One pesky thing lacking a shadow. And I usually don’t notice it until I upload the page into a gallery. LOL! (It’s the mushroom, fyi)
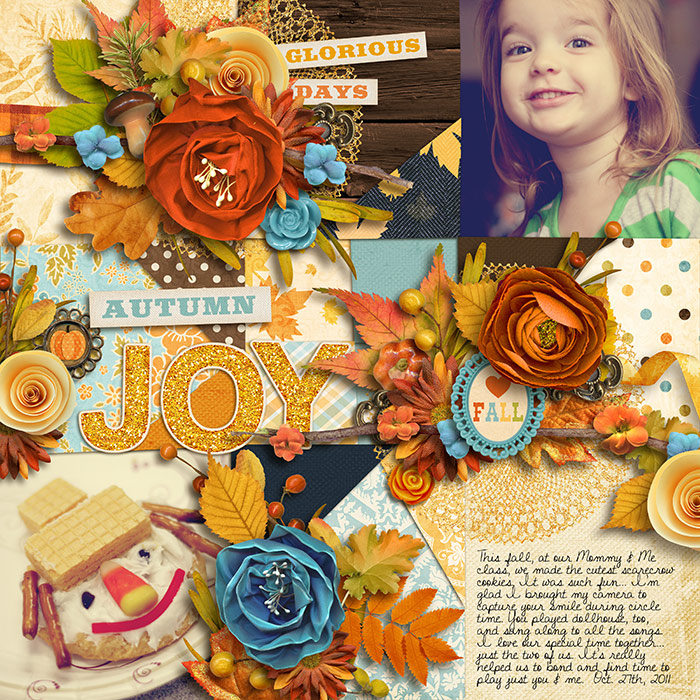
I type up some journaling (gotta have it) in one of Darcy’s fonts, “The Misses”… and I think that’s it for this one. The page is complete! 
Thanks so much for reading along with me through my scrapping process! I hope it’s been helpful to you!
All the Best,
Brook


mrshobbes said...
on October 4th, 2012 at 3:25 pm
Holy freakin’ Moses, Brook, this is AMAZING! I never thought of tracing out a quilt or other pattern and I’ve always been in awe of how you cut your pattern papers! I totally wanna play with some papers now! 😀
Deanna said...
on November 7th, 2012 at 10:41 pm
Love this, especially the quilt idea. I am curious, being new to digital scrapbooking, (I too was a paper hoarder) what software you are using? I am thinking it looks like Photoshop, but there are so many versions! Is it Ps Elements, or Creative Suite- whatever number they are on now. My daughter has CS5 that she got for stupid cheap thru her school and I know it would work, but for us regular folk it costs a jillion dollars. I am wondering it PS Elements would get me by, but no one I know seems to be able to tell me if will do everything I want it to do. Right now I am using “My Memories” which is great for an inexpensive program, but you can’t do much with custom shapes with papers, and I don’t think it works with templates either so far as I can tell. Would love some advice! Your pages are all fantastic! Thanks, Deanna