
Sheri is just downright amazing. The things she does with lighting and blending blow my mind every time! Sheri is a prime example of everything you can do on a digital page that can make it so much different (better) than a paper page. Let’s take a look inside her handy little toolbox and see what we can find!
About Sheri:
I’ll start by telling you a little about myself. I’ve been married for over 10 years and have two wonderful boys. Michael (8) and Thomas (6) are the inspiration for most of my pages. I have a full time career which I really enjoy, so I mostly scrap in the evenings and on weekends. I’ve only been scrapbooking since 2008, but I’ve been working with digital art since 2006. I’ve never ventured into paper scrapping or hybrid projects, but I aspire to some day! Like many of you, I love being able to express myself creativity while creating keepsakes for my family to enjoy.
My Claim to Fame:
Aside from lots and lots of layering and circles, I like to integrate components like extractions, blends, text paths, brush work and other unique features that add a little pizzaz to the page. In this example, I will take you through my typical scrapping process. I’ve always been of the mindset that there is no right or wrong way to approach the development of a page, but I tend to follow a similar pattern. I am primarily a kit scrapper, however, I will occasionally pull elements from packs or kits. I also frequently recolor items (including apparel in my photos) to match a kit or vice versa.
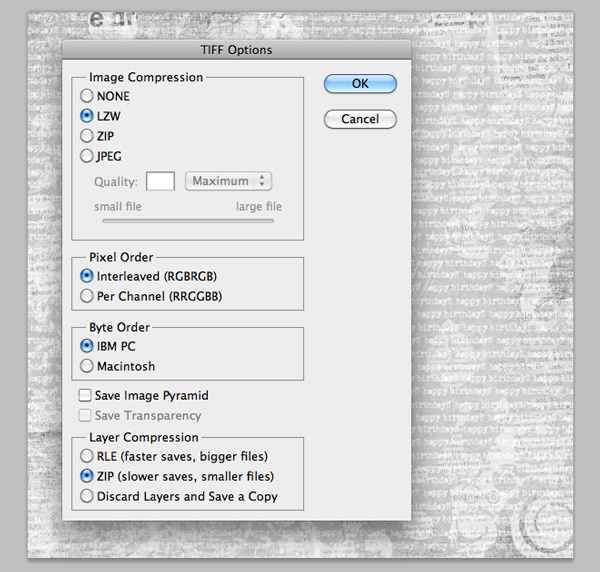
Step 1: Review papers included with the kit and select a background paper. Open the paper and re-save as a TIFF to conserve space with the following naming convention: YearMonthDay_KitName.TIFF (i.e. 20120908_AndManyMore.TIFF)
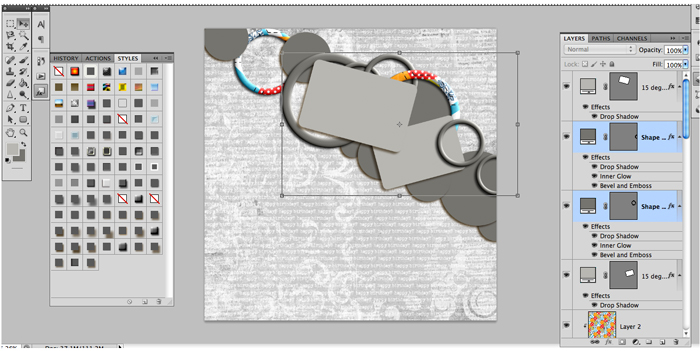
Step 2: Use the custom shape tool to design the page. I also tend to shadow as I go. In this case, a default custom style was applied when I enabled my custom shape tool.
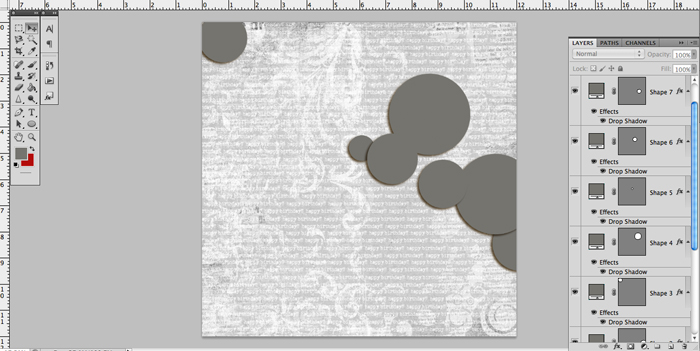
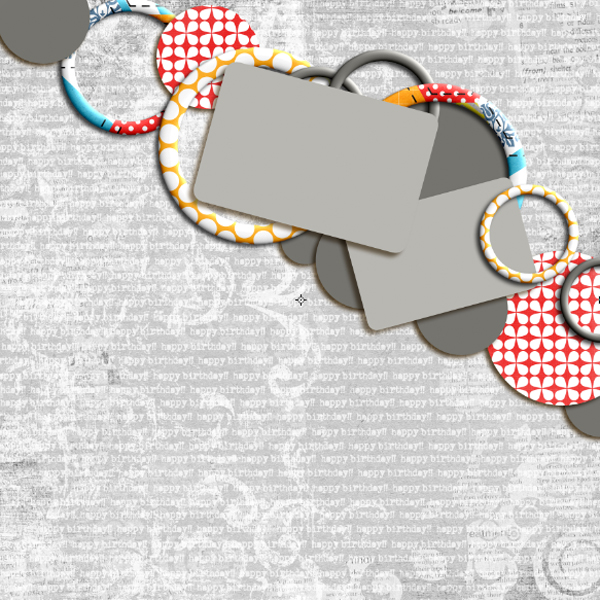
Step 3: Continue to develop the page design.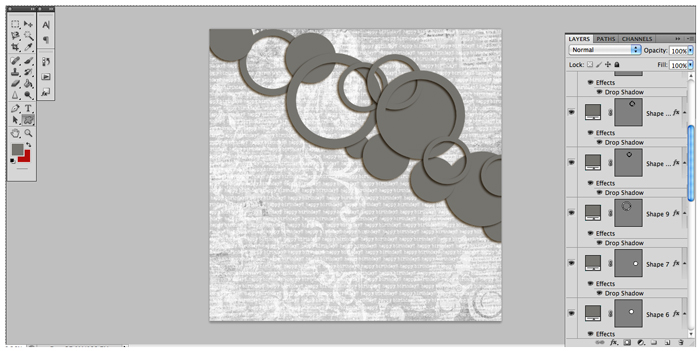
Step 4:Determine where you want your photos placed.
Step 5: Clip papers to custom shape tools. Shadow or apply other custom styles to your shapes as you go. In this case, I’ve developed a style that mimics an acrylic.
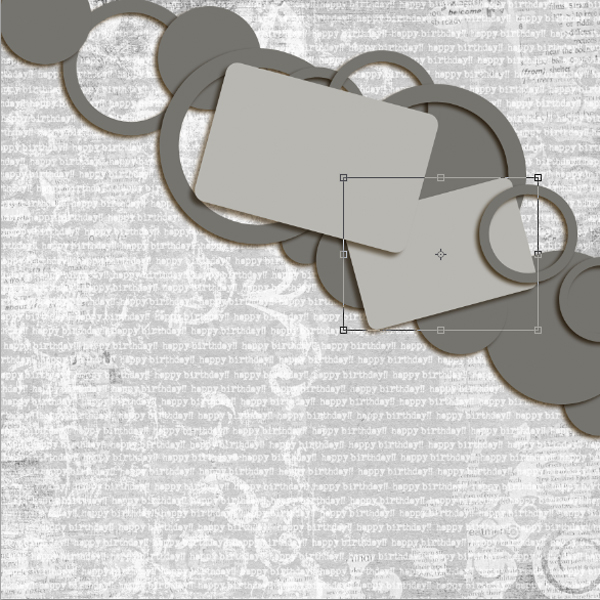
Step 6: Continue to clip papers to custom shapes. I experiment with the size of the papers as I go.
Step 7: As you can see, I occasionally change my mind on papers and placement, so it truly evolves as I go. I like to add a little boost to the background, so I’ve used the curves tool to achieve this lighting affect. Check out my tutorial on this
HERE.
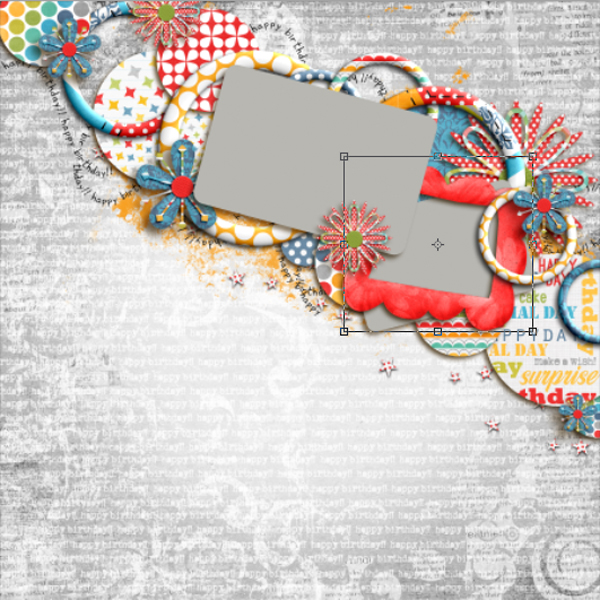
Step 8: Now it’s time to start decorating! I love text paths and brush work. This particular word art came with the kit.
Step 9: Being as I love to layer, I will add an element to my page and then duplicate it several times, frequently changing the orientation and size of the element to create more of a realistic look. Shadows of elements/papers get progressively smaller, the closer they are to the bottom of the canvas. For more information on this technique, you can look at my shadow tutorials
HERE.
Step 10: In all honestly, journaling is commonly an afterthought for me. I sincerely wish it wasn’t, but it is. I often use quotes or poems. To keep things interesting, I like to make custom text paths. You can see my tutorial on this
HERE. In this case, I enabled a grid and built my text shape using the polygonal lasso tool before converting it to a path. Of course, I couldn’t resist using my favorite font,
DJB I Love Me Some Sheri! I’ve used my color picker to match the color of the font to the paper on my page.
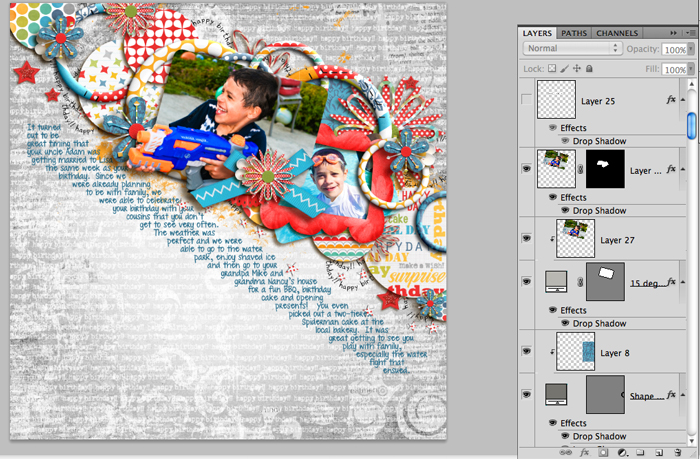
Step 11: And last but not least, I’ve added my photos. I thought it would be fun to do a partial extraction, where my son Thomas’ gun is coming out of the photo. As you can see on my layer palette, I duplicated the photo and used a layer mask to hide all but the gun.
HERE is a tutorial on extraction. I applied a drop shadow to that layer, making sure I adjusted the blending options to have the layer mask hide the effects.
And here is the finished product using
And Many More by Studio Basic and Meghan Mullens after I run my custom action to resize and use the high pass filter to sharpen! You can find a tutorial on how I save for the web
HERE.
Thanks for taking some time to spend scrapping with me!
xoxo
Sheri (SeattleSheri)







Cheryl said...
on September 23rd, 2012 at 6:23 am
Simply amazing, thanks so much for sharing.
Cherry said...
on December 10th, 2012 at 1:44 am
waoh, amazing!!!
Tracy Brewer said...
on June 17th, 2013 at 11:31 am
WOW this is a fantastic layout and will be going through your other tutorials to see how you do the steps stated in this one. But I love your use of so many nice bright colors in your layout above. And the gun was a great addition to this as well. Maybe with some practice actually a lot of practice will become as good as you are. Keep them coming and thanks for sharing with us out here. Take Care. . .