T-shirt and Tie Card Tutorial
Hi, my sweet friends, it’s Rebecca and I’m here today with my most popular – and most requested “how can I make that” project of all time! 😉
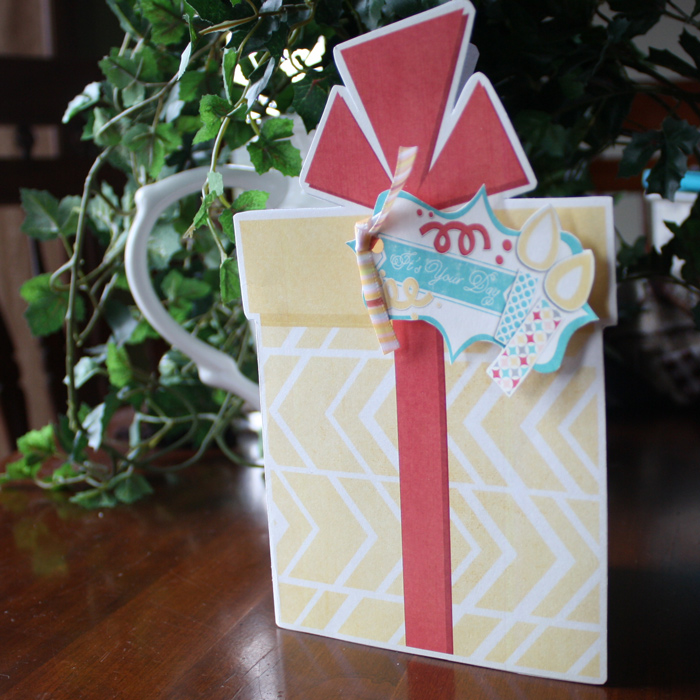
Last year, my 3 year old son was crazy about wear ties, so I thought it would be fun for this fourth birthday to have a tie themed party, and I made these super cute invites:

Now, they don’t just have to be invites… think how cool this would be for a birthday card for the favorite male in your life… or for father’s day… you could even make it more “formal” and it could be a nice invite for a class school fundraiser. Even though it looks like a lot of steps – they go together very quickly!
Supplies
- Digital products of your choice (used Thankful Heart by Shawna Clingerman and Jenn Barrette)
- Scissors
- Adhesive
Step by Step Directions
1. Print out two papers on 8.5×11 paper. Note – I would advice using a thinner paper weight because of the folding. I used plain copy paper.
2. Gather all the rest of the supplies.

3. Place the printed side down.

4. Fold in half, the long way.

5. Open back up, print side still down.

6. Take one of the outside edges, parallel to the center crease, fold to the crease and flatten the crease.

7. Repeat with the other side, and crease.

8. On one end, fold back from the folded corner to the center crease. There isn’t an exact measurement as to how long the crease is, just want feels right to you.

9. Repeat on the other side, making sure that the crease in the center meet.

10. Turn the project over, printed side up.

11. On the opposite end, fold up a half inch or so… again, not an exact measurement, it will just create a smooth edge for it to be tucked under the shirt’s collar.

12. Turn the project over (the fold you just created in step 11 is now facing the table), and then fold the corner to the center fold… this is creating the collar.

13. Repeat on the other side.

14. Fold the bottom of the project up and under the collar.

15. Crease the bottom of the shirt.

And there it is, the shirt… pretty cool, huh?

And if you were curious, this is what it looks like on the back.

Next we will move to the tie…
16. Measure out a 4x4in square.

17. Fold on the diangle.

18. Open up the square, and fold one outer edge to the center crease.

19. Repeat with the other side, creating a diamond shape.

20. Turn the diamond over, so the two folds are facing the table.

21. Fold the tip down… not exact measure – about 1/2 inch.

22. Fold the tip back up to the top of the diamond.

23. Fold again, creating a little gap, kind of like a zig zag effect.

This is what it will look like once folded down… it’s a little tricky… but this the knot of the tie. 

24. Fold over, and fold the outer side to the center crease.

26. Repeat with the other side… you might have to fold in the knot of the tie a bit.

And there you have the tie… look at cute it is with the shirt!

27. Dab a little glue to hold the tie in place on the shirt, being careful not to clue the collar down.

Now you have options as to where to put the card sentiment.
You could design (it will be about 4×4 in square) card in your photo design software and attach to the back of the shirt.

Or, you could unfold the top part of the shirt and attach the card or photo inside of the shirt.

Here is the final shirt and tie.

I sure hope you enjoyed this tutorial! If you use this tutorial, I would LOVE to see your card… please link us up!
{{hugs}}
Rebecca aka MamaBee
Kan Violen said...
on December 6th, 2012 at 9:42 am
Awesome TUT. But, is there a TUT for girl’s birthday (a dress) ?
Thank you.
Debbie Nguyen said...
on October 1st, 2013 at 10:58 pm
Hi there, how did you make the price tag? More specifically, did you have a tool that allowed you to attach the shirt and price tag together with that plastic string?
harvey chester said...
on April 14th, 2015 at 4:18 am
really quick and very easy thank you for this .