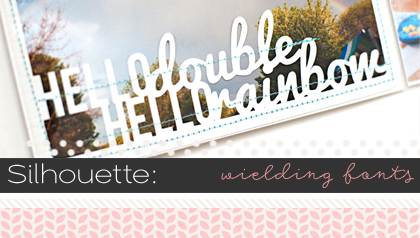
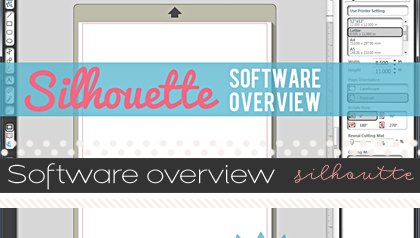
Welding Fonts With Silhouette Software
Hello scrappers, Heather here to share a quick tutorial on welding fonts in the Silhouette Software so you can cut those pretty script fonts in one piece instead of several individual letters that you have to fit back together like a puzzle. You can see our list of favorite fonts for cutting, HERE. When I put together that list of script fonts I tried to put together ones that really were the best fonts for welding because they are super easy and don’t require too much adjusting…
Step by Step:
1) Select the Font menu either at the top right toolbar or the left hand side toolbar.
2) Type the words that you want to weld together in the font you want.
3) Select the word you want to weld.
4) Select the “Modify Window” in the upper right toolbar, it’s the icon that looks like a gray rectangle with the blue M circled. Your typed word will look like overlapping letters, but you don’t want the cuts that go into the other letters, which is why you want to weld them together into one word.
5. Click on “Weld”, it’s the top icon in the modify window it looks like a gray rectangle and gray circle merged together. After you’ve clicked on “weld” you will either see one box which means the whole word has been welded together into one word and you don’t need to make any further steps… if you see move 2 or more light gray boxes in your selected word it means that there are pieces that aren’t connected and you either need to make adjustments to have them touching so that you can further “weld” your word. If it’s something you don’t want merged, but you want to make sure it still is a part of the word and only have one light gray box, you will need to do one more step…
5a. with all the pieces of the word selected, click on “make” and it will made it into one object that you can move around your page together without the dot being left behind.
Voila, you have your welded script font and it will cut in one piece for you!!! To cut, click on your cut menu and select the media you’re using, make the adjustments needed to your blade, insert your paper on the cutting mat and click “cut” and watch your Silhouette do it’s magic.
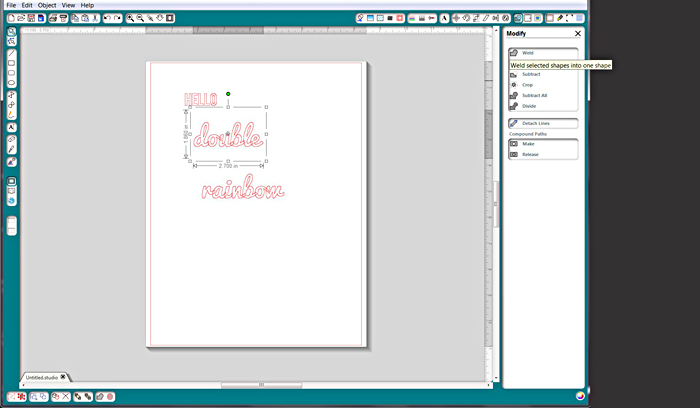
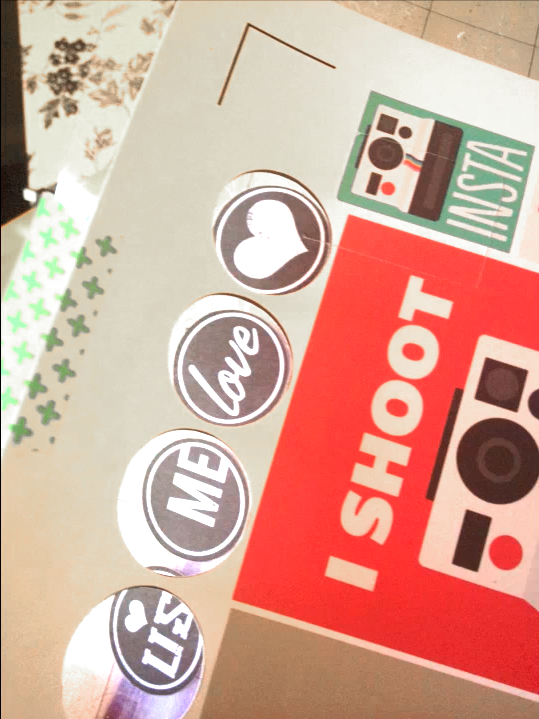
If you like creating word art, you can merge together words to make one big cut…
Here are the words that I want to merge together for the bottom of my double rainbow photo in my project life album… After I had created them and moved them to where they were touching, I followed the same steps above to “weld” all the words together into one piece…
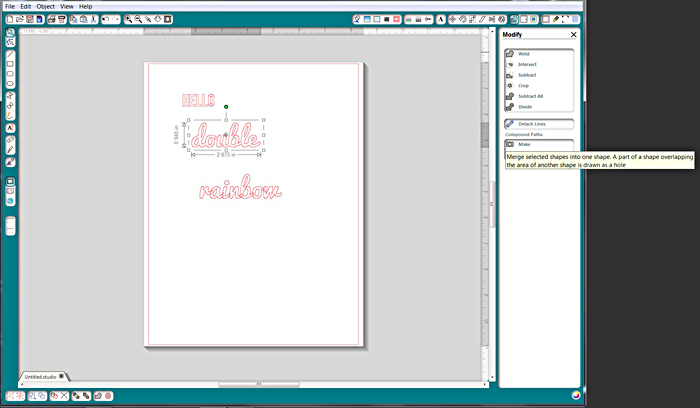
See how you can see the 4 light gray boxes around each word selected? Once I hit “weld” it will merge them into one if they are all touching or overlapping another letter.

I hit “make” at the end because the first “h” and “e” aren’t touching or overlapping any other letters so they will cut separately, but I wanted to make them one object so that I could fill my page with other things I wanted to print and cut for my project life album.
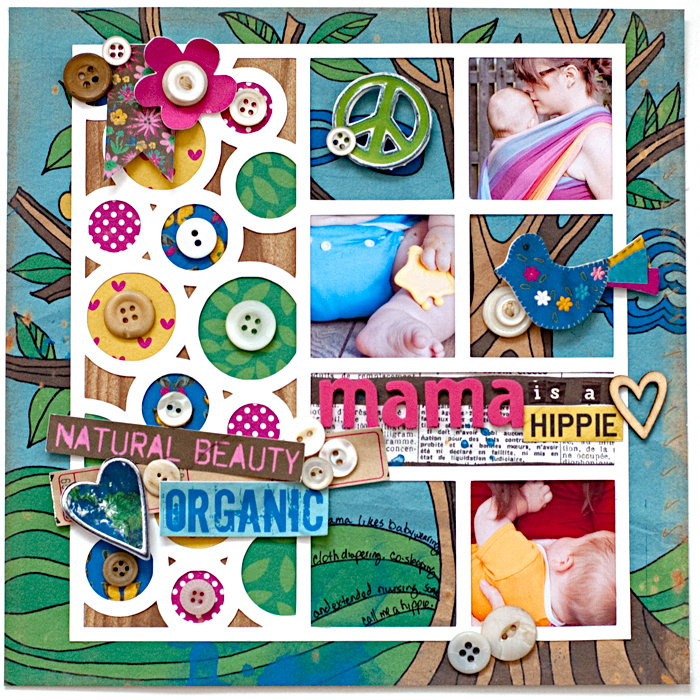
Finished Photos:
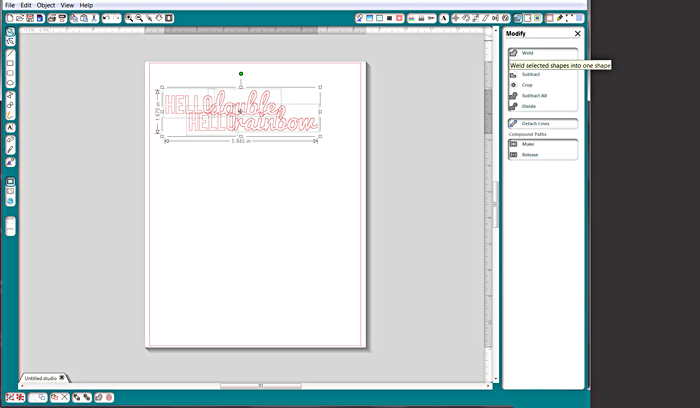
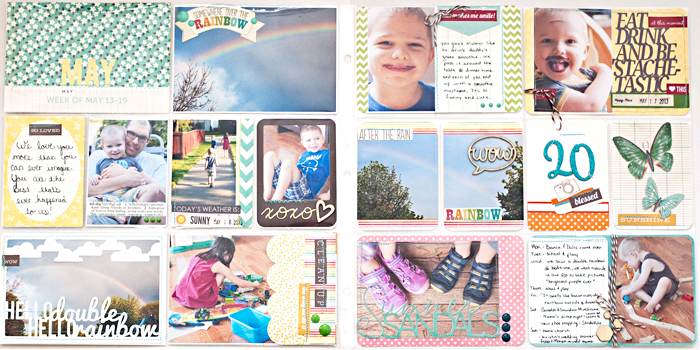
I ended up “welding” the whole word art to a frame, so it was nice to have the word art as one so that I could easily move it all around and not lose those two letters. Here is a photo of my project life card, as well as a photo of my project life pages… as you can see I also “welded” another word art using a print font in the upper right hand corner with the smoothie mustache photos, and mixed a script font with a print font for the “summer sandals” word art.
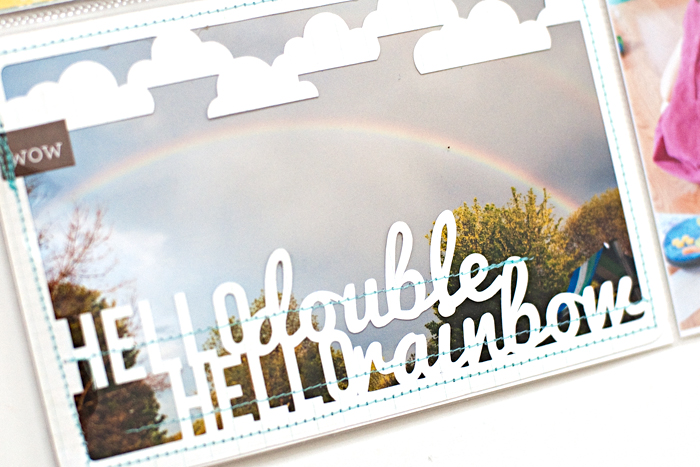
fonts used: Bebas and Pacifico
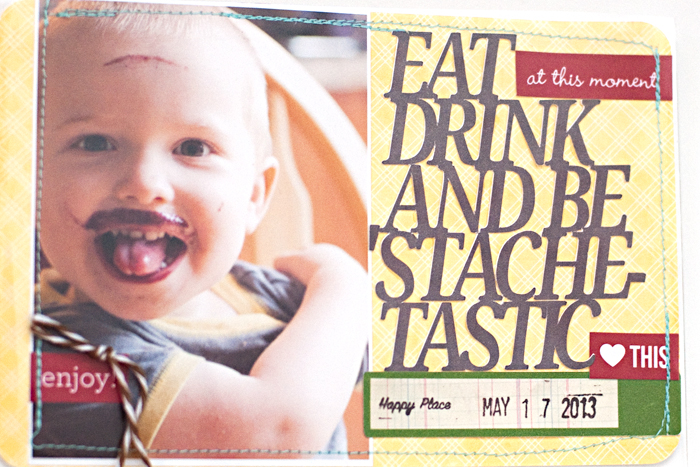
font used: Droid Serif
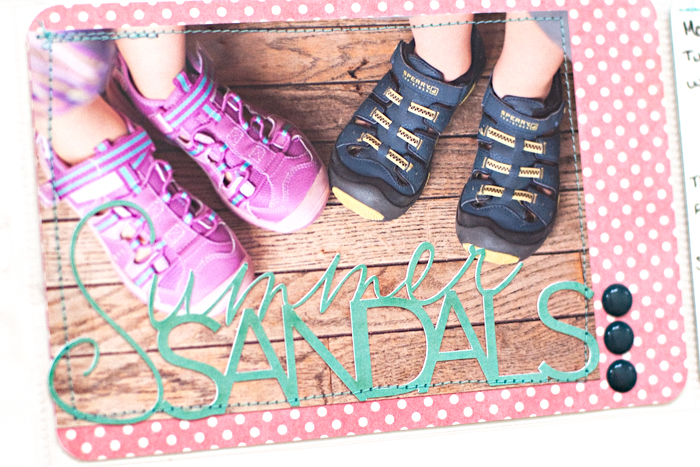
fonts used: Emily Lime Words and AW Conqueror Sans
Credits:
Flowers After the Rain : Collection by Sugarplum Paperie and Wishing Well Creations (retired)
Puddle Jumper by Jenn Barrette and Mari Koegelenberg (retired)
Bits & Bytes: 4×6 2013 Weekly Title Cards by Nettio Designs (retired)
Fonts: AW Conqueror, Bebas, Droid Serif, Emily Lime Words, Pacifico
additional products:
Becky Higgins Design A Page Protecto, Silhouette Portrait – cut files from Silhouette Online, Sewing Machine and thread, Simple Stories SN@P Typeset Stickers, American Craft Lullaby Thickers, Smash Date Roller, Timber Brown StazOn Ink, Black Sharpie Pen, Tiny Attacher, ATG tape, Rangers Glossy Accents, My Mind’s Eye Enamel Dots, Freckled Fawn and Studio Calico Wood Veneers, The Twinery Baker’s Twine
I hope this has helped you become a little bit familiar with the Silhouette Software and some of the things it can do. I can’t wait to see your projects using fonts and the weld tool.
Sferstl said...
on September 15th, 2013 at 4:28 pm
I just got my Silhouette Portrait a couple of days ago and have been so excited with the fun things I can make. Took a 7 year break from scrap booking and have found so much new and overwhelming technology. I really wanted to cut my words in one piece and found your explaination clear and easy to follow…thank you so much!
DIY Stenciled Drop Cloth Pillow Cover said...
on November 12th, 2013 at 1:34 pm
[…] word to stencil was much easier than when I used it on my pallet signs, because I learned how to weld with my Silhouette. Basically it cut the one word as one piece instead of each individual letter. World officially […]