Scrap Like a Sugar Babe: Kim Ege
This week’s Scrap Like a Sugarbabe post is from one of our newest Babes, Kim Ege. Her gallery is full of creative team layouts, but she loves scrapping for her family too. She is often asked how to tackle scrapping family memories and getting them in a printed book, and she’s here to share a few tips and a glimpse into her own family scrapbooks.

About Kim:
Hello, I’m Kim and I’m a married stay-at-home mom of 3 kids. Our life is full and crazy and I love capturing all that we do in photos and scrapbooks. I started digital scrapbooking in 2008, but I have years of photo albums and paper scrapbooks from well before that. I am thankful to be a Sugarbabe and have the chance to work with so many creative people.
Even though this tutorial section is called “Scrap Like a Sugarbabe”, I’d like to talk to you first about scrapping like YOU. Because I’ve been digital scrapping a long time and have a row of printed books in my home, I get asked a lot by friends how I do it. That’s a loaded question because it means a combination of things like how do I find the time, how does the process actually work and how do I organize my photos and thoughts to get them in the book. And while I like to share what I do with others (I certainly get a lot of inspiration myself from other scrappers), the biggest piece of advice I like to offer my friends is that they should find their own way of scrapping their memories, and it doesn’t have to look just like mine. I think one of the most important things about scrapping for YOU is figuring out what works for you and sticking with it.
Did you know that when I scrap for my family book, it doesn’t look the same as when I scrap for a creative team? Or when I’m doing a special project, it could be completely different than either one of those? This is because I adjust my scrapping style to fit the purpose of the layout and the time I have for that project. So what I’d like to share with you is my top 3 things I consider when starting a scrapping project. I hope that these thoughts will help you to find your own scrapping style as you capture your own family memories.
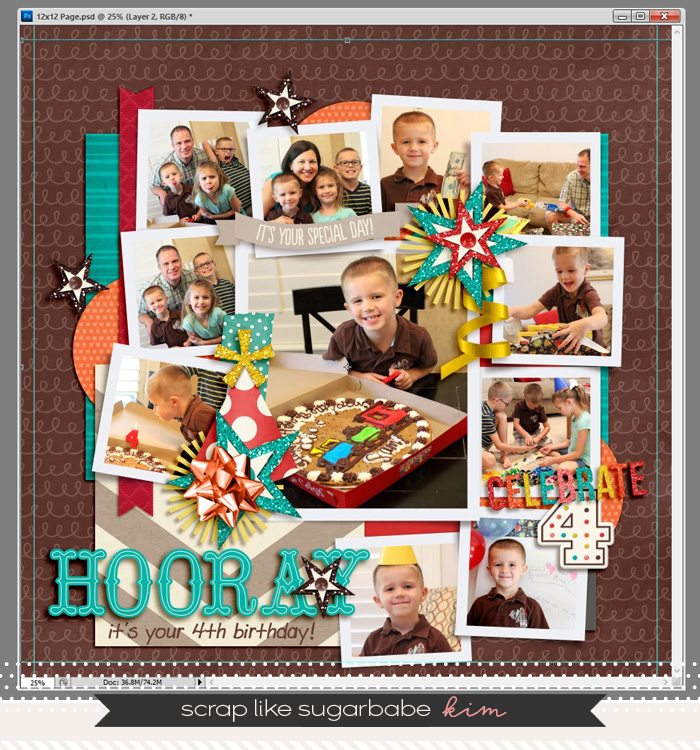
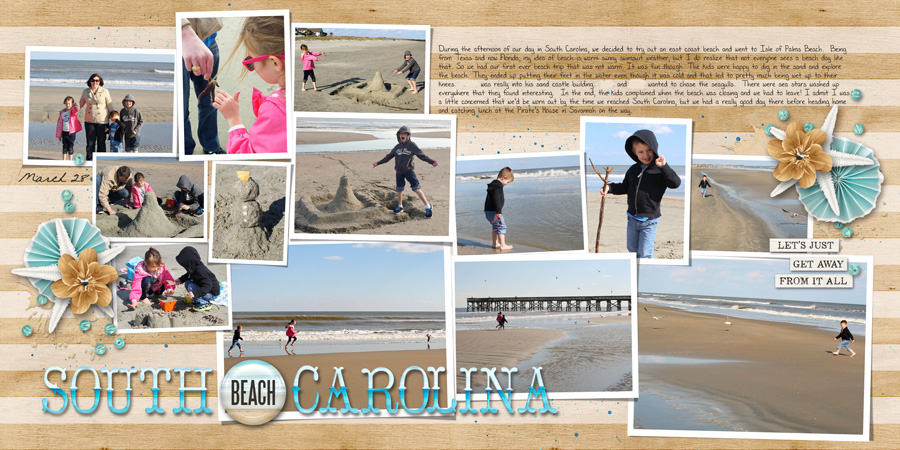
#1. Know how you are going to print your project. This is a topic that I could write a whole post on by itself, but it is really important to know the specs your layouts will need to be for the printer of your choice. What size will your pages be? How far away from the edges do you need to keep important parts of the layout because of page trimming? Will you print in a traditional book and need to consider some of your layout going into the gutter? I have learned the hard way and had to adjust layouts at the end of my project when they weren’t going to print correctly! It is much easier to design layouts that fit the printing needs instead of changing them all at the end of a project. As an example, here is a layout I created from a template, and because I knew I would print it in a book, I used my book printer’s free trim guide template and I could see that I needed to move the whole design slightly up on the page to keep the bottom photo from being trimmed off.
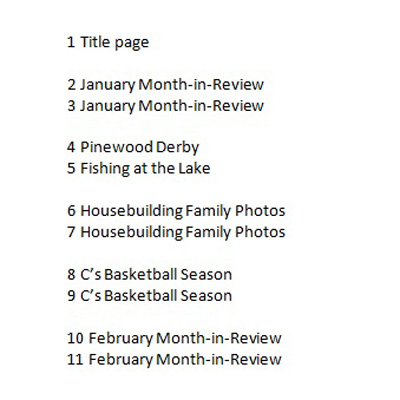
#2. Know how much time you have for your project and be realistic. This will save you a lot of frustration and discouragement! Having a way to organize the project before you start helps keep you realistic with your time. While organizing your project is another topic that could be it’s own post, something as simple as making a list of pages you want to include is a good start. This is what the beginning of my current year’s book looks like. I have place where I have copied the photos I want on each of these pages into separate folders. It makes it easier when I have time to work on my book to know where I am and where to start.
#3. Know how to simplify. Scrapbooks are not about perfection, but about memories. Can I share with you what this means in my own scrapping? When I scrap for a creative team, I’m mostly scrapping for the creative process and to enjoy working with lots of different products. This is a creative outlet for me, so if it takes me an hour to complete a layout, that does not stress me out (well, unless I’m supposed to be cooking dinner, but that’s another story!) The point is that I do these layouts completely for the sake of the art and design of it.
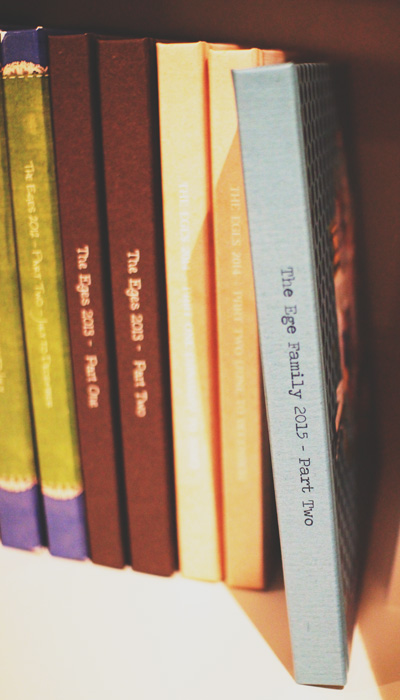
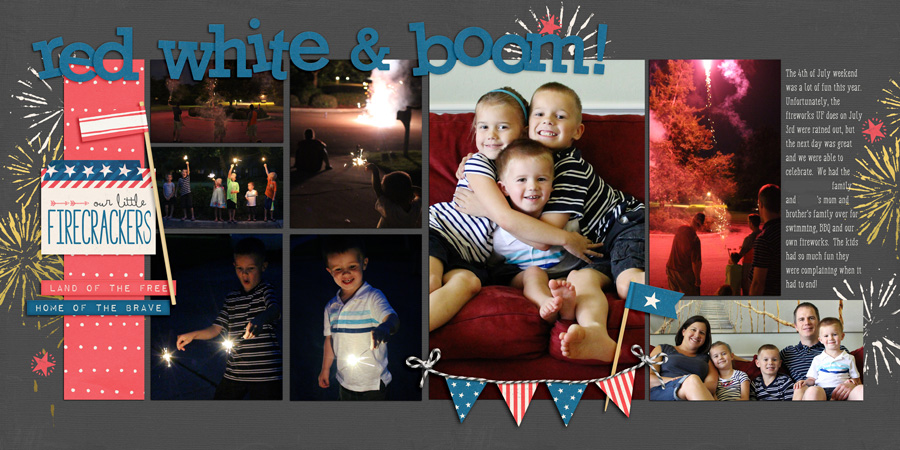
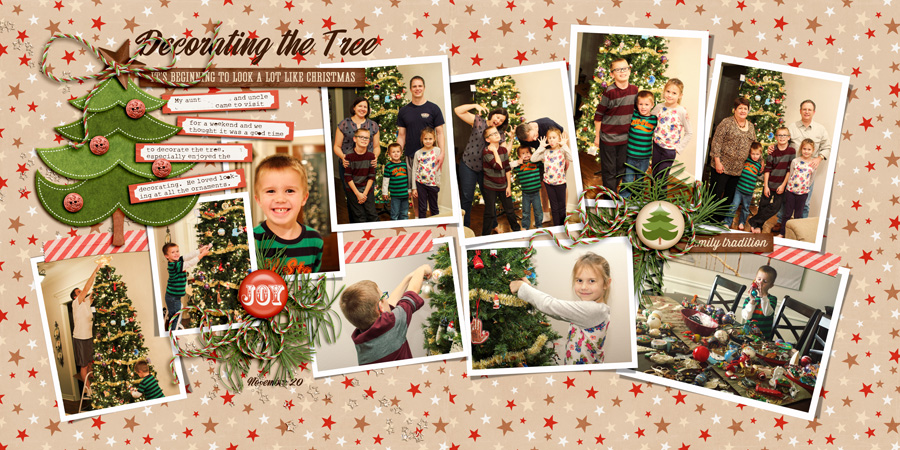
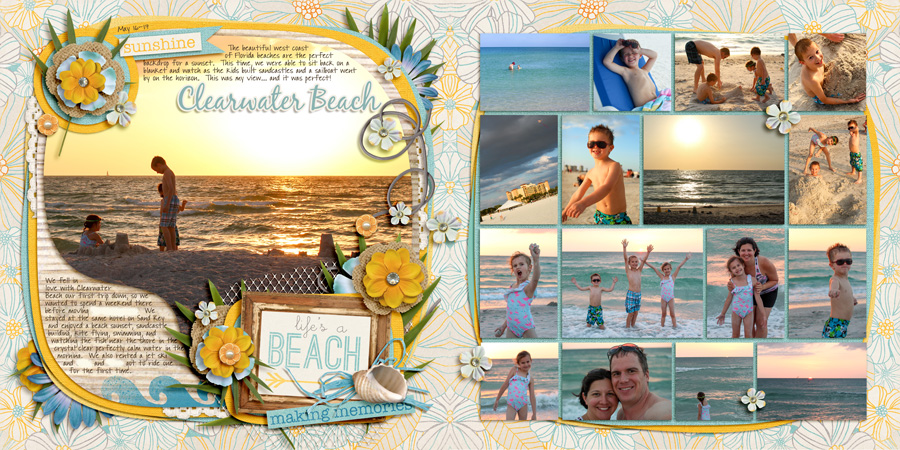
But for my family books, I am a chronological scrapper and print books by year. I prefer to scrap in 2-page layouts because I print lay flat books where I don’t have to worry about gutters. (See how knowing how I’m going to print affects my scrapping style?) And I love photos. I take a lot of them and I am not very good at cutting down on the number I use in my books. So when I am tackling an entire year’s worth of photos and memories, I need to scrap what works with a lot of photos and what I can realistically have time for. Simplifying has to be a bigger part of my scrapping process. Here is what a few of my family book layouts look like.
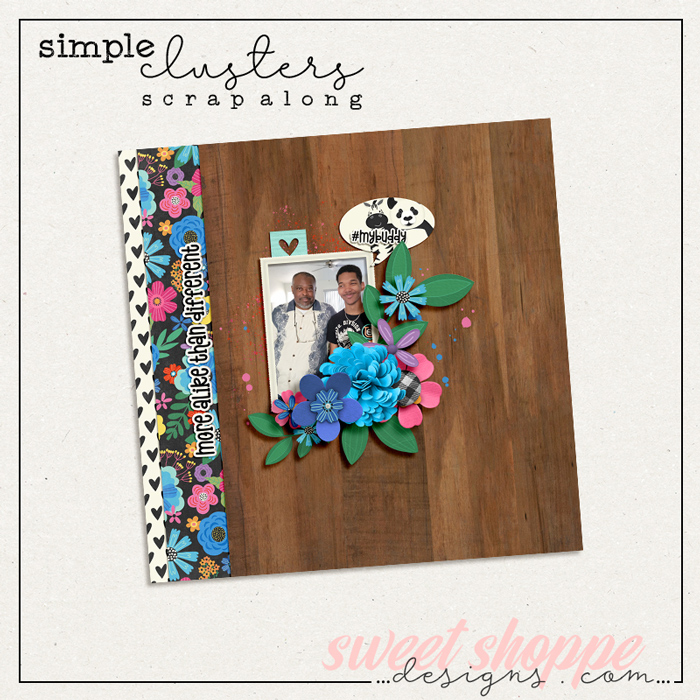
Now that doesn’t mean I just delete all those other layouts I created for teams. Some of them do make it into my family books, either as is or adapted in some way. These 2-page layouts were done by taking a single page creative team layout and then adding photo collages to expand the layout and be able to get the rest of my photos in the book.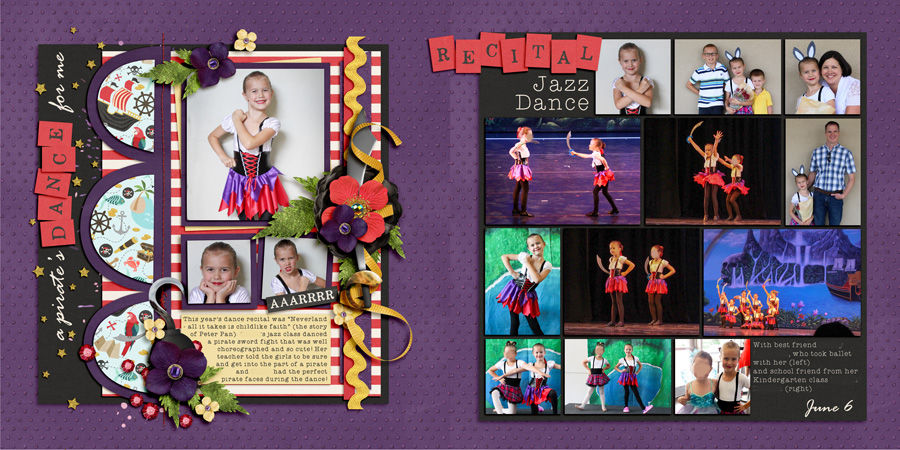

That’s a little peek into my family scrapbooks and what works for me. I hope there was something there that encourages you to scrap for you and your family… and to do it just the way that works for you! Those memories will be so precious as time goes by!


Sherly said...
on June 25th, 2016 at 3:49 am
It’s interesting to see how you organise your scrapping, Kim! For me, what I scrap for CT is what goes to my printed album.
It’s fun to see how others work differently