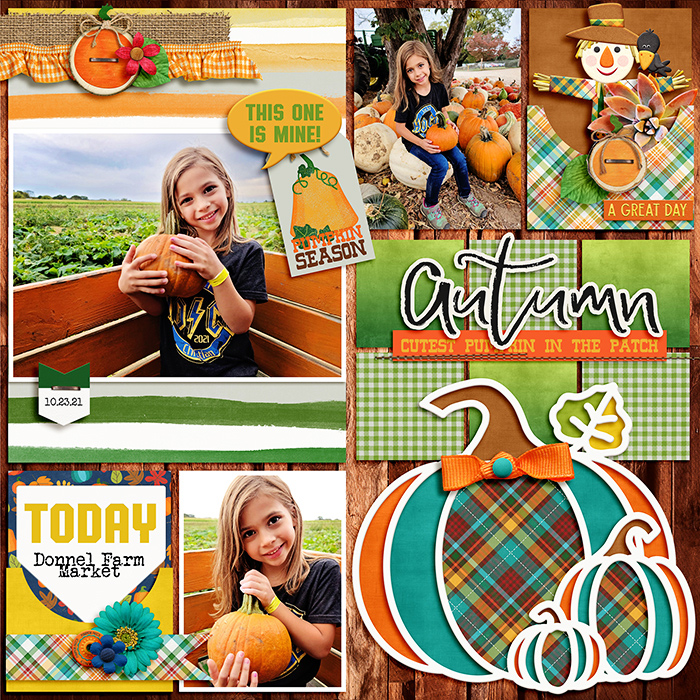

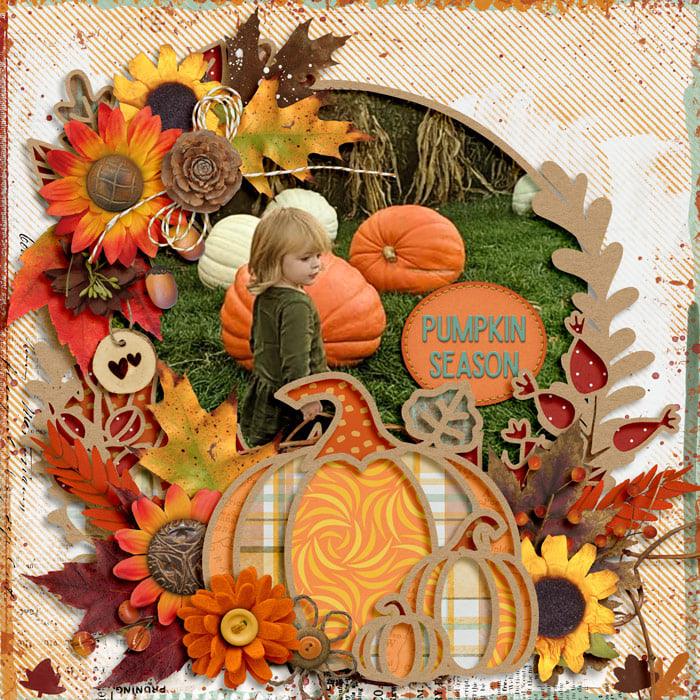
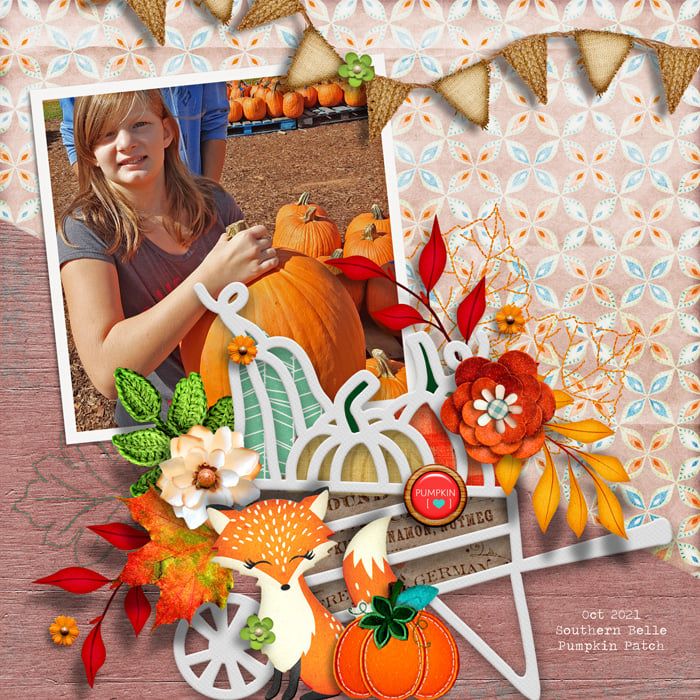
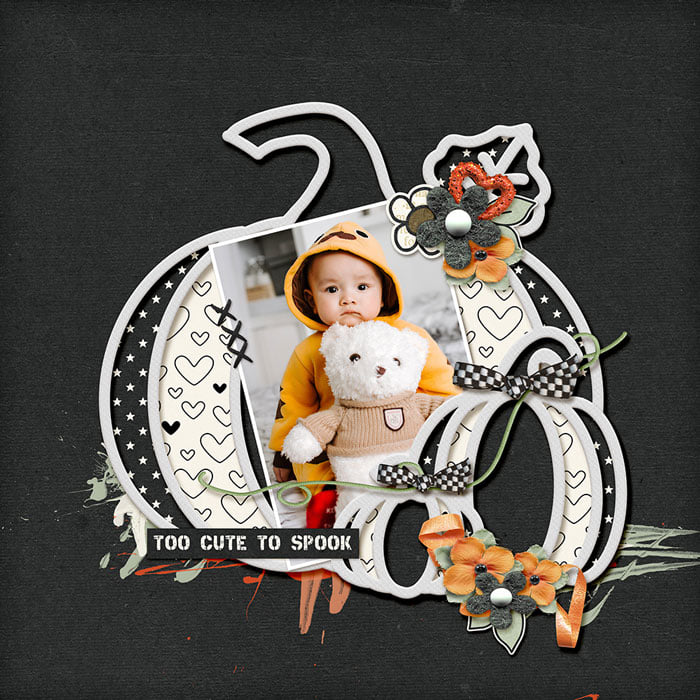
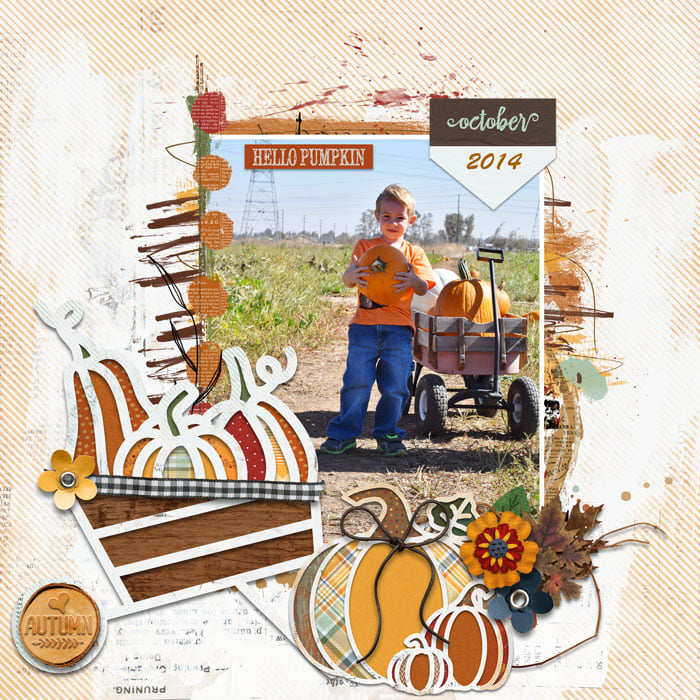


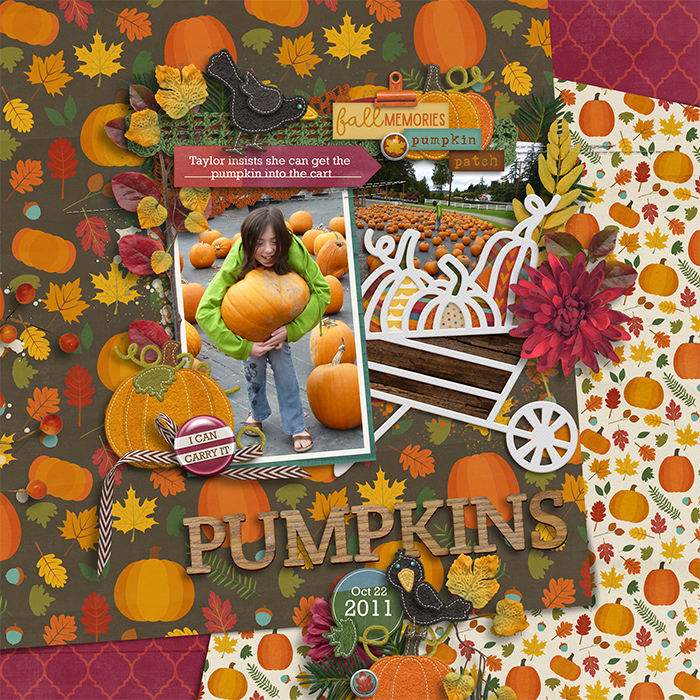

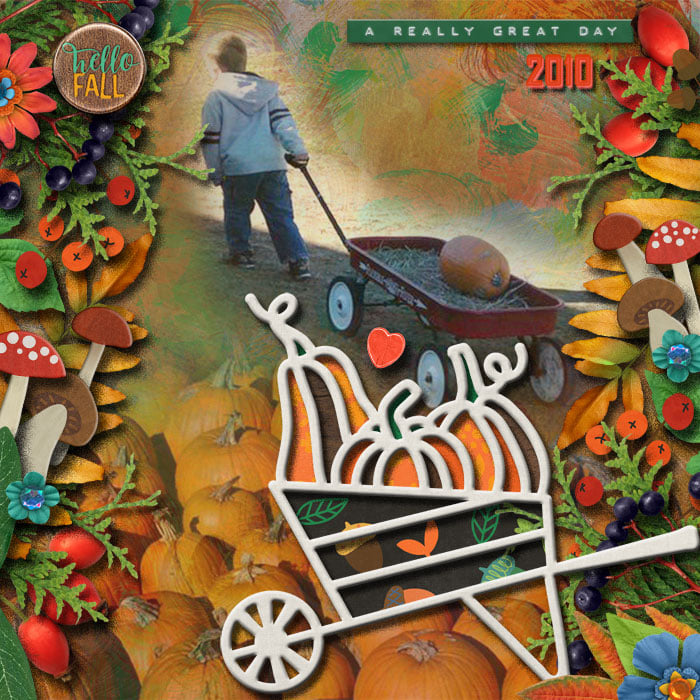


Digicut Pumpkin Patch by Clever Monkey Graphics is a digital version of the 'cut-file' concept. These digicuts are provided as layered tiff files, layered photoshop files, and as png layers. The preview shows them at 75% of their actual size although a little bit is shown 100% in the corners of the preview. When you use them in your layouts, it is up to you as to whether you clip papers or colors to the fill areas or whether to use the digicut on its own. These help you create unique layouts as you layer photos, elements, and word arts above and below them. They speed you along on your way to making fun, cool, layouts! Check out the various ideas showcased with the product samples. No SVG files are provided - this is a digital product.
This pack contines two digicuts-a pumpkin grouping & a wheelbarrow with pumpkins in it; each about 11 inches in diameter. Each digitcut comes in a smooth, glossy style and a more texturized paper style.
Great shadowing can really make these shine. Warping shadows is one way of achieving that - in Photoshop apply your shadow style. Now go to that layer in the layers pallet and hover over the fx you will see on the right. Right click on the fx and click on the option that says create layer. Your current applied styles will now sit in their own layers. At this point you can either use warp tools or the smudge tool to play with your shadow. If you work in elements, you can easily do this starting in a slightly different way: apply your shadow style but make it's distance setting far enough away from the object so that you can easily put a marque around it and cut and paste it to a new layer. After that you can again use warp tools or the smudge tool. You could also make a copy of the digicut layer and fill it with black. Place that in a layer below the digicut - you will turn it into your shadow - apply your style and rasterize the layer. Once again, you now have a shadow you can play with in various ways. Hope this mini-tutorials helps some of you with your Photoshop products.