One Template, Nine Ways with DSI – December 28
It’s that time, my sweet, scrappy friends, for another round of “One Template, Many Ways” – where we highlight the work of one of our talented designers while we challenge the Sugar Babes to make the most of a single layered scrapbooking template.
This month, we had the pleasure of playing with a gorgeous, seasonal-themed template from the creative mind of Willemijne of Digital Scrapbook Ingredients. It’s one of her 2024 winter releases, and can be found in the Miscellaneous 46, 47 & 48 Template Bundle. It has all the layered, dimensional beauty of traditional paper piecing, but with the digital advantage of speed, flexibility, and maximum reusability. Plus, no scissors required! These templates are all sized for 12″ x 12″ and are available in PSD, TIFF, PNG, and PAGE formats for use with all your favorite digital scrapbooking programs.
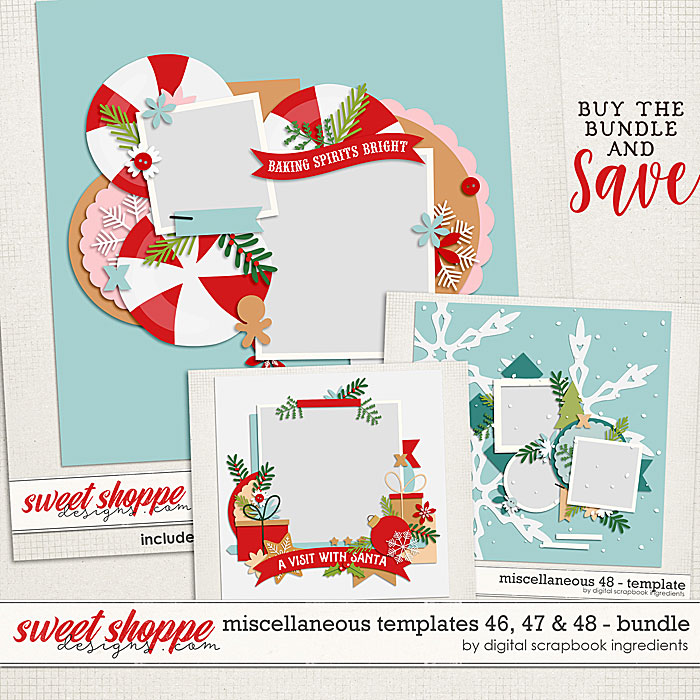
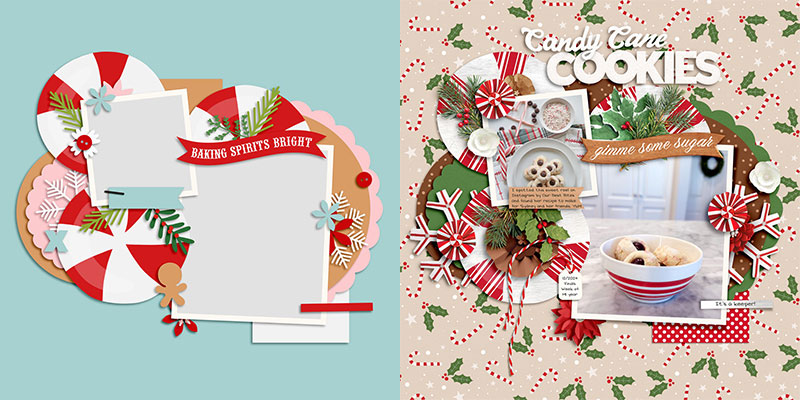
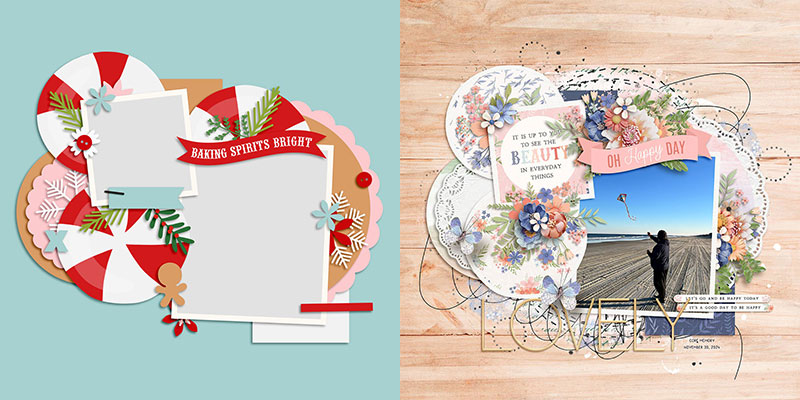
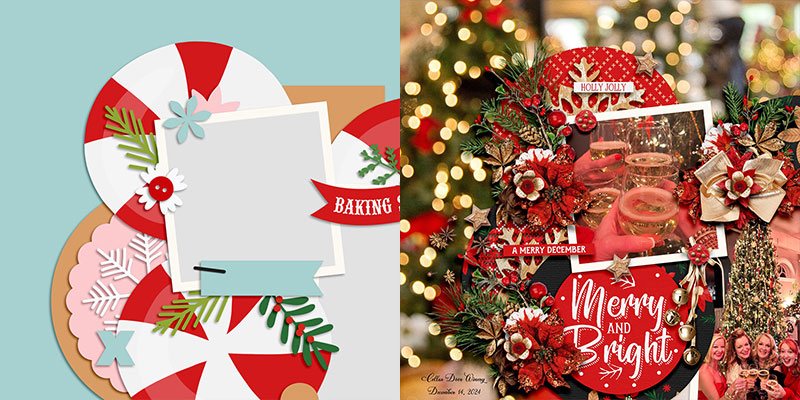
We worked with the template in the upper left corner. It has two square-shaped photo blocks along with delicious layers shaped to look like iced cookies and peppermint candies, and a title strip that reads “Baking Spirits Bright”.
We gave this template to our Sugar Babes and challenged them to use it to create as many unique layouts as they could come up with. It goes without saying that every layout created with a template will look different when you use it with different digital scrapbooking kits and supplies, but there are additional techniques you can use with a layered template that will result in uniquely lovely layouts. Nine of the Babes worked with this one template and the results? Well, they’re absolutely dazzling! Let’s take a look:


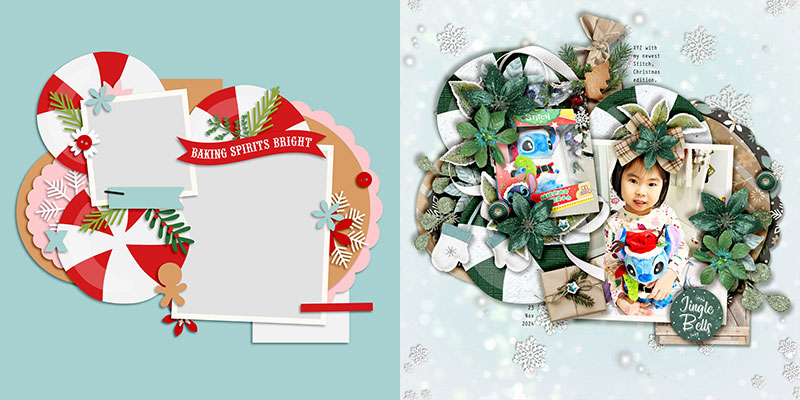
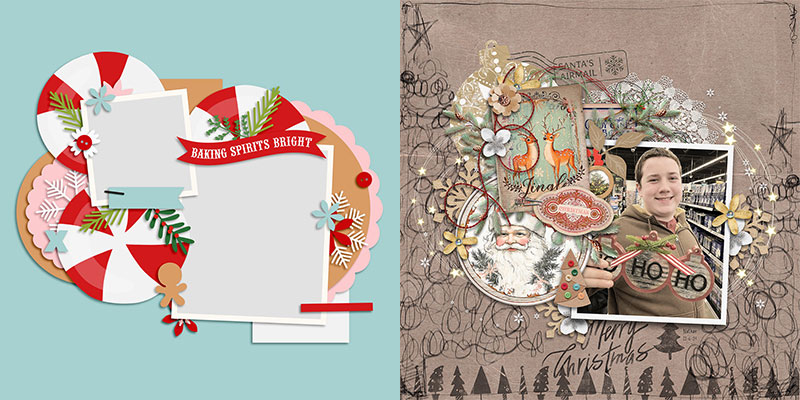
Our first layout comes from Sugar Babe Krista, who gives us a straight-forward interpretation of DSI’s layered template. After placing photos in the two square-shaped blocks, Krista clipped patterned papers to each of the shape layers and replaced the embellishment placeholders with foliage, flowers, tags, and word strips from her kit. She also added word art as a title at the top of the page. What a sweet layout!

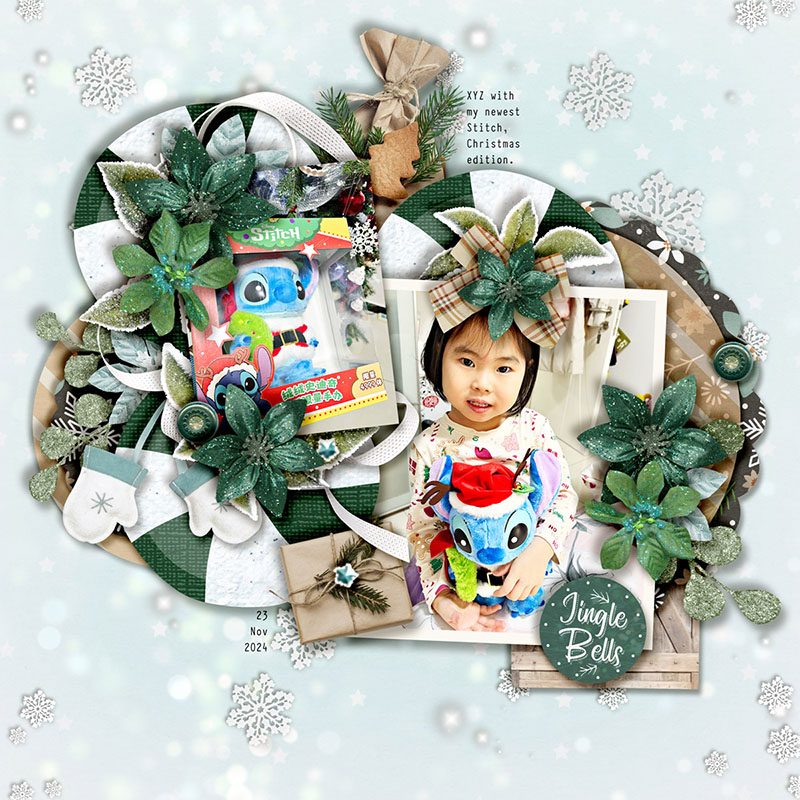
Sherly took the same template and also clipped photos to the two photo blocks … but rather than a red-and-green Christmas theme, she gave it a beautiful snowy “wintergreen” look instead. I love the way she replaced the rectangular shaped layer at the top center of the cluster with an element from her kit (a brown paper bag). Remember, each shape in a template is simply a placeholder for whatever fun item you choose to add in its place!


Cherry took this same template and went a different direction entirely with her choice of digital scrapbooking kit. Instead of a Christmas or winter theme, she opted for soft florals in shades of pink, blue, and sage green. She simplified the layers in the peppermint candy discs and made them basic circles instead, clipping patterned paper to each one, and layering in lace doilies where the iced cookies had been. Also note that she only included one photo on her layout; in the second photo block, she clipped a journaling card in its place. It’s another way you can make a layered template work for you and the story you want to tell.

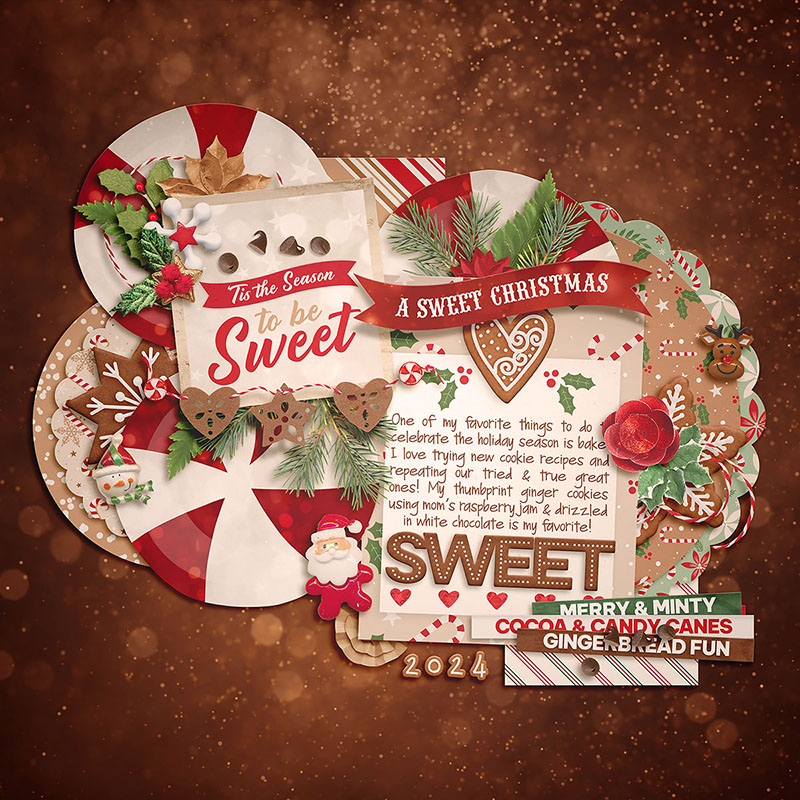
Amie stuck with the original Christmas theme of the layout, but went entirely photoless, demonstrating how you can use any template to tell your story even when you don’t have photographs to include. She clipped a pocket card to the smaller photo block and used layers of paper in the larger one, turning it into a block for her journaling. I adore the way she clustered three different word strips together in the lower right corner, slightly overlapping them and adding beautiful drop-shadows along with a scatter of chocolate chips. It’s a lovely touch!


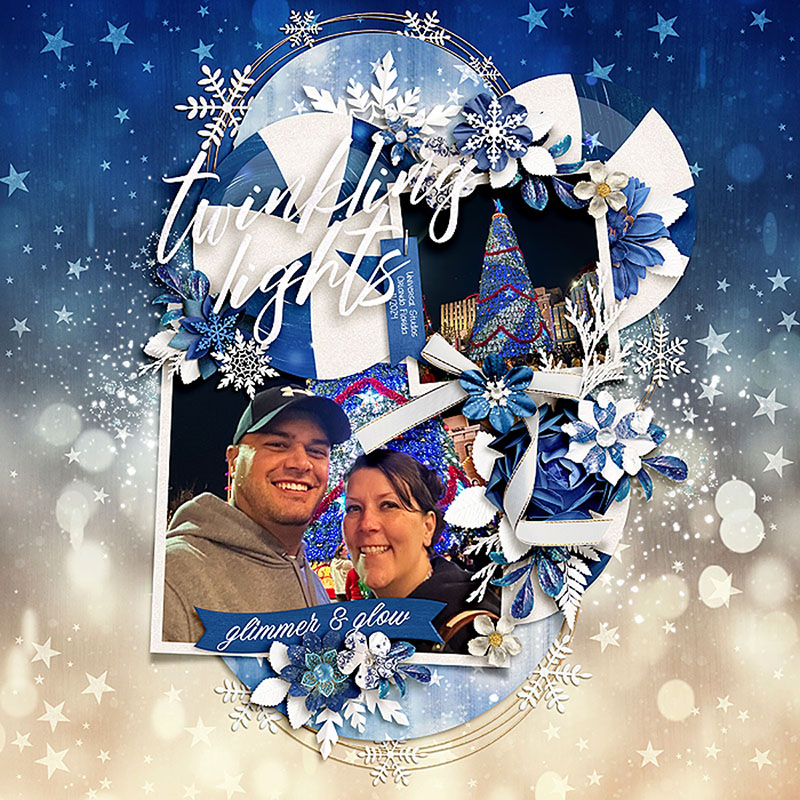
Cassie took this template for a spin – literally – by rotating it 90-degrees clock-wise. It turned the cluster from a horizontal orientation to a vertical layout instead. I absolutely love the results! And while we’re admiring her layout, I want to point out the circular doodle-paint-and-snowflakes she added behind the larger circles (they were the iced cookies in the original template). They look great, and serve as the perfect reminder that you can get creative in what elements you pull from a kit to replace the layers in a template.
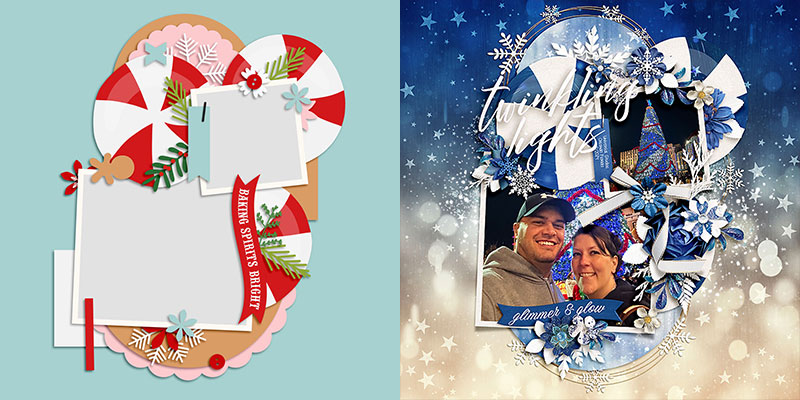

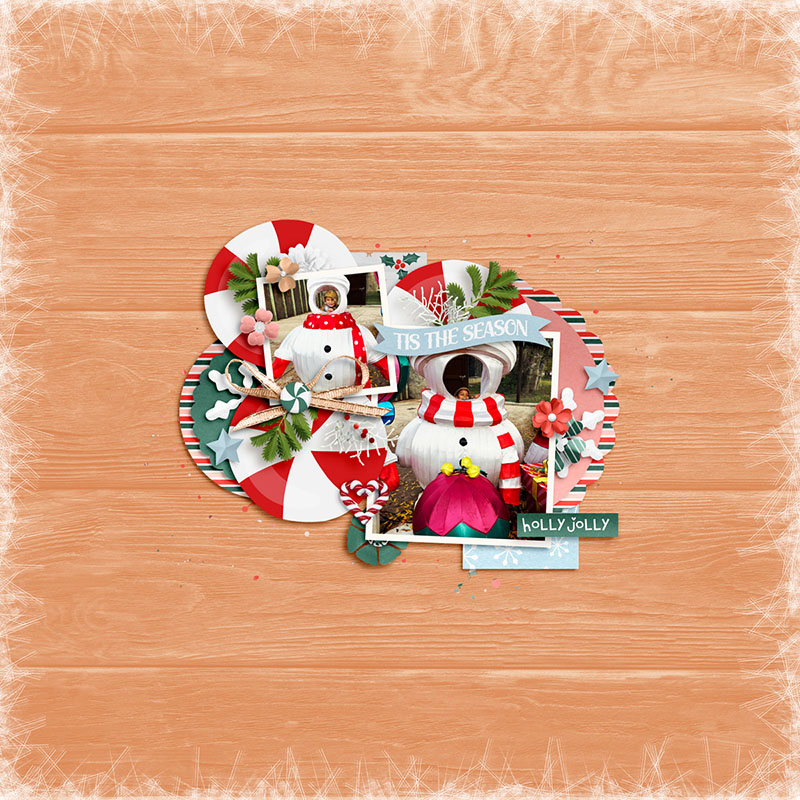
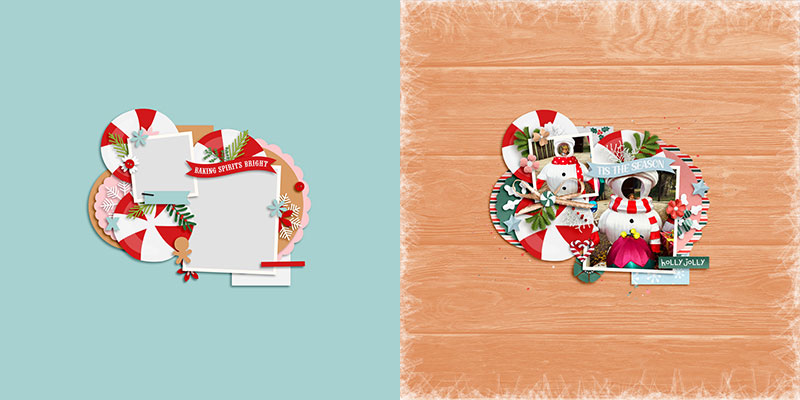
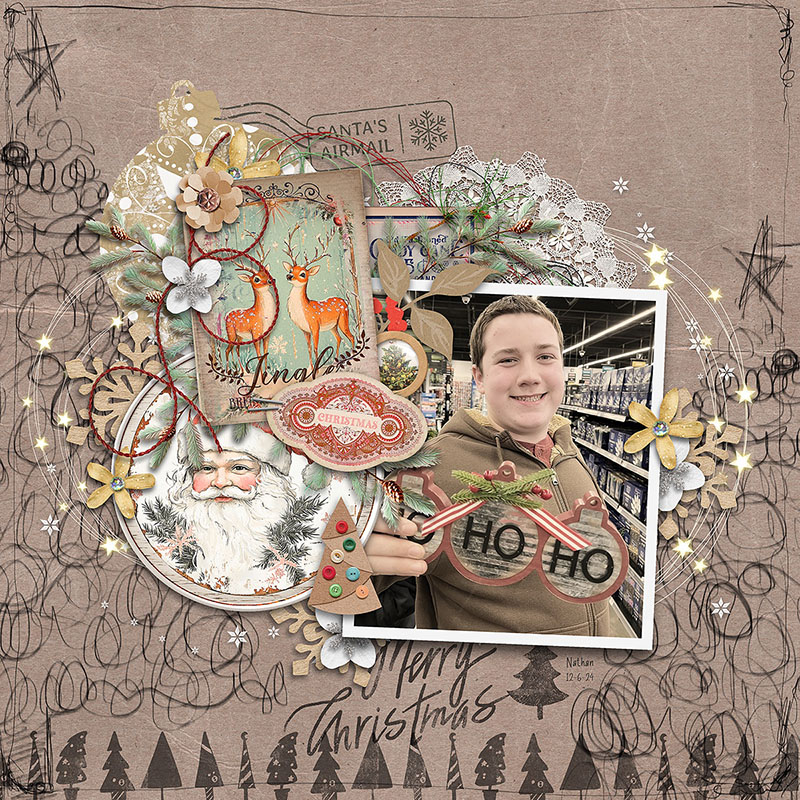
Carrie is the first of our Babes to play with the size of the template and its shaped layers. If you’re more of a clean-and-simple scrapbooker – or if you just love the look of large page margins and whitespace – this technique is one you’ll want to try. She selected all the layers in the template except the background and resized them; in this case, she shrunk them to about 60% of their original size. Carrie then clipped two smaller photos to the photo blocks, clipped patterned papers to the various shape layers, and added decorative elements from the kit she chose. I really like the way this looks against the wooden background paper and its frosty-looking border!


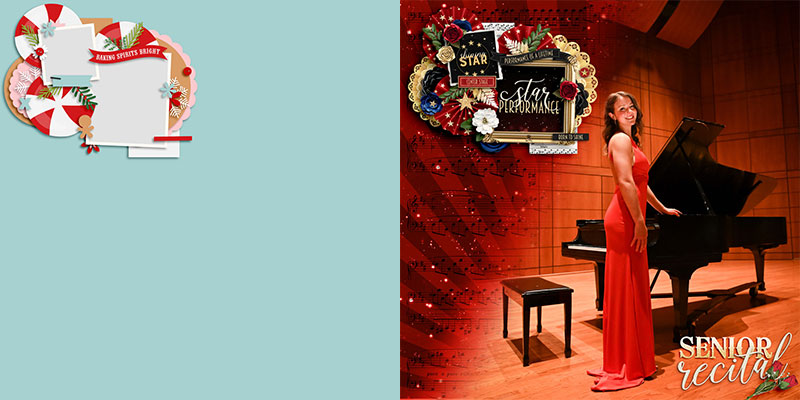
I was lucky enough to get my hands on this template, and decided – like Cherry – to take it in a direction away from its Christmas and winter theme. Instead, I used it to scrapbook a page about my niece’s senior piano recital. Like Carrie, I resized the template’s layers to approximately 50% of their original size. Then, I placed them in the upper left corner of my canvas. I clipped a large photograph to the background and layered several sheets of patterned paper atop it, blending them together with gradient masks and Photoshop’s blending modes. As for the template cluster, I used fan-fold rosettes and gold doilies in place of the candies and cookies and clipped pocket cards to the photo blocks. Finally, I used the kit’s alphabet and a piece of word art to create a title and anchored it in the lower right corner, opposite the template cluster. It was a fun way to stretch this template in a different direction!

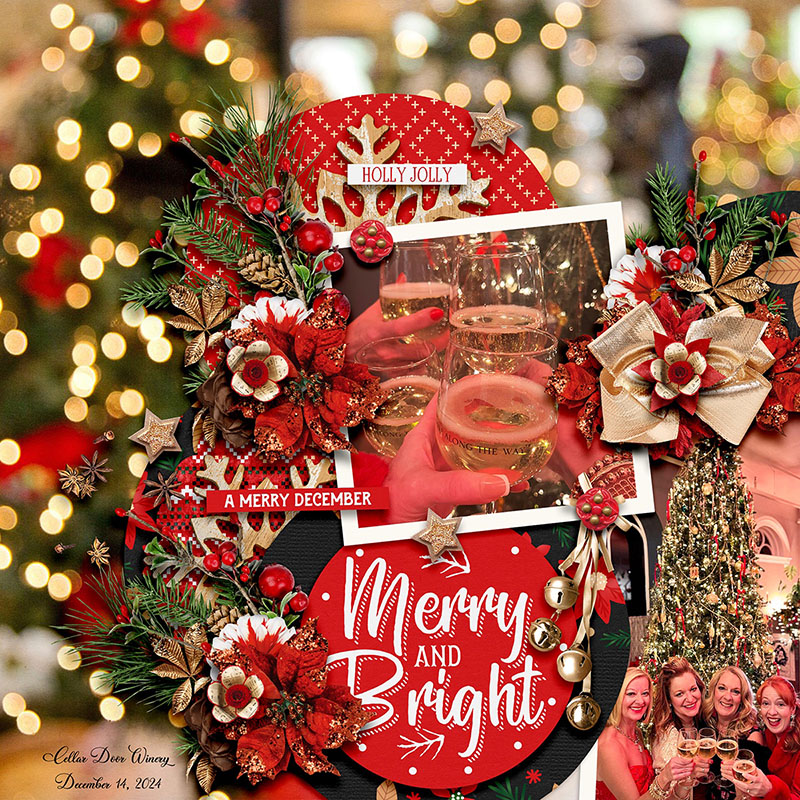
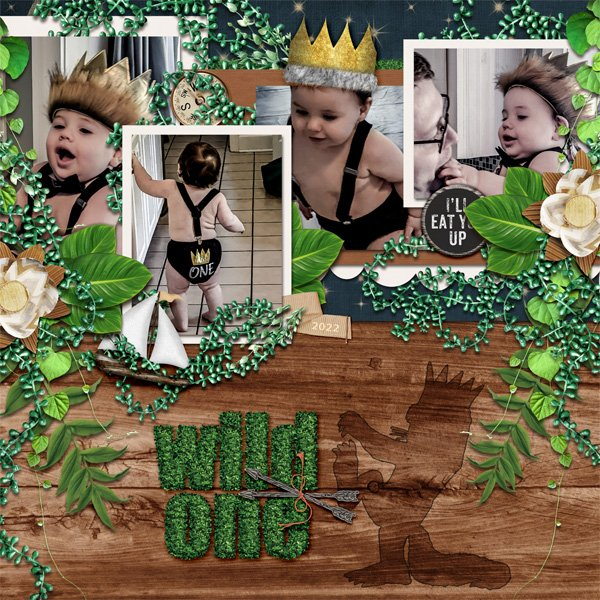
Where Carrie and I went small, Heather went big – with the template’s layers, that is. She selected the layers and resized them to about 150% their original size. Then she dragged it over to the right 2/3 of her canvas, so part of the cluster ran off the page. Then, she clipped photos to the two photo masks, a pocket card to one of the candy circles, and patterned paper to the rest. Her layers upon layers of gorgeous foliage, floral, and element clusters are the finishing touch to this stunning layout!

Our final layout is courtesy of Sugar Babe Charlene, and she’s proved that you can turn any style template into an art journaling layout when you think creatively! Not only did she build her background with layers of paint and doodles on a solid surface, but she replaced some of the template’s circular layers with artsy circle elements from her kit. Both the doodle circles with stars and the painted doily amp up the “artsy” and give her layout a true mixed-media feel. She clipped a photo to the larger mask and used two pocket cards – one in place of the smaller photo block, and one clipped to the circular layer from the template. Stunning!
And that, my friends, will wrap up today’s edition of “One Template, Many Ways”. I hope that you’ve been inspired by today’s post to pull out a layered template – or pick one up in the Shoppe – and try a new technique or two on your next layout. I’ll be back next month with a new template from another one of our talented designers. Until then, happy scrapping, and I hope to see you – and your layouts – in the gallery!


Liz said...
on December 30th, 2024 at 8:54 am
I often change up templates a bit, but I got some new ideas! Such wonderful example layouts! Thank you!