May Photo Challenge: Window Light
Ever have a moment where you’re inspired to shoot a photo but you don’t because you’re not in a beautiful environment? Perhaps you feel the room you’re in is boring and bland. Maybe it’s not “Pinterest pretty”.
Remember the words of American Photographer Alfred Stieglitz: “Wherever there is light, one can photograph.”
Scrapbooking is all about combining photos, words, and beautiful embellishments to create a lasting chronicle of our lives, so here at the Sweet Shoppe, we’re dedicating some time each month to focus on the first of those three ingredients: our photographs.
This month, we’re looking for the light, as it were, by focusing on Window Light photography.
What is Window Light Photography?
What we’re calling Window Light Photography simply means you’re shooting images indoors that are lit by sunlight passing through a window. It’s a form of Natural Light photography, meaning you’re using an available light source – in this case, the sun – rather than using artificial light in the form of a speedlight, strobe, or flash.
What do you need to shoot Window Light Photography?
Learning to use window light in photography can help you capture images that are dramatic without investing in expensive lighting gear. Here’s what you’ll need:
- a camera
- a window
- something to photograph
That’s all it takes! As you begin to experiment with Window Light photography, you may also want to add these items to your toolkit:
- a reflector – this can be a metallic pop-up reflector designed for photography or a big piece of white foam core board. Reflectors help to redirect the light and you can use them to bounce some of the light back to hit the side of your subject that’s away from the window and might otherwise hide in shadow.
- a light meter – if your camera can shoot in manual mode (meaning you can set the aperture, shutter speed, and ISO manually) you may find shooting some more complex images can benefit from having a handheld light meter.
- a prime lens with the widest f-stop you can get. If you have a “nifty 50” lens (50mm f/2.8 or f/1.4) this is the time to use it.
What subjects shoot well with Window Light Photography?
Anything that holds reasonably still is a good candidate for shooting with window light. Because you’ll be shooting with a lower shutter speed to accommodate the lower light levels, anything moving quickly will be captured with blur. For example, two dogs play-fighting near a window or a child jumping or dancing are not photographed well using window light.
Instead, consider these subjects:
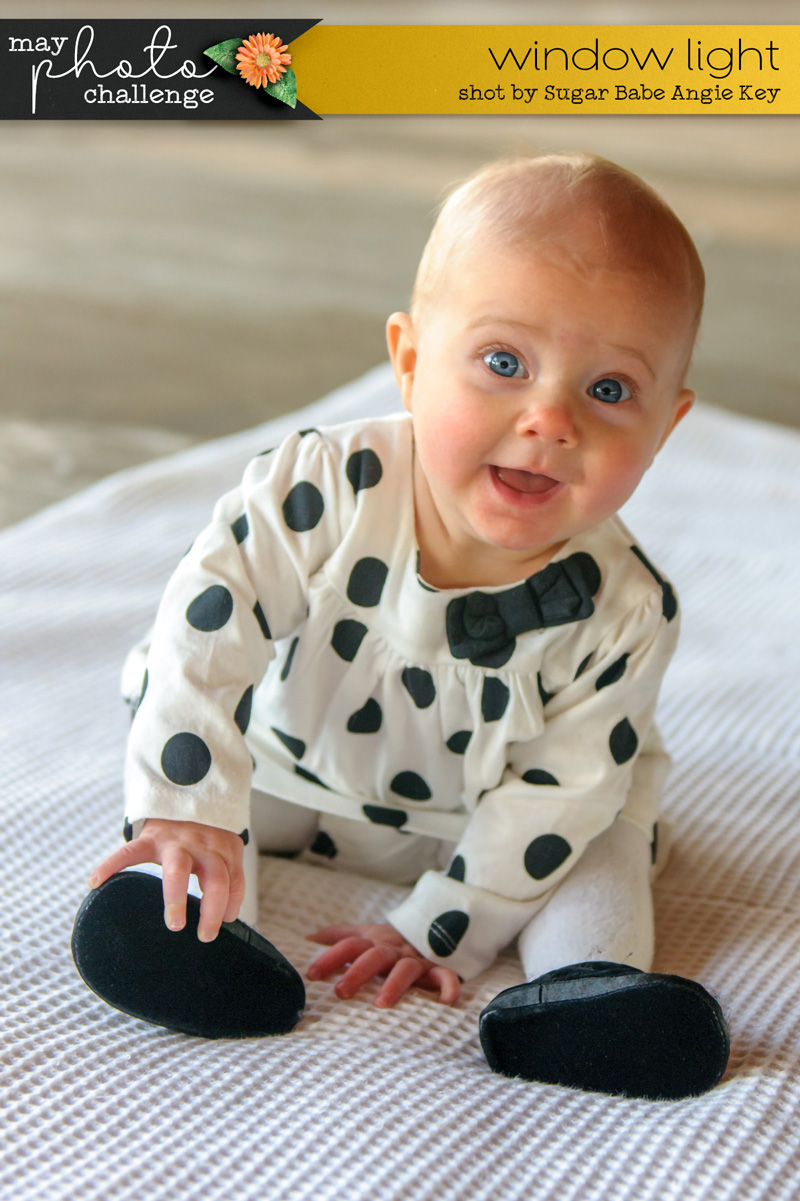
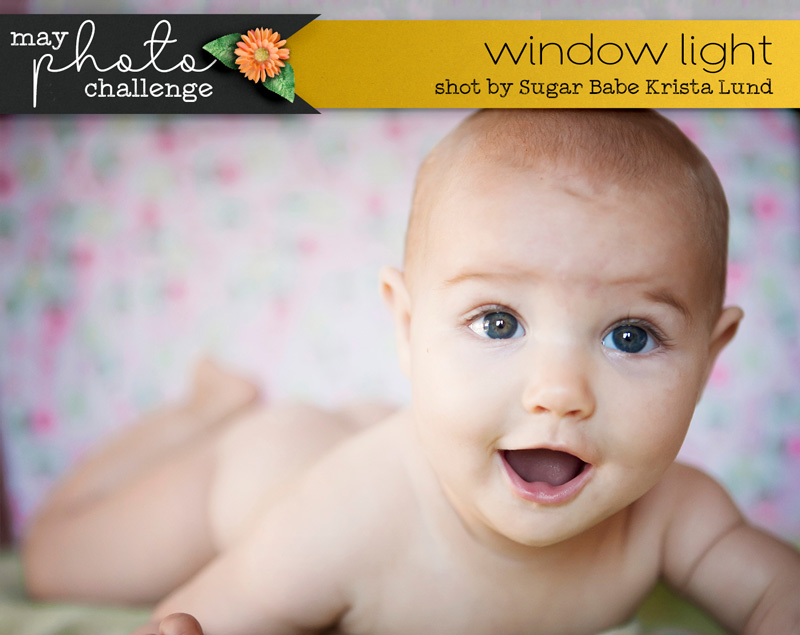
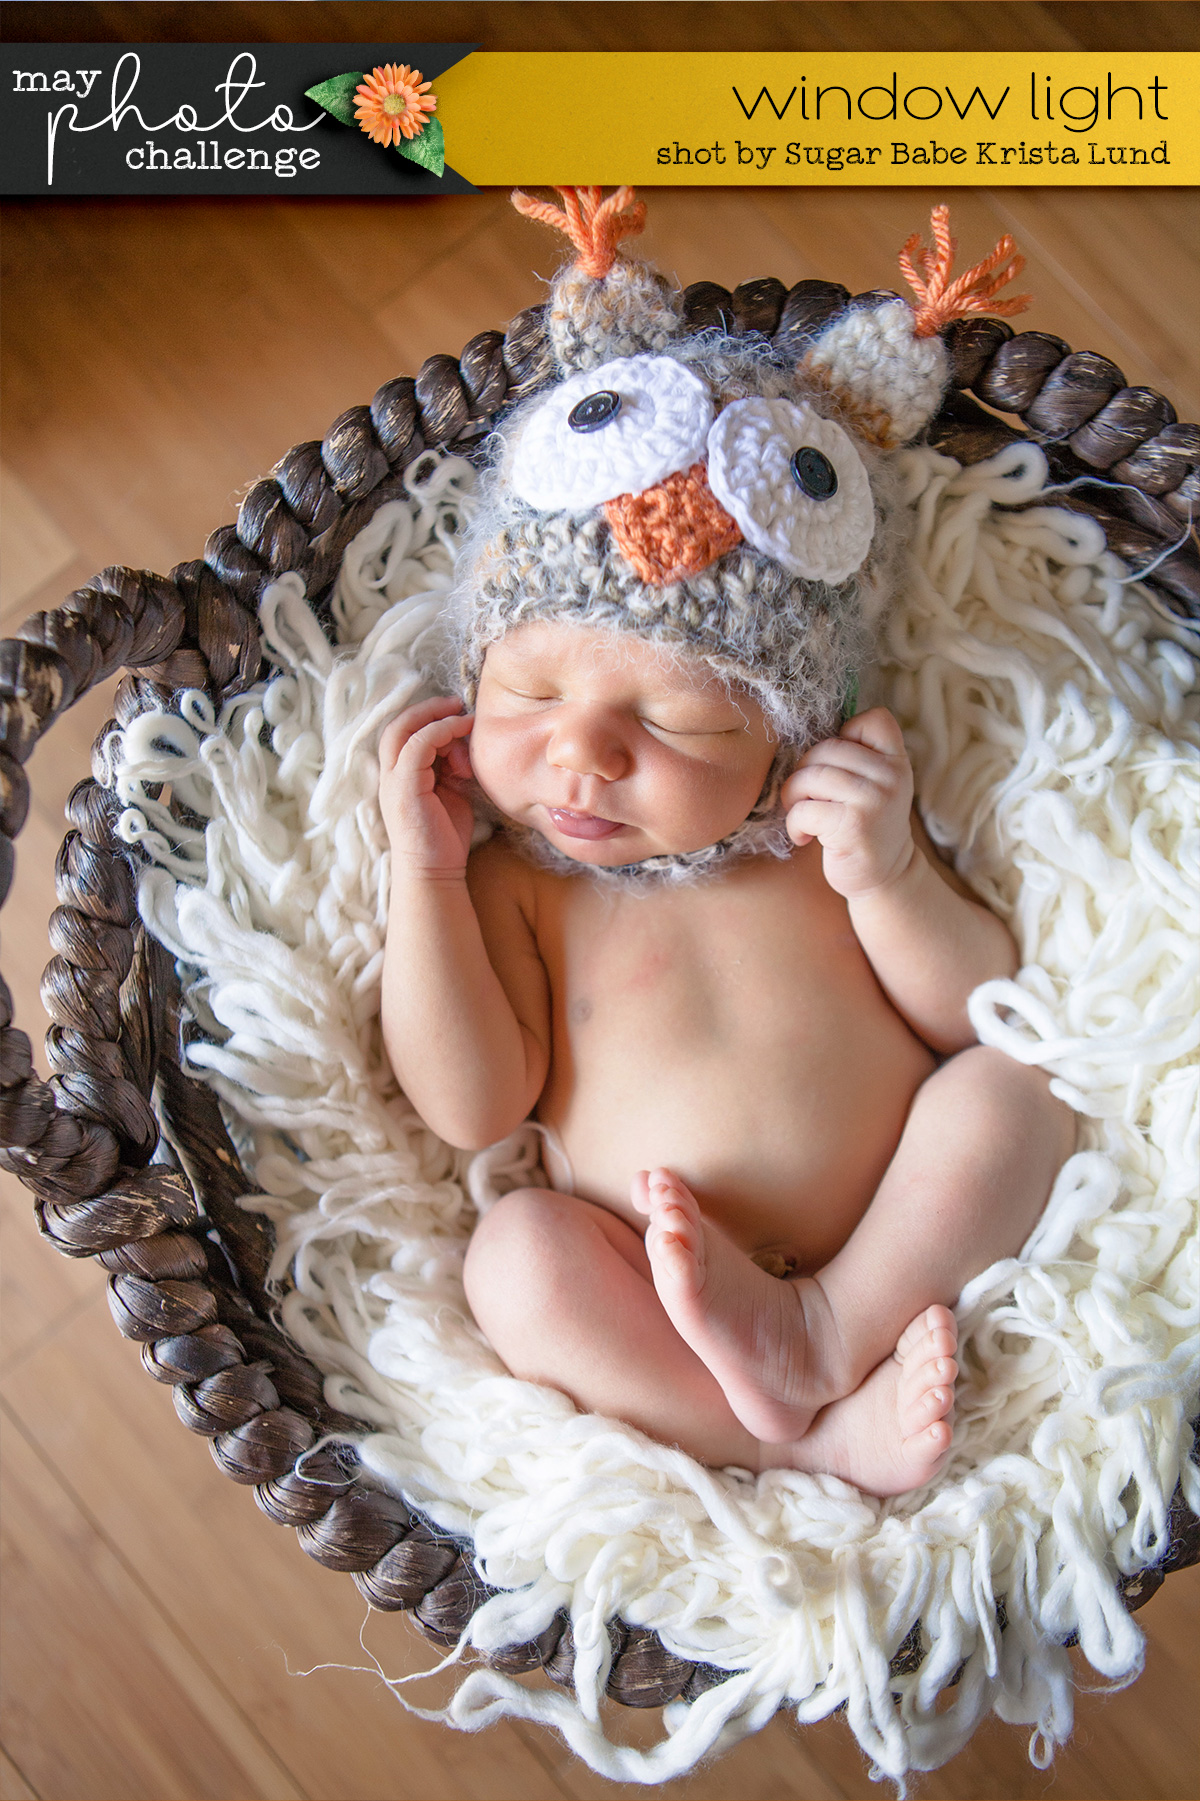
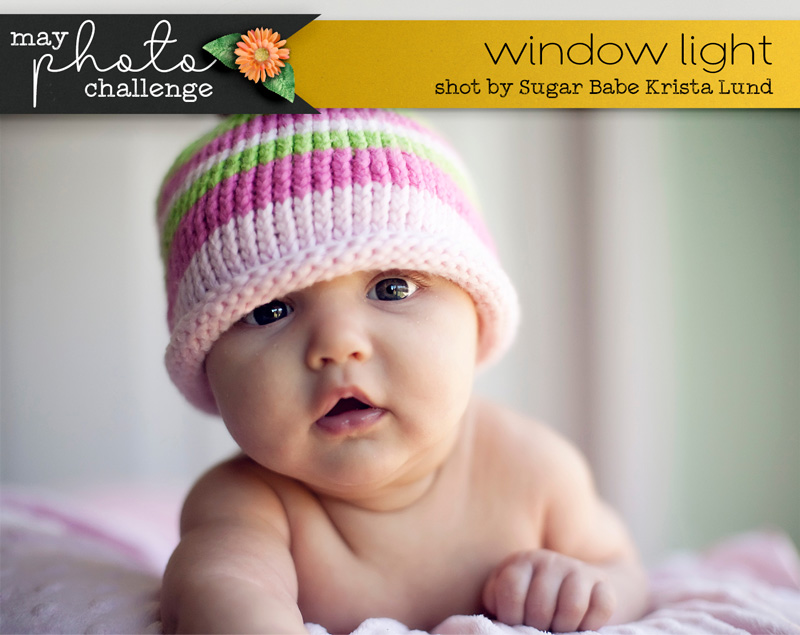
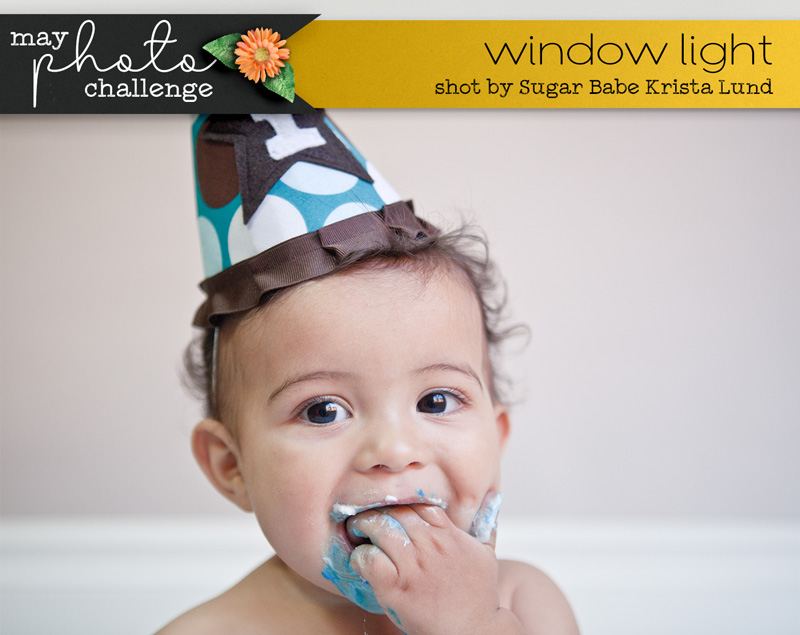
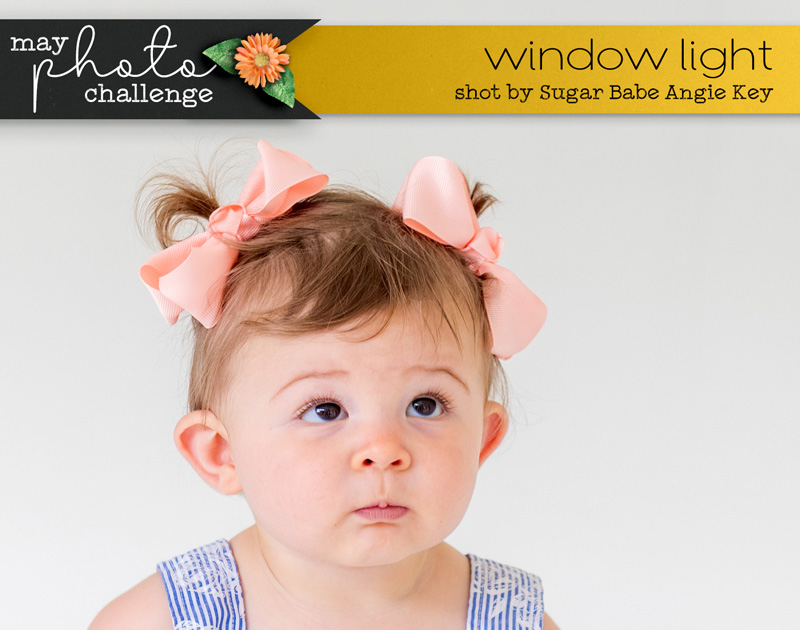
Babies – the soft, even light from a window is perfect for photographing infants of any age. It softens the blotchy, red skin of newborns. The fact that it’s constant (as opposed to a flash) means you won’t startle the baby and cause them to cry.
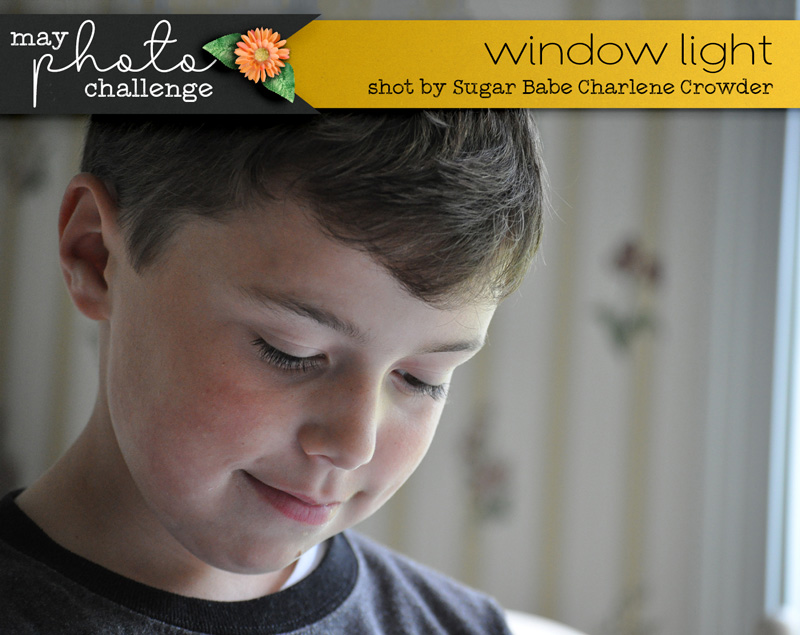
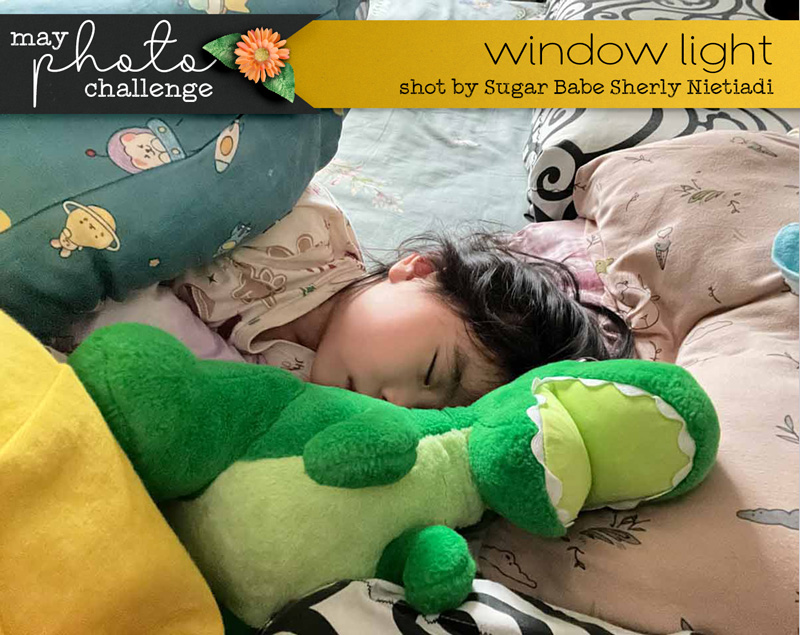
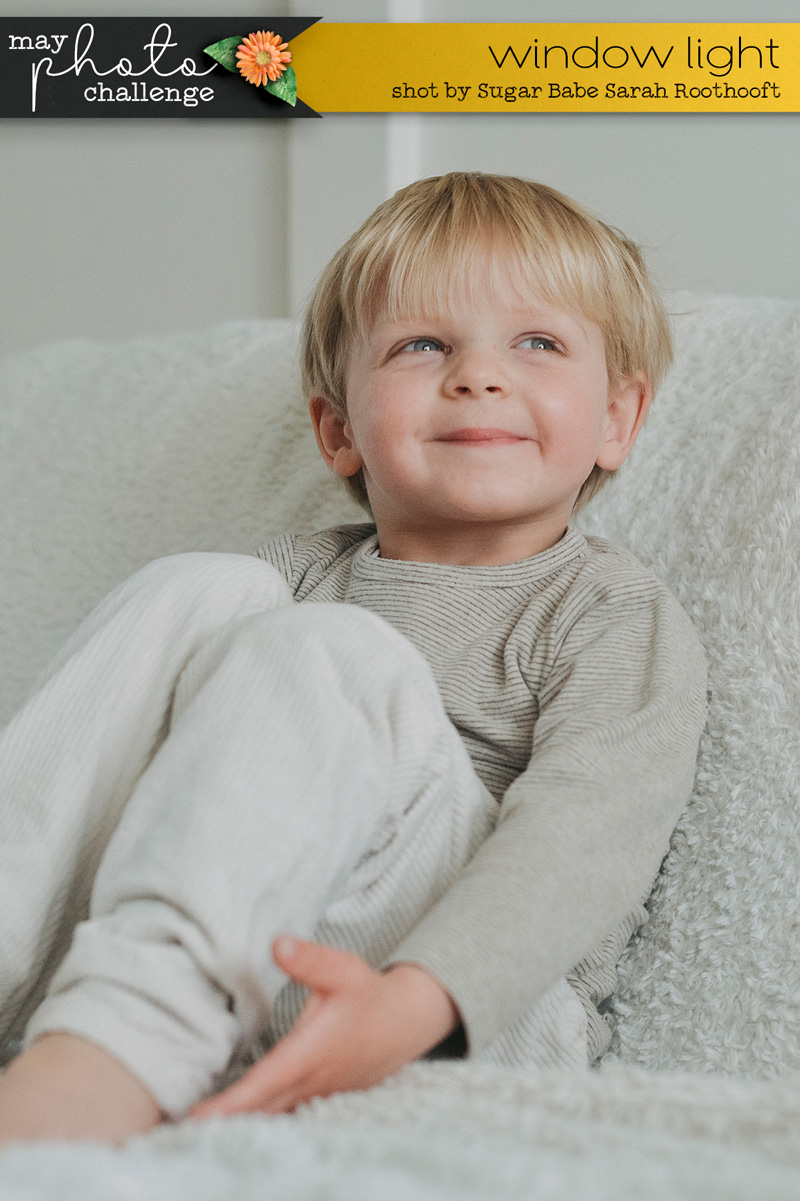
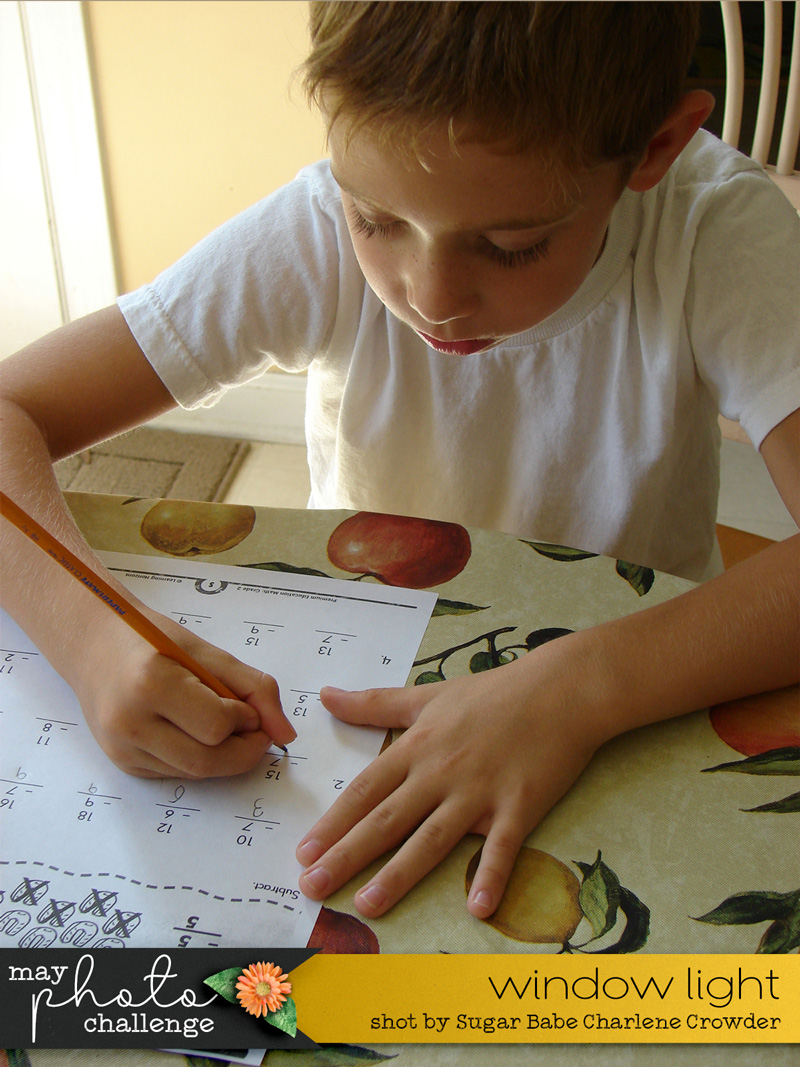
Children – window light is ideal for photographing kids when they’re not moving around quickly. Sit them on a chair near a window, give them a quiet activity to engage in at the table, or even capture them sleeping; window light is perfect for all of these situations.
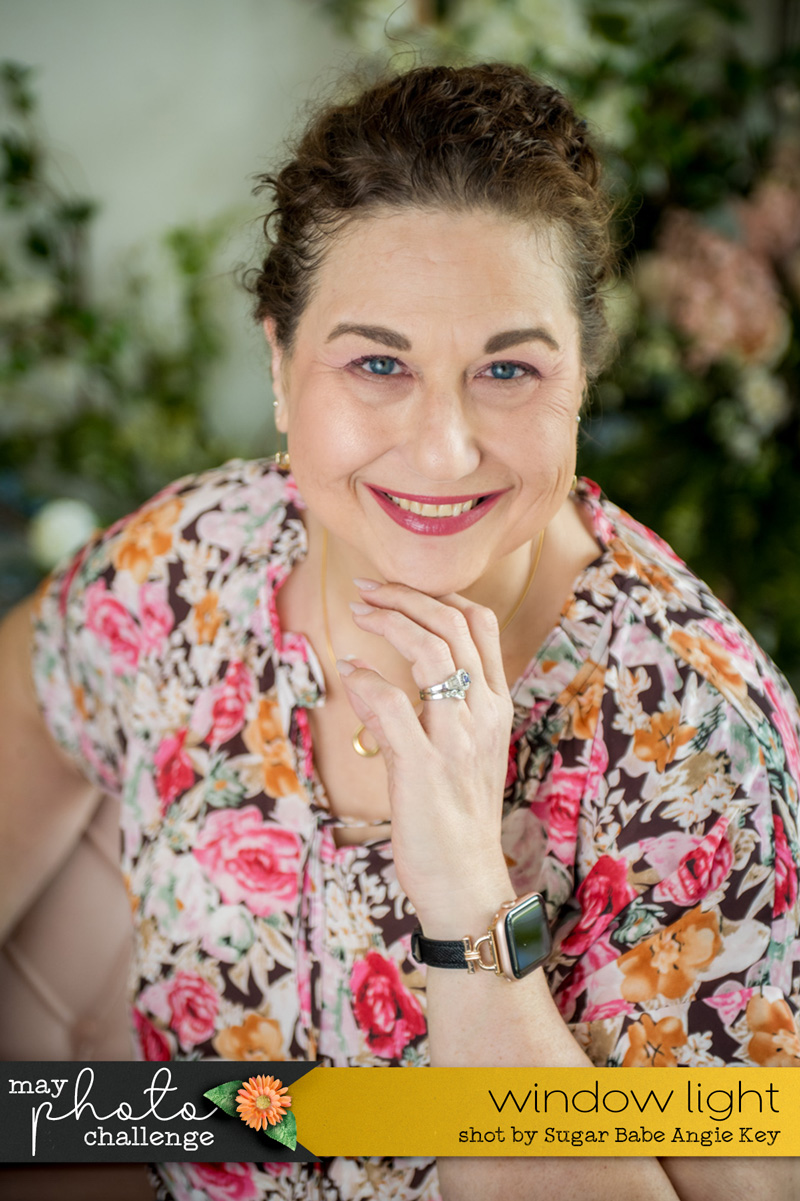
Mature skin – the soft, diffuse nature of window light makes it ideal for photographing more mature skin. It’s super flattering, no filters required!

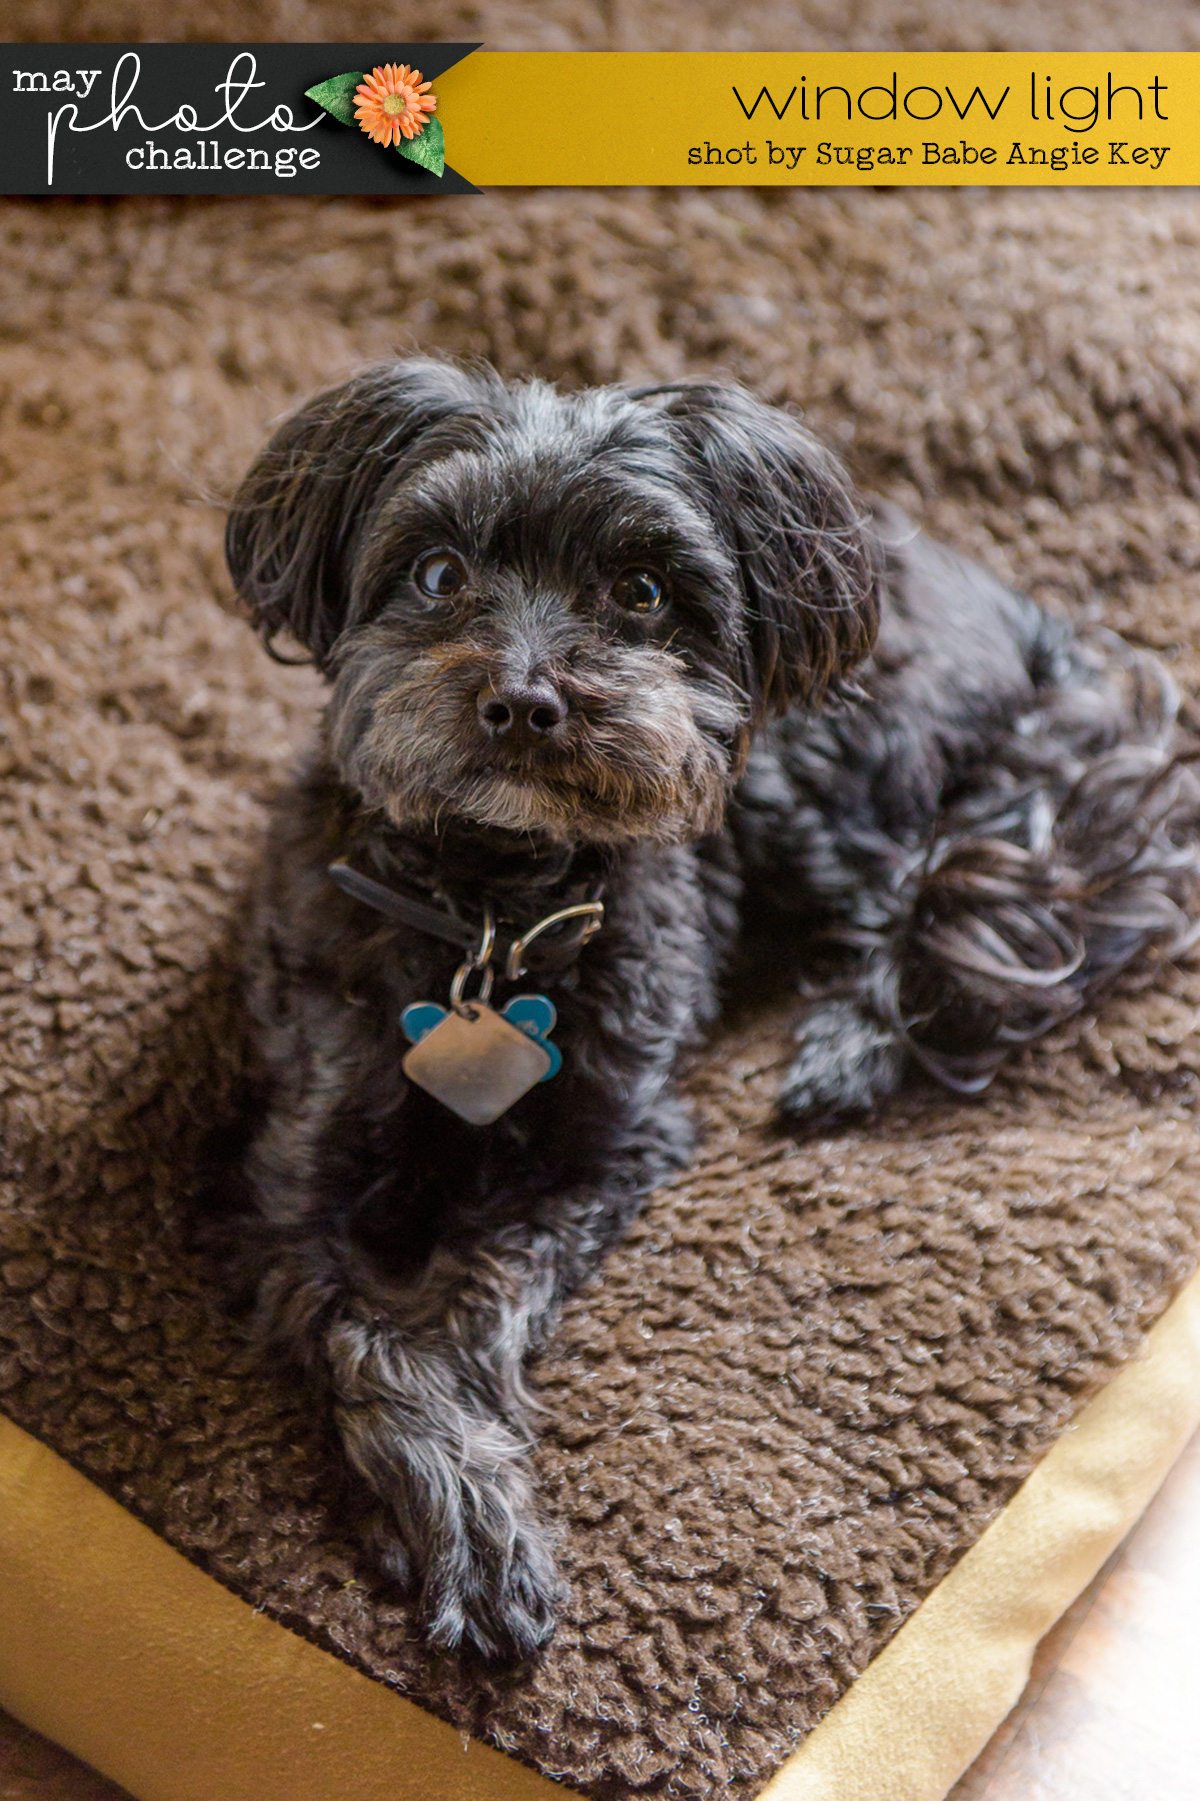
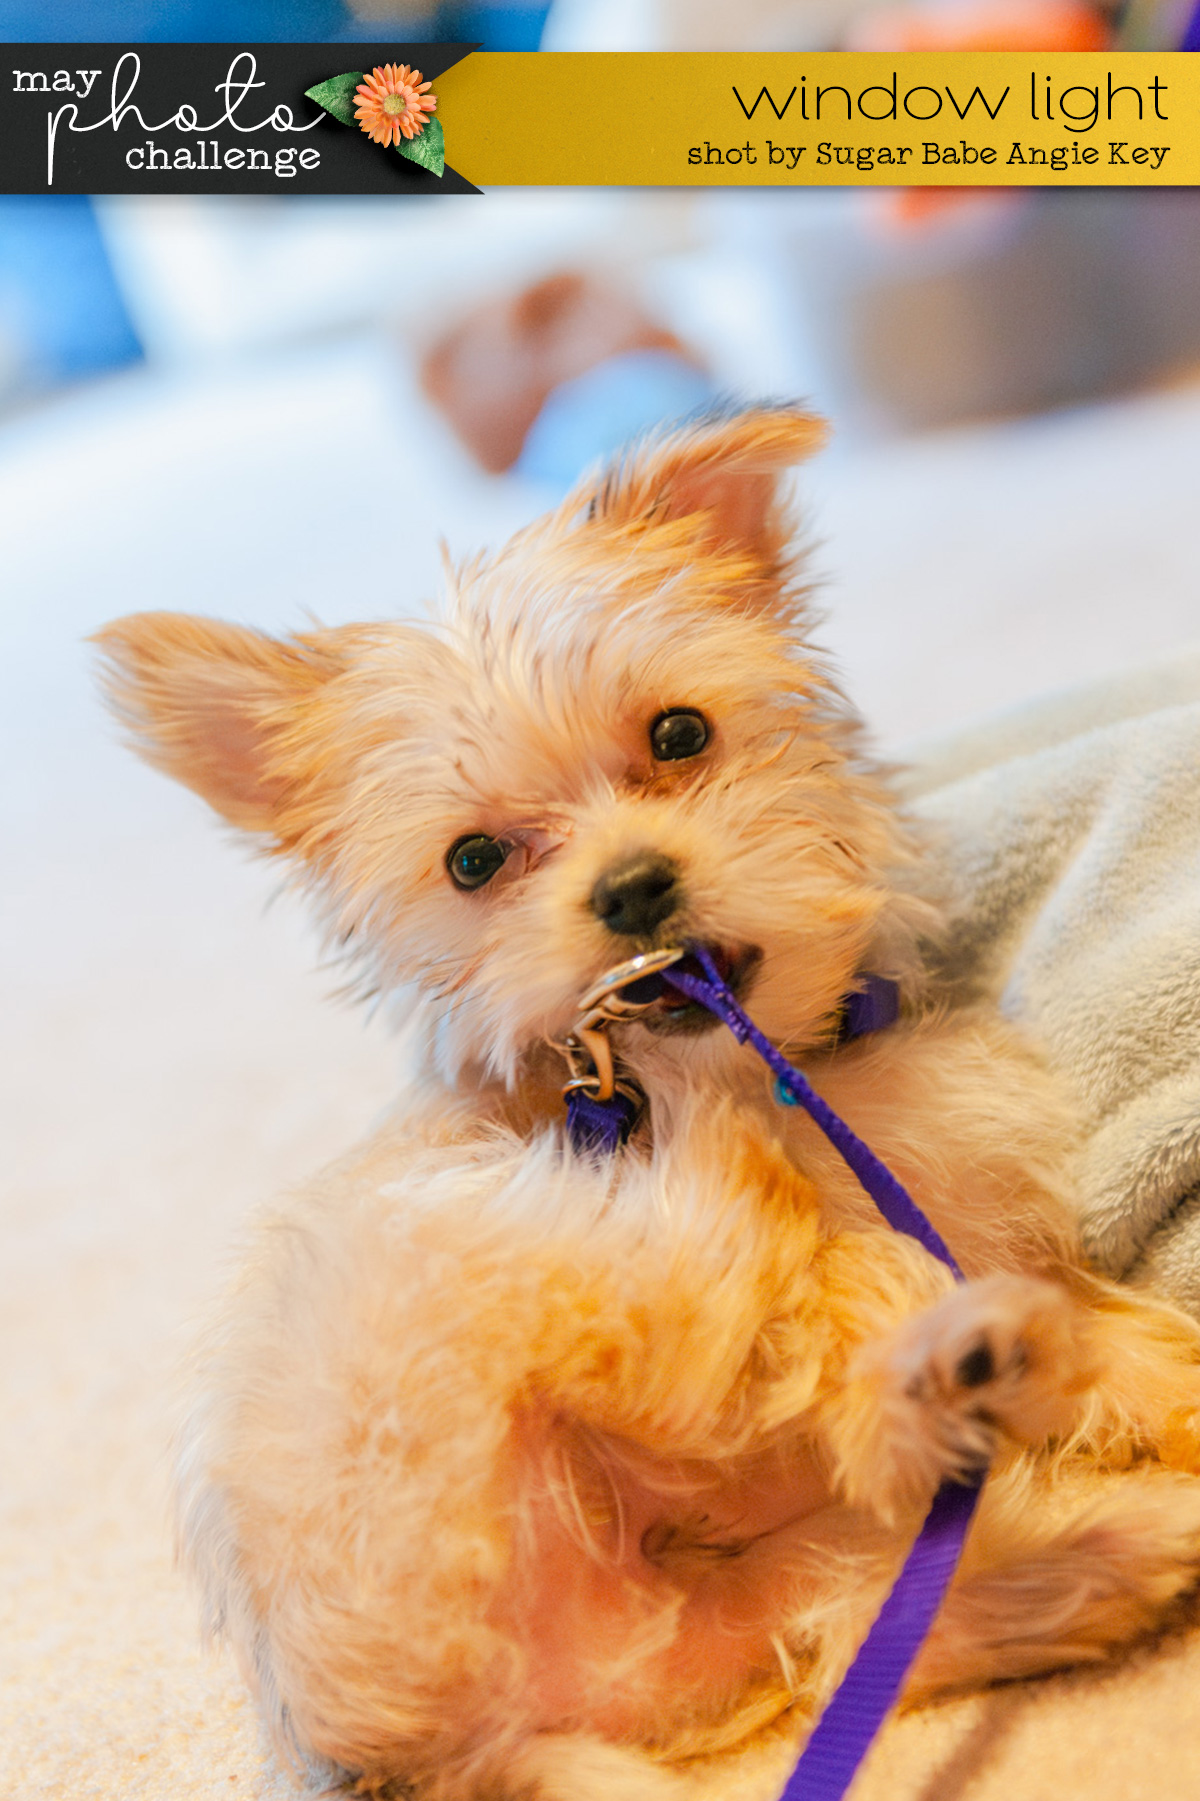
Pets at rest – I said earlier that you don’t want to shoot two dogs play-fighting with window light because they’ll show up blurred. If those same dogs are at rest, however, window light can be the perfect way to capture their sweet faces.
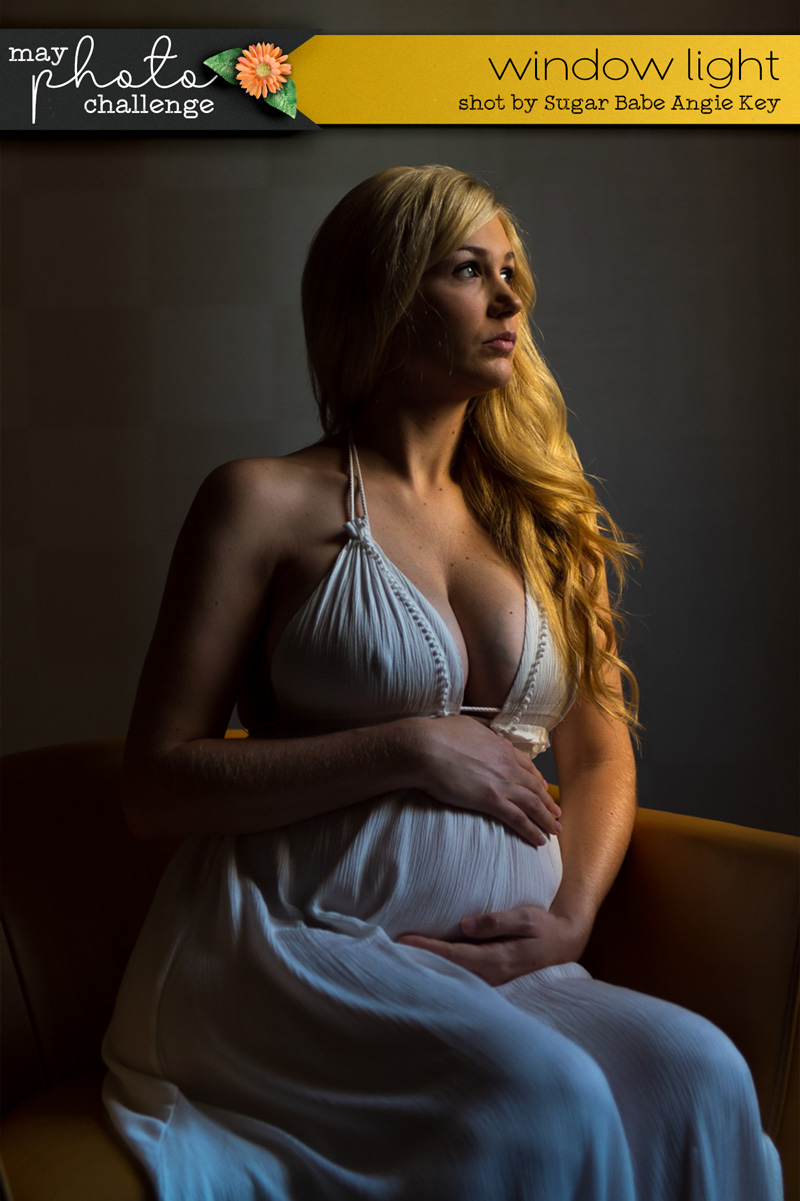
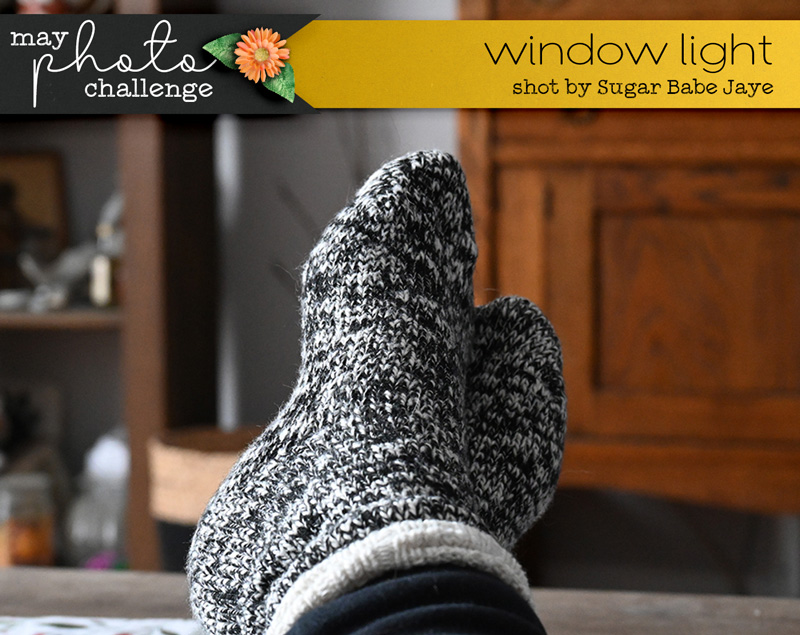
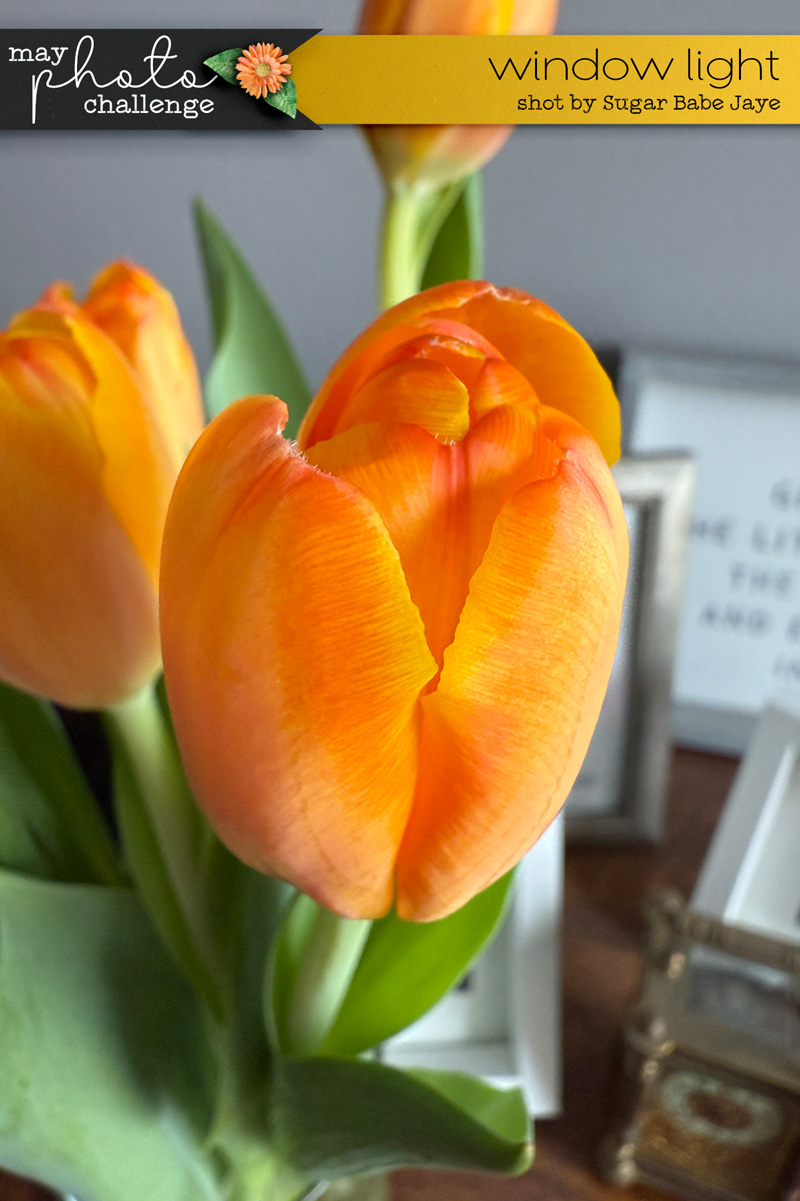
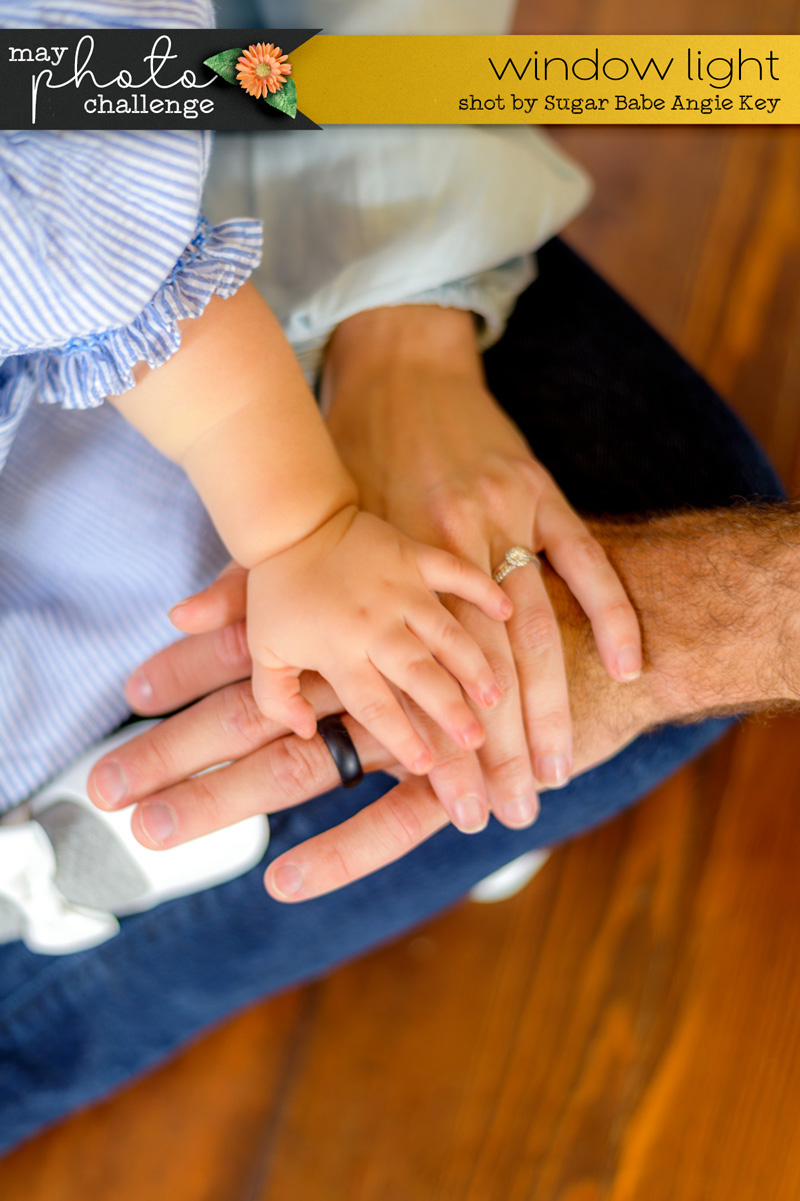
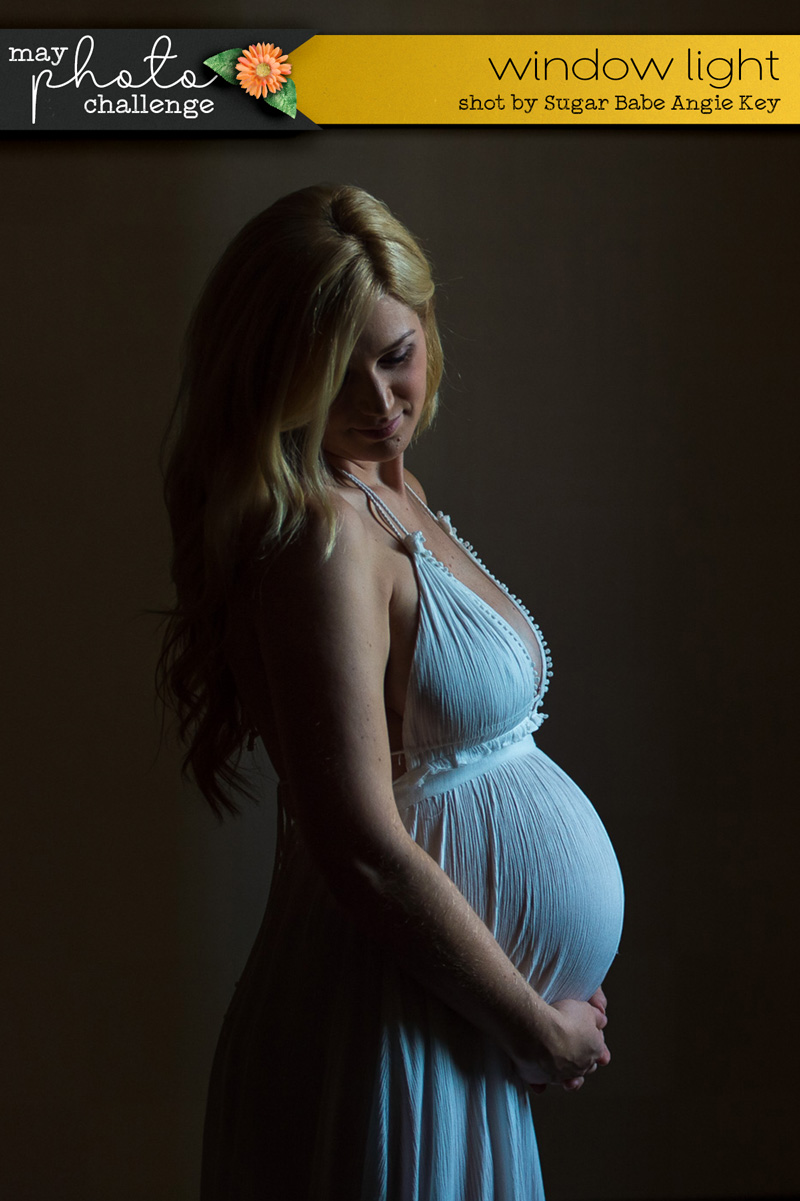
Subjects with Shape & Texture – the curve of a pregnant belly. The chunky knit of a pair of socks. The contrast between a newborn’s soft skin and the furry throw he’s laid upon. These all shoot beautifully using window light.
Resources for shooting with window light
You can find a ton of free resources online to learn more about shooting photographs with window light. Here are a few to get you started:
https://digital-photography-school.com/portraits-with-window-light/
https://expertphotography.com/window-light-portraits/
https://thelenslounge.com/window-light/
https://shotkit.com/window-light-photography/
https://www.photoworkout.com/window-light-photography/
Tips & tricks for shooting with window light
- The larger the window, the softer the light is. Conversely, the smaller the window, the more concentrated the light will be.
- The distance between the window and your subject makes a difference in how it’s lit. Move your subject closer to the window and then farther away. Watch how the distance changes the quality of light. When they’re close together, you get more contrast between light & shadow. The farther apart they are, you’ll get more even, balanced light.
- The direction the window faces is also important. A North- or South-facing window will give you consistent, even lighting any time of day. East or West-facing windows get direct sunlight in the morning and evening, respectively, and the result is more dramatic.
- Draperies can be used to filter the light (in the case of sheers) or narrow the light (if they’re thicker curtains).
- Don’t have a good window? Use your garage. Open the garage door and pose your subject against one of the side walls.
A little more inspiration
Here’s a few more images from the cameras of our Sugar Babes to inspire your window light photography:


Now it’s your turn.
This month, we challenge you to shoot one or more images lit by natural sunlight passing through a window.
When you’ve shot and edited your photographs, share them with us in our new Photo Challenge Gallery – because we can’t wait to see the stories you tell with your photography this month. We may even choose a favorite or two to win a sweet treat!


Krista said...
on May 13th, 2025 at 12:16 pm
Great blog post, Angie!