Getting Started: Installing Fonts
How to install a font for Windows
Windows 7
1. Save your font to a file folder for safe keeping.
2. Unzip your font file.
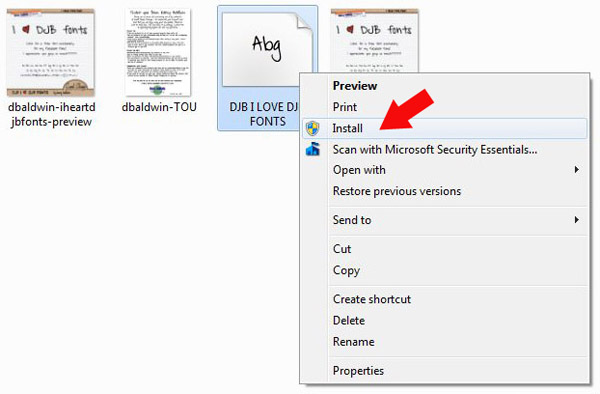
3. Right click your font.
4. Click install.
5. Open your photo editing program.
Windows Vista, XP, or earlier versions
1. Save your font to a file folder for safe keeping.
2. Unzip your font file (see this tutorial for unzipping instructions/suggestions).
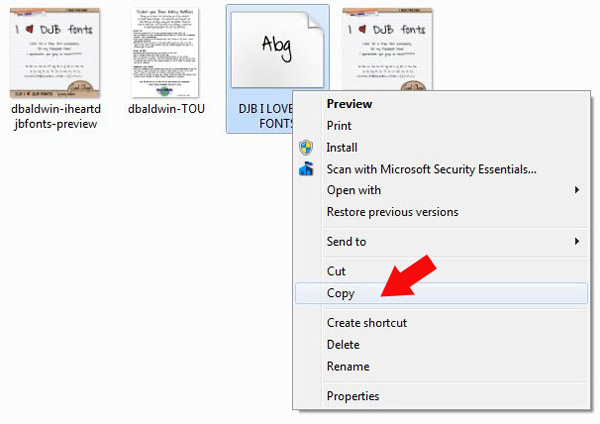
3. Right click on your font.
4. Click copy.
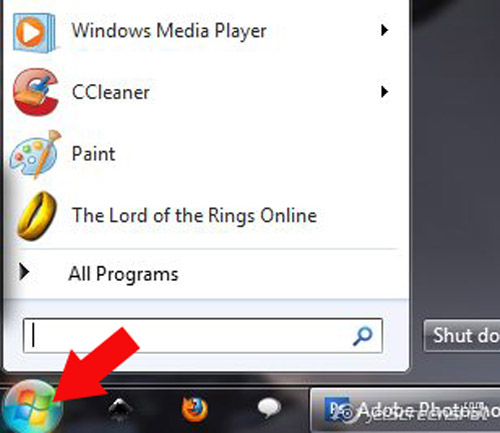
5. Click your Start Menu.
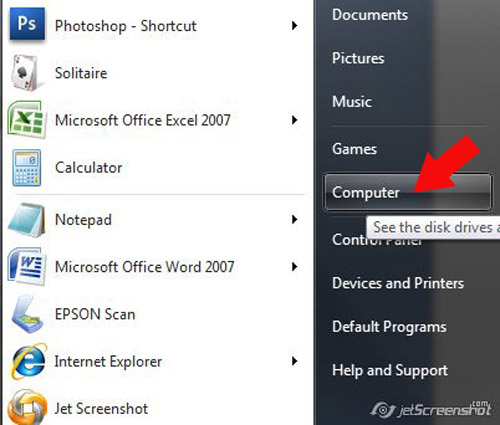
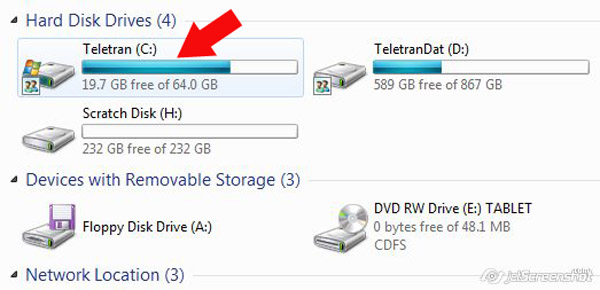
6. Choose Computer.
7. Choose C:.
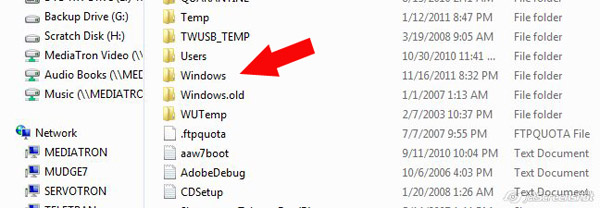
8. Choose Windows.
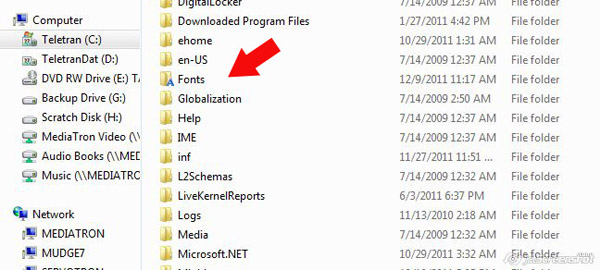
9. Choose Fonts.
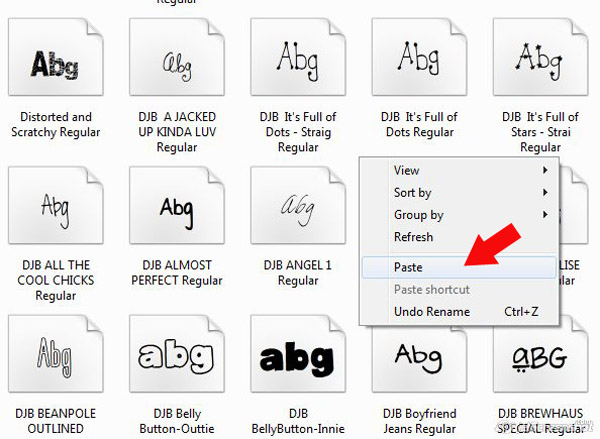
10. Paste your font into the c:/windows/fonts folder.
11. Start your photo editing program.
These instructions should work for any version of Windows.
A hint: Keep your fonts copied in a secondary folder somewhere so that if at any time you have a crash or have to reinstall windows, you’ll have all of your fonts in the extra folder to copy over.
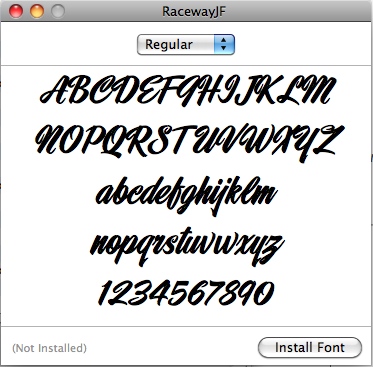
How to install a font for MAC
1. Download font.
2. Click on font.
3. Choose install.
4. Open your photo editing program.
Alternate MAC instructions
1. Download font.
2. Drag font to the System Folder.
3. Click OK.
4. Open your photo editing program.
As always, be sure to check with your system manual (or the associated website) for any instructions if you run into problems.
