One Template, Seventeen Ways with Ponytails Designs
Another month has come and (almost) gone, which means it’s time for our latest round of “One Template, Many Ways”!
If you’re new around here, this is a monthly installment on our blog and socials where we challenge our creative team – aka the Sugar Babes – to all work with one digital scrapbook template. The goal is to have them come up with as many layout variations as they can and show off the true versatility of layered templates. And along the way, you’ll get lots of ideas for your next scrapbook layout!
This month, we’re featuring the cluster-filled, gorgeous work from Natasha of Ponytails Designs. The kits that Nat designs are filled with gorgeous flowers, foliage, and themed elements, so it makes sense that her templates provide plenty of opportunity to showcase element clusters. We’re working with her newest release, Temptations 14. It includes four coordinated templates with a cohesive look and feel. They feature square photo masks clustered atop paper pieces with elements sandwiched between and around them. Each has a space set aside for a prominent title, and they include ample space for journaling.
These templates are all sized for 12″ x 12″ and are available in PSD, TIFF, and PNG formats for use with your favorite digital scrapbooking programs.
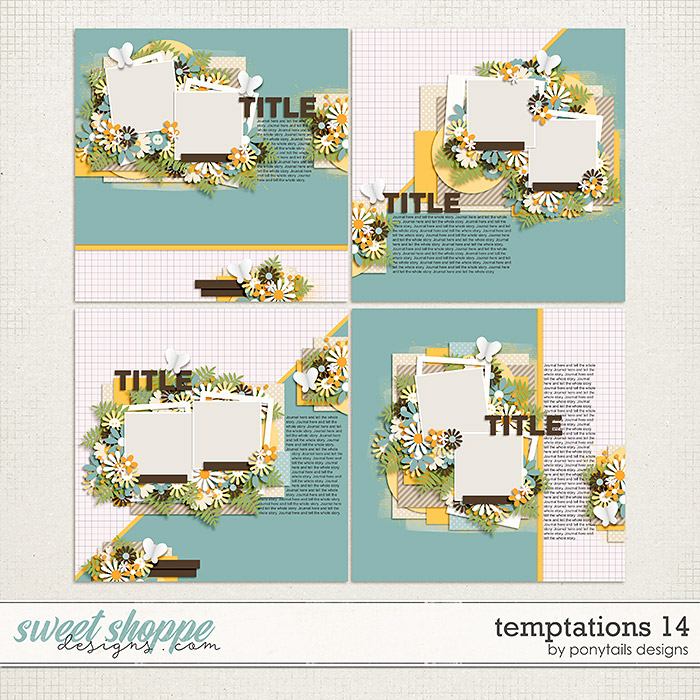
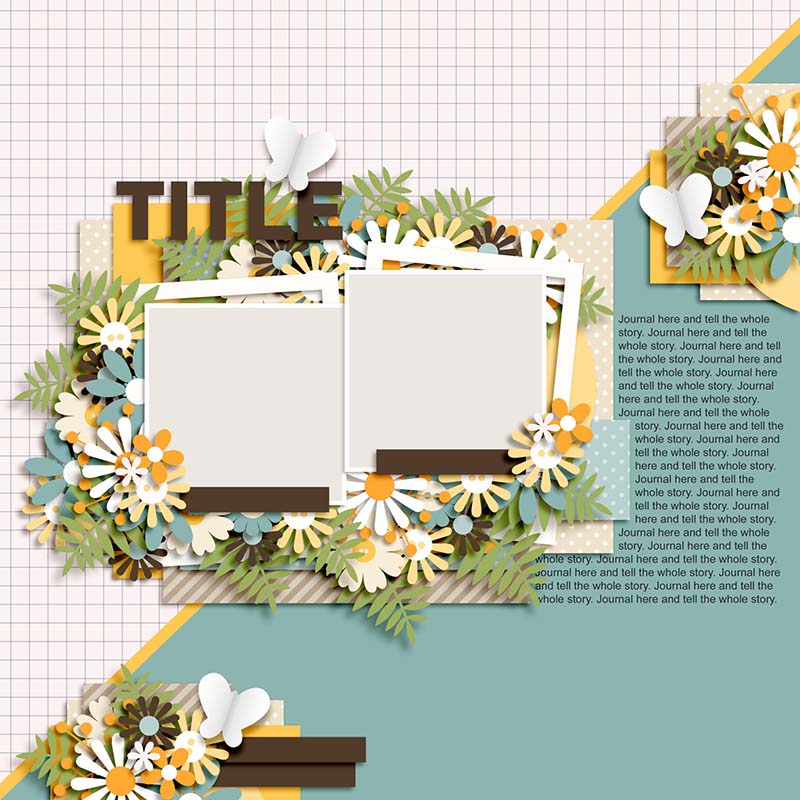
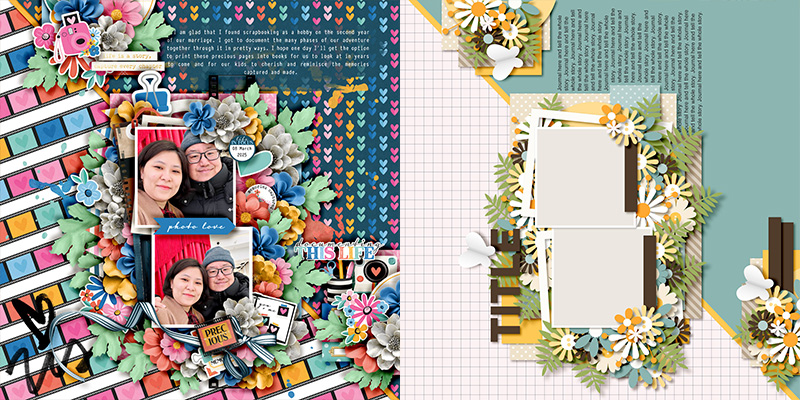
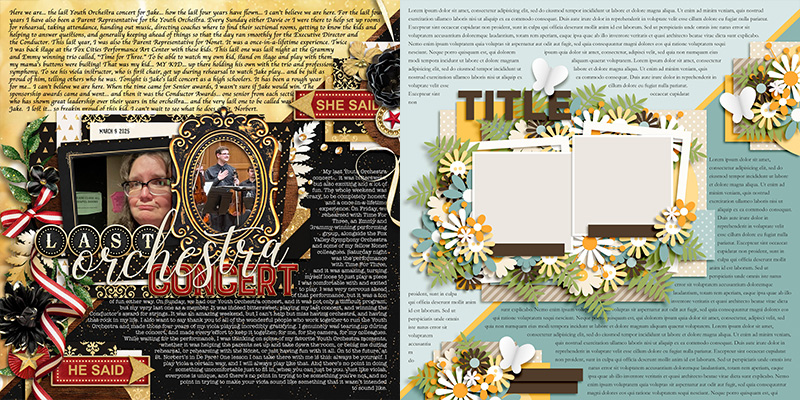
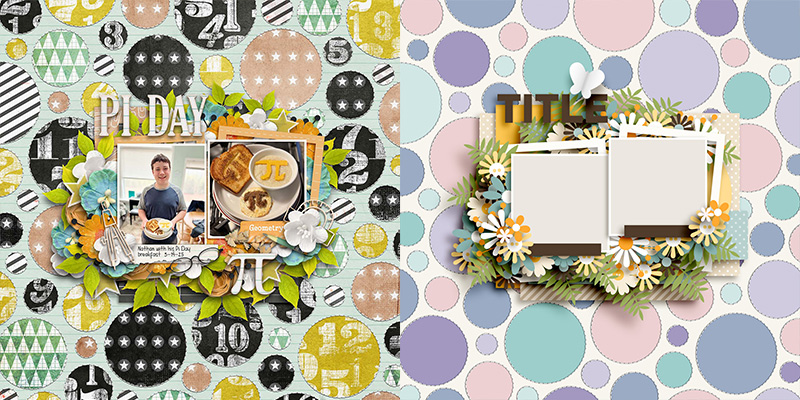
For today’s challenge, we’re working with the template in the lower left-hand corner. Its two photo blocks sit centered atop a diagonal background design and are anchored by two additional smaller paper-and-element clusters, one on the upper right edge of the page and the other at the bottom left. It includes a shaped text box for journaling that flows around the edges of the main cluster.
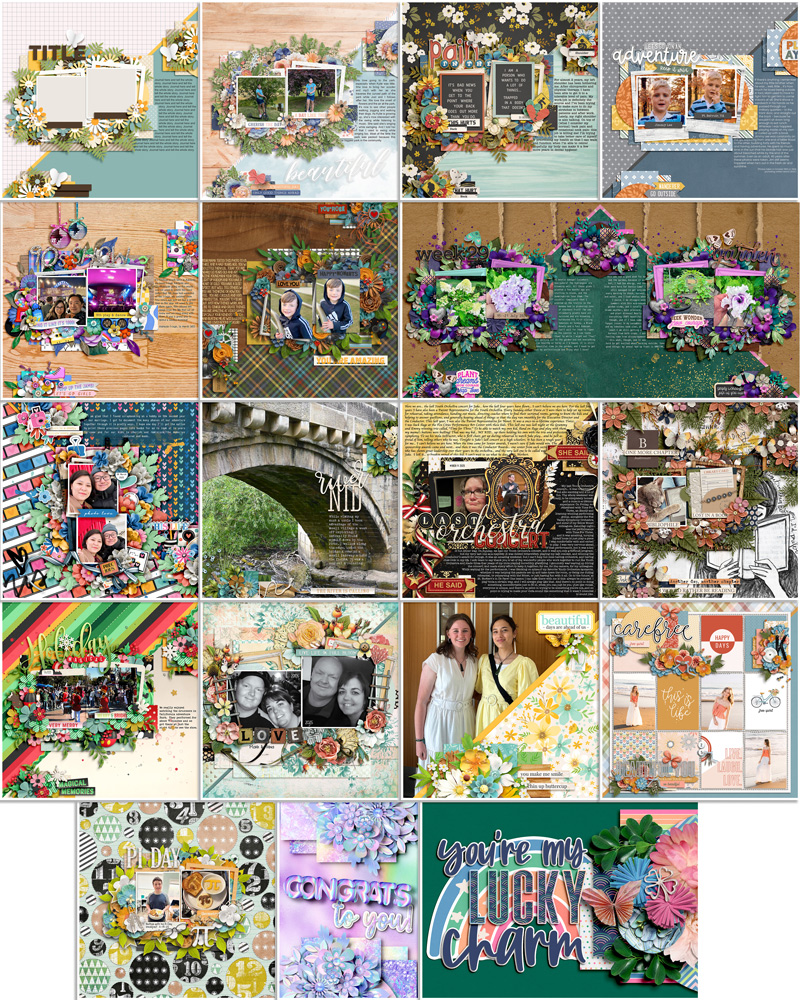
We gave this template to our creative team of Sugar Babes and challenged them to use it as the starting point to create as many unique layouts as they could come up with. Of course, every layout created with a template will look different when used with different digital scrapbooking kits and supplies, but there are additional techniques you can use to produce even more unique layouts. The Babes worked their magic and came up with a whopping seventeen different variations on this one template. Read on to learn more about how you can use these same techniques on your next template-based layout!

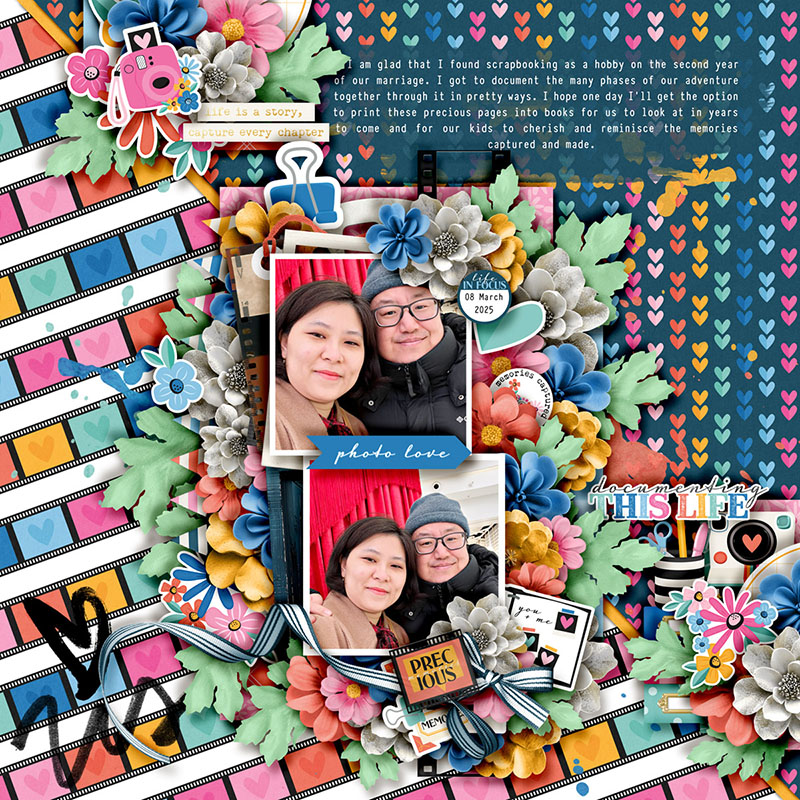
Cherry starts us off with a layout that uses the template exactly as-is. She clipped two photographs to the photo masks and then clipped a variety of papers from her chosen kit to the paper layers. Cherry replaced the flower and leaf shapes with elements from the kit, replaced the brown rectangular placeholders with word art strips, and added her journaling where indicated. The result is a beautiful, well-balanced layout that will look lovely in her family’s album!

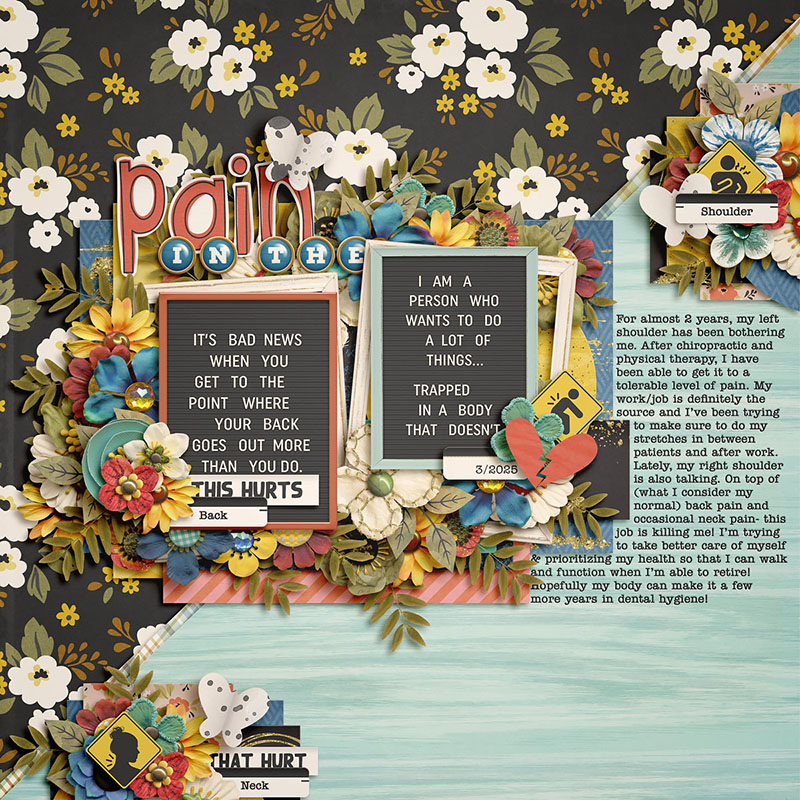
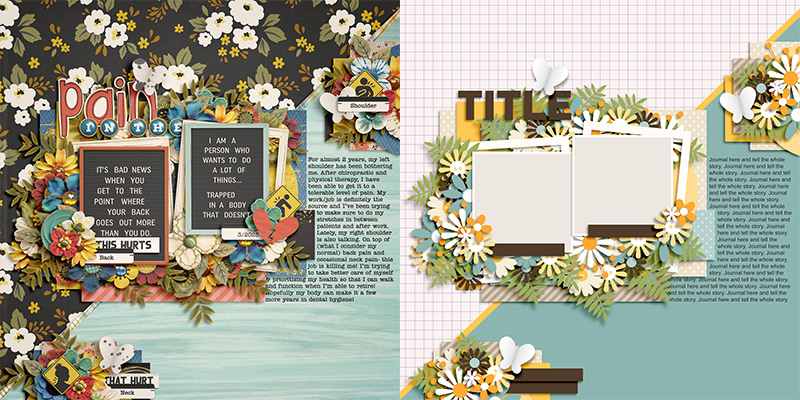
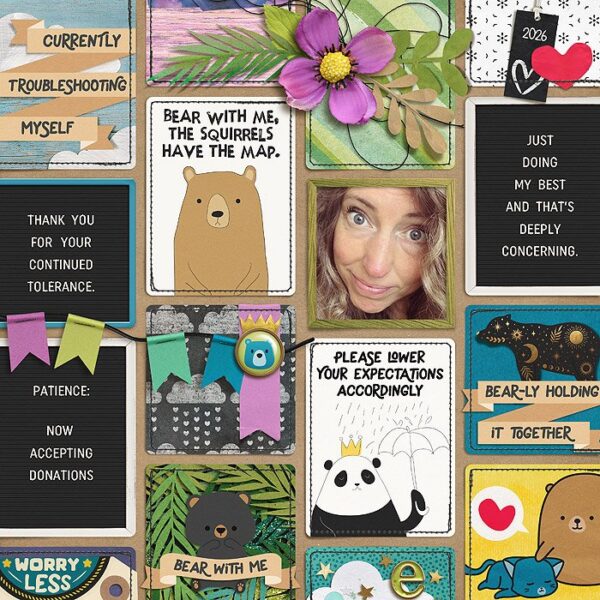
Amie demonstrates how to use this template to create a photoless layout; after all, sometimes you have a story to tell that doesn’t come with photographs. Instead, Amie used a themed kit and placed 3×4 pocket-style cards where the template had space for photos. It’s a great way to include a bit of humor in an otherwise serious (and painful!) story.

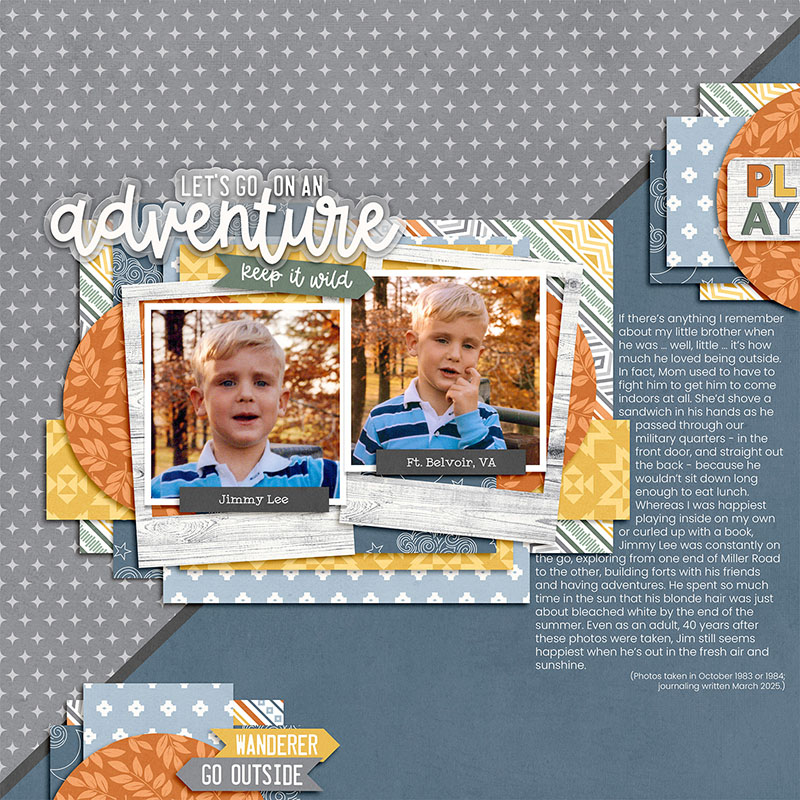
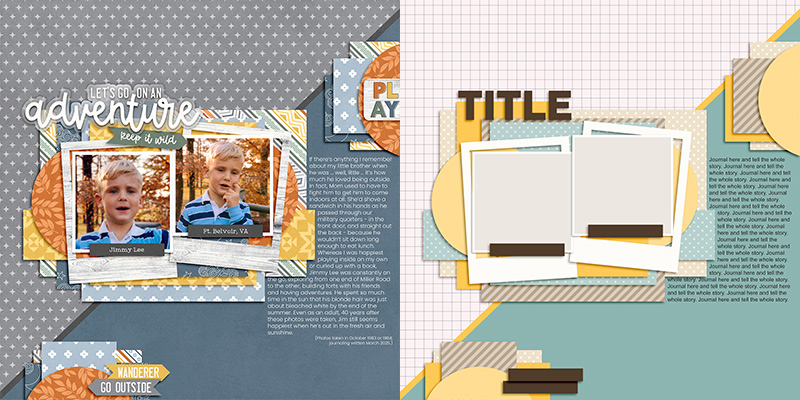
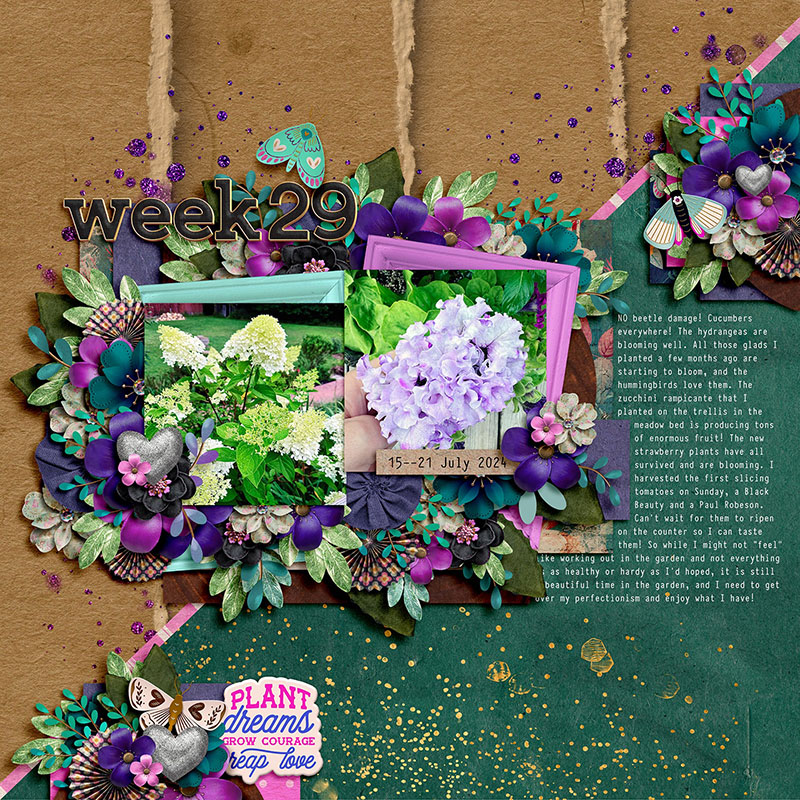
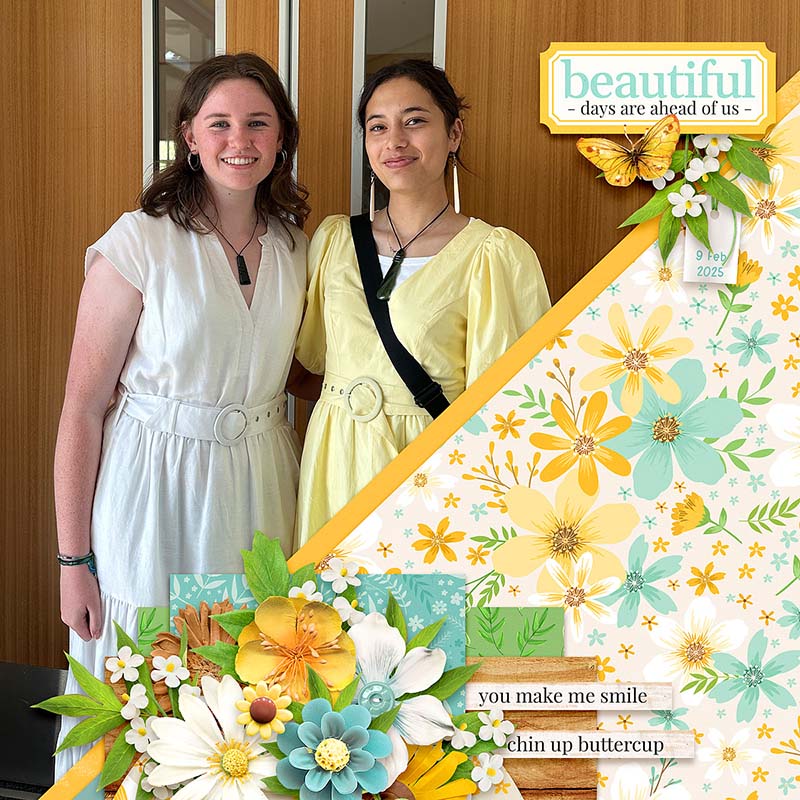
I’ve begun scanning my family’s old 35mm slides, and came across these shots of my little brother from the early 1980s. To create a more masculine layout, I went for more of a clean-and-simple version of the template by hiding or removing all the flower and leaf layers. What was left were clusters of layered shapes that really allowed the patterned paper to stand out while still keeping those photos front and center. A mix of word art for my title plus some journaling with a similarly “clean” font, and I’m pleased with the results!

Eve’s variation on this template involves simplifying the background, replacing the diagonally-shaped paper layers with a single sheet of patterned paper. It gives her layout a different feel while still remaining balanced thanks to the three clusters. I love the way she “hung” the mirror balls from the top edge of her layout – so fun!

Jill is the first Babe to take a “spin” on this layout by changing its orientation. She rotated the template 180-degrees so the smaller clusters are now at the top right and lower left. It’s a great way to stretch the use of a template, especially if you’re creating an album where you want your pages to share a common look – using a single template and rotating it like this is a great way to add variety while still maintaining a cohesive feel.

Sherly’s spin on this template is a literal one; she rotated the template 90-degrees to the left. It changed the direction of the layout’s flow (instead of right-to-left, it’s now left-to-right) but maintains all that beautiful clustery goodness and balanced energy. This is a good approach to take especially if the photo masks on the template are in a different orientation from what you need … like, say, landscape versus portrait.

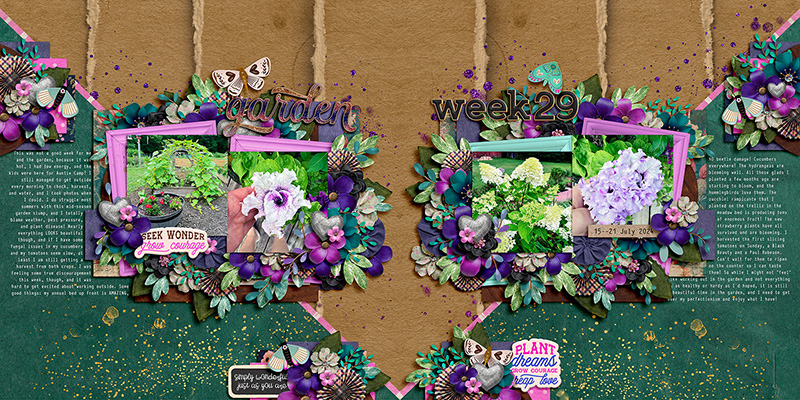
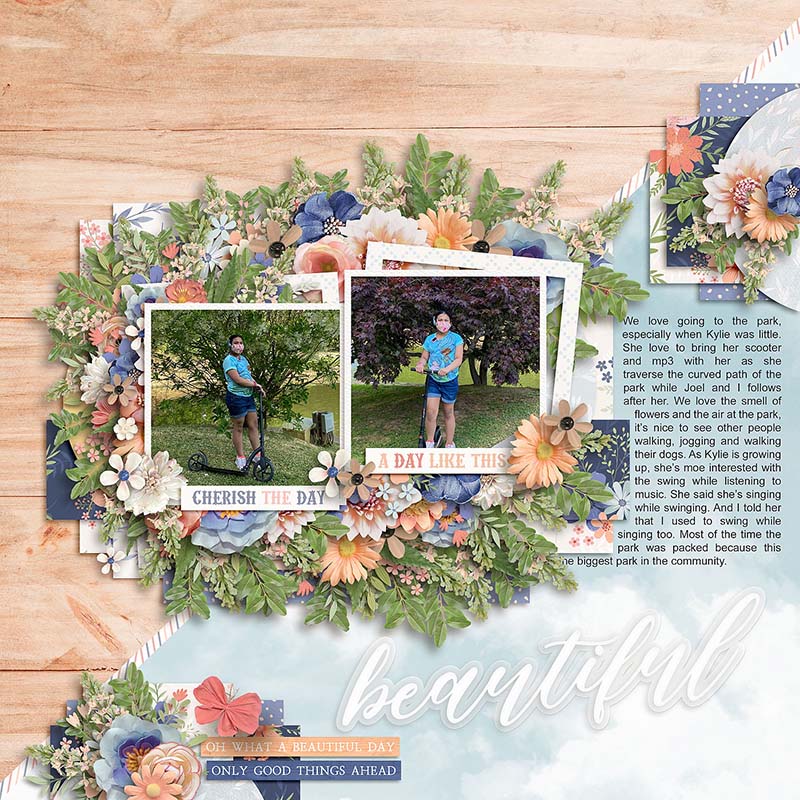
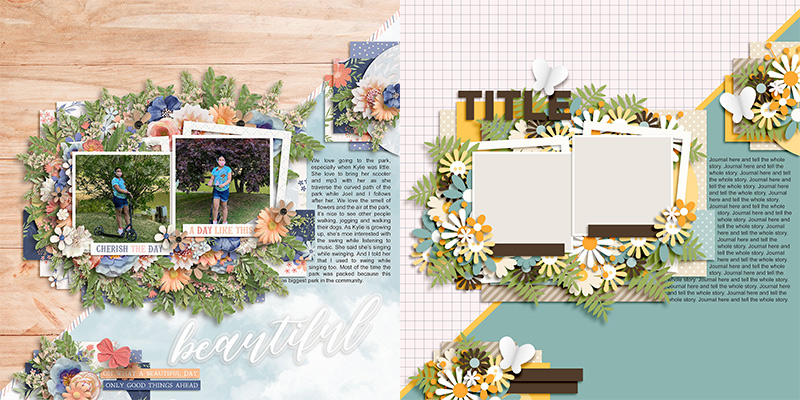
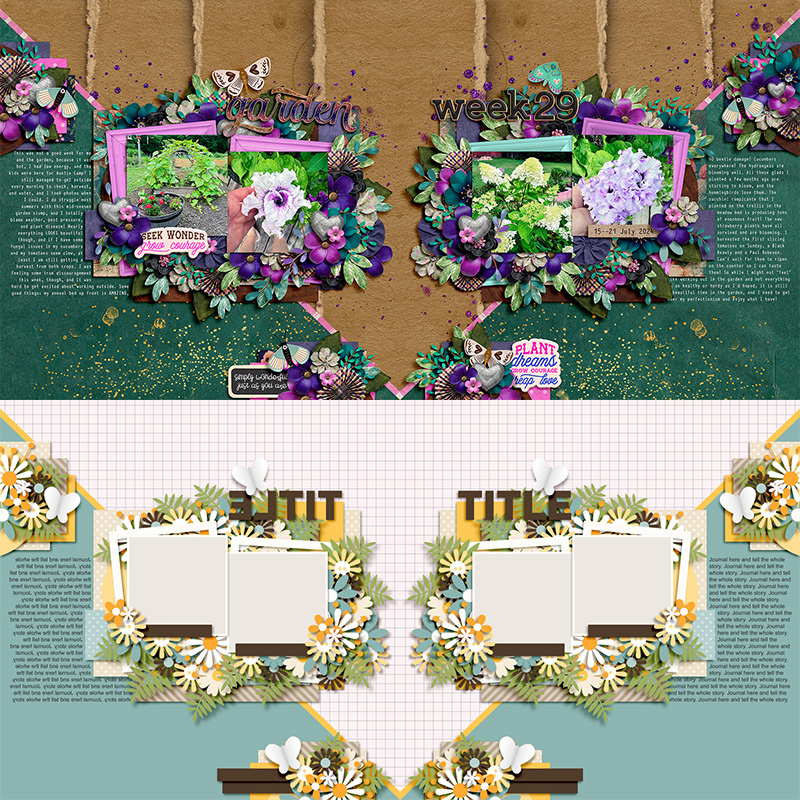
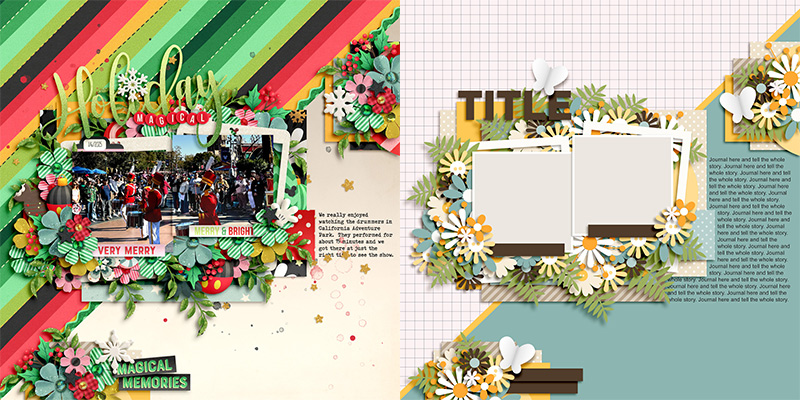
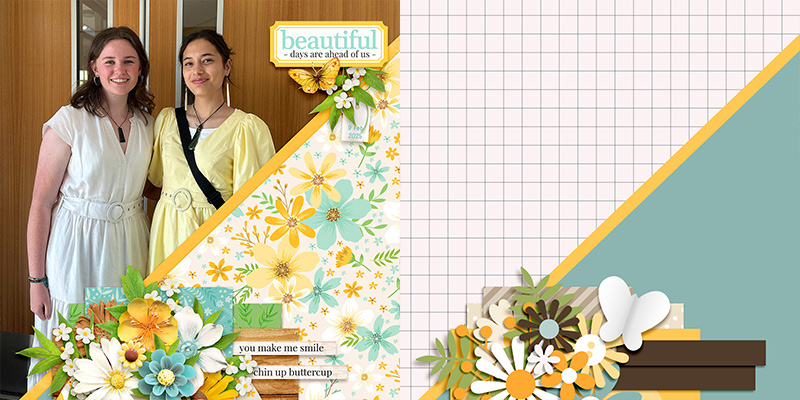
Ally’s layout is a double treat – a two-page spread! These two pages will face each other in her printed album, and they continue a single story across the full 24″ of width. Let’s take a closer look:
The left-hand page of Ally’s spread is a mirrored version of the template (flipped horizontally) which she used as-is on the right-hand page.
I love the way these two pages look together! The diagonal background pulls the eye toward the center, and her choices of flowers, leaves, and other elements provide the perfect complement for those gorgeous photographs. Beautifully done!

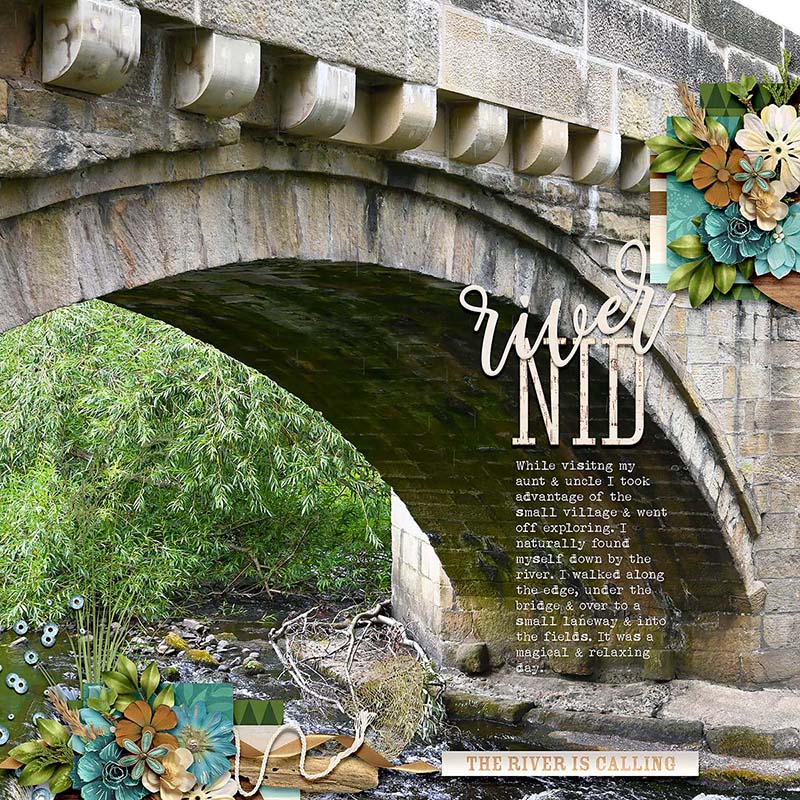
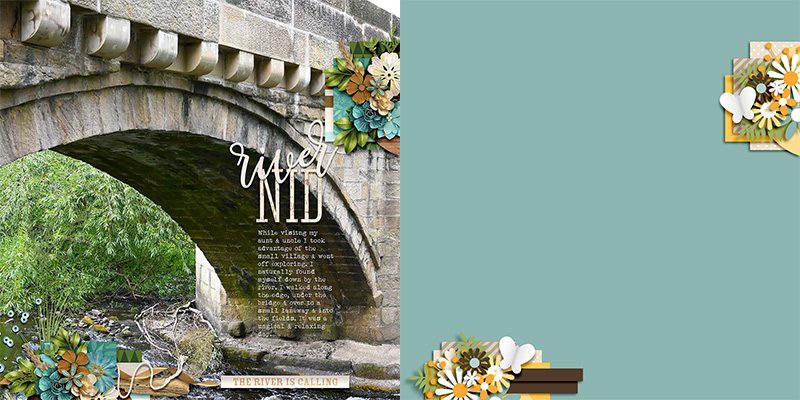
Jaye is a talented photographer and avid traveler, and she used this template to create a layout that allowed one of her stunning photographs to take pride of place in full 12×12 glory. To use her large photograph as the background, she removed the main photo and element cluster as well as the background layers, leaving the two smaller clusters. They’re perfect for accenting her photograph with some gorgeous, textured elements. Then she added a title and journaling directly over the photograph in a shadowed area and the result is something you’d expect to see on the glossy pages of a magazine. Simply stunning!

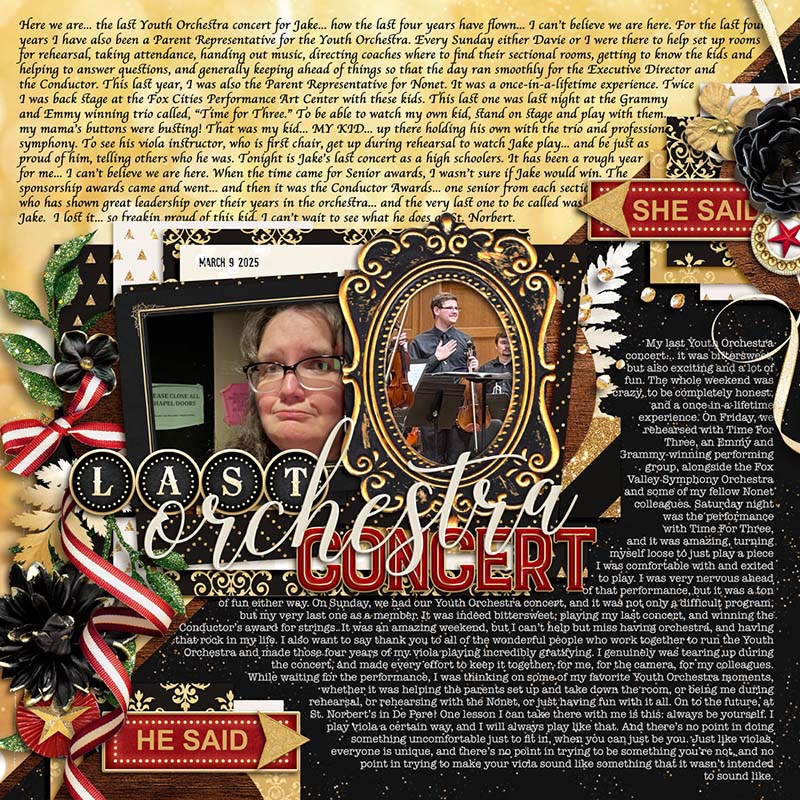
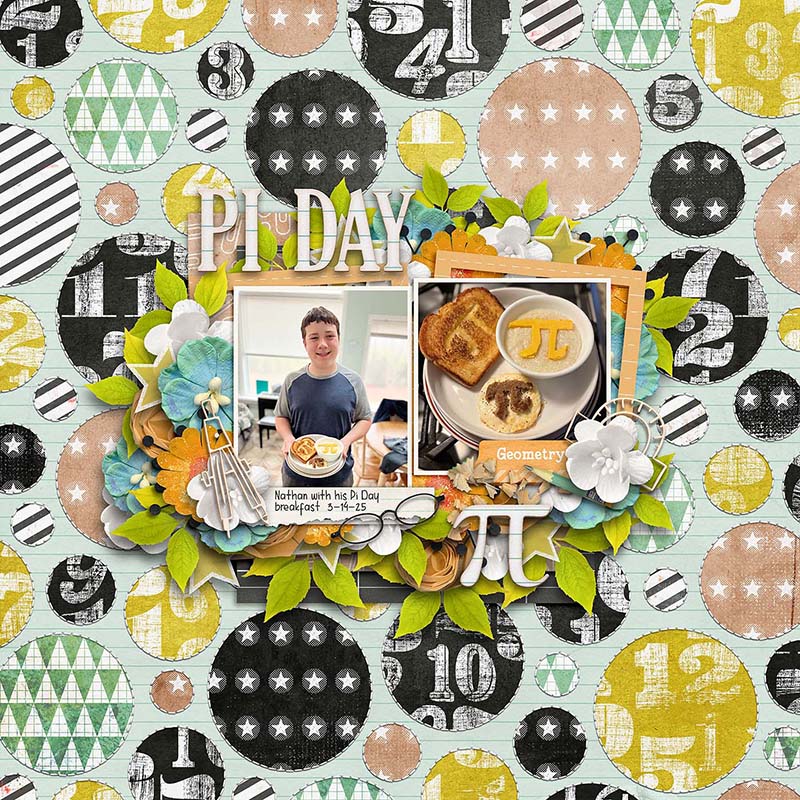
I love scrapbook pages that tell a story, and I’m always looking for ways to fit more journaling on my layouts. Rebecca shows us how it’s done with this take on the template. By filling the open background space with journaling, and clipping solid (or mostly solid) papers to those blocks, she was able to fit a significant narrative on this layout. But that’s not all – she made use of the diagonally-divided background to tell not one but two stories: her take on her son’s last orchestra concert is in the upper yellow field, and her son’s perspective is captured in his words that fill the lower black portion of the background. What a great way to capture and chronicle this milestone from both perspectives!

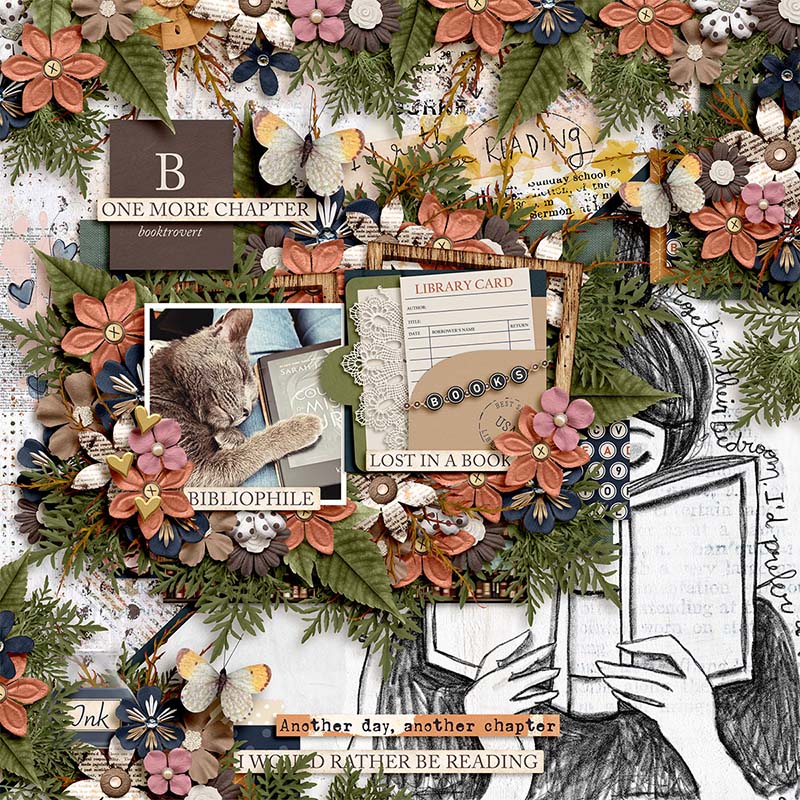
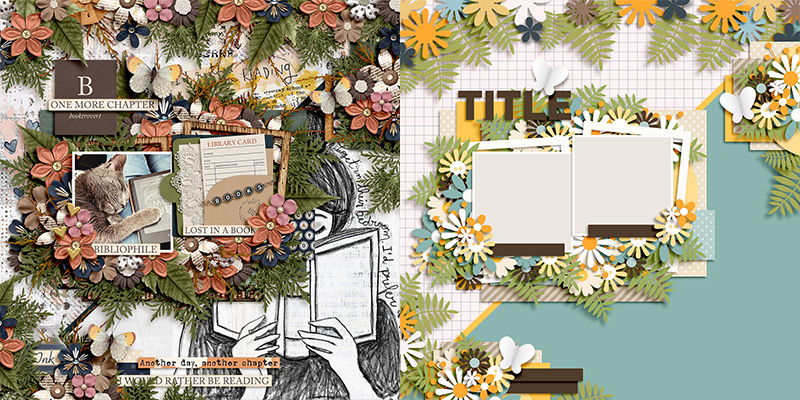
If you love lots and lots of element clusters on your layouts, you’ll love Judie’s version of this template. She added more floral clusters to the top edge and bottom corner to really amp up the clustery beauty. By repeating and mixing the same seven blooms and three or four foliage elements, it keeps the layout feeling cohesive and well-planned. And on a photographic note, I have to say how much I love that shot of her lap with the Kindle and a cuddly kitty. “Point of view” shots are a fantastic tool for storytelling!

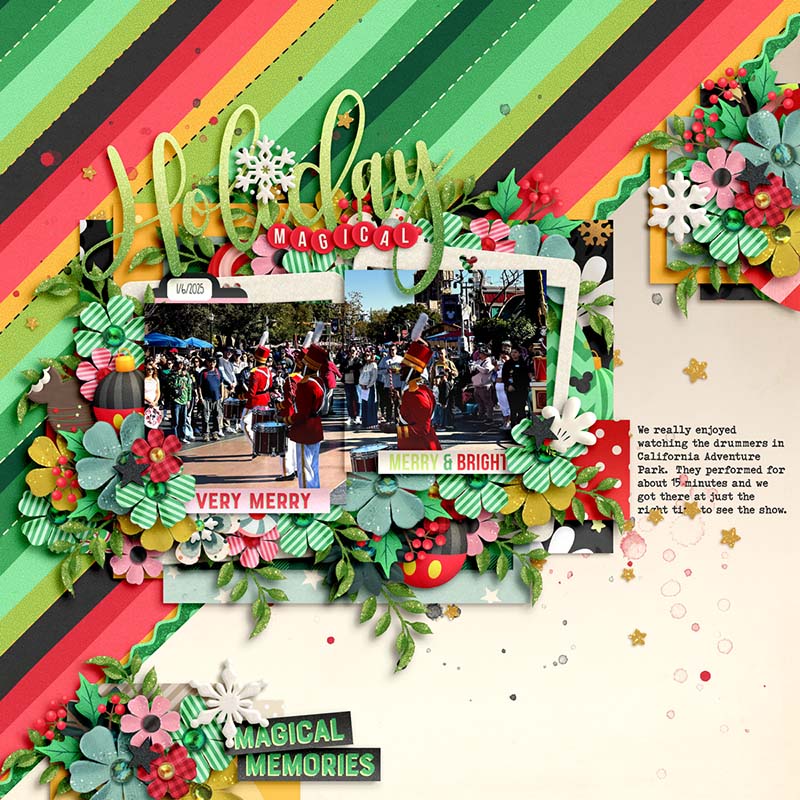
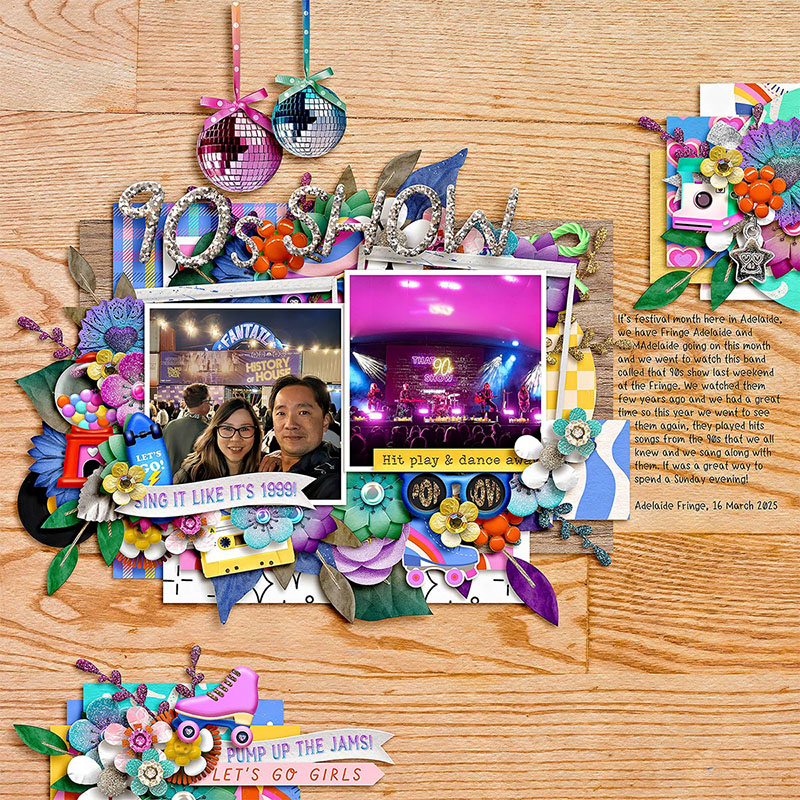
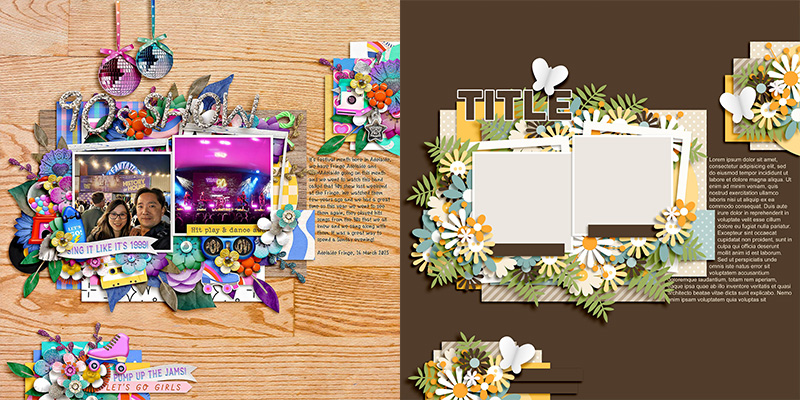
Carrie demonstrates a fun way to use this template to showcase a panoramic landscape-oriented photograph by clipping one image across both photo masks. It’s subtle, but if you look closer, you’ll see that it’s one continuous image of the parade. This is a superb way to extend the use of a template even when the image you want to use is a different shape than the template is originally designed for. And I love her use of the diagonal striped paper in the upper background layer – it works perfectly with the shape of the template!

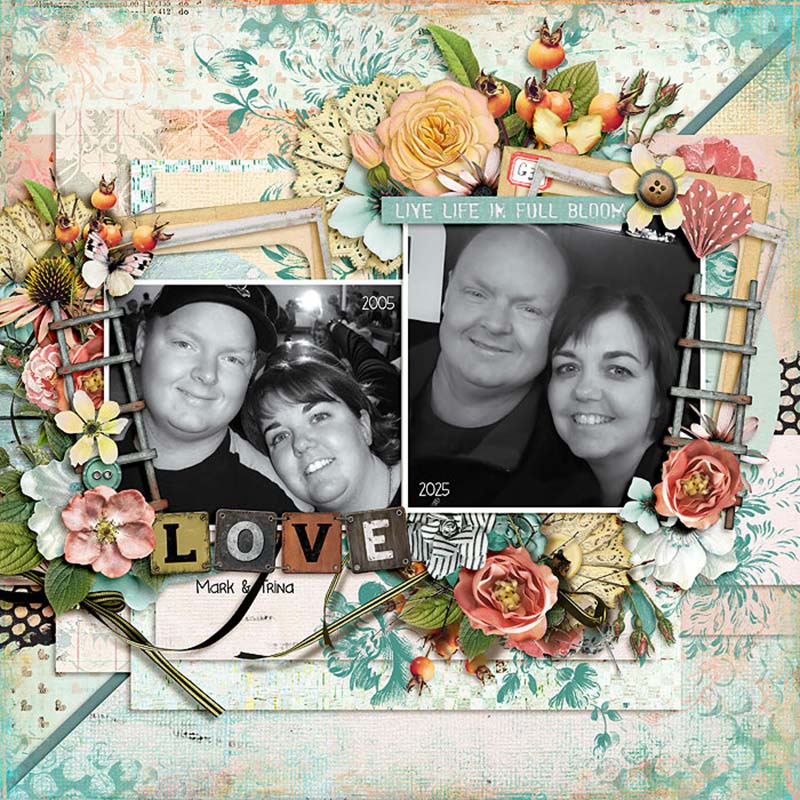
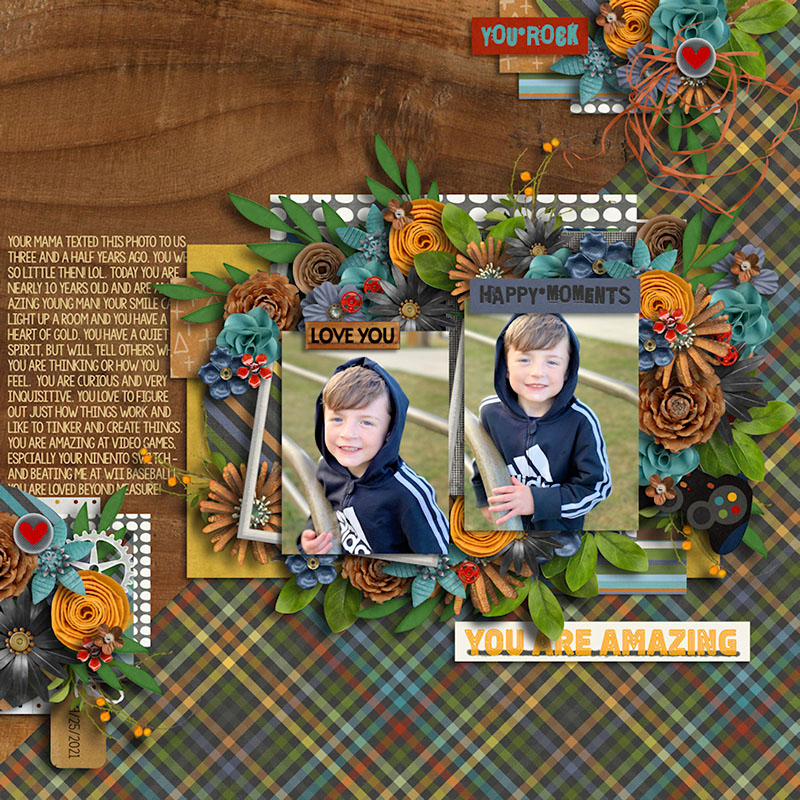
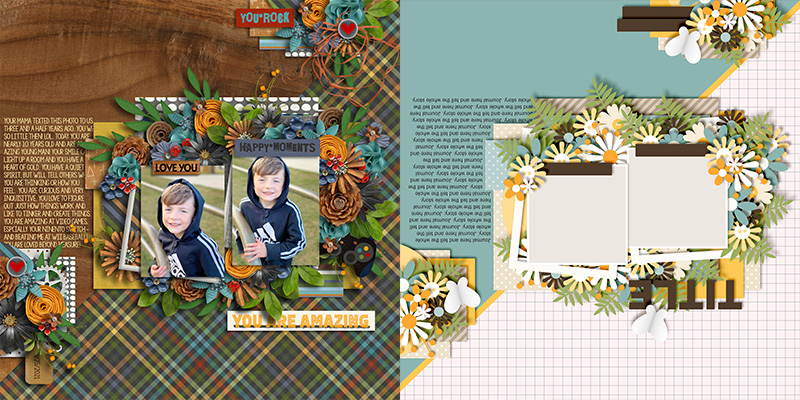
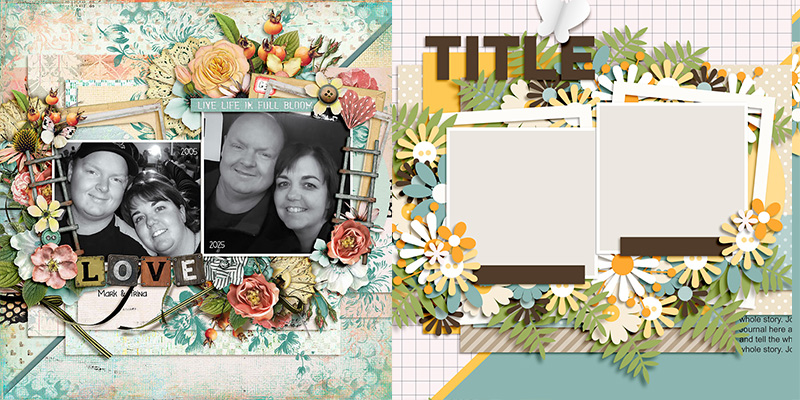
Trina’s sweet layout (I love “then-and-now” side-by-side photographs!) is the first to play with the size of the template. She selected all the template’s layers and increased their size to 150%, centering the main cluster with the photos and title on her canvas. This allowed her to showcase larger photographs while still making use of the beautifully-designed clusters. It’s yet another great way to extend the use of a template!

While we’re playing with the template’s size, let’s look at Jacinda’s variation which increased the template to 200% its original size and centered on the lower left corner. Jacinda replaced the background patterned paper with a big, beautiful photograph, and used the cluster at the bottom of the page to anchor the layout and add some springtime gorgeousness. I like her addition of the word art and small sprig of flowers to the upper right corner as well!

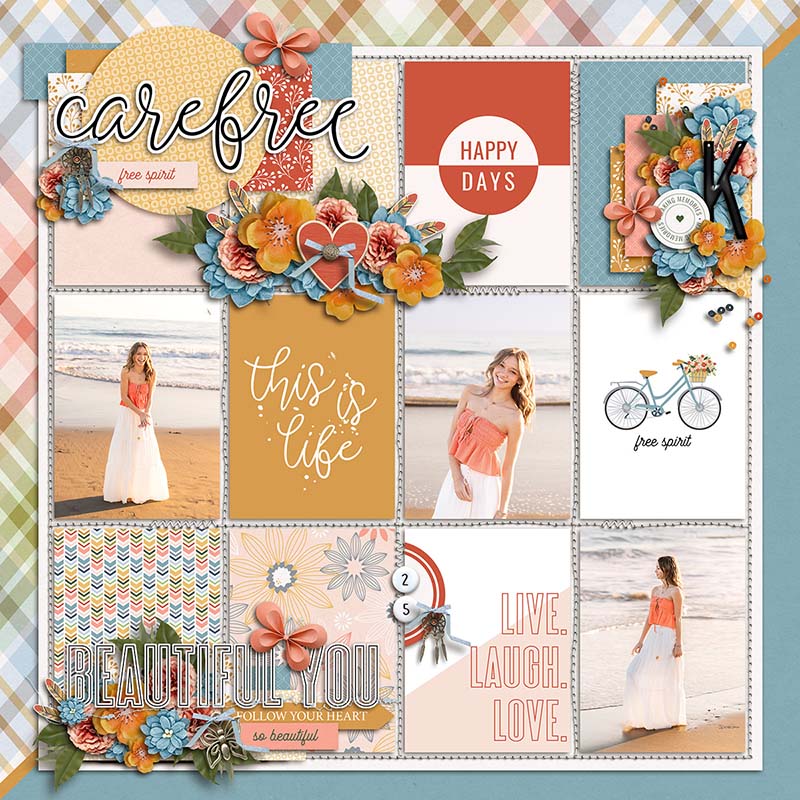
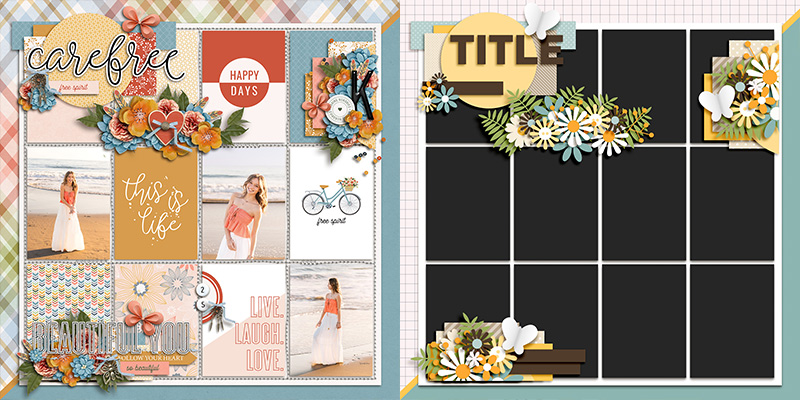
Where’s our pocket scrapbookers – raise your hand?!? If you’re all about the block- or pocket-style layout, don’t automatically count out a template like the one from Ponytails. Take a look at this beautiful page from our resident Pocket Scrapbooking Expert, Sugar Babe Krista. She added a 4-by-3 grid of 3″ x 4″ pockets to the background of the template. By then shifting around the element clusters, resizing them a bit, and removing many of the layers from the main cluster, she used them to create dimensional embellishments that sit atop her digital pocket page and help guide the eye from block to block. It’s masterfully done, and I adore the result!

Charlene earns the Mixmaster prize for today’s challenge with her mix of two templates! She combined the main photo-and-element cluster from the Ponytails template with one of Cindy Schneider’s new Bold Background templates (from Bold Backgrounds 2, to be exact). It gives the whole layout a completely new feel, while still showcasing a beautifully-designed and well-balanced focal point for her page.

Don’t limit yourself to scrapbook pages when you’re looking for new ways to use a template. Why not use it to design a greeting card? I isolated the cluster from the lower left corner of the template and dragged it to a new 5″x7″ canvas to create this holographic Congratulations card.
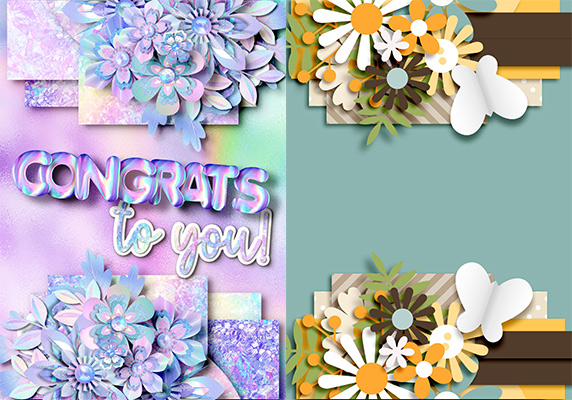
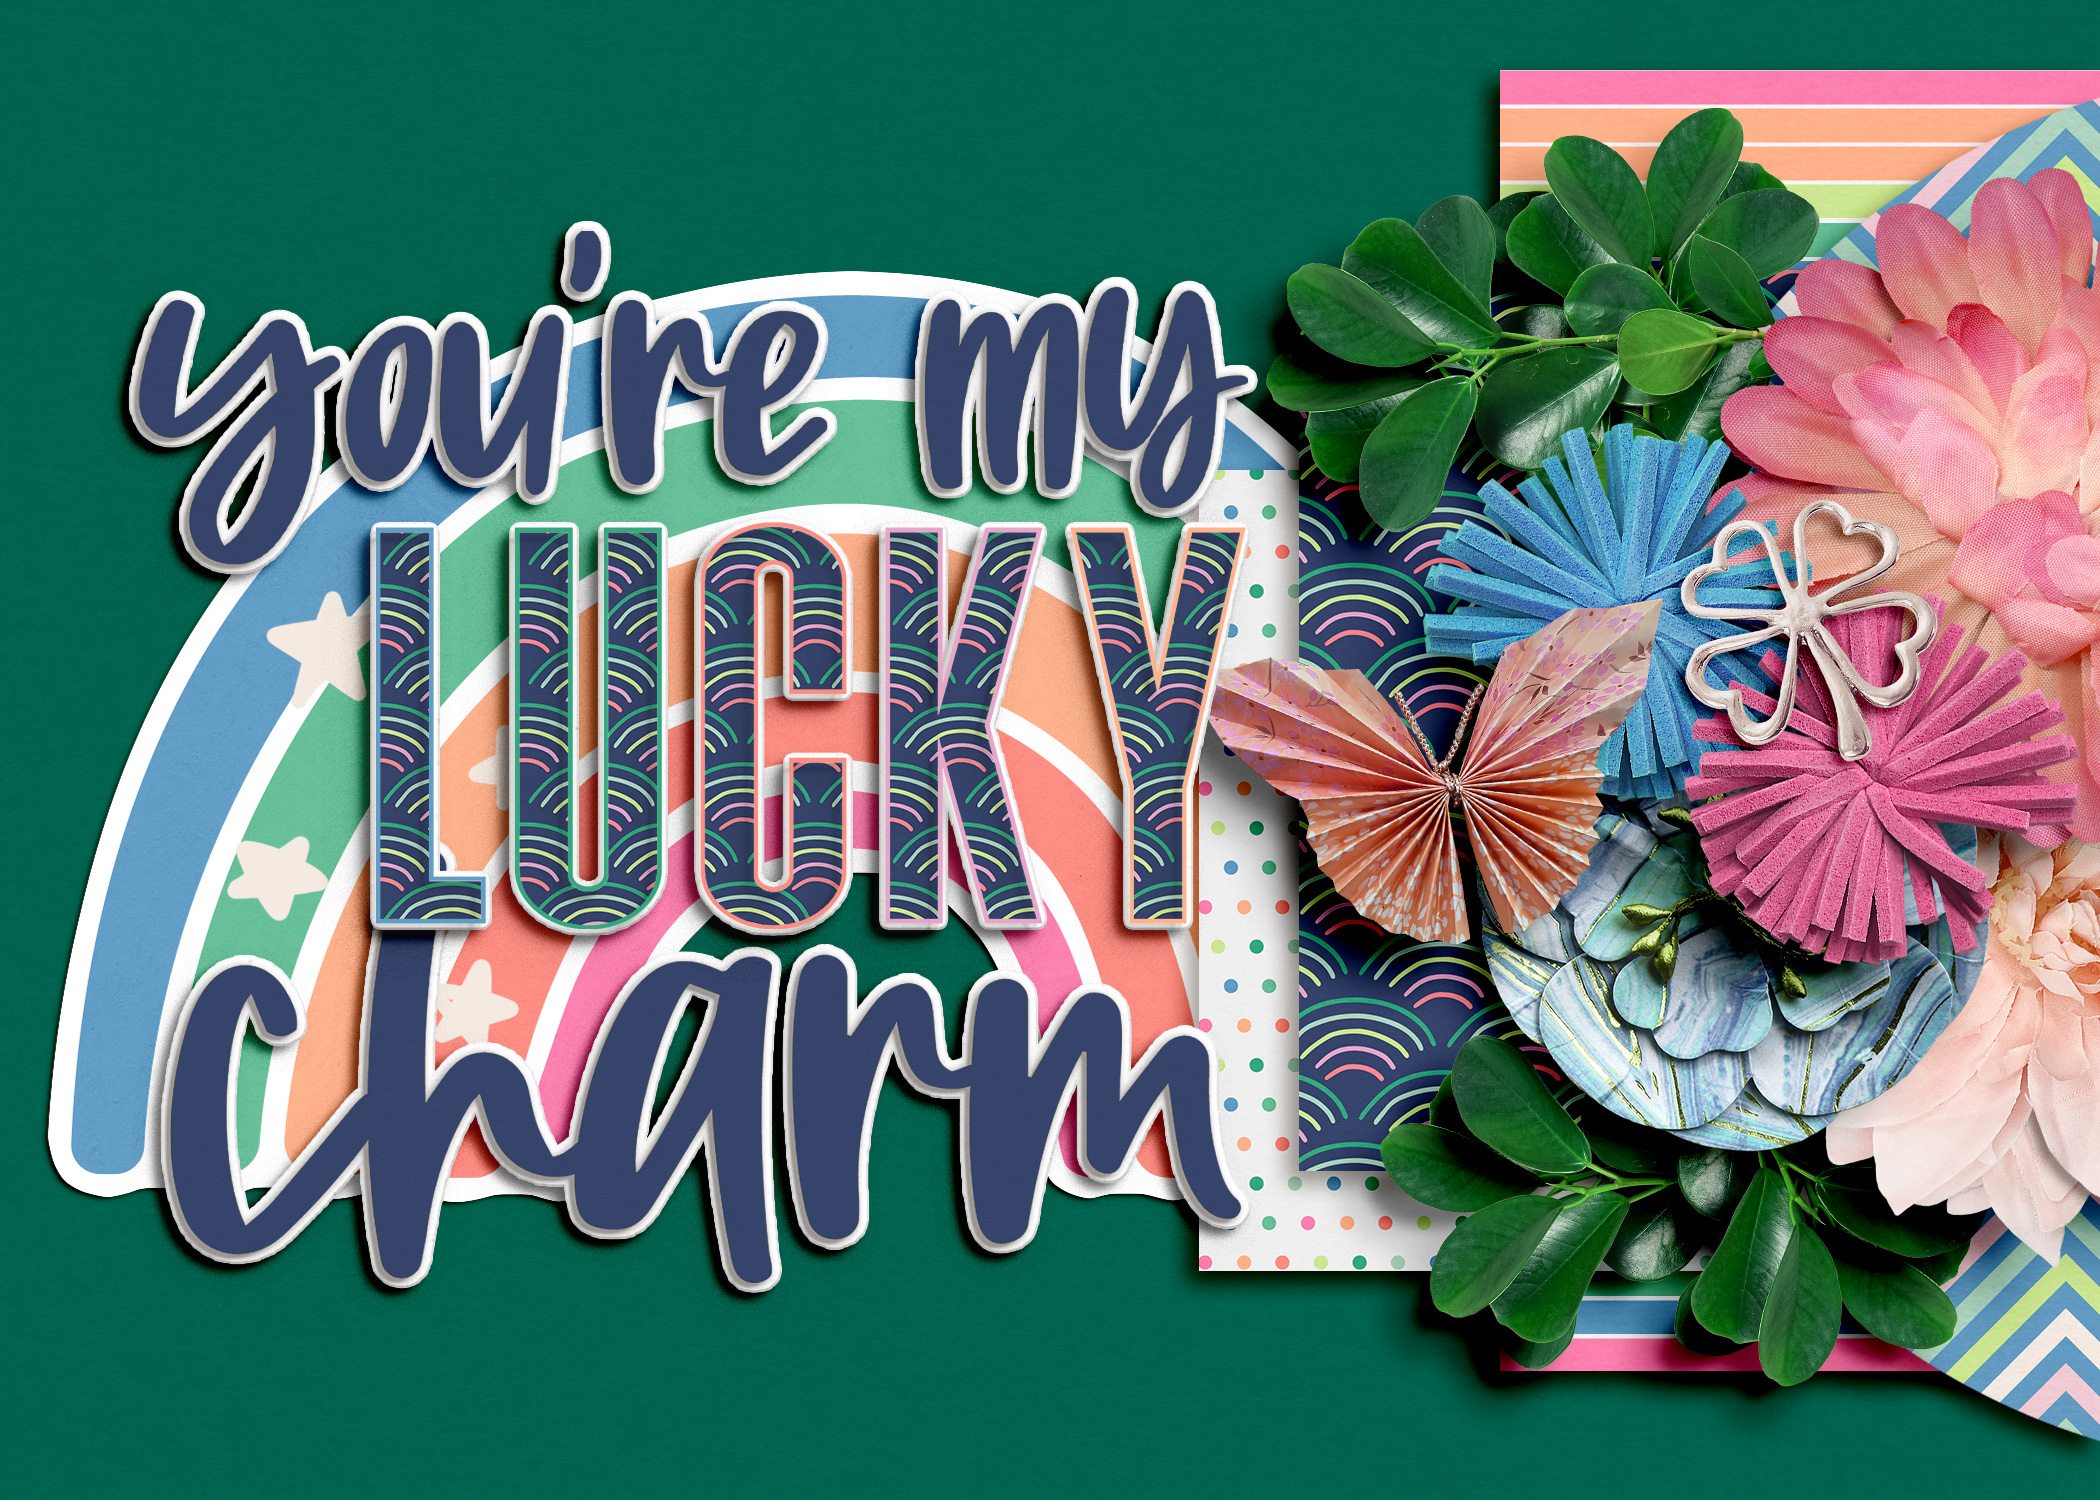
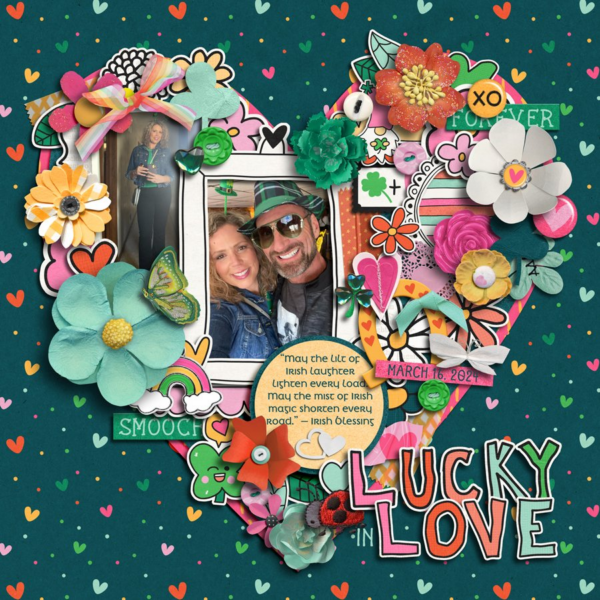
And while we’re talking about greeting cards, consider using the other smaller cluster – from the upper right corner of the template – on a landscape-oriented canvas? Combined with some fun word art, it makes a quick-and-easy card design.
And there you have it: one template … seventeen uniquely gorgeous creations!
Whether you’re looking for ways to use and re-use a template, to create an album with a cohesive look but variation from page-to-page, to create a big 2-page spread or showcase one big photograph, to tell a long story or a story without photographs, to jazz up a pocket-style layout or even create a quick greeting card, it’s our hope that today’s post has sparked your creativity.
Remember, layered scrapbooking templates aren’t “cheating” and they don’t make you “lazy” as a memory-keeper. Instead, they’re a powerful tool you can use – and re-use – to jump-start your next creation.
Whether you use a template as designed or start moving things around, spinning it, flipping it, adding more photo blocks or taking some away, mixing it with another template like a pocket page or a Bold Background, or indulge in your floral dreams by adding more clusters, when it comes to creating layouts with a layered template, the only limit is your imagination.
So grab yourself a template – like this beauty from Ponytails Designs – and create some layout magic today!


Nat said...
on March 28th, 2025 at 8:45 pm
Wow! I am seriously blown away and in awe of our talented Babes!