One Template, Fifteen Ways with Alchemy Wild
Welcome, everyone, to the October 2025 edition of “One Template, Many Ways”, the series where we dig into the plethora of ways you can use a single layered digital scrapbooking template. The result is a frightfully fun set of layouts for your creative inspiration!
This month, we’re delighted to showcase the clustery beauty of Alchemy Wild Studio. Amber specializes in creating carefully crafted, versatile, and easy-to-use layered digital scrapbooking templates filled with detailed element clusters, shaped photo masks, and fun seasonal themes. Her templates are all sized for 12″ x 12″ and are available in PSD, TIFF, and PNG formats for use with all your favorite digital scrapbooking programs.
Amber gave us early access to her brand-new not-yet-released Spooky Sweet. It’s a four-pack of templates featuring ample room for photographs along with an autumnal and Halloween feel, and it will hit the Shoppe this Friday, October 31st.
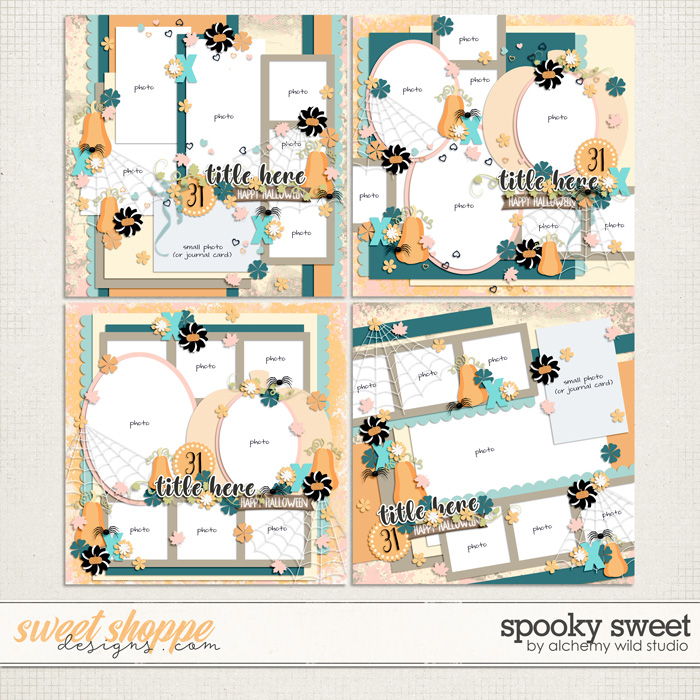
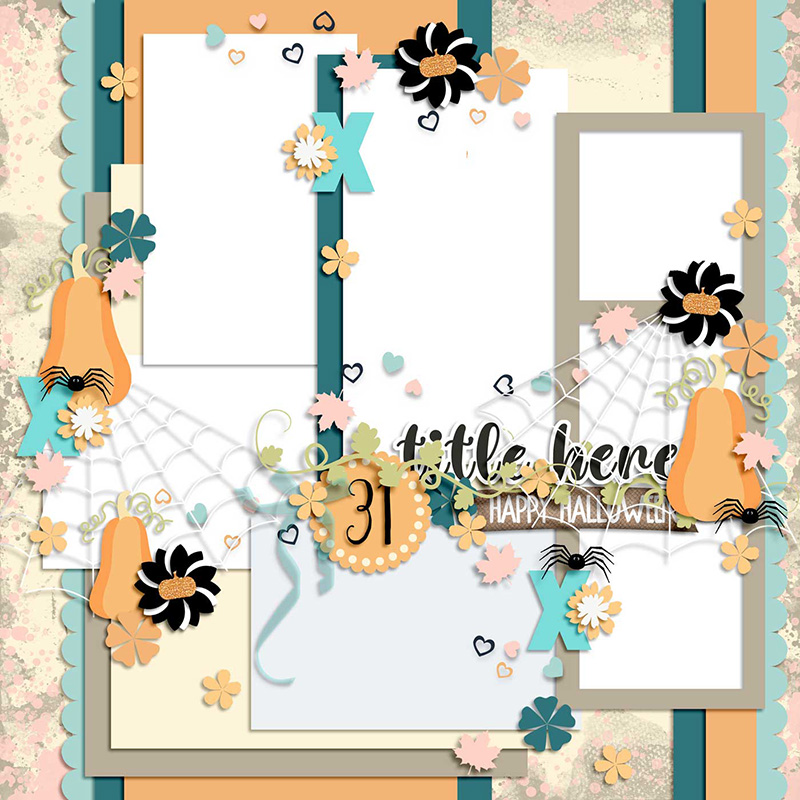
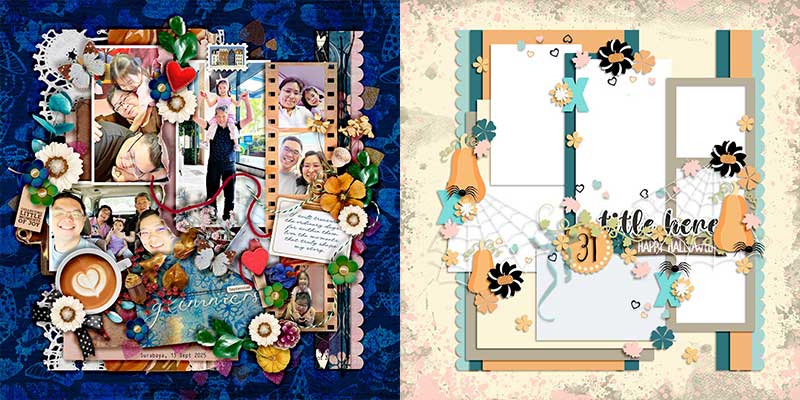
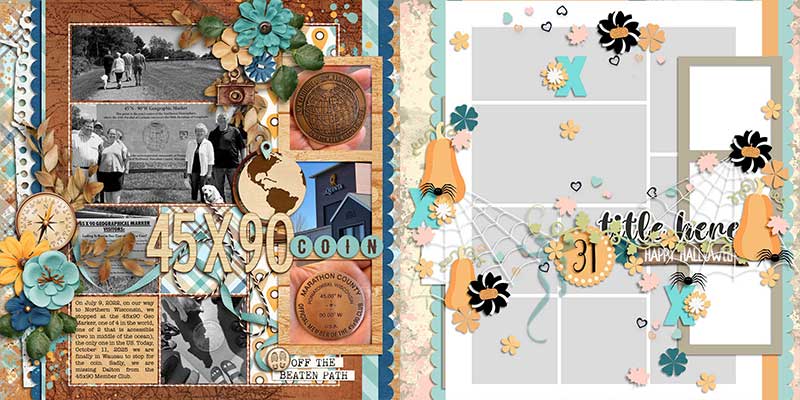
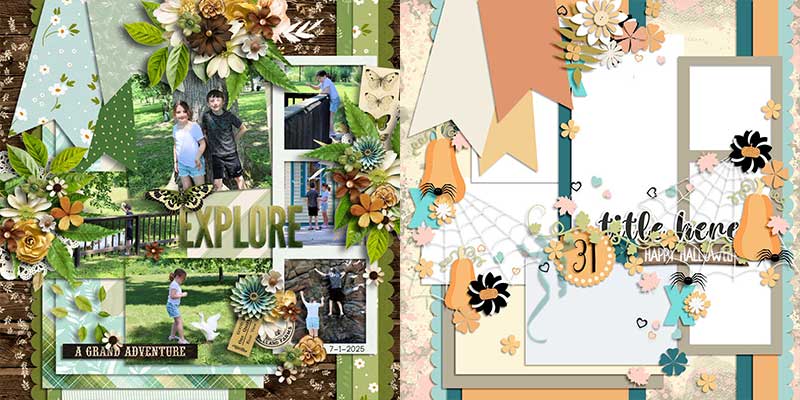
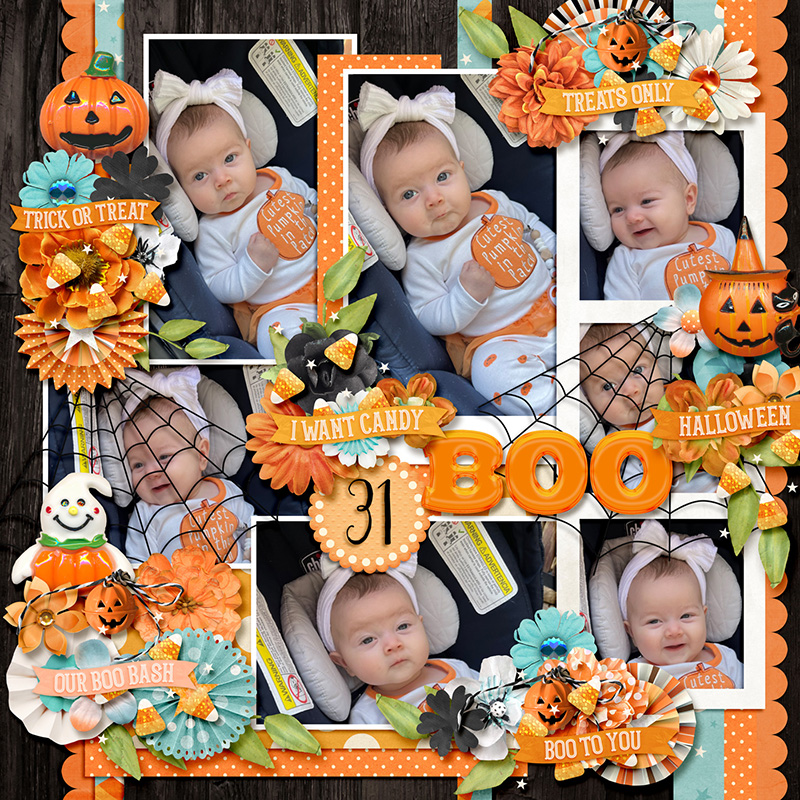
In today’s post, we’re working with the template in the upper left-hand corner. It features a whopping seven photographs (or room for six plus a journaling card) backed by a foundation that’s layered with painted texture masks, scalloped trim, and a pile of paper pieces. You’ll also find element scatters, a beautifully-built title cluster, and plenty of space for the embellishments of your choice.
We gave this template to our creative team of SugarBabes and challenged them to use it as the starting point for as many unique layouts as they could come up with. Of course, every layout created with a template will look different when used with different digital scrapbooking kits and supplies, but there are additional techniques you can employ that result in even more uniquely lovely layouts. The Babes worked their magic and came up with fifteen different variations on this one template. You won’t believe how different some of these layouts look despite the fact they were all made using the same template! So grab a mug of your favorite beverage and settle in for some fun, creative inspiration.

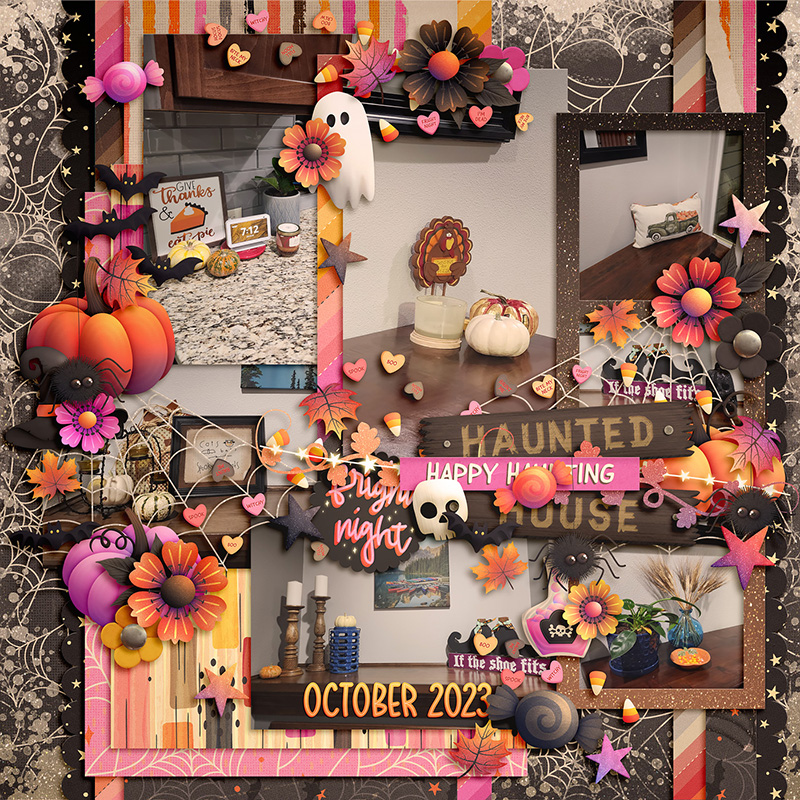
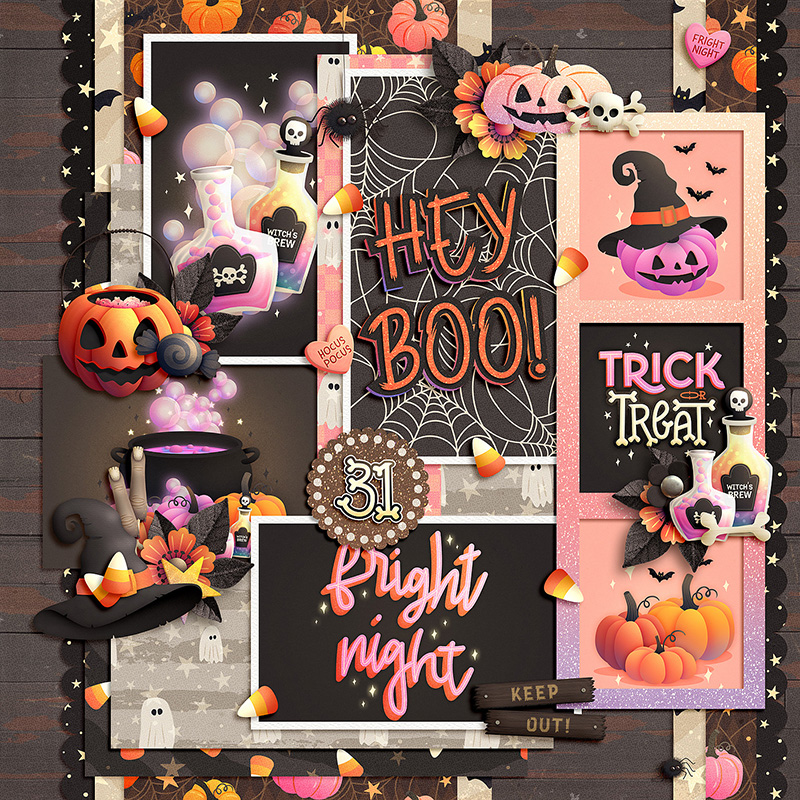
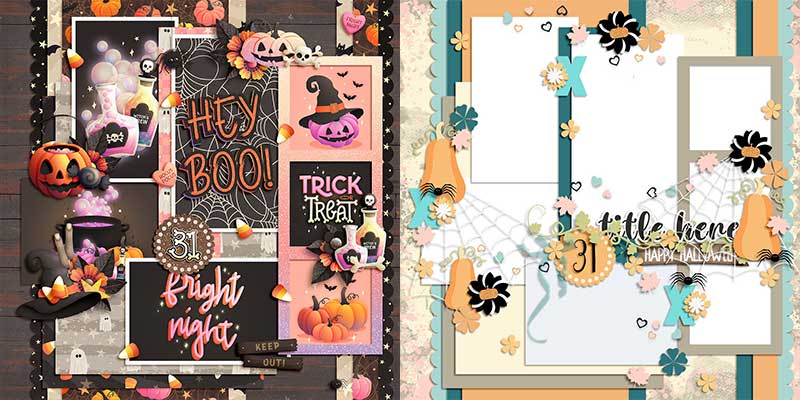
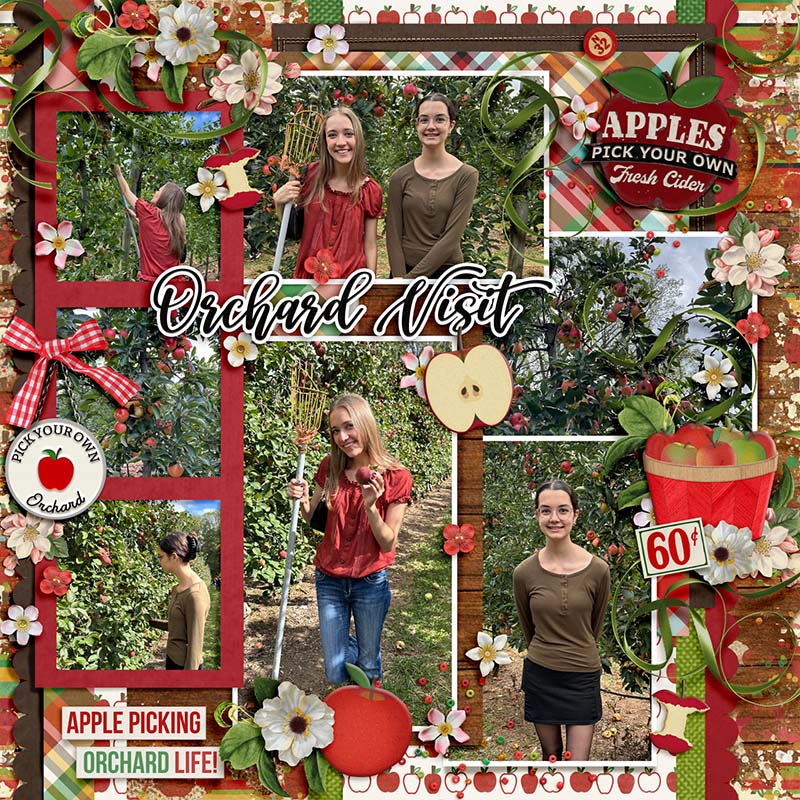
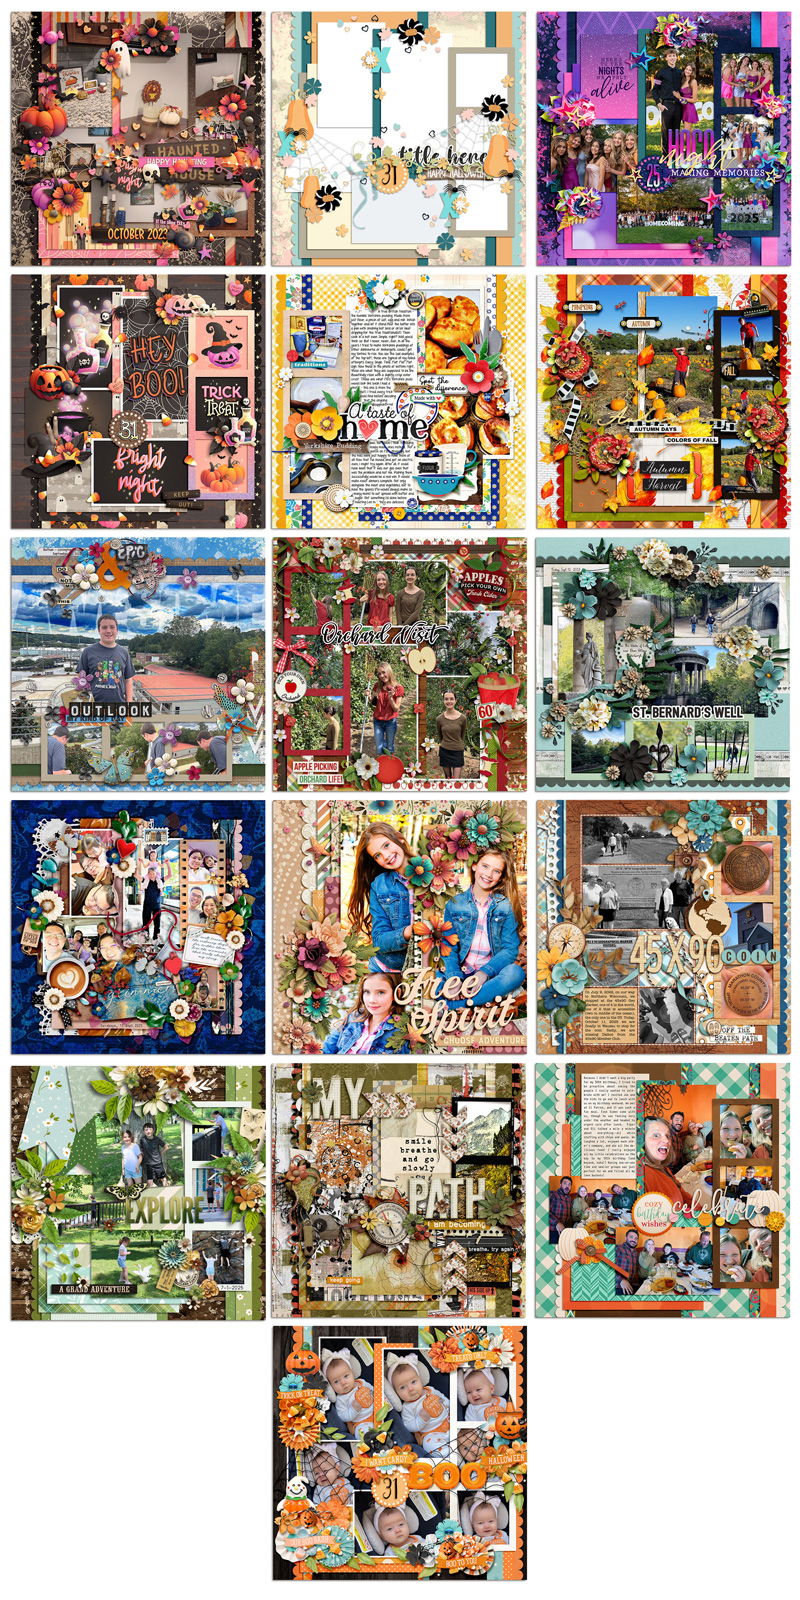
Amie’s layout is a straight-forward rendition of the template exactly as-is. She clipped seven different photographs to the photo masks, built up a title using word art from her selected kit, clipped a variety of patterned papers to the various paper shapes in the template, and replaced the embellishment placeholders with a bevy of beautiful elements from the kit. The result is simply spooky-sweet!

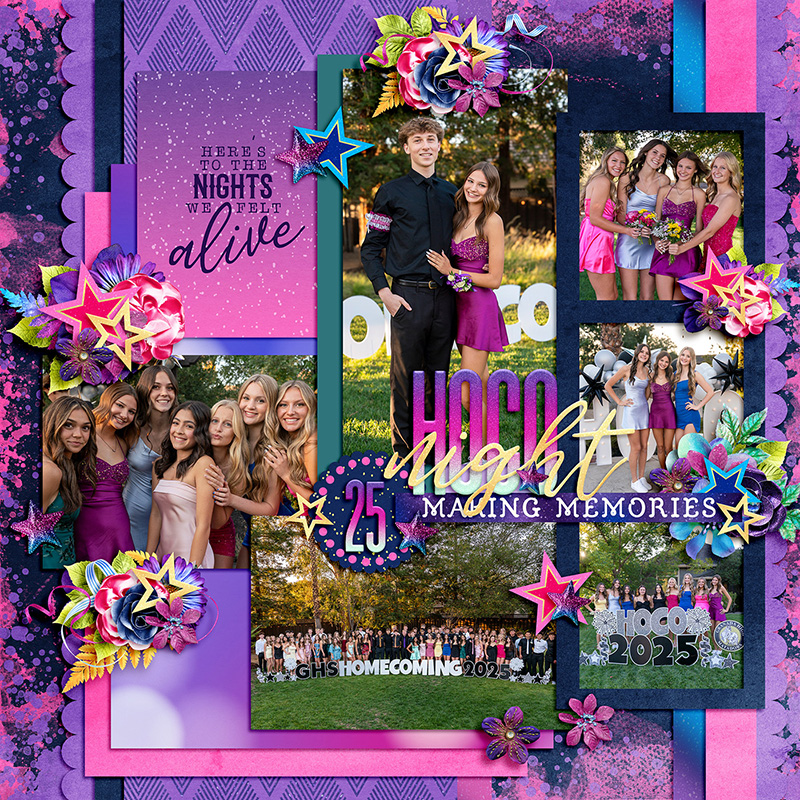
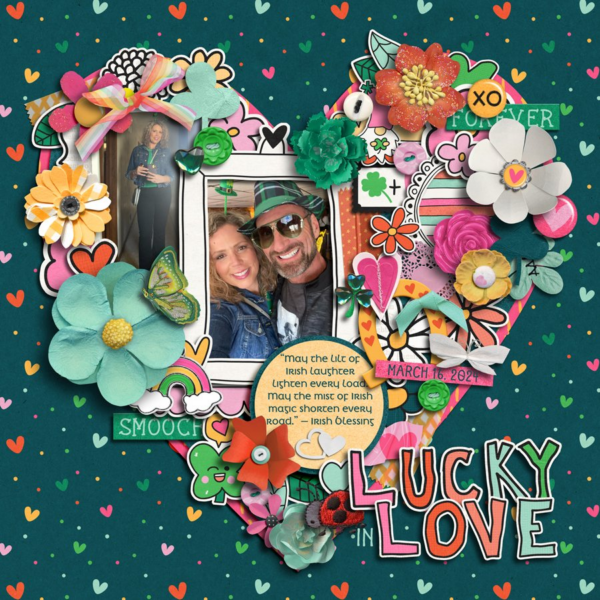
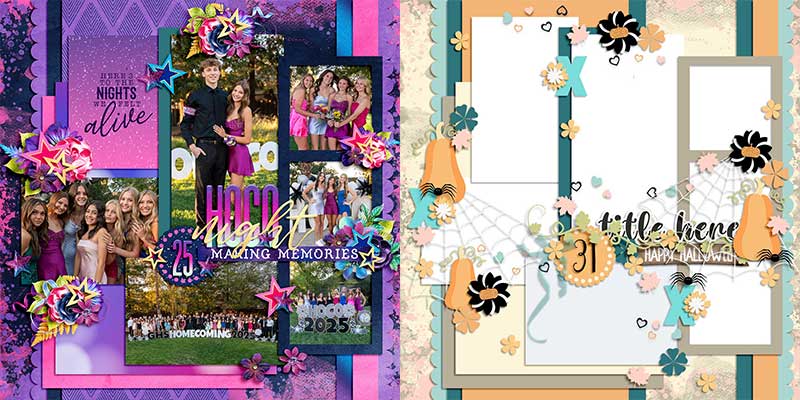
Krista took this template in a completely different direction by choosing a non-seasonal theme. Rather than keeping the pumpkins and spider webs, she swapped out the themed embellishments for stars, flowers, foliage, and fibers. It allowed her to use this same template to create layout about her daughter’s high school Homecoming dance in vibrant shades of pink and purple.

Cherry paired this template with the same digital scrapbooking kit as Amie, but opted to create a photoless layout for her album. Rather than clipping photographs to the template’s photo masks, she clipped a mix of patterned papers and journaling or pocket cards to those spaces instead.

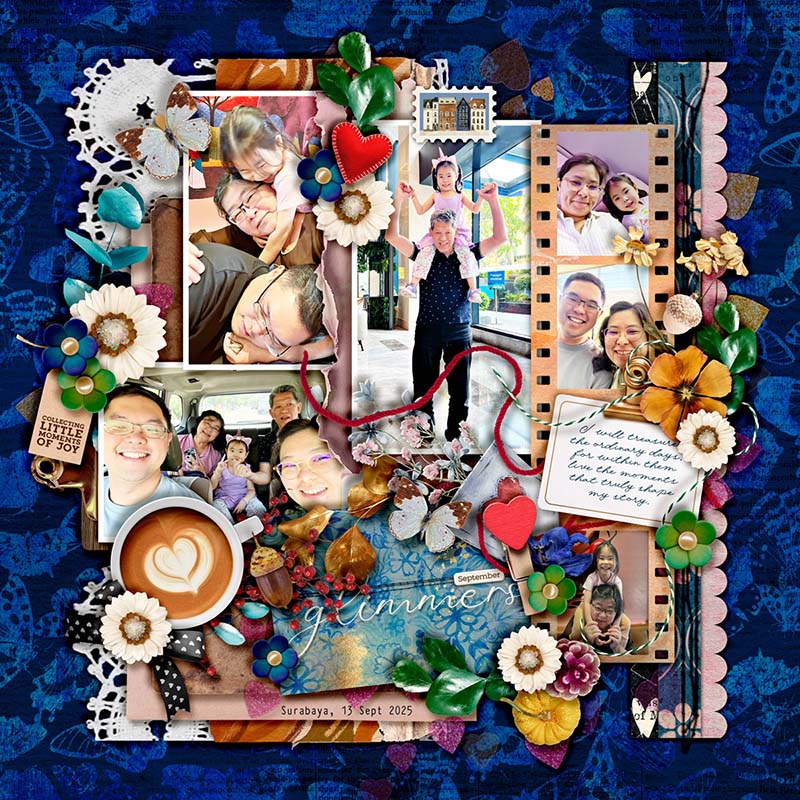
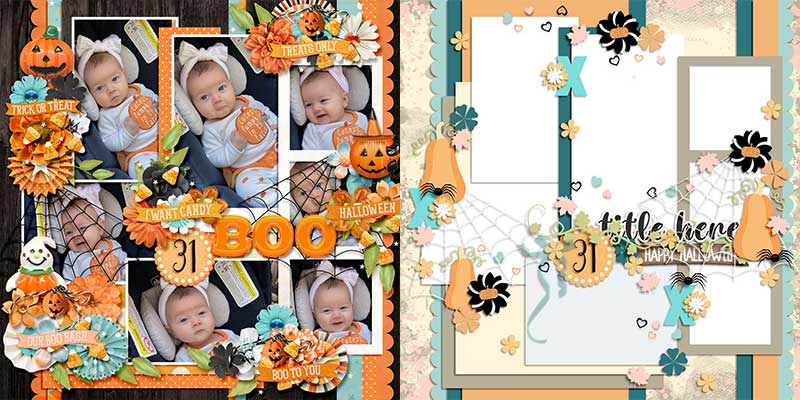
Suzanne shows us one way to use this template to create a layout that’s heavy on the journaling. First, she flipped the template horizontally (more on that technique a littler later in this post) and then she used the two central masks for journaling instead of photographs. By clipping a light-colored solid sheet of digital paper to those rectangular shapes, she created the perfect canvas for her words.
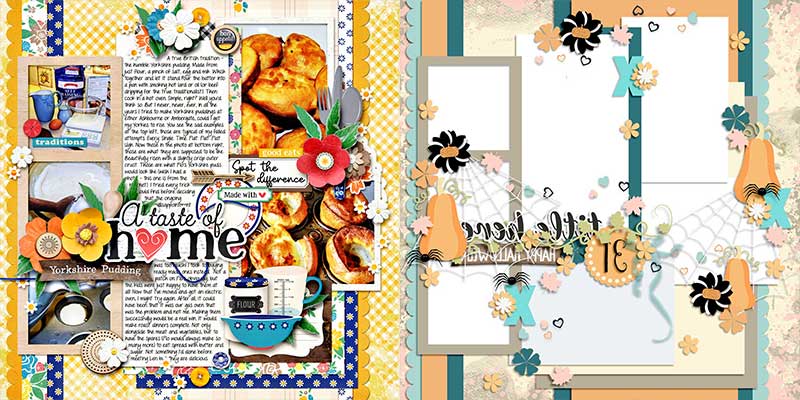

Heather demonstrates a really cool technique you can use the next time you want to show off a large photograph with a template that’s not designed for one big image. Drag your photo onto the template and resize it so it covers multiple photo masks. (In this case, Heather chose to use the left and center top masks as well as the leftmost mask on the middle row.) Then duplicate your photo and clip it to each of those masks, one by one. The results are just gorgeous!

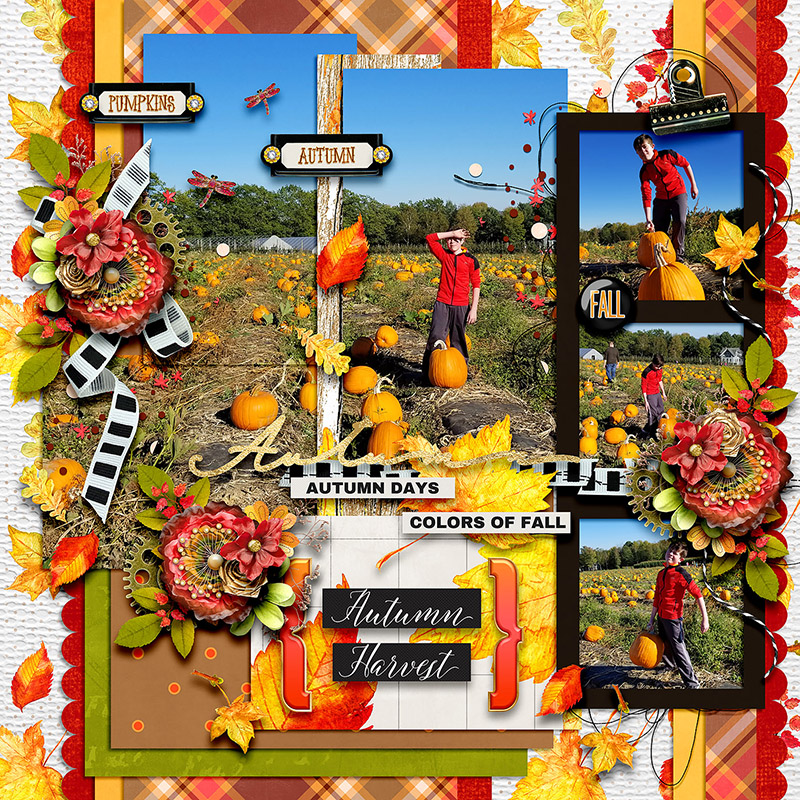
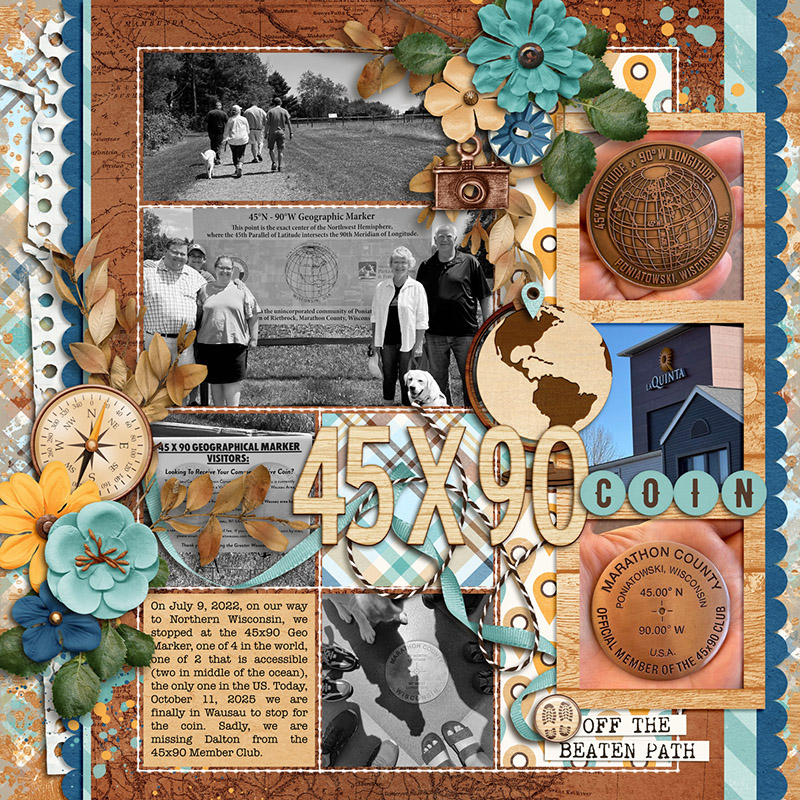
Charlene demonstrates another technique you can use to feature a great big photograph even if the template isn’t originally designed for it. After rotating the canvas so the 3-photo strip ran along the bottom edge, Charlene removed the layers for all the other photo masks and, instead, replaced them with one great big photograph that ran from edge to edge. It still makes use of many design elements from the original template – the painted background layers, the border strips, the title design, and some of the element clusters – but it’s a great way to get additional use out of the same template and wind up with a unique look on your layout.


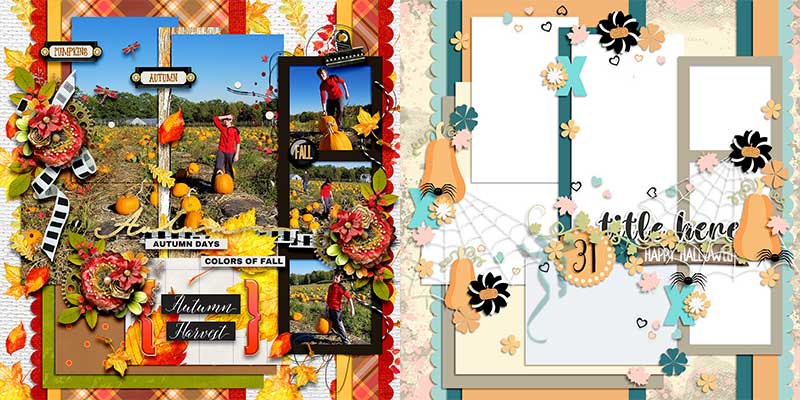
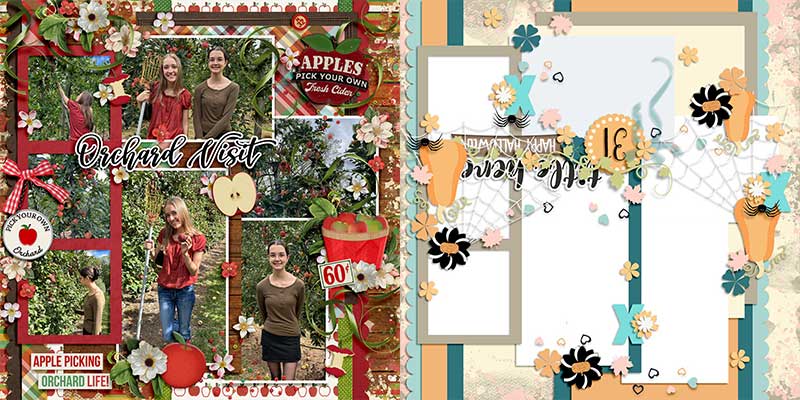
Cassie’s spin on this template is a literal one, as she rotated the canvas 180 degrees. This placed the three-photo strip on the left side rather than the right, and moved the title to the upper left quadrant. This can be a great technique when you want to use the same template multiple times in your album without making it look like you’re using the same layout over and over. It’s also a cool way to create a facing page in a 2-page spread that’s coordinated and cohesive.

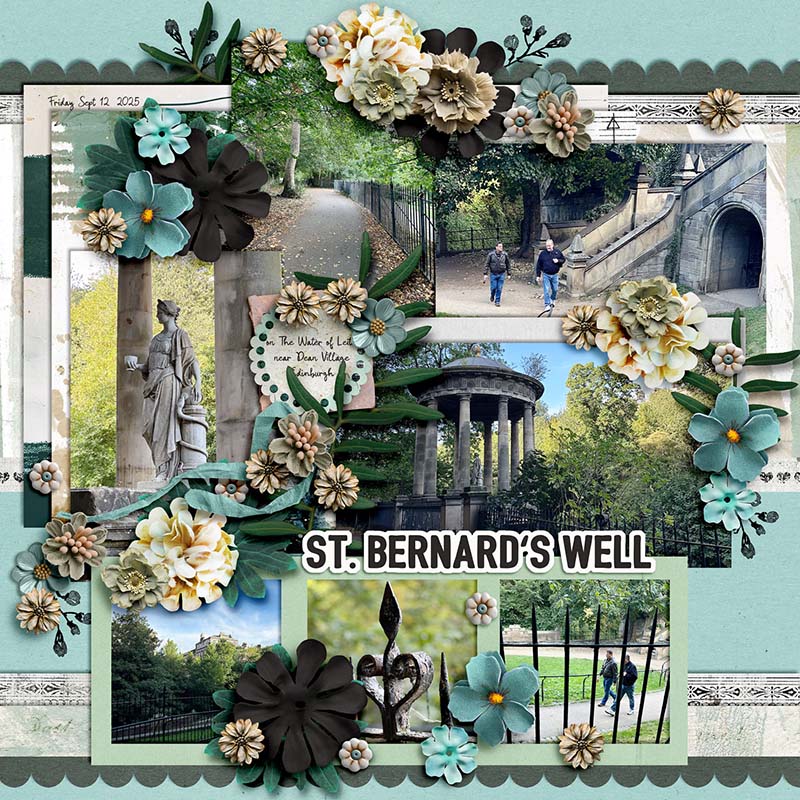
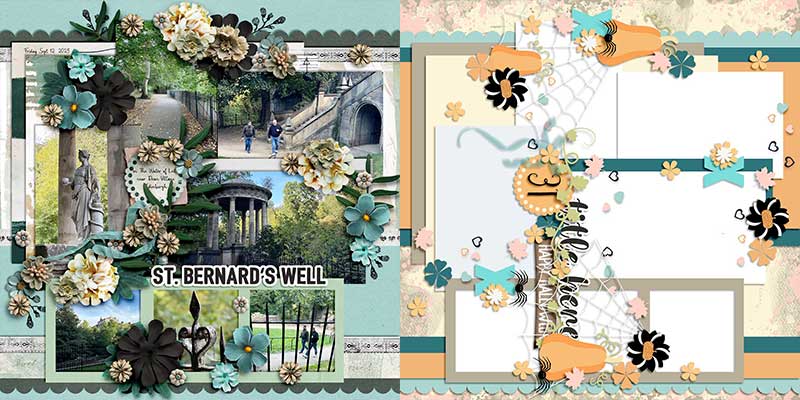
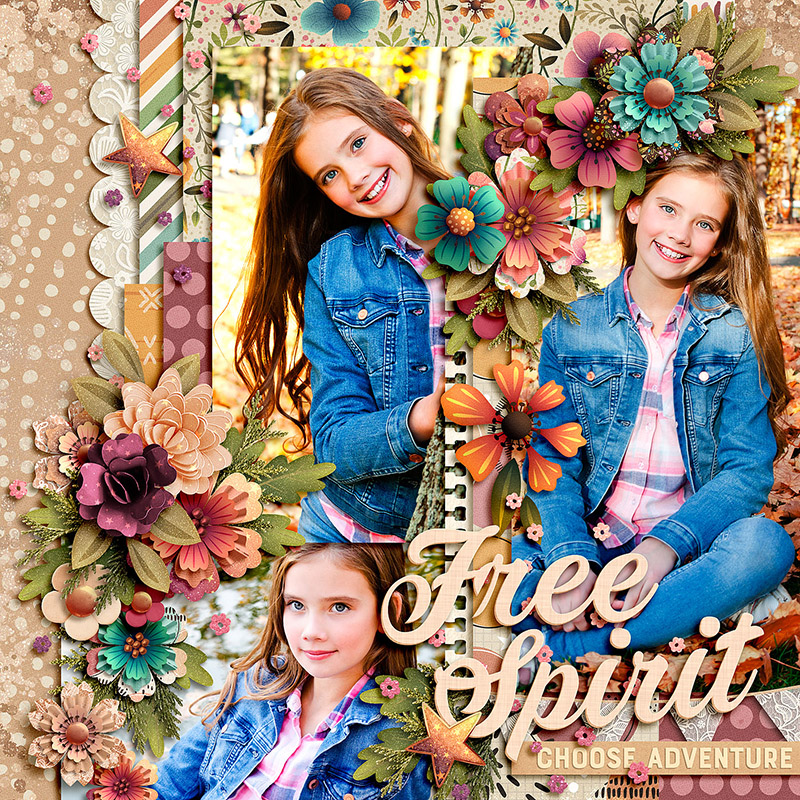
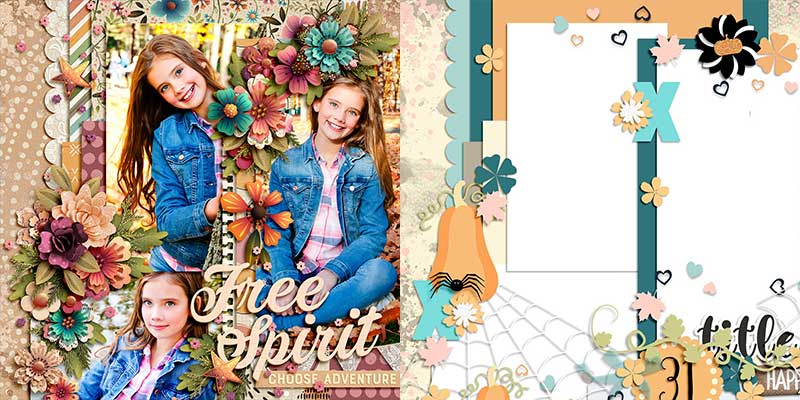
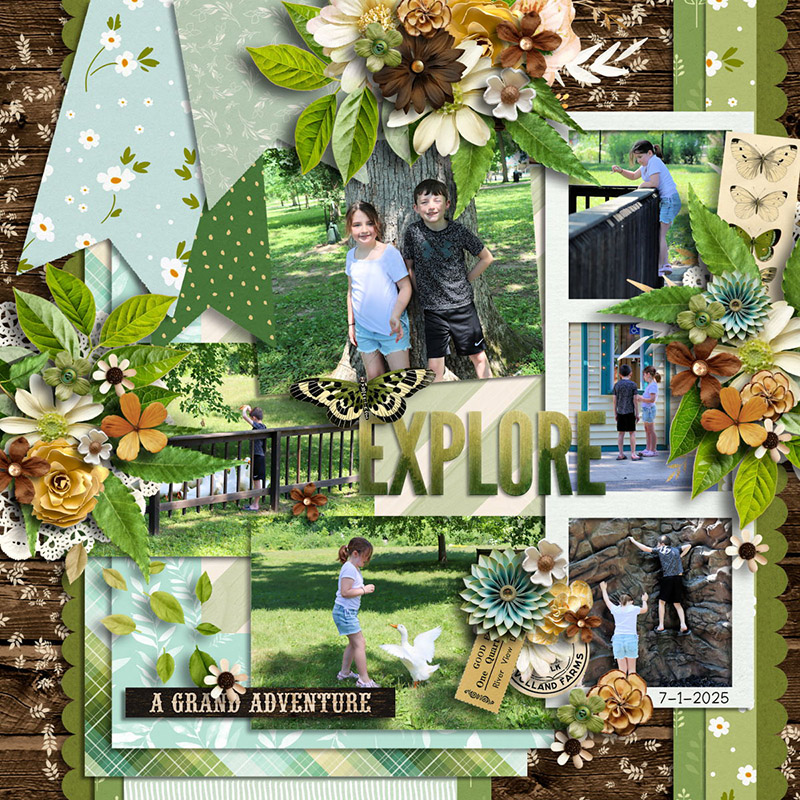
Krista demonstrates another spin on this template as she rotated the canvas 90 degrees clockwise. Rather than running up-and-down, the three-photo strip now runs left-to-right. By the way, don’t you love how she used this autumn-themed template to create a springtime-themed travel page? In place of the large pumpkins or gourds, she used bigger flower blossoms and removed the spider webs entirely. It’s another way of stretching the same template further and further in your albums.

Sherly shows us what gorgeous results you can get when you don’t limit yourself to the size of the original design – as she shrunk the layers of the template to create margins of whitespace around the edges of her canvas. While it’s true that this makes your photographs around 10-15% smaller than in the original design, if you like the look of borders on your layout, this is an approach you’ll want to try.

Mary demonstrates a great approach if you like your photographs big and bold – she increased the size of the template layers to 150% of the original. Then she dragged them around on her canvas so the design centered on the three photo masks in the upper left. It allowed her to show off three really gorgeous photos while still making use of the beautiful cluster design and paper pieces from the original template.

If pocket-style layouts are your jam, you should still consider adding templates like this one to your stash. Rebecca shows you exactly why with her layout; she created a unique pocket-style page by mixing it with an 8.5×11 template from Erica Zane’s EZ Albums v.5. By replacing many of the paper layers and most of the photo masks with the pocket template, she was then able to use the three-photo strip and all the element placeholders as well as the page’s foundation layers to create this gorgeous layout.

If the idea of mixing multiple templates intrigues you, you’ll definitely want to check out what Jill created for us. She mixed this template with another one of Amber’s products, Sweet Starters Volume 6. By pulling the paper pennants and element cluster from the Sweet Starter template and adding it to the Spooky Sweet file, it gives a whole new flavor to the layout and provides more opportunities to showcase the beautiful patterned papers from her selected kit.

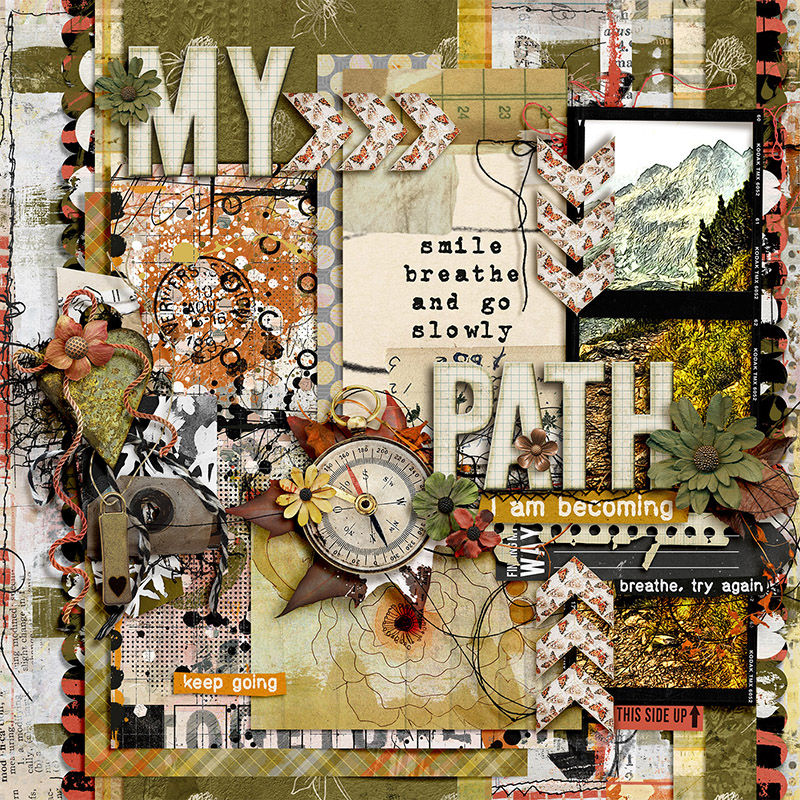
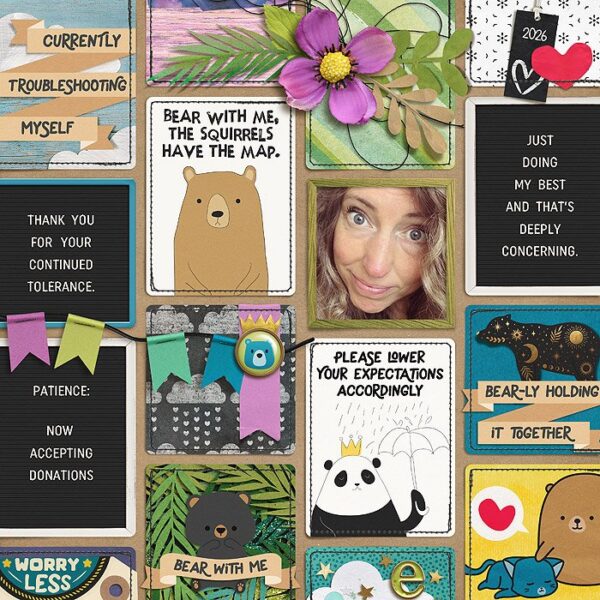
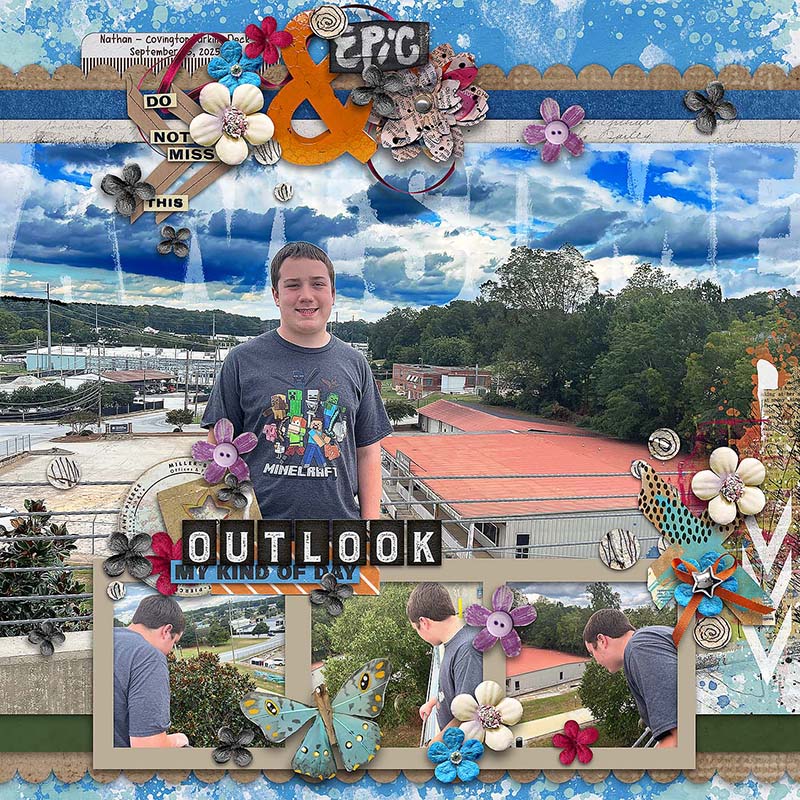
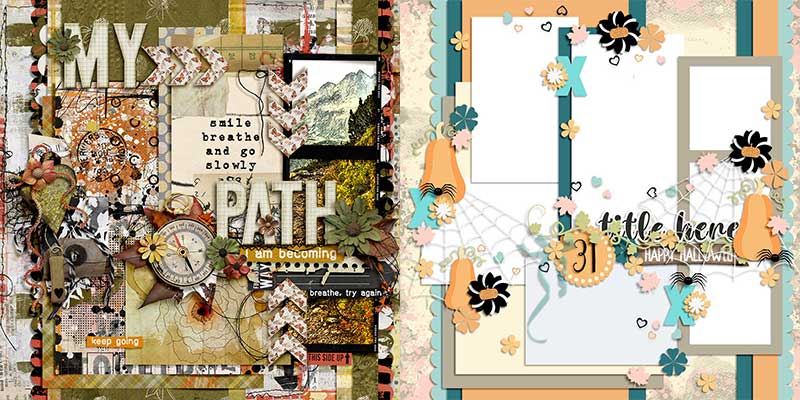
If you tend towards a particular style of scrapbooking – like Judie – don’t limit yourself by writing off templates that don’t exactly match that style. Instead, think outside the original design like she did with her art journaling style layout! Remember, a template is simply a guide, and you can get as creative as you’d like with how you interpret it. For example, Judie replaced the spiderweb elements with string nets and added lots of paint and other mixed-media in place of other themed items from the template. The sky’s the limit!

And if you consider yourself a more minimalist scrapbooker, you can still make great use of cluster-heavy templates like this one. Ally shows us how with her minimalized version of this layout. It’s not exactly what you’d call clean-and-simple, but by removing most of the embellishment layers and hiding the paint layers, she was able to make use of the paper shapes and photo masks and then add in a few select embellishments. It makes use of the template’s layout design while still remaining true to a more minimalized embellishment style.

Of course, on the flip side, if you’re all about the embellishments, remember you can always add more than the template specifies! Evelyn created a cluster-heavy layout by really ramping up the template’s embellishment cluster with more flowers, more foliage, and more gorgeous artwork from her selected kit.
And there you have it – one layered template used to create fifteen distinctly unique digital scrapbook layouts!
Layered digital scrapbooking templates truly are a fantastic tool for your memory-keeping toolkit. Whether you use them as designed or simplified; change the page theme or go completely artsy; fill your photo masks with paper, journaling cards, word art or journaling; spin, flip, or mirror the template; zoom in to focus on part of the template or zoom out to add whitespace and margins … layered page templates make the perfect starting point for your next scrapbook layout!
Keep an eye on the Shoppe for tomorrow’s new releases and pick up this oh-so-lovely template pack from Amber of Alchemy Wild Studio. We’ll see you in the Gallery!