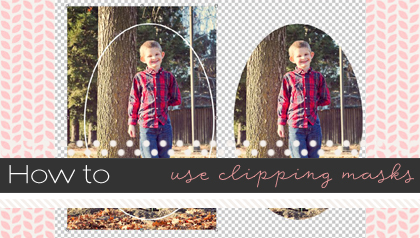
Using Clipping Masks
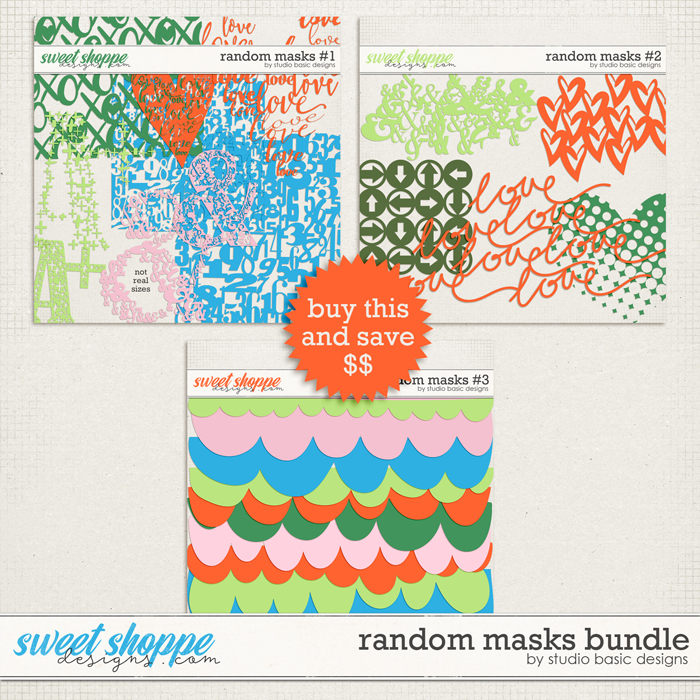
Clipping masks are a handy dandy tool that you can use in Photoshop or Photoshop Elements. In digital scrapping, they most often come in the form of some kind of template like full blown layout templates or shape templates like Ru’s Random Masks:
Clipping masks are often also included in a stitching pack like this one as a way to clip your background paper to the right size to match the stitch border:

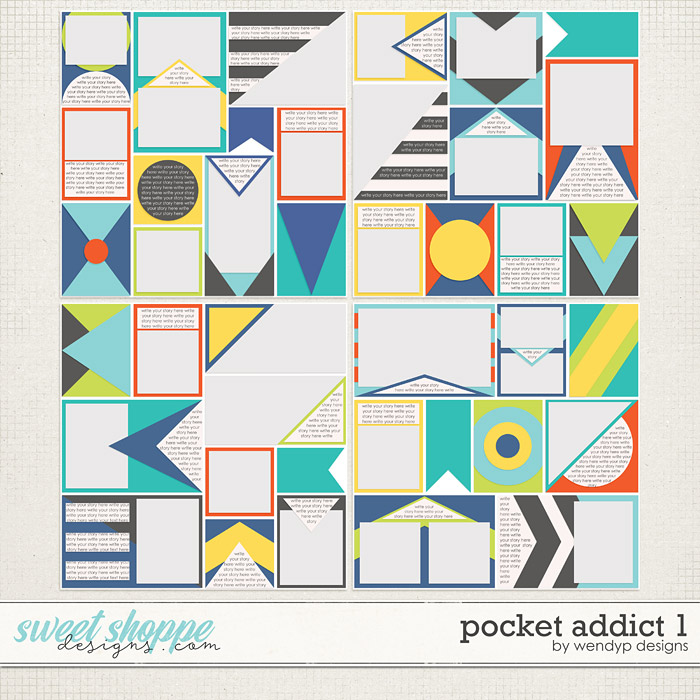
and there’s always clipping masks in a lot of Pocket Scrapbooking templates as well, like this one Pocket Addict templates by Wendy!
Clipping masks can often be daunting and confusing to the new scrapper, but if you only knew how easy they are to use and how easy they can make your scrapping! So let’s start from the beginning.
First of all, what IS a Clipping Mask?
According to Adobe’s site:
A clipping mask is an object whose shape masks other artwork so that only areas that lie within the shape are visible—in effect, clipping the artwork to the shape of the mask.
For an example, check out this visual:

On the left, I have my photo with a guideline around where I’d like it cropped. On the right, the photo is clipped to that shape.
Benefits to using Clipping Masks
- You never CROP your photo, therefore it remains fully intact and editable. Let’s say that I change my mind about the photo above, because the photo is just clipped to a mask, rather than “cut out”, All I have to do is release the clipping mask and my photo is back in it’s original form. You can see that in this visual of my layers palette:

- Clip multiple objects to one shape. This is an especially fun feature when you want to create clusters of flat objects like a photo with a ribbon over it or if you’re using my Slip Ins, you’ll want everything that is under the “plastic” to be clipped to the mask for realism..can’t have objects that span the gaps between closed pockets! Check out my example below:

As you can see in this first example, everything is clipped nice and neat to the clipping mask below it and nothing bridges the negative space between the pocket area.

In this example, however, if you look on the far right, the burst element is not clipped to the clipping mask and it’s “poking out” from beneath the Slip In, which doesn’t make much logical sense.
So now the question is: How do you use a clipping mask?
You’ll be relieved to hear that clipping masks aren’t that hard to use at all! There are keyboard shortcuts to make your life easier and I’ll be putting those in parenthesis after the instruction (where applicable).
- Layer your object to be clipped (such as a photo) directly over the clipping mask layer in your layers palette and your top layer is selected. In this instance, I used a simple shape as my clipping mask:

- Move your cursor directly in between the two layers on the layers palette and hold down alt (option) and when this funky little symbol comes up, click! (Alternatively, ctrl+alt+g on a PC and cmd+opt+g on a MAC in Photoshop or just ctrl+g and cmd+g in Photoshop Elements does the trick as well)

- Voila! Your object is now clipped to it’s mask. If the masking needs adjustment, just use your arrow keys to nudge it over until you like the placement.

- Lock the layers together by highlighting both in your layers palette and clicking on the little chain link at the bottom of the palette. You can now click on your photo and drag both the photo and layer mask together without messing up the alignment.

- To release the lock, just highlight the layers again and click the lock again.
- To release the clipping mask, just hold alt and click between the layers on the layers palette again or you can use the same keyboard shortcuts as before as well (ctrl+alt+g on a PC and cmd+opt+g on a MAC in Photoshop or just ctrl+g and cmd+g in Photoshop Elements)
I hope that helps clear up some of the confusion about layer masks! If you have any questions, leave me a comment on this article!


Tutorial: Realistic Clipping Masks | Traci Reed Designs said...
on December 1st, 2012 at 3:08 am
[…] Step Two: Sandwich your paper in between the two layers and clip it to the bottom paper strip. If you don’t know how to do this, I’ve written a great tutorial on it over at SSD. […]
My 2013 Project Life: How A Digi Girl Turned Paper, and How You CAN Have The Best Of Both Worlds | Traci Reed Designs said...
on January 30th, 2013 at 4:01 pm
[…] Clipping Masks – Adding more than one photo to a 4×6 or 3×4 slot can really stretch your space in Project Life. Digitally, there are clipping masks out there that you can use to easily lay out multiple photos with in a snap! I used my own clipping masks above in the top left photo slot. (available 3×4 here and 4×6 here) If you need a rundown on how to use clipping masks, I’ve written one here. […]
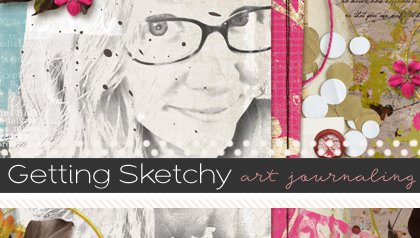
Digital Art Journaling 101 Series | Traci Reed Designs said...
on March 26th, 2013 at 9:55 pm
[…] this time, I clipped my paper to the overlay! I’ve written a great tutorial already on Using Clipping Masks at […]
Ann said...
on March 29th, 2013 at 11:54 pm
I can’t believe how easy this is! Thank you so much!
5 Ways To Incorporate Digital Goods Into Your Project Life | Traci Reed Designs said...
on April 2nd, 2013 at 10:19 pm
[…] this is a super easy way to get more photos onto your spreads! Here’s a tutorial on how to use clipping masks over at SSD if you want to […]
Nita Carter said...
on February 24th, 2017 at 3:30 am
Thank you!
Nancy Taylor-Smith said...
on June 19th, 2018 at 8:52 pm
Thank you.
Alisa Lira said...
on April 3rd, 2020 at 5:29 pm
Educative tutorial. Thanks.