Getting Sketchy : Art Journaling
Hi! Crystal here to recreate and awesome tutorial Brook did once upon a time! We have a fun idea & technique for your art journaling scrapbook pages. Most of the steps and tips I am going to keep as Brook originally had them. She did such a great job with this that other than an update with some new store products and some steps to fit my style, I don’t want to mess with it too much.
I so loved this tutorial Brook had found for converting a portrait photograph into something that looks like a pencil sketch. I had to try it out for myself! Of course, when I finished trying it out I had to do something with my sketchy self portrait, and so I did an art journaling layout just like Brook had originally done. Almost a complete lift of her original page seen at the bottom, just a bit more “me”!
Here is her first example page she had. AMAZING!
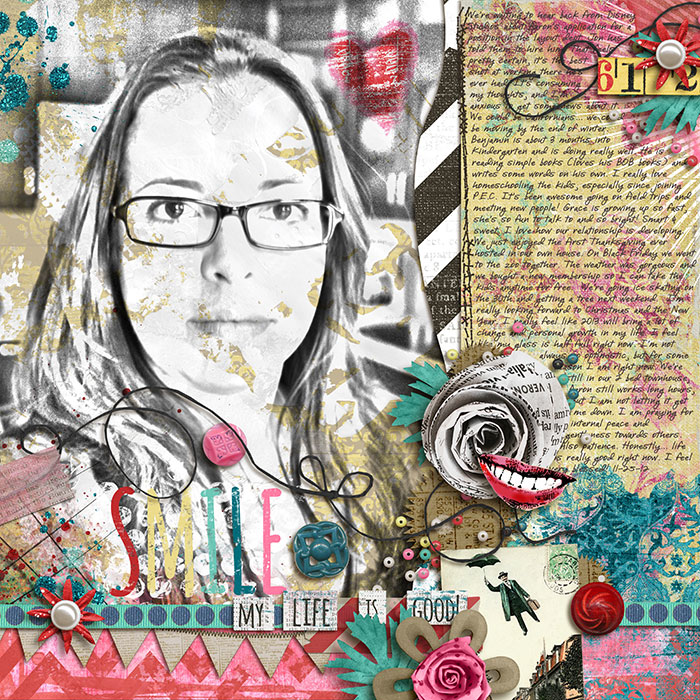
I love how the sketchy photo blends into the paper & gesso background. Today I’m going to do another page like this and let you look over my shoulder so-to-speak as I scrap. Let’s start with that nifty tutorial I found for converting my photo into a sketch. I’m going to link to it here because I honestly don’t see the point in re-writing a well done tutorial! Here’s how to change your photo into a sketch: Portrait Photo To Color Sketch With Photoshop. Now, I didn’t convert my photo into a color sketch like the tutorial shows, but you could. I left it black & white mainly because I wanted it to stand out on the page. I would suggest choosing a photo that has good contrast and definition, too. Close-up cropped portraits work best. Once you’ve gotten your photo all sketchy, come back here!
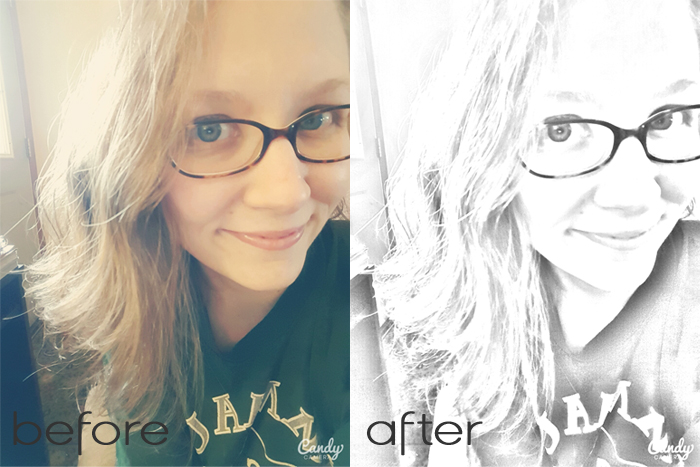
Here’s my photo before & after:
Now let’s get started with our scrapbook page! I have chose the super awesome Everyday Brave kit by Studio Basic and Etc. by Danyale. I might need some more bits and bobs as I go, but starting with that kit as my base!
Drag your photo into the background paper you want to use. (I am using PSE 11 for these steps!)
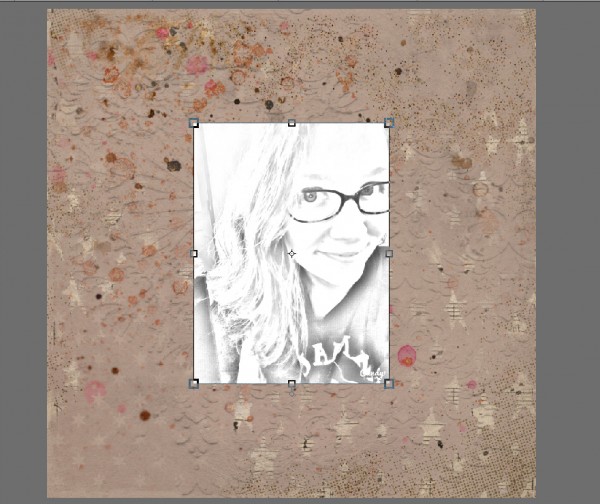
Then change the photo layer blending mode to “multiply”. That makes the white areas of the image disappear and the black areas will appear to be “burnt” or stamped over the layers underneath.
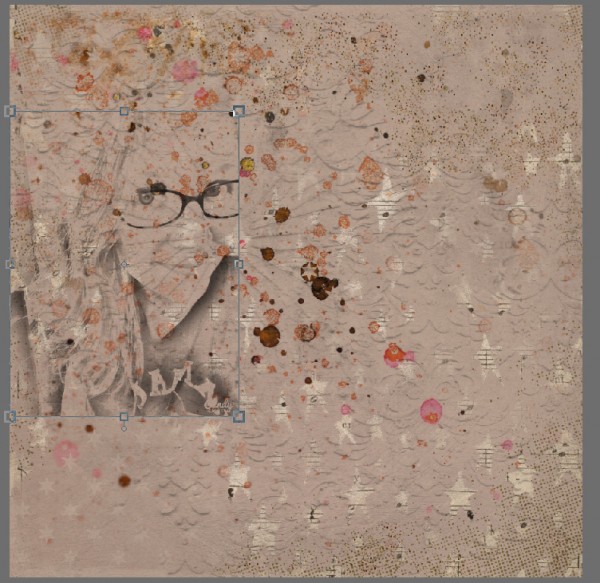
I think it blends in with the paper a bit too much, so I grab a light mostly solid paper from Silent Battles Grief by Studio Basic and Captivated Visions and try that out. Much better, I think.
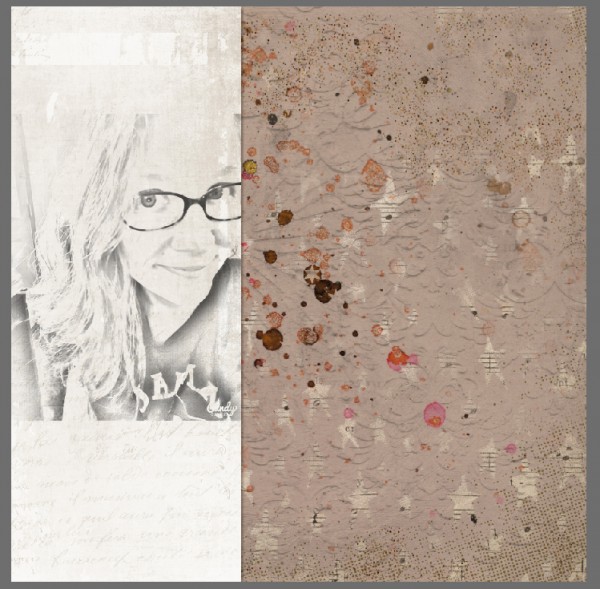
I click ctrl + G to create a clipping mask to clip the photo onto the paper. This will allow me to move the photo around without having any edges hang over the cream paper. I’m also going to add some gesso (also these) behind my photo and use the Clipping Mask on those as well. You can see in the layers palette how my photo and the gesso layers have little arrows down are inset to the right a wee bit to show that they are clipped to the paper layer.
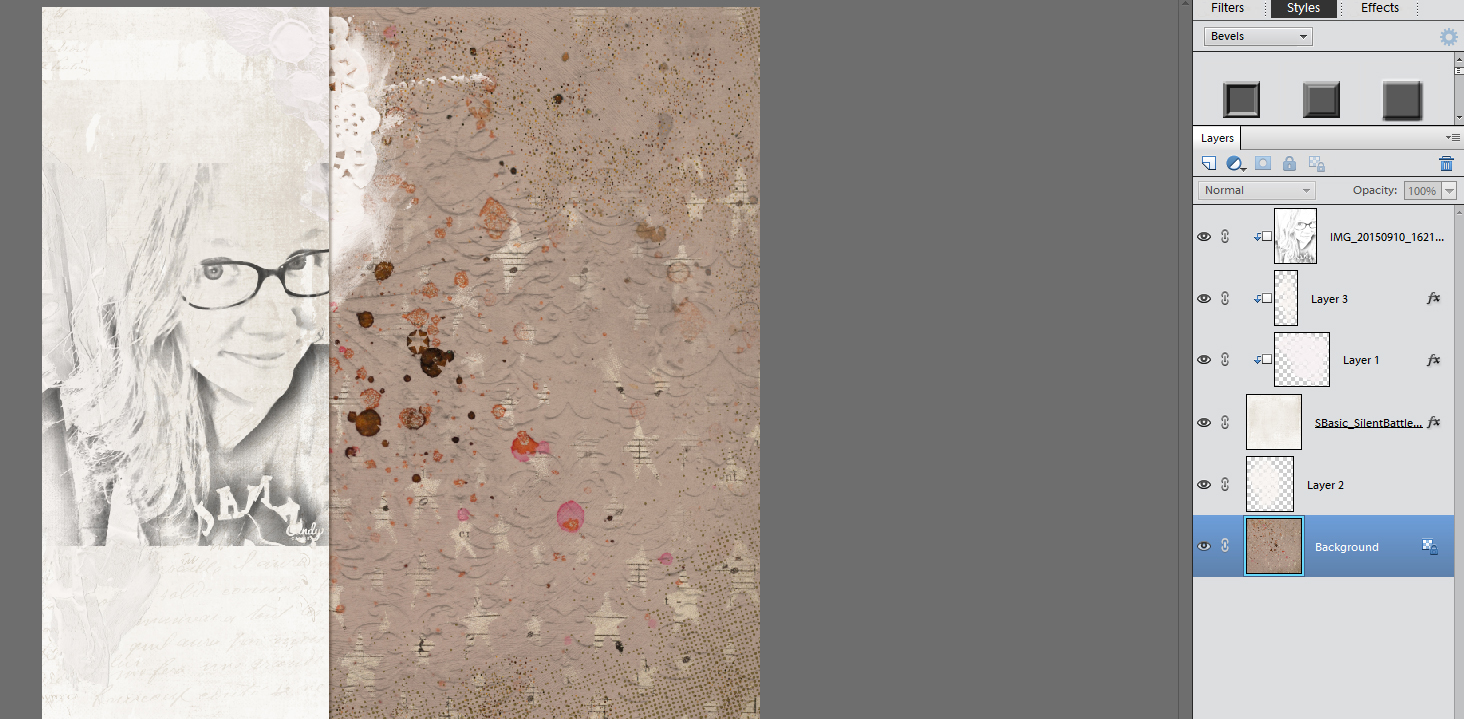
Now I’m going to add more layers of paper. I love the colors of the papers added with the kit I am using so, I grab one of those papers and stick it under the cream paper. I think the straight edge of the paper is too neat & tidy, though! I like to trim papers with the polygonal lasso tool… these are my digi scissors. 😉 I select the edge of the paper at a slight angle with the lasso tool:
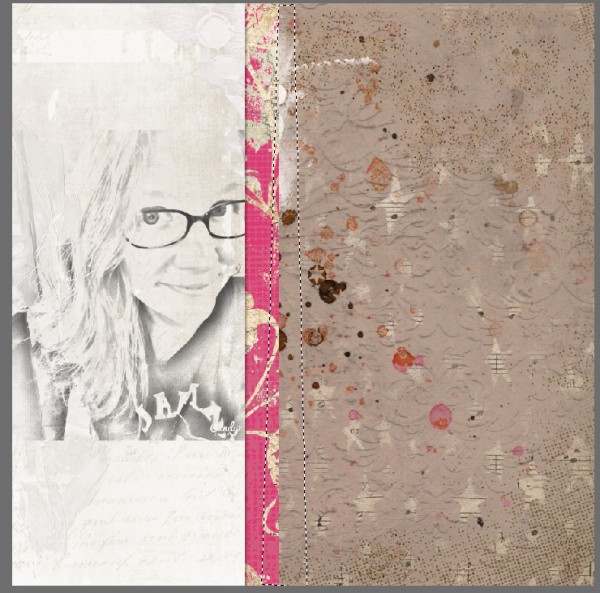
… and delete it:
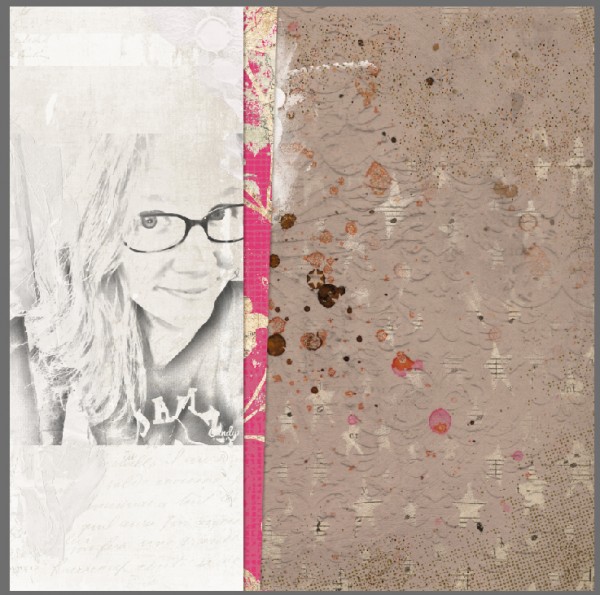
I’m adding bits of interesting papers over in the bottom right corner and tweaking the shadows now. Love that scallopy paper especially!
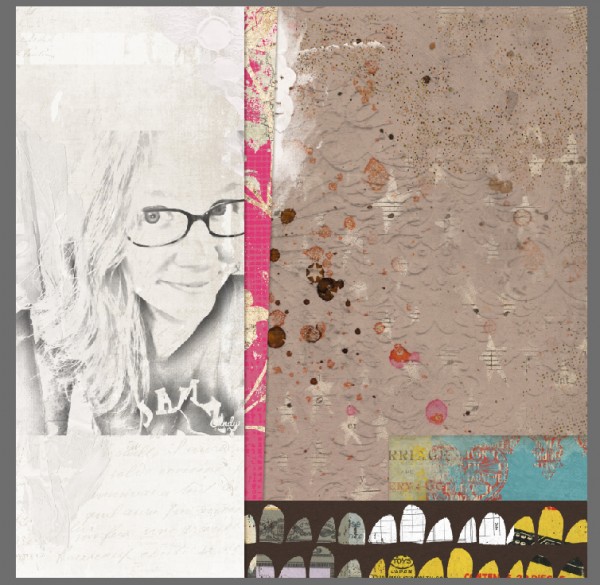
Now that I have the basic structure of the layout I think I’m ready to start embellishing. I love flowers and working in clusters and with visual triangles.
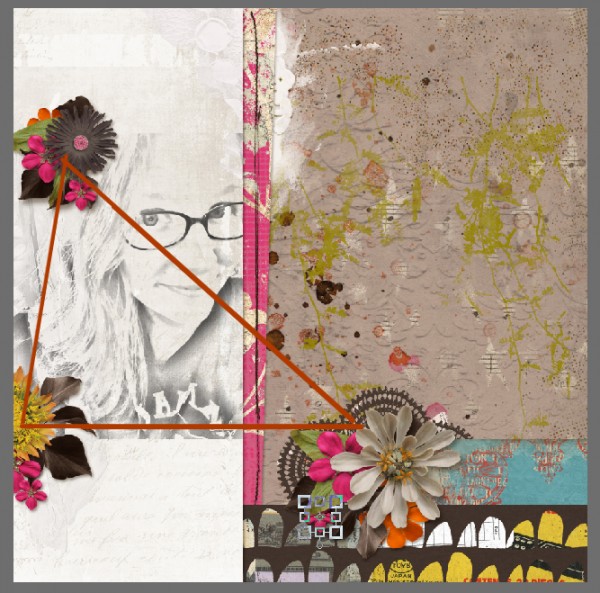
Since making titles is not my favorite, I love a good “instant title” card with a word art that comes in the kit or an element with a word on it. The word “strong” worked perfectly with what I wanted to journal about. I have also added some layered elements to build some depth as well some fun shapes that have inspired some of my other element choices (choosing more and more circle shapes). As you can see..I have been building on the clusters that I first placed. Making them bigger, etc.
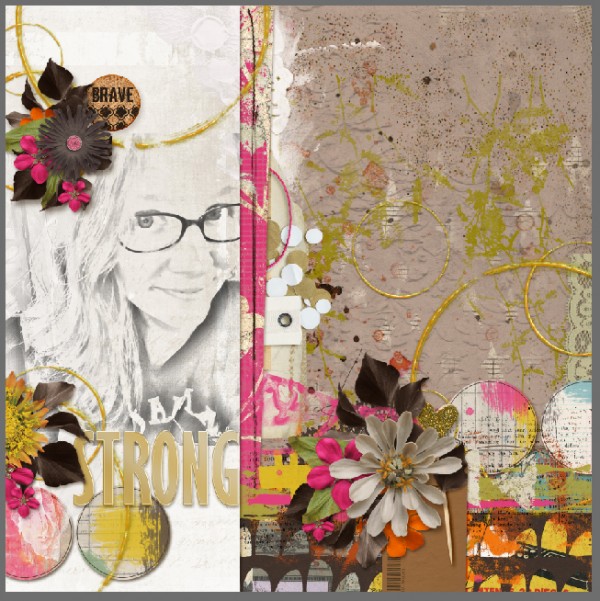
Now I really feel like it needs some balance at the top of the page. It is super bottom heavy, visually. So I added a few elements and also modified my title a wee bit to be “brave and strong” with another awesome wordy element in this kit.
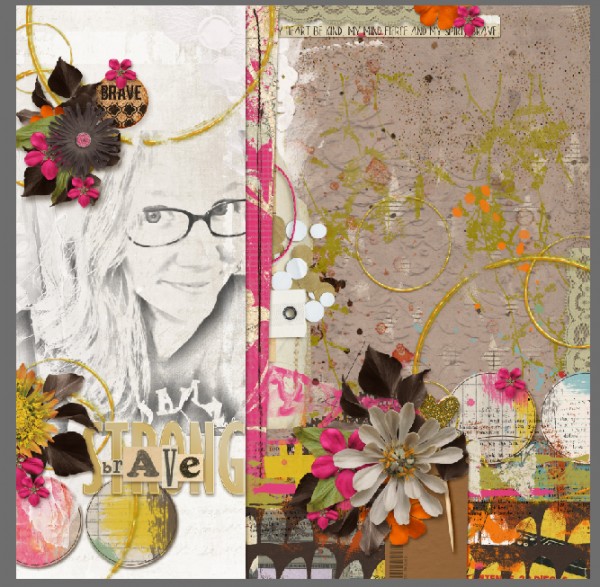
Now I am ready to journaling. I don’t like for my journaling to be legible on my art journal pages so I am going to put that on my very bottom layer just above my background. That way, all the painty layers and elements I used will help to hide it a wee bit. I also added a few more scattered wee flowers and a button to attach the little tag peeking out.
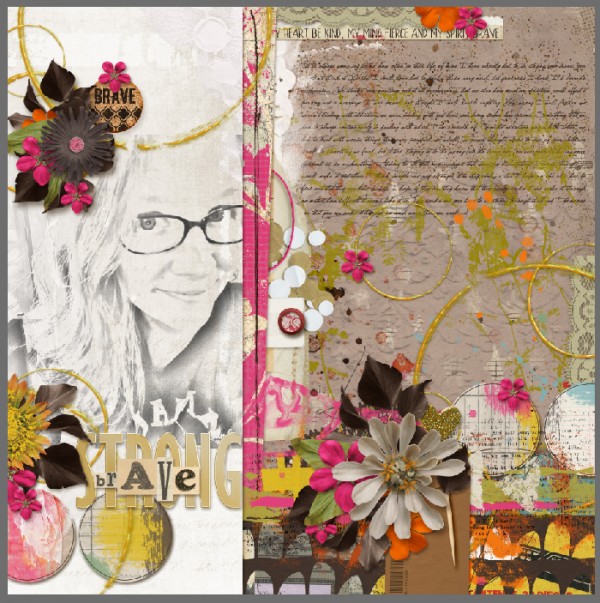
I also added some paint to some of the bare spots on my bg paper to finish off the artsy look and my page feel more complete. 
A tip for you from Brook’s original edit: Just a tip for shadowing big clunky items like this key. I increased the spread on the drop shadow by a few pixels to make the shadow a bit bolder. I think big heavy items look more realistic with big heavy shadows… of course, it depends on the paper in the background.
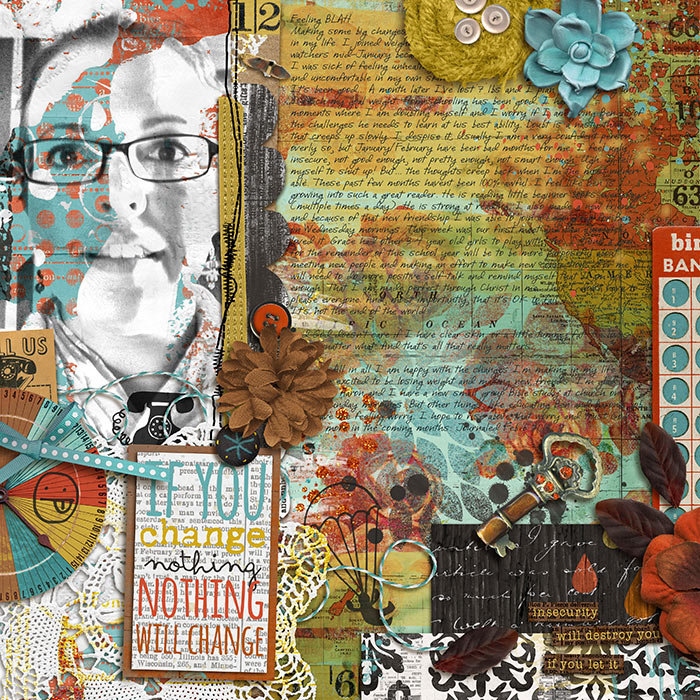
Here is my finished page!
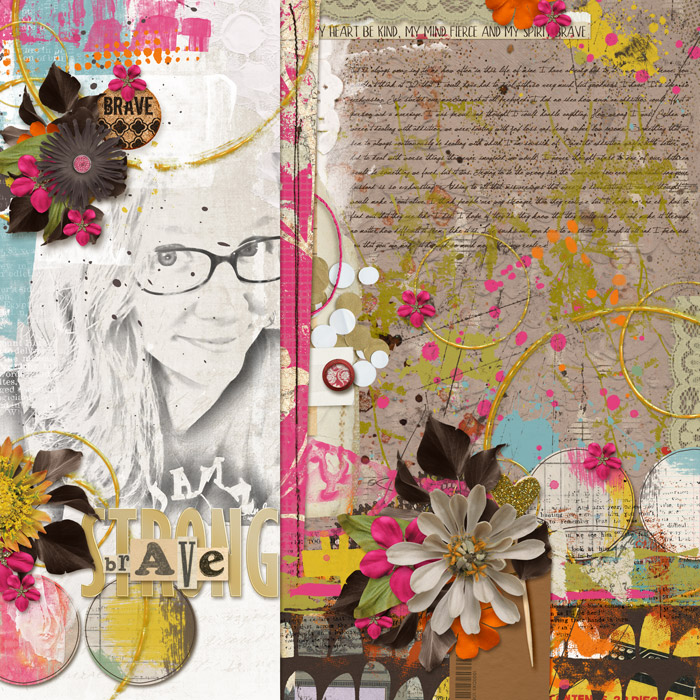
And here is Brook’s amazing original!
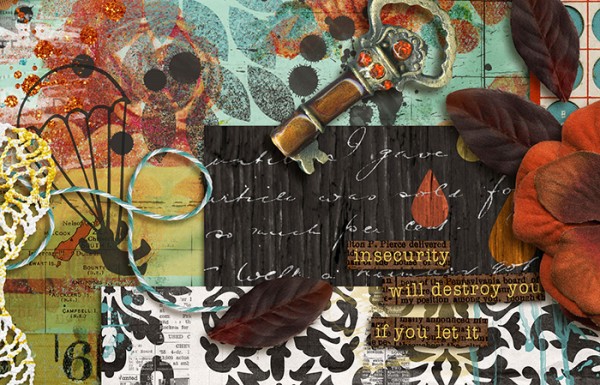
Here’s a few close-up details from each page:
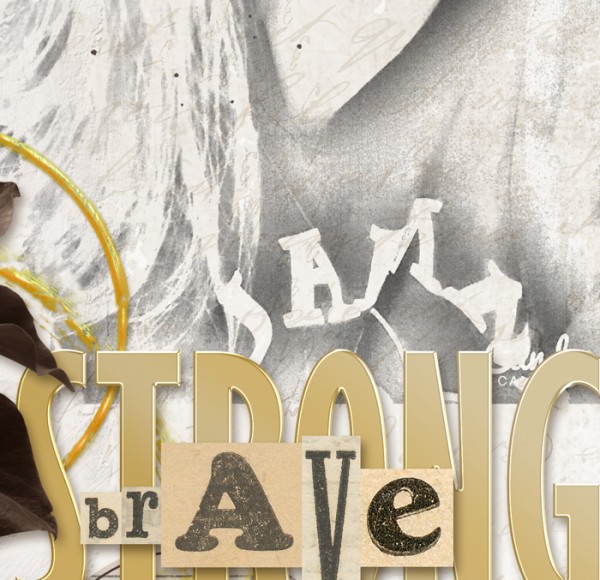

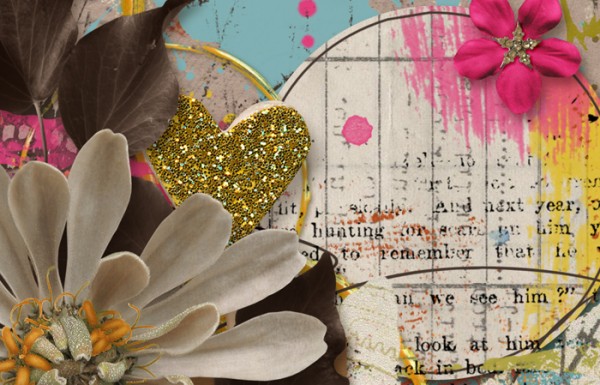
Not only can you see the great detail of the grainy “sketch” photo at 100% but the awesome quality of the supplies here at the Sweet Shoppe.  That’s all from me today. I hope this tutorial gave you new ideas for your art journaling pages and a fun look into how someone else scraps.
Have fun being a memory keeper!!
-Brook (YepBrook) and Crystal (crystalbella77)


Su Hall said...
on August 2nd, 2013 at 4:21 am
What a clever idea! With everything going ‘artsy’, lately, this is perfect for any digi layout! Thank you for sharing this!
Su
gesso em São Paulo said...
on July 13th, 2014 at 11:06 am
My brother recommended I would possibly like this website. He was once entirely right. This publish actually made my day. You can not imagine simply how much time I had spent for this info! Thank you!