It’s Not a Mug Shot for Pete’s Sake…
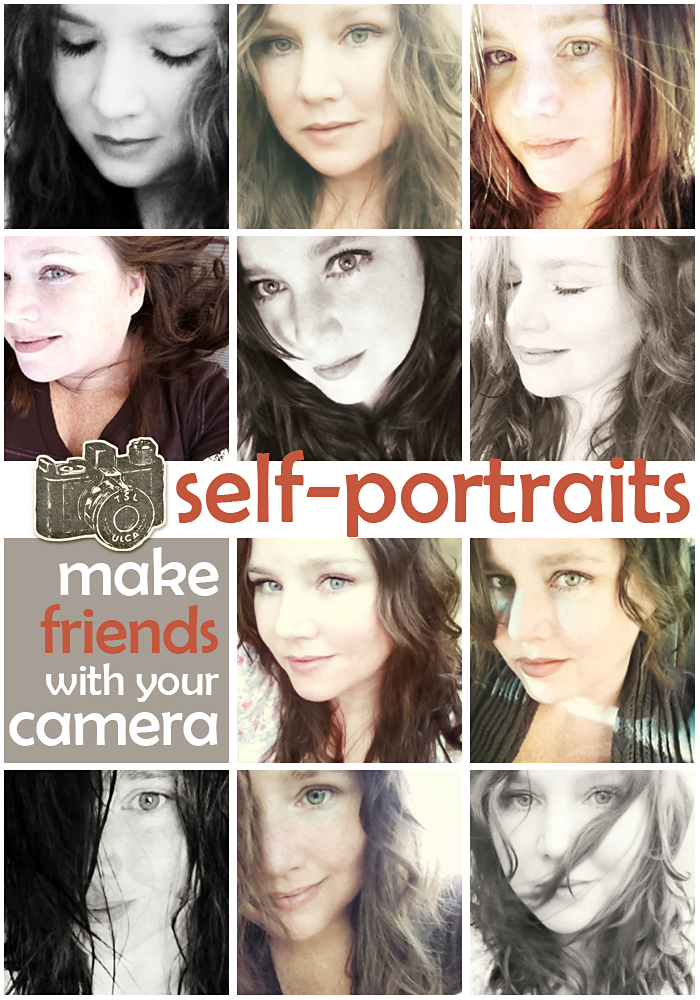
I know it can feel that way sometimes. It did for me when I first started down my road to more self-portraiture. I was coming out of a nebulous fog of self-identity, the “light” at the end of a very dark tunnel. For years, I defined myself by my roles as mother, wife, church volunteer or even a scrapbooking biz rockstar, and my photography reflected it. In all of my thousands of photos, I was in just a handful…usually posed for special events like the birth of my chidren. And when I decided that a focus on learning to love and understand myself was crucial to prevent a repeat of such a difficult time in my life, I naturally looked to scrapbooking to give a canvas to my thoughts. It was so sad and disappointing to have to use the same three year old photos over and over again because I was afraid of the camera. It was time to change things.
I decided to make friends with my camera…from the other side. It was really, really difficult at first. It feels silly smiling for no reason in particular. It certainly felt a little narcissistic. But it needed to be done, and I needed to figure out a way to do it that made me enjoy the process and the results.
Before I learned about photo apps for my phone, I would use my point and shoot, but I pretty much rely on my iPhone all the time now. I’ll say that I have tried mirror shots and timer shots, but I’m almost never happy with the results. What works best for me and my patience level is just the ghetto, arm-out-in-front-of-me style of photographing. A small camera works best for this because you usually have it in just the one hand and it needs to be easy to hit the shutter button. I still can’t use the volume+ button on my iPhone without blurring the pic.
Let’s see…light. I like natural, soft light because harsh shadows are just not flattering at all. Goodness knows I don’t need any extra emphasis on my wrinkles or shadows cast because of my prominent (chipmunk) cheeks. Go-to places for me are in rooms with good window lighting or outside on overcast days. Of course, lighting isn’t always ideal, so there are little tricks to helping with those shots in the processing phase.
I tend to snap quite a few shots to get one (or a few) that I don’t hate. I hold the camera at different angles. Everybody has bad angles…EVERYBODY. I also think everybody has good angles. Find what’s flattering for you. It might change depending on what you’re wearing or the lighting, too, so just snap snap snap. Move the camera and snap some more. I’m not super worried about focus and depth of field here…this isn’t about composition and technical perfection. It’s about me finding a shot of myself that I can use for a scrapbook page or to just document this moment in my life.
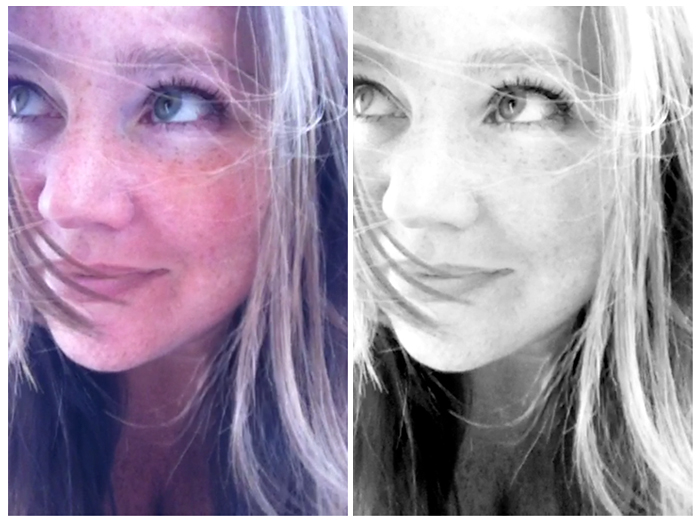
One other trick I use to get photos is to use my video feature on my phone. Recording little clips allows me to then capture a favorite shot or two as a photograph. Here’s an example:
So once you have all these photos, then what? Well, I edit some of them on my phone and others on my laptop. I use the iCloud service to automatically update my PC with the most recent photos as soon as I’m on my home wireless network. It makes getting to the editing really painless.
Apps I use all the time on my phone are Camera+ and befunky pro. With a well exposed photo, Camera+ makes it super easy to just find a fun filter, crop and be done. Sometimes, a photo requires a little more love. Perhaps it’s very noisy or it has a terrible yellow cast from indoor lighting. I’ll use the photo apps and layer the effects. I might bring the photo into befunky pro and use one of the blurring filters at reduced intensity to help remove the noise. Save it. Then reload it into an app to play with the color. If a photo is really yellow, I’ll probably pull it into Camera+ and use one of the b/w or fading filters to reduce some of the saturation; save it; reload the new version to play with colors.
Camera+ has some built in “scene effects” that alter saturation/contrast/etc. The one I probably use the most is Shade. It lightens and gives just a hint of warmth to the photo without blowing it out. What I do from there probably depends on my mood or how artistic I’m feeling. Sometimes, I want a photo to look natural and other times I’m just going for something cool and different. You never have to destroy your original photo, so it doesn’t hurt to just keep playing and saving.
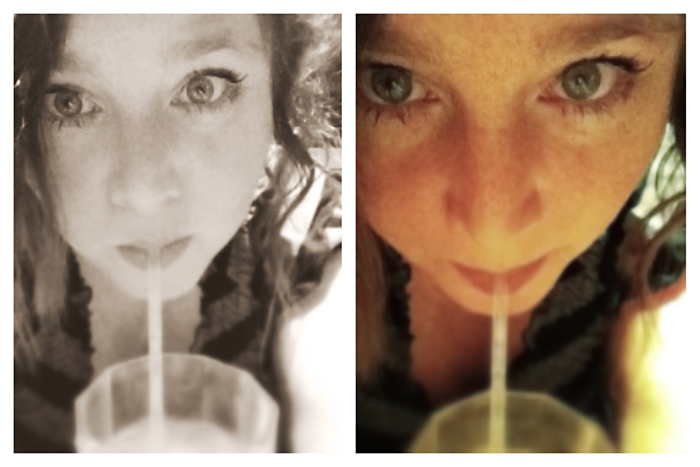
Here is an example of before/after. The original photos were taken at Chili’s at night with indoor lighting, using the front camera on my iPhone. I brought them in and out of several photo apps to adjust the saturation and color, the noise, and to add a tilt-shift effect (using SnapSeed).
When I really want a photo to look a little more polished, I edit it in Photoshop. I almost always have to reduce the noise on my front camera shots which I do with Filter > Reduce Noise. This usually requires me to add back in some detail with my eyes, but even softer focus on the eyes is much better than all the grain in the photo. I like to play with PS Actions. I have loads and loads of them from My Four Hens and Paint the Moon. I have favorites from each depending on what I’m trying to do with the photo. I almost never use the action as it. I typcially adjust some of the layers, sometimes disabling them altogether. Please feel free to ask me any time about an action I used, and I’ll be happy to tell you if I can remember. 🙂
Well there you have it. Nothing super fancy or complicated. Just a little effort…mostly to snap the shot in the first place. It’s a lovely process really…something magical about how the camera can capture your mood or your beauty or your flaws when you need it to. And I think I can say my camera and I are now friends.


Kendall said...
on February 23rd, 2012 at 7:09 am
AWESOME post, Krystal! I am sooo bad about taking pics of myself, mostly for the reasons you touched on in your article. I’m definitely going to try some of your suggestions. 🙂
Rebecca Kuchenbecker said...
on February 23rd, 2012 at 8:01 am
Thanks, Krystal!! So going to try this!
Jenn Barrette said...
on February 23rd, 2012 at 8:46 am
Self portraits are super fun! I try and do one each month. It is nice to take a moment for me; a moment that I don’t pick on my flaws instead embrace them!
Jennifer said...
on February 23rd, 2012 at 11:41 am
I love seeing all your self portraits on FB! You are beautiful and your voice is sexy as all get out! 🙂
Lori said...
on February 23rd, 2012 at 3:08 pm
Cute post! Thanks for the encouragement!
Zoe Pearn said...
on February 27th, 2012 at 7:54 am
Thank you so much for sharing this Krystal! You know I was just thinking the other day, I wish there was a tutorial for taking good self portraits somewhere in the world, and here it was! {And I’ll say it again, you are way too pretty!}
Lively said...
on October 27th, 2012 at 4:24 am
It may be a step in reverse, but what I find really useful and efficient (time-saving) is putting or making sure there’s a mirror behind the camera, so I can see the shot before I take it. You lose the automatic sense of what expressions and such look good, but you also won’t have to take 15 shots in order to get 1 that works. Instead you get 15 that look great. I was helping a photographer out with his portfolio and mentioned it might be more productive to have a mirror and he told me some models request the same as well. It gets a bit tedious with regards to set-up and lighting but it’s worth it! thank god for photobooth and reverse cameras so you can see the shot as you take it!
Lori B. said...
on April 10th, 2013 at 2:43 pm
Thank you so much for this post. I’ve had it on a pinterest board for so long and finally had a few minutes to click. As a behind the camera person, I SO admire your bravery at getting in front of the camera and LOVE your idea with the video.