Think Outside the Album: Table Decor 11/19
‘Tis the season for family dinners, for lunches with friends, and for gathering together over appetizers and aperitifs. The next few months will see many of us open our homes – and our kitchens – for numerous meals of celebration. As you prepare to set your table, remember the words of Roman gourmand Apicius: “We eat first with our eyes.”
I’ve always envied the hostess who can not only get all the elements of a meal on the table at the same time, but make that table look utterly stunning as it’s decorated and dressed to the nines. My home will never look like it belongs on the pages of Martha Stewart’s Living or Better Homes and Gardens, but every once in a while, I like to fancy things up a little with some DIY table decor.
Welcome to the November installment of Think Outside the Album, where we look at different ways to take our digital supplies off the scrapbook page and instead, use them to make the rest of our world just a little bit sweeter! This month, we’re using our digiscrap supplies to zhuzh up our meals with some holiday-inspired table decor. All you need is a color inkjet or laser printer and your favorite digital design software to make customized and coordinating utensil holders, napkin bands, menus, chargers, place cards, and more.
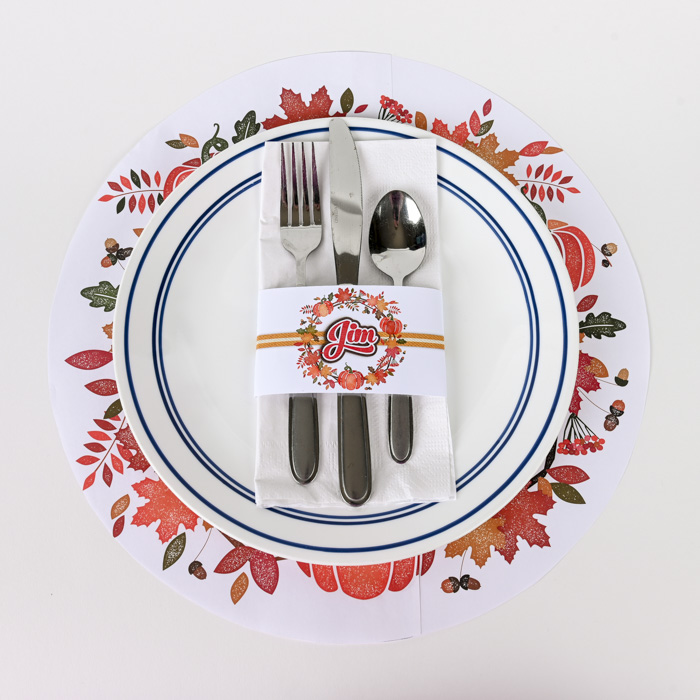
DIY Coordinating Menu, Place Card & Utensil Holder
SugarBabe Kim E. put together this adorable set for her family’s Thanksgiving dinner:

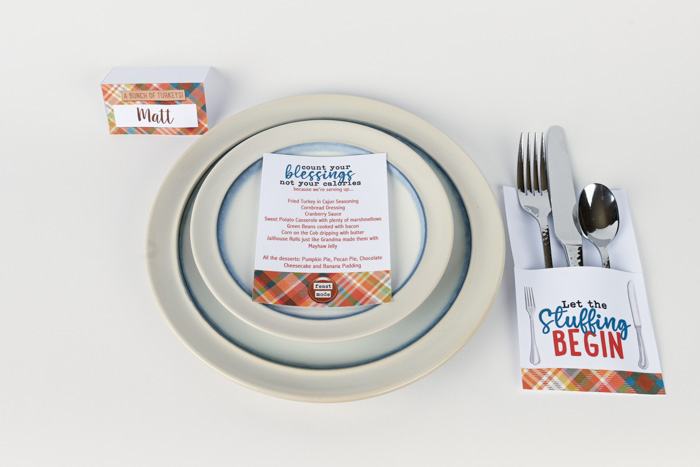
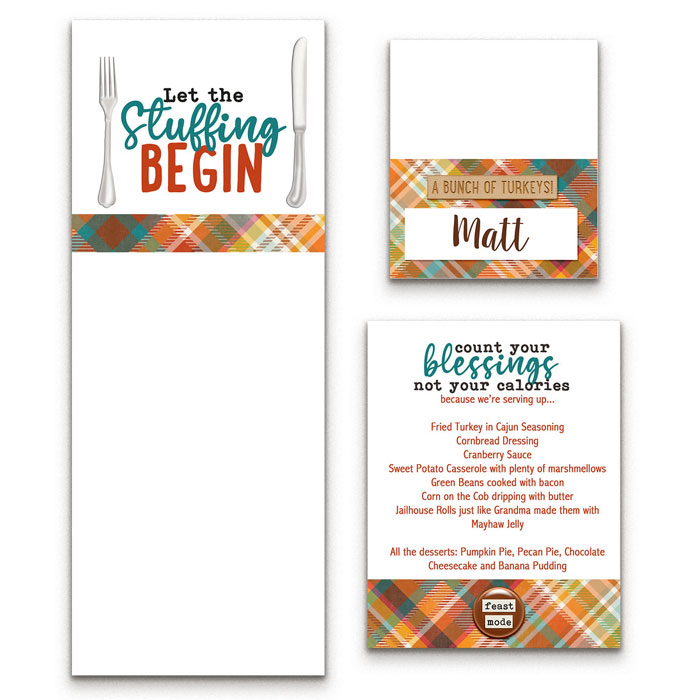
Created with Turkey Traditions by Clever Monkey Graphics
She used Turkey Traditions by Clever Monkey Graphics to design a menu, placecard, and utensil holder that coordinate. Both the menus and the name tent-style place cards fit 4 to a page. The utensil holders fit 2 to a page.
Created with Turkey Traditions by Clever Monkey Graphics
DIY Utensil Holder
To assemble the utensil holder, score the line below the printed design, fold it, and add two swipes of double-sided adhesive – on the back of the printed design, one on each side – and stick it together. Now you have a pocket into which you can slide a napkin and cutlery.
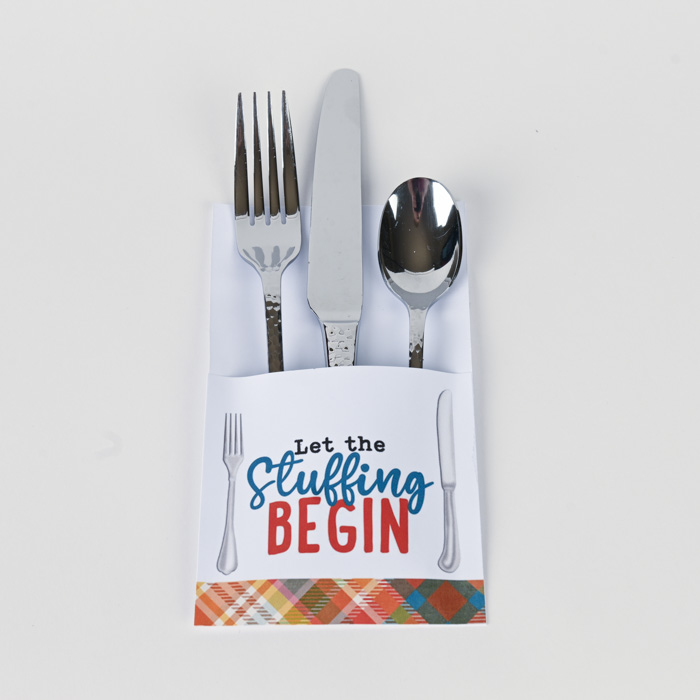
Created with Turkey Traditions by Clever Monkey Graphics
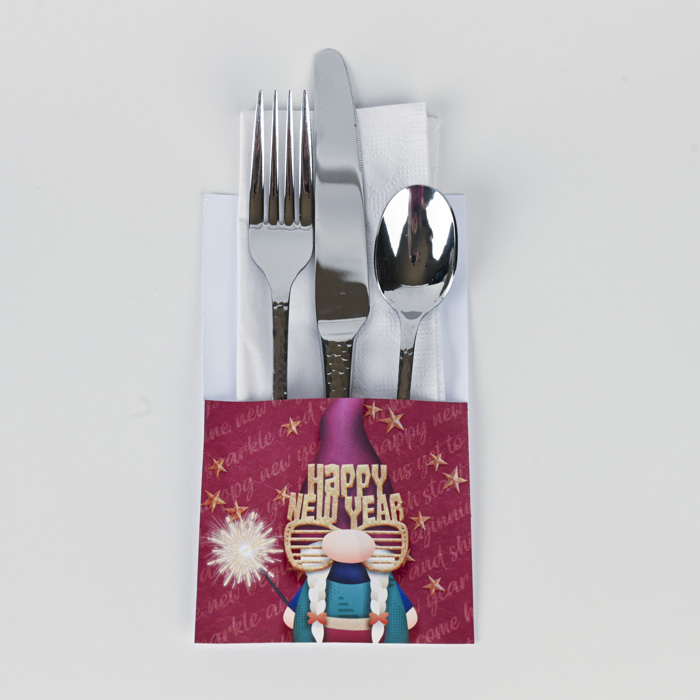
I was inspired by Kim’s project, so I grabbed a different digital scrapbooking kit and created a coordinating set of table decor for a New Year’s Eve dinner:

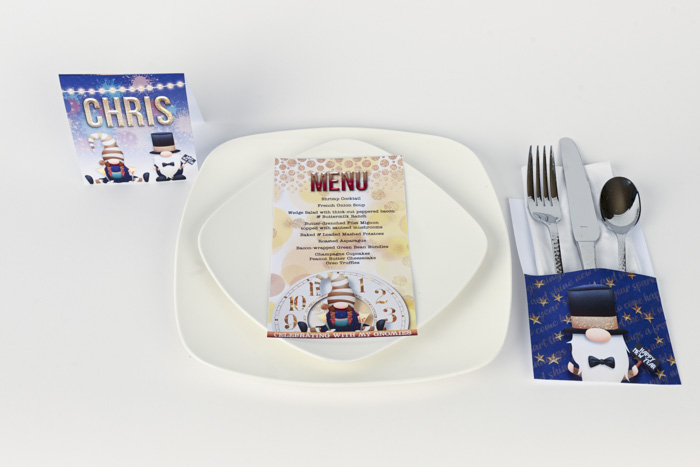
Created with The Best Gnew Year Mega Bundle by WendyP Designs
Don’t feel like you have to make all the utensil folders match. Instead, create multiple designs and alternate them around your table. I printed these on 8.5″ x 11″ letter size paper and cut them to 4.25″ x 11″:
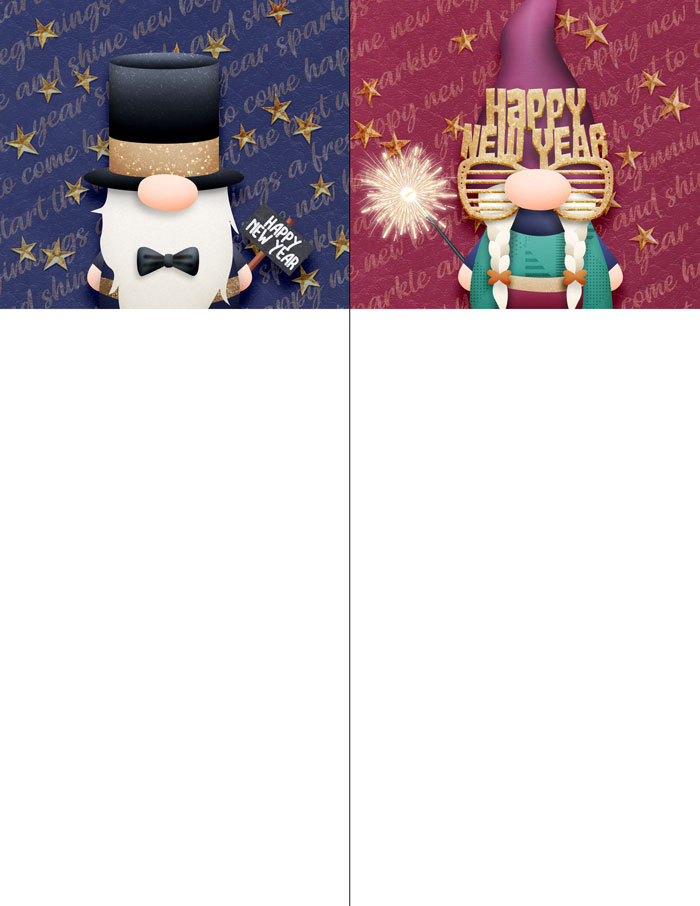
Created with The Best Gnew Year Mega Bundle by WendyP Designs
Fold them, add two swipes of adhesive, and you’re ready to go!
Created with The Best Gnew Year Mega Bundle by WendyP Designs
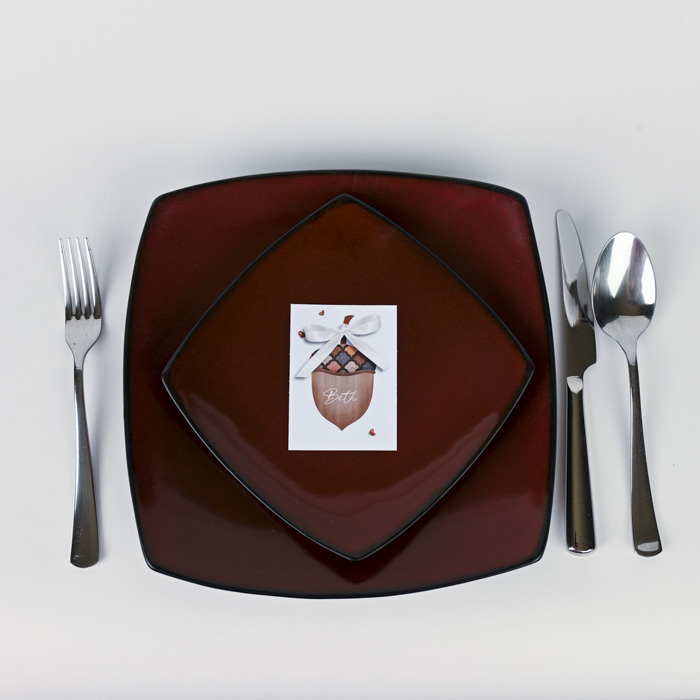
DIY Place Cards & Thankful Notes
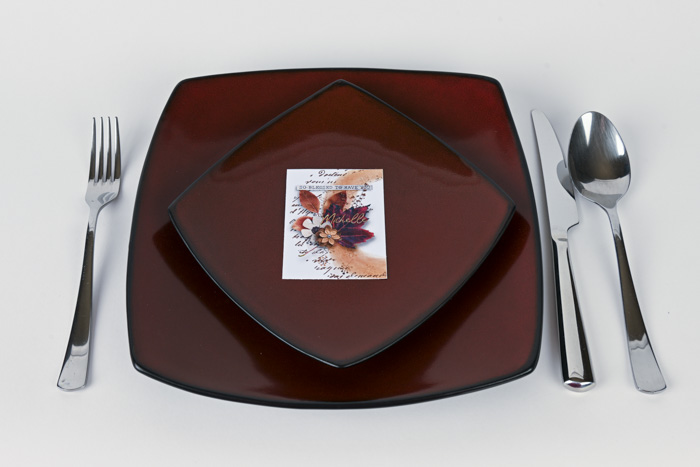
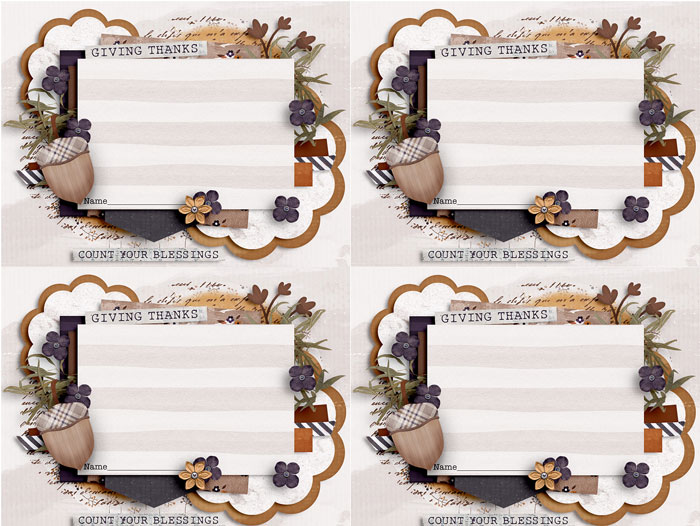
Sugar Babe Krista created place cards for her upcoming Thanksgiving meal. She opted for a simple, unfolded design, and was able to fit nine to a page.

Created with November Blessings: Collection + FWP by River Rose Designs
She also designed a coordinating “thankful note” for each of her guests to fill out and drop in an apothecary jar.
Created with November Blessings: Collection + FWP by River Rose Designs
And while she was at it, she created another place card design using the same kit:
Created with November Blessings: Collection + FWP by River Rose Designs
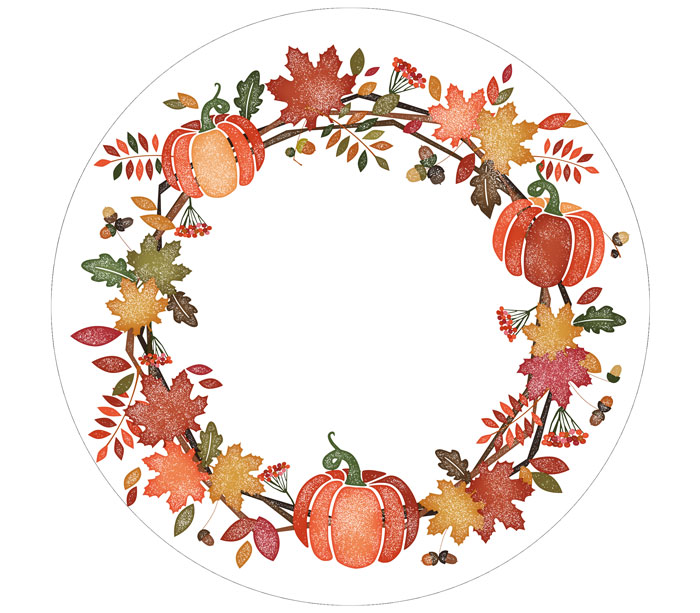
DIY 3D Pumpkin Place Cards
Sugar Babe Esther totally knocked our socks off with her 3-d pumpkin place cards – check this out!

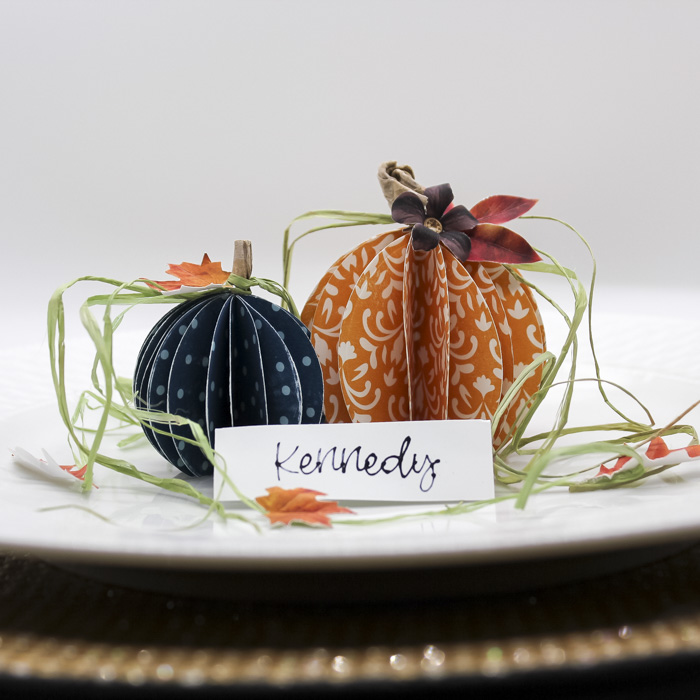
Created with A Cozy & Crisp Autumn Bundle by Digital Scrapbook Ingredients
I asked Esther what went into making these beauties. Here’s what she had to say: “I printed digital paper double-sided for the pumpkins. These pumpkins are created from 2 different size circles. For the stem, I used some corrugated paper that I had on hand. For the vine, I just used green raffia. The leaves and flowers came from the same kit as the paper and I fussy-cut them out by hand. I added creasing and some curling to the leaves and the flower to give a more realistic look. For the name tent, I used the pen feature on my Cricut Joy to write for me as it’s handwriting is better than mine.”
DIY Wine Bottle Hang Tag
Esther also came up with a quick project you can use if you’re the guest at a holiday meal rather than the host. It’s always good manners to bring along bottle of wine; it will make your hostess laugh when she catches sight of the funny – and custom – hang tag you create and add to the bottle!
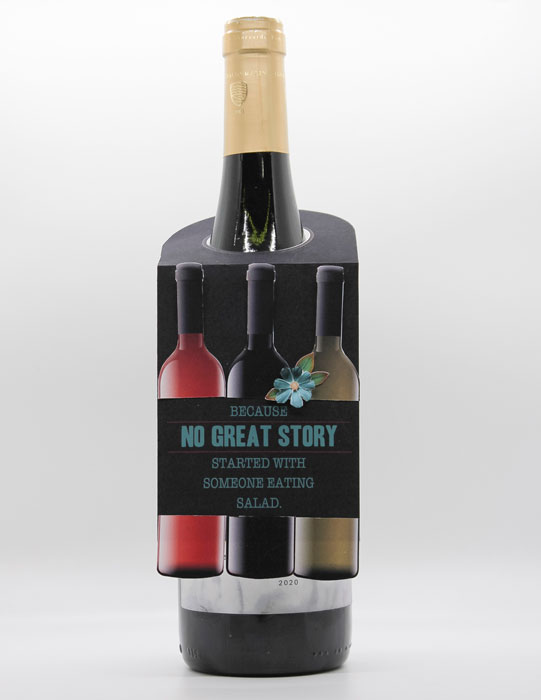
Created with Wine & Dine Bundle by Jocee Designs & The Nifty Pixel
How to Zhuzh Up Utilitarian Dishes
When it comes to my own dining room table, I usually keep things simple and focus on function over form. Especially with my stepkids and our grandkids around, I gave up the fancy dinnerware years ago in favor of inexpensive, hard-wearing Corelle dishware. Utilitarian? Yes. Festive? Not so much.
But with a little DIY digital magic, I whipped up decorative paper chargers and napkin bands suitable for Thanksgiving, Christmas, and New Year’s Eve – all using the same basic set of dishes!
Created with Friendsgiving Bundle by LJS Designs
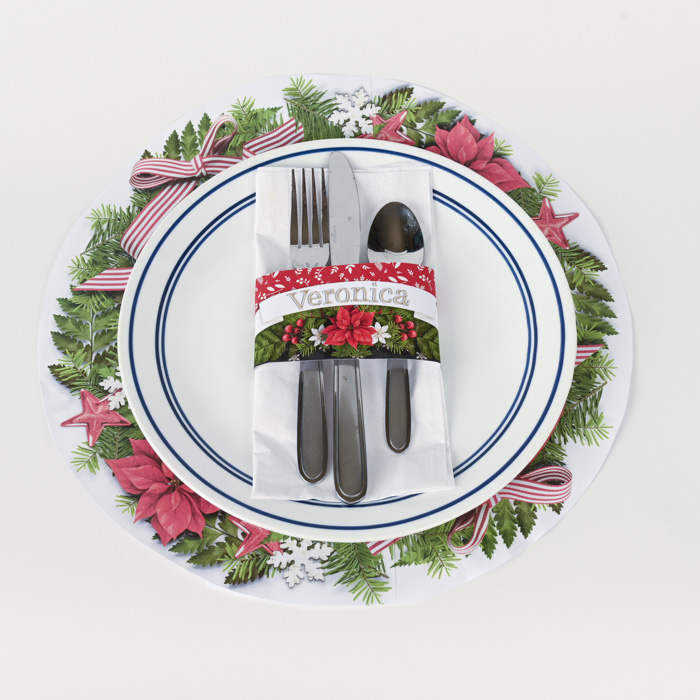
Created with A Merry Little Christmas Bundle by Kristin Cronin-Barrow
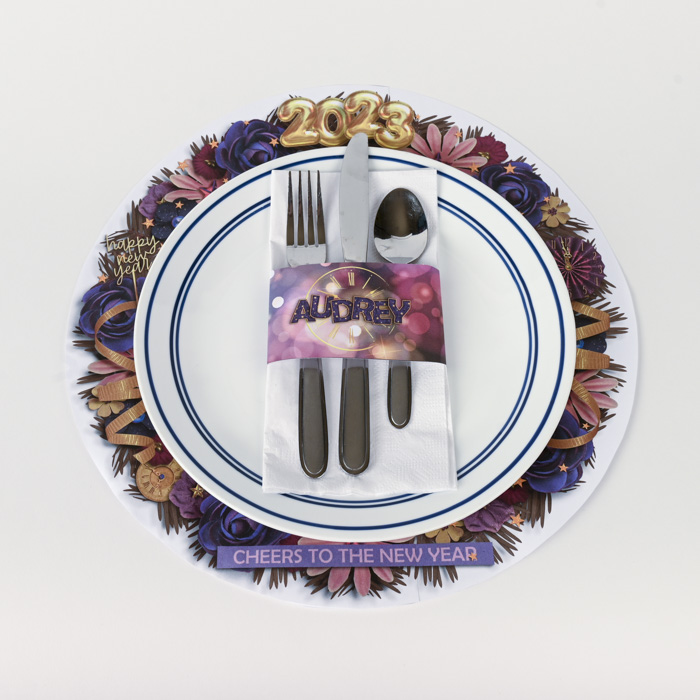
Created with Celebrate Collection by Studio Flergs
Ta daa! My simple, basic, everyday dishes look festive and fun with the addition of those two items: a napkin band and a decorative paper charger.
DIY Napkin Band
The napkin band is very straightforward. I designed them to print on 8.5″ x 11″ letter-size paper in a landscape orientation, 3 to a page.
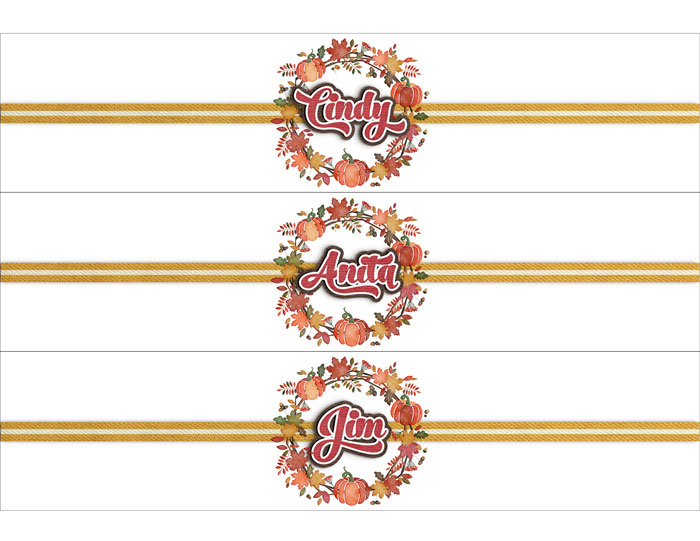
Created with Friendsgiving Bundle by LJS Designs
After printing, I simply trimmed them 2.5″ high by 11″ wide.
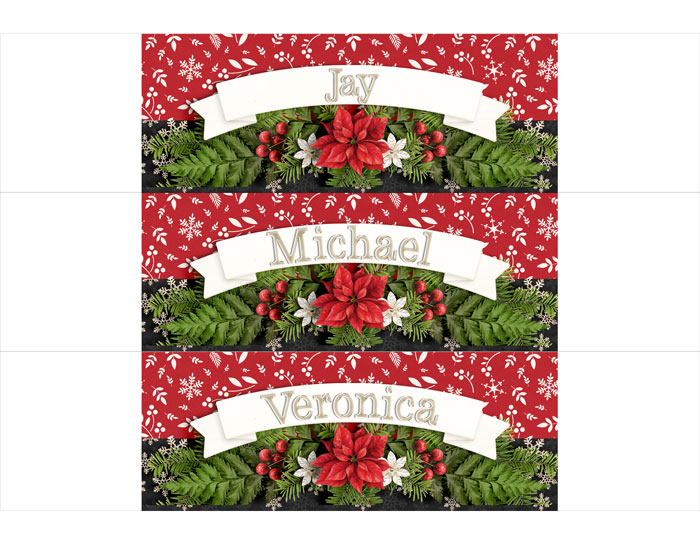
Created with A Merry Little Christmas Bundle by Kristin Cronin-Barrow
Then I wrapped it around my folded napkin and used a single swipe of double-sided adhesive to adhere it to itself (not the napkin).
Created with Celebrate Collection by Studio Flergs
DIY Decorative Paper Charger
The paper charger is just a little more complicated to print, but only because it won’t fit on a single sheet of printer paper. For these, I used Legal-sized paper – 8.5″ x 14″ – which will work in almost every inkjet and laser printer.
First, I created my design in Photoshop on a 14″ x 14″ 300dpi canvas.
Created with Friendsgiving Bundle by LJS Designs
When I was ready to print, I broke my finished image into two overlapping panels at 8.5″ x 14″:
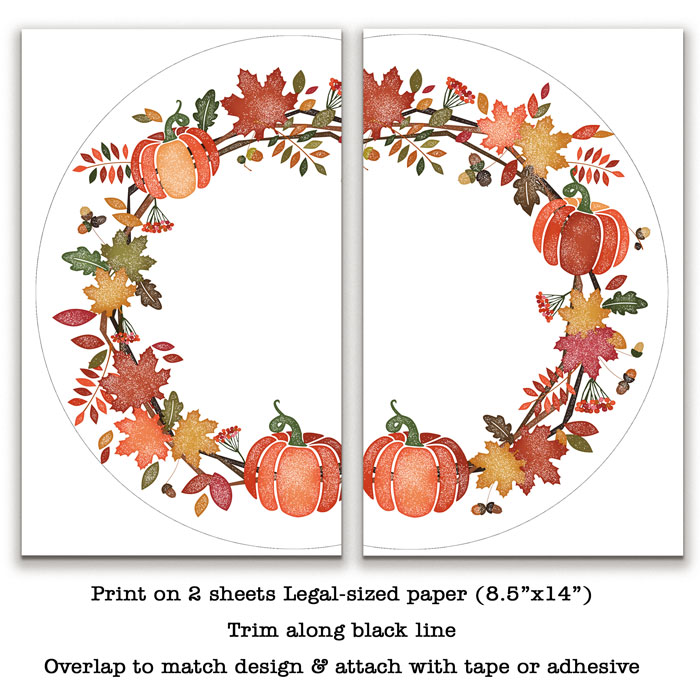
Created with Friendsgiving Bundle by LJS Designs
As you can see from the image above, there was enough of an overlap that it was easy to match up and assemble my finished charger.
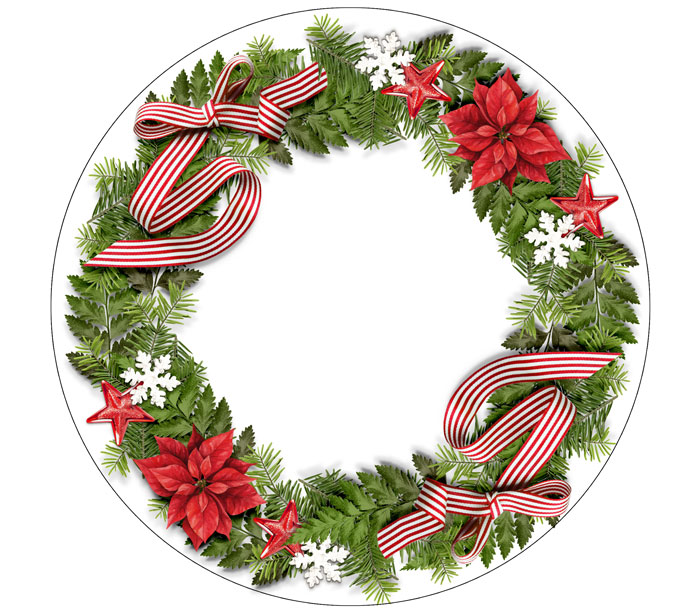
Created with A Merry Little Christmas Bundle by Kristin Cronin-Barrow
Having the solid line around my finished design made it easy to trim the final, printed image.

Created with Celebrate Collection by Studio Flergs
And with that, we’ve come to the end of another edition of Think Outside the Album.
No matter what the occasion might be – Thanksgiving lunch, Friendsgiving dinner, a Christmas meal or New Year’s Eve dinner and beyond – your digital scrapbooking kits can help dress up your dining room table. From place cards and menus to utensil holders and napkin bands and even decorative paper chargers, when you combine your favorite digital design software and the gorgeous kits from the Sweet Shoppe, the only limit is your imagination!
What other ideas do you have for DIY table decor? Tell me in the comment section below and be sure to snap a few pics of your next project to share in the Gallery. I can’t wait to see what you create when you Think Outside the Album!


Jenna in Canada said...
on November 19th, 2022 at 4:06 pm
Love this idea! Especially the paper chargers. What a great idea to use our digital supplies. You could even go a step further, and laminate them cheaply at a business supply store if you wanted to use them over and over.
Angie Key said...
on November 19th, 2022 at 5:50 pm
Jenna, what a fantastic idea! I can imagine making some super fun activity placemats for kids this way, too. Hmm… new ideas for Christmas for my grandkids!
Esther said...
on November 20th, 2022 at 9:14 am
Love these!!! Those chargers are a fantastic idea!!!!
Missy said...
on November 20th, 2023 at 10:19 pm
I love the charger idea! I have all white dishes. To make it easier to mix & match for large gatherings. This is a great way to add color to the place setting. Thanks for the ideas.