Think Outside the Album – Printable Magnets
Welcome to the March 2025 installment of Think Outside the Album, where we look at different ways to take our digital supplies off the scrapbook page and instead, use them to make the rest of our world just a little bit sweeter.
Today, I’ve got a project for you that’s super easy to make … it’s just not something most of us would connect with “digital scrapbooking supplies”. We’re going to make magnets! This is a fun way to personalize your refrigerator at home, filing cabinets at work, or locker at school. They make lovely little gifts, and I’ll show you a fun way to leverage these to turn a greeting card into a sweet keepsake!
What You’ll Need:
Printable Magnetic Sheets
I found Inkjet Printable Magnetic Sheets on Amazon. They’re available in both Glossy and Matte finishes. I ordered a 5-pack of 8.5×11 glossy sheets for $9, or a cost of $1.80 a sheet. If you know you want to make lots of these magnets, picking up the 12-pack at $1.58/sheet is a better buy – but if you only have a few to make, you can get started for under $10.
Please note that you can purchase printable magnetic sheets from a number of different vendors, but the only ones I’ve tried and tested are by Stone City.
A color inkjet printer
I used my HP OfficeJet Pro 9010 All-in-One.
Something to cut out your magnets
This could be as simple as a pair of scissors or a paper trimmer with a sharp blade… or, if you own a digital cutting machine like a Cricut or Silhouette, you can easily cut out more detailed designs.
Note: I used the Print & Cut function on my Cricut Maker with a StrongGrip mat and a Deep-Point Blade to cut through the Printable Magnetic Sheets.
Step 1: Design your magnet
Open your preferred digital scrapbooking software – I used Photoshop – and create a new canvas that’s the same size as your Printable Magnetic Sheet. (In my case, that’s 8.5″ wide by 11″ high and 300dpi.)
Now pull out some of your favorite Sweet Shoppe digital scrapbooking supplies, and start designing! For example, I grabbed a journaling card, sheet of patterned paper, and two flairs from the Munchies: Bundle by Erica Zane and created this:
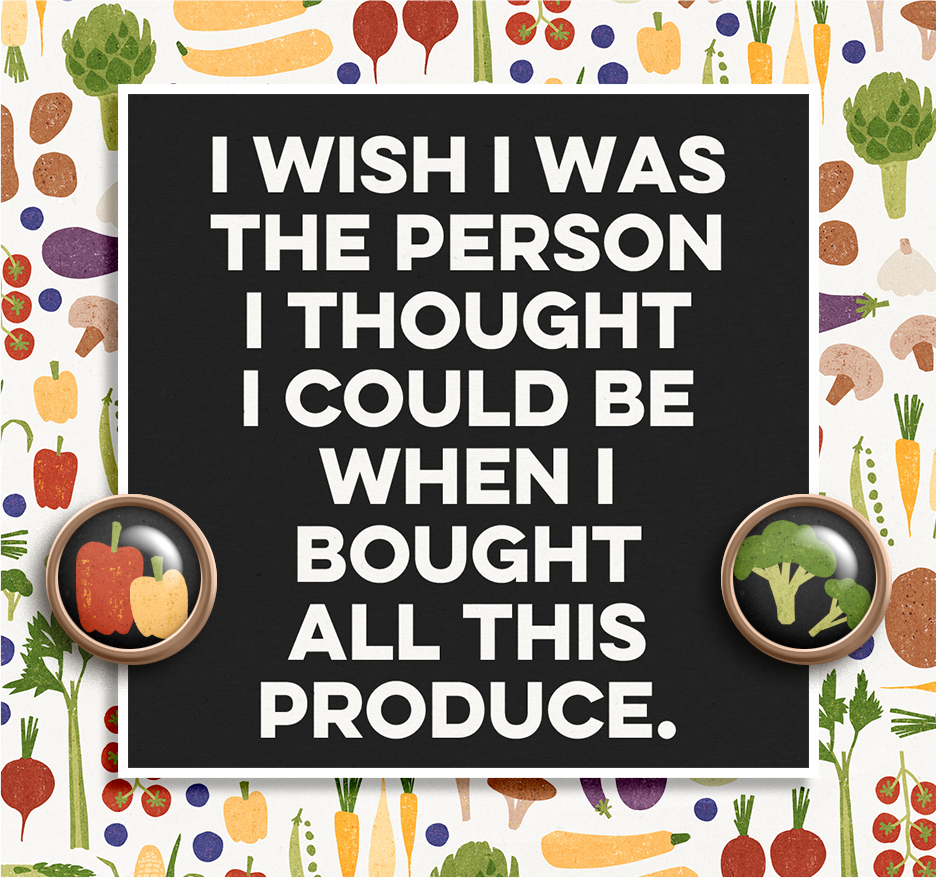
Created using Munchies by Erica Zane
You’ll want to include drop shadows in your design, but don’t let the shadows extend out past the edges of your magnet. You’ll want a clean, sharp edge when it comes time to cut.
Step 2: Print your magnet
If you’re going to cut out your magnets with scissors or a paper trimmer, you’ll probably want to print directly from your design software straight to your printer.
However, if you’re using a digital cutting machine like a Cricut, you’ll want to follow the instructions for Print Then Cut:
- Save your magnet as a PNG on a transparent background.
- Import it into Design Space, choosing “Print Then Cut” in the design type.
- Fill your canvas with all the magnets you want to print, and then hit Make.
Regardless of whether you print from your design software or Cricut’s Design Space, you’ll want to note that I found I got the best results when I chose “Photo Paper” as the media type in my print dialog box.
Step 3: Cut out your magnet
If you’re doing this part by hand, grab your scissors or paper trimmer and cut out your printed magnet.
Or, if you’re using a digital cutting machine, move to the next step to Cut. I chose “Magnetic Sheets – 0.6mm” as my media type, which called for 6 passes using a Deep Cut Blade.
Let your machine do the hard work for you, and when it’s done, simply peel your magnets off the mat.
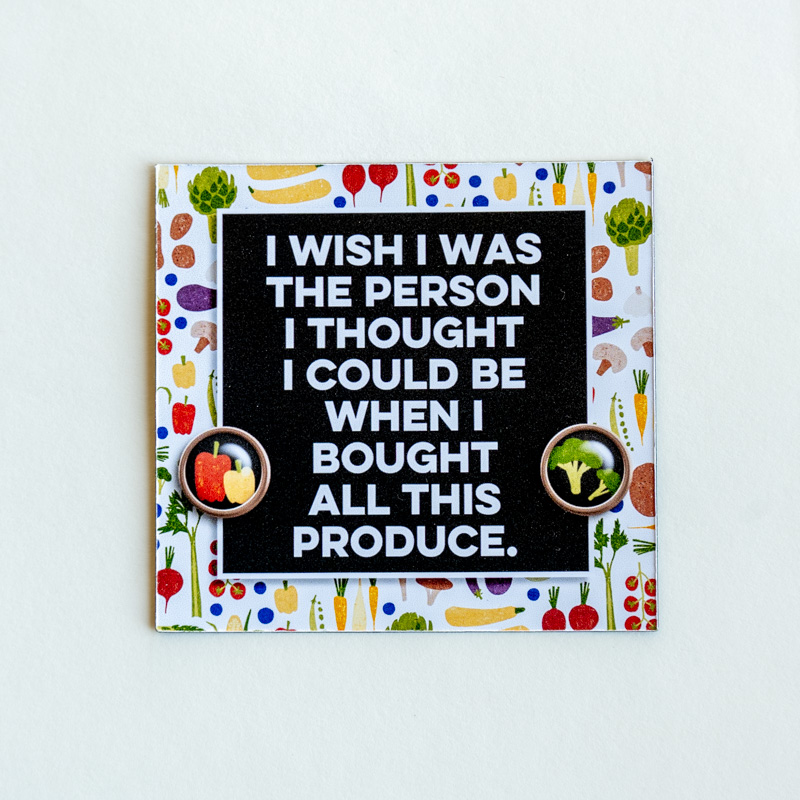
Created using Munchies by Erica Zane
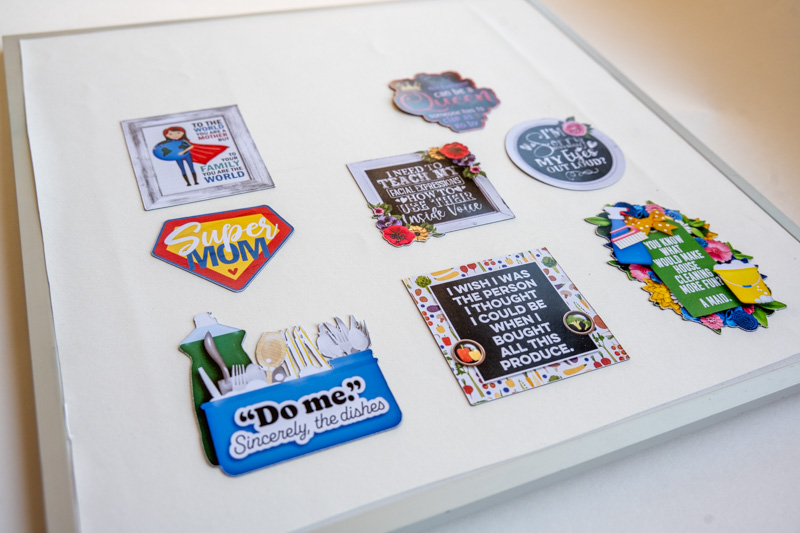
How cute is that?!? I promise, once you get started, you won’t want to stop designing and printing ALL THE MAGNETS…
Created using Munchies by Erica Zane and Make It Sparkle by Clever Monkey Graphics
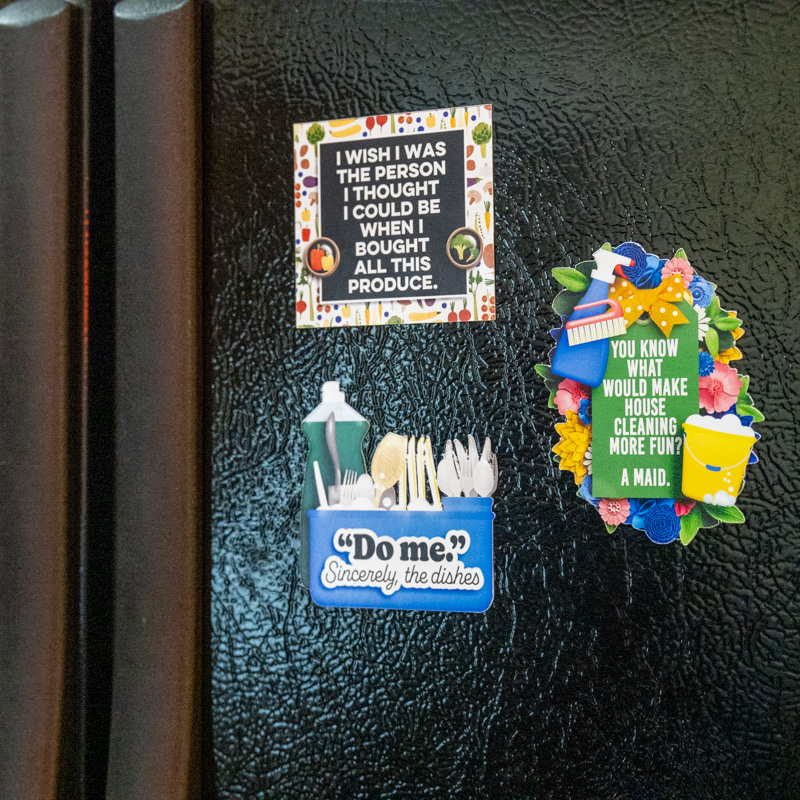
Add a little humor to your fridge like I did, with help from the Make it Sparkle Bundle by Clever Monkey Graphics.
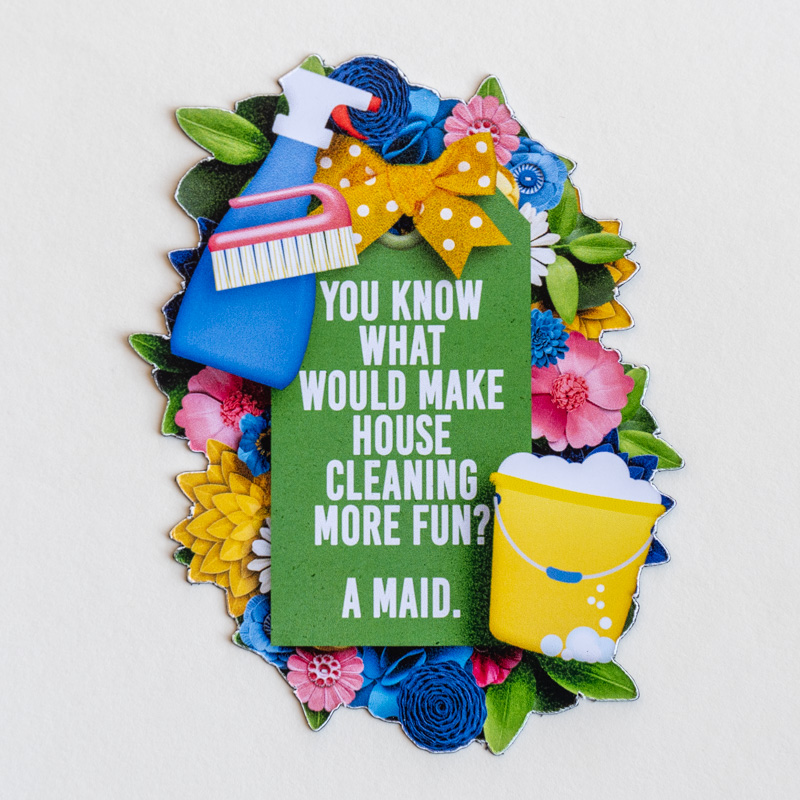
Created using Make It Sparkle by Clever Monkey Graphics
Or get a little sassy with some fun magnets for your workspace – or for your teenager’s locker at school – when you use Our Family: The Sassy One Bundle by The Nifty Pixel and Connection Keeping.
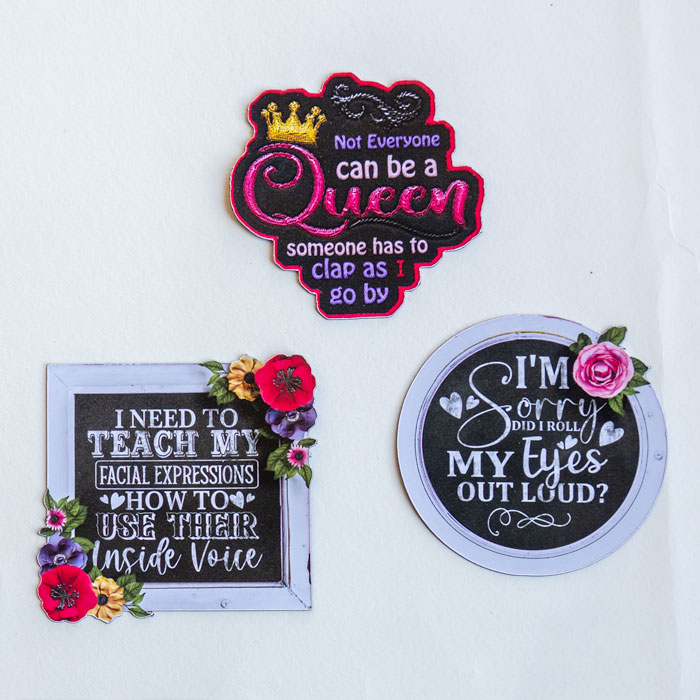
Created using Our Family: The Sassy One by The Nifty Pixel and Connection Keeping
BONUS: Magnet + Greeting Card = Magic!
Now, let me show you a way to use your newfound magnet creation skills to turn a simple greeting card into a keepsake.
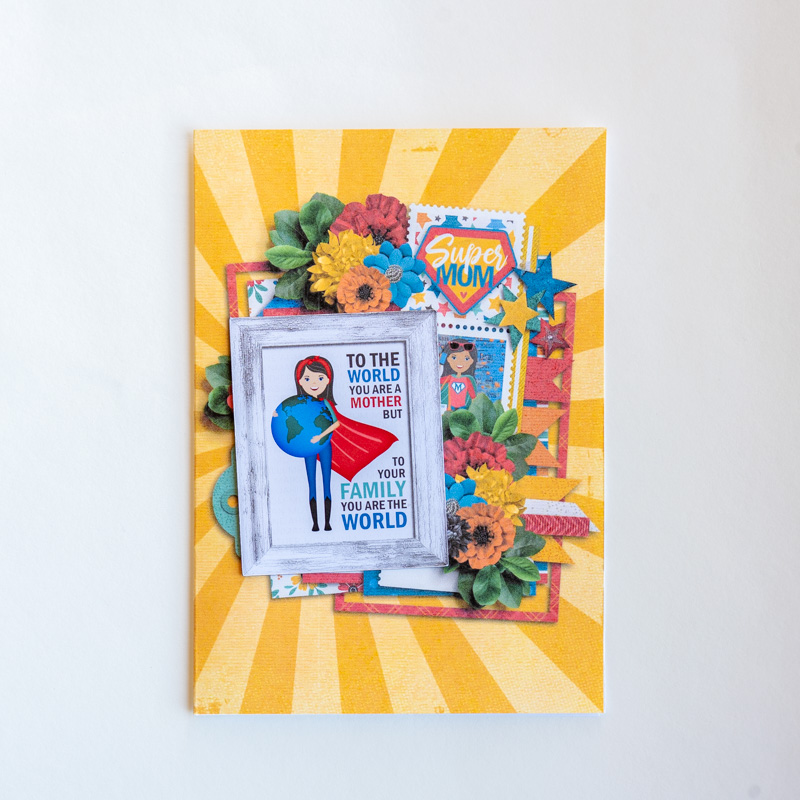
Mother’s Day is less than two months away, and for once, I’m thinking ahead! I used the Super Mom Bundle by LJS Designs to create a magnet (one journaling card + one frame) as well as a coordinating greeting card. What you’ll want to do is place your magnet design (in the same size you printed it) as the very top layer in your design software. Then, create the greeting card beneath it:
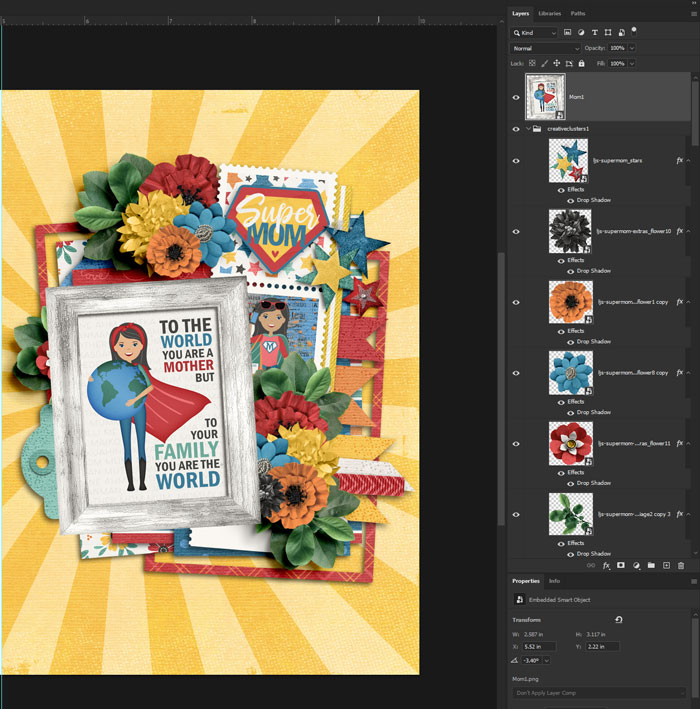
Created using Super Mom by LJS Designs and Creative Clusters 1 by Cindy Schneider
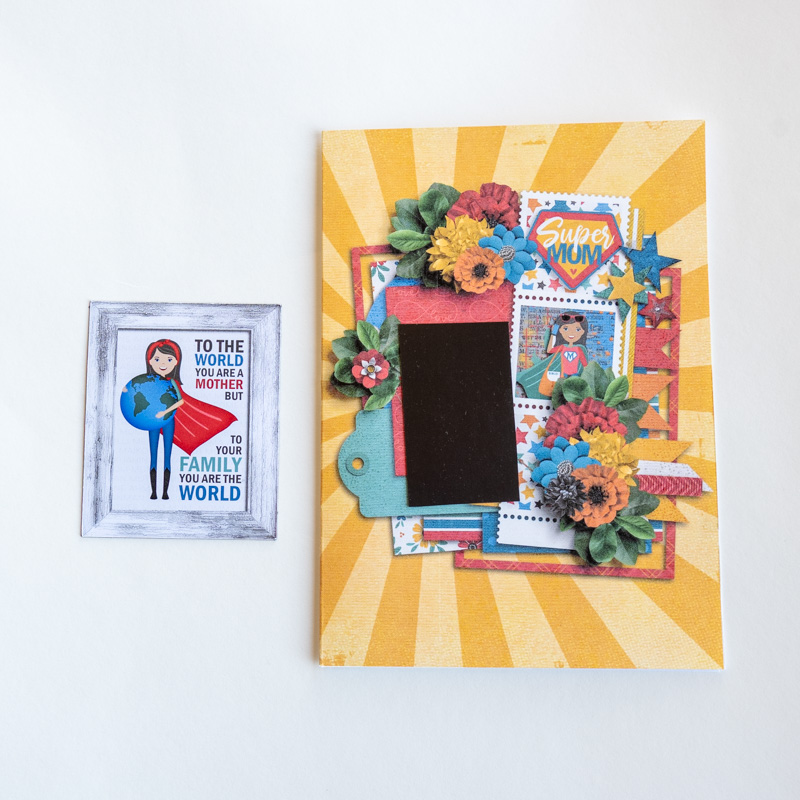
When you’re ready to print your card, you’ll hide the top layer with your magnet’s design and send the rest of the card to print:

Created using Super Mom by LJS Designs and Creative Clusters 1 by Cindy Schneider
Now, trim and score your printed card. Cut a small piece of scrap magnetic sheet – I used the margins that were left after my Cricut printed the Print Then Cut guide lines – and use a double-sided adhesive to stick it – wrong-side up – to the front of your card where you want your magnet to go:
Created using Super Mom by LJS Designs and Creative Clusters 1 by Cindy Schneider
Because of the way magnets are attracted to each other, now you can place your magnet on top of the card and it will stick in place:
Created using Super Mom by LJS Designs and Creative Clusters 1 by Cindy Schneider
Ta-daaa! Instant greeting card with a sweet little keepsake they can place on the fridge and think about you every time they see it.
How many different ways can you think of to use this project? I can imagine everything from party favors to teacher appreciation gifts to thank-you cards with a little somethin’ extra. With the help of all the digital scrapbooking kits in the Sweet Shoppe, the only limit is your imagination! So order yourself a pack or two of Inkjet Printable Magnetic Sheets and get started on your next DIY craft project. And be sure to snap a photo or two and share them with us in the Hybrid Project Gallery … because I can’t wait to see what you create when you Think Outside the Album!


StephC said...
on March 21st, 2025 at 12:32 pm
What great ideas! I may have to try this for my mom. She loves her fridge magnets =)
Angie Key said...
on March 24th, 2025 at 8:51 pm
I’m glad you liked the post, Steph! If you make some magnets for your mom, be sure to snap a photo or two and share them in the gallery – I’m always looking for more ideas!