One Template, So Many Ways…
We often get the question: “Once you use a template…what do you do with it?” But the beauty of digital scrapbooking is that the supplies we buy are never “used up” right? So why should this apply to templates too? Putting aside the fact that the same template, used 5 different times in exactly the same way dispersed throughout your albums will never be noticed, there are so many ways to change up a template that you can start with the same template and end up with a completely different layout every single time!
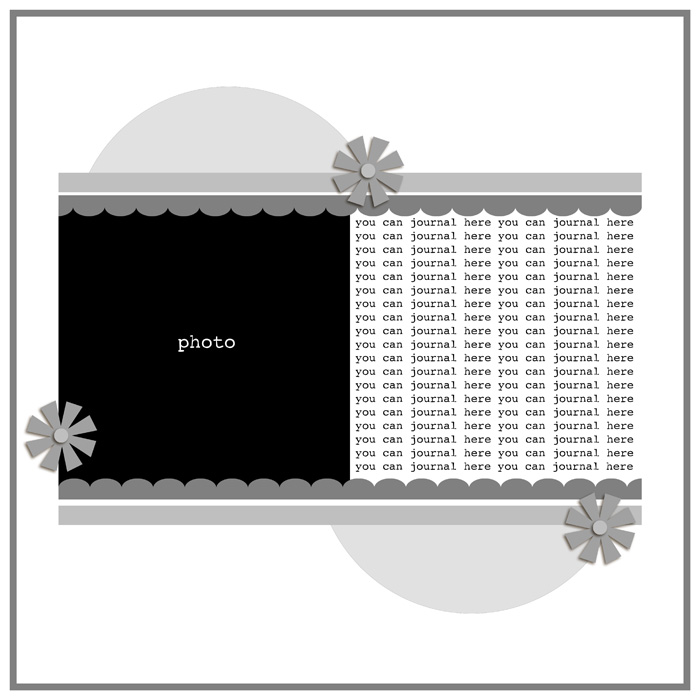
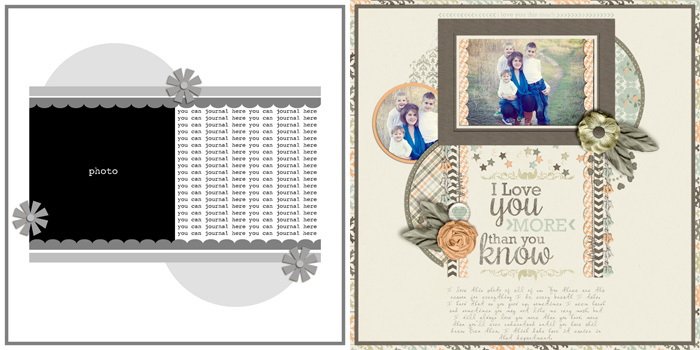
I’m going to take you through the process of evolving a template and all the things you can do to change it! I’m going to start with a template from Janet’s Scrap Your Heart Out 4 – Piece 7 and my To The Moon and Back Kit and we’re going to go from this:
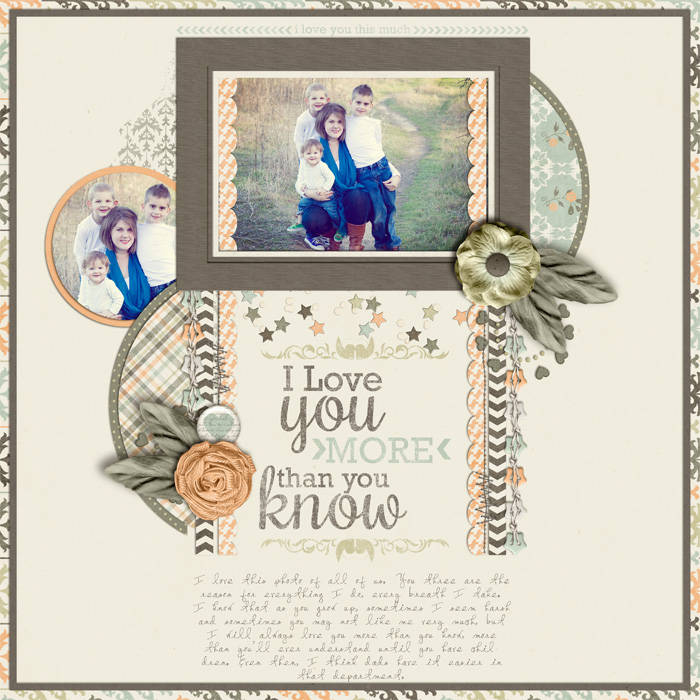
to this!
Step 1 – Straight Out of The Box
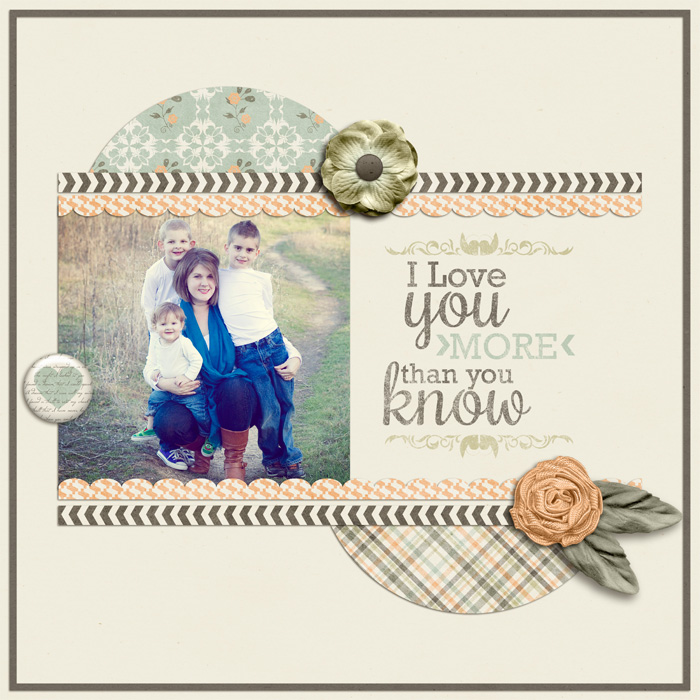
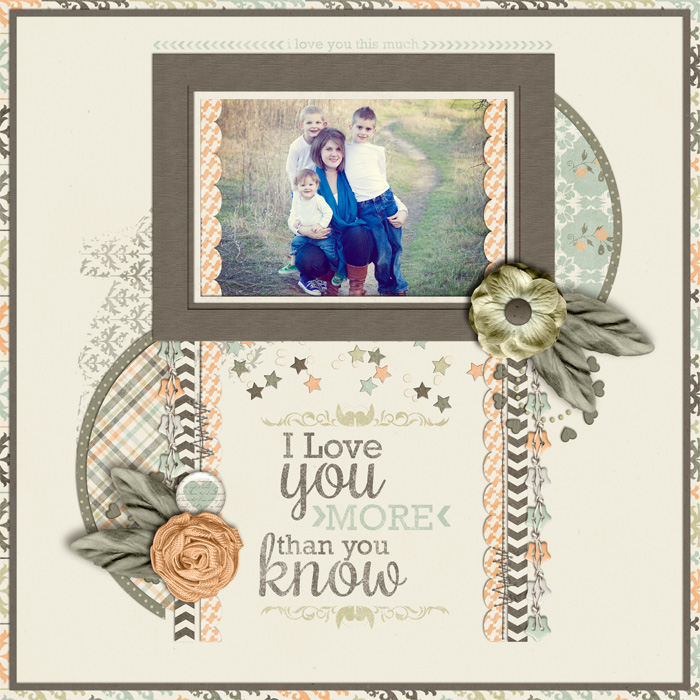
Here’s the layout I created following the exact template:
I just clipped the papers to the paper spots, put my wordy element where prescribed and stuck elements in the element spots. Simple, quick, and beautiful! But what if we want to do a little more?
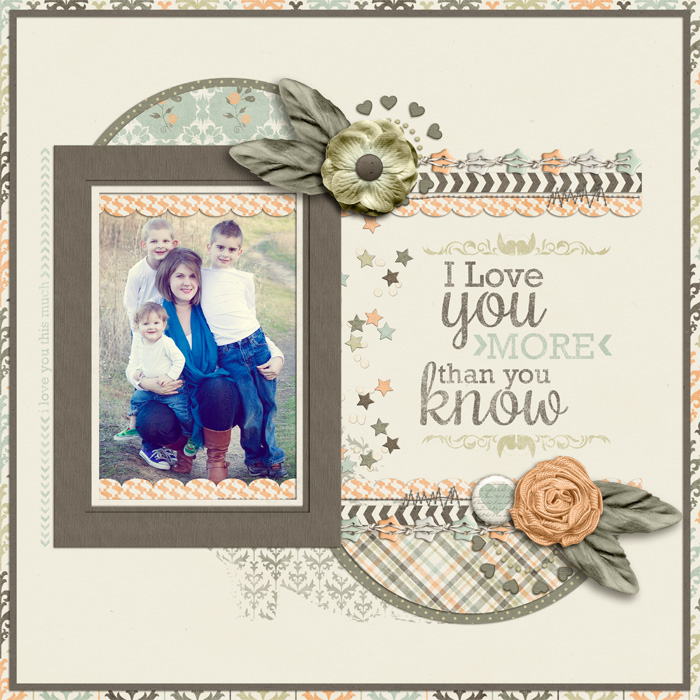
Step 2 – Add to (Or Subtract From) it
Here’s the same layout with some added embellishments and papers. Don’t be afraid to add to a template (or subtract from) to fit your needs! I love simple layouts, but I often like a little more embellishment than Janet’s templates provide (that’s why they’re such a great jumping off point!)
Step 3 – Rotate
What if the template you’re looking at has vertical photos and you really need a horizontal one? There are so many ways you can rotate a layout. With this one, I just took the whole thing and rotated it 90 degrees clockwise.
Step 4 – Shrink it
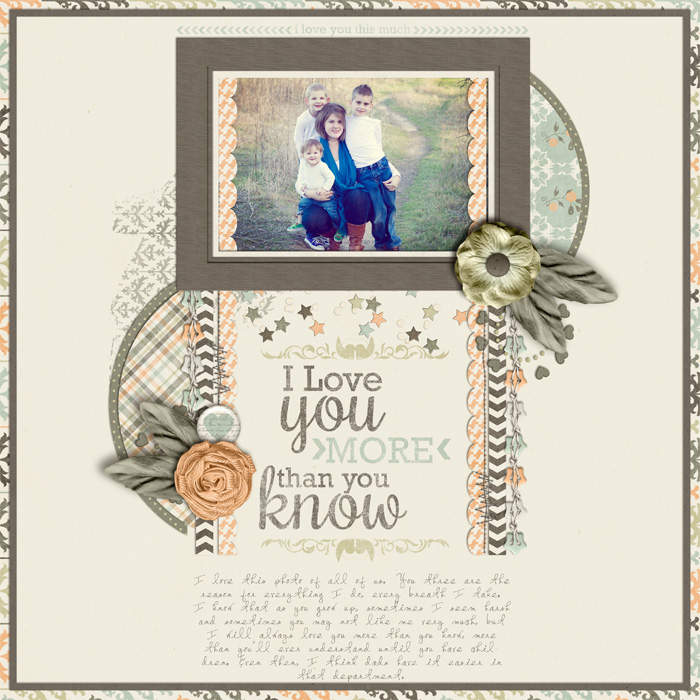
Design looking a little too big for you? I needed some room for journaling on my template since I took up all of the journaling space with the word art, but I didn’t want to mess up the composition so I shrunk all the inner contents of the template and added the journaling underneath. (I didn’t shrink the word art because I wanted it to fill up more of the space in between the scallops.)
Step 5 – Add Photos
If I were finishing the layout, I would’ve stopped at step 4, but I wanted to show you how easy it is to add a photo to your template! Other options: Split the 1 horizontal photo into 2 vertical photos or even shrink the whole layout even smaller and repeat it in the opposite corner!
So there you have it! Never toss another template you love just because you’ve used it, just change it up!
Sandy/tx-nana-scraps said...
on March 22nd, 2012 at 5:09 pm
Great tutorial and I love every single one of your “new template” layouts! I’m one for reusing kits and templates and I love seeing how you did yours. Thanks for sharing!
charlyn parker said...
on March 22nd, 2012 at 7:01 pm
thanks for the help, much appreciated
Kathy Simkins said...
on March 24th, 2012 at 4:55 pm
Thank you so much for your very well done tutorials. As a “frightened” newbie I really appreciate how you are so concise and informative with your information. You are one of my digi heroes!
Tracy Brewer said...
on August 25th, 2013 at 2:10 pm
Have to say what a great help this was for me. Thanks so much for sharing your useful tips with us