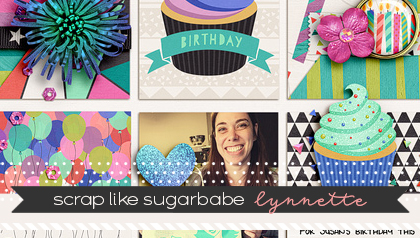
Scrap Like A Sugarbabe: Lynnette Penacho
We are kicking our Scrap Like a Sugarbabe series back off with a great look at long-time Sugarbabe (and former template designer) Lynette, aka Nettio, and how she uses patterned papers in her layouts. If you have ever taken a glance in her gallery you will see that she is amazing at incorporating not just a lot of papers in her pages, but at mixing patterned papers like a boss.
About Lynnette:
Why hello there! I’m Lynnette aka Nettio, long-time Sugarbabe and former Sweet Shoppe template designer. After being a digital scrapbooker for the past 10 years, it’s pretty clear what my claim to fame is: patterned paper! I like to say I’ve never met a pattern I don’t love so I’m always on the look out for new and interesting ways I can use them to my layouts.
I know for a lot of scrapbookers trying to get that patterned paper-lovin’ look without your page looking like a crazy hot mess can be challenging so I’ve put together a list of my best tips as well as a video where you can watch me place the papers on the layout below in real time.
Watch me mix patterned papers in real time here (it’s about 15 minutes long):
Scrap Like A SugarBabe – Mixing Patterned Papers from Lynnette Penacho on Vimeo.
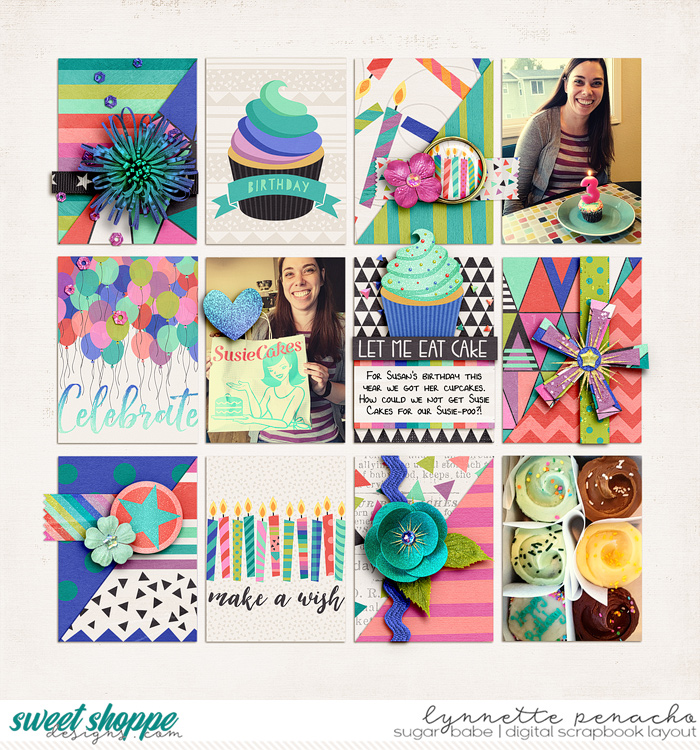
And here’s the completed layout:
Tips for Mixing Patterned Papers
1) Use a well-designed kit
This one is a bit out of a your control but a well-designed kit can make or break your pattern lovin’ page. Some designers do paper better than others so you want to look for a kit that has a good mix of color, pattern & scale.
2) Drag all the papers onto your page at once
Yep, you read that right. The first thing I do with any layout is drag ALL the papers (patterns & solids) directly onto my layout. This allows me to not only see the patterns full-size but also gives me the freedom to sort & organize the papers based on color or preference. Often I will drag my favorite patterns to the top of the papers in the layer panel so I make sure to use them first.
3) Start with your favorite paper first
When it comes to placing patterned papers, I always start by placing my most favorite pattern first – that one pattern that I see and know I just have to use. For me this is often a large scale print that’s unique to the kit so I want to make sure I place it in a way where it will be seen and not covered by a ton of elements (I save those spots for my less favorite patterns.) Then I work the rest of my paper placing based off that initial paper.
4) Look for contrast & repetition
The key to using lots of patterned paper in a small space is contrast and repetition: light vs dark, large vs small and then repeating those elements throughout your layout. You also want to pay attention to the color, scale & type of pattern to make sure you get a good mix throughout your layout.
5) Keep playing until it feels right
Placing patterned papers is more of an art than science. You’ll have to play around and try different papers and placement until you get a look you love. Sometimes I even end up unclipping all the papers and starting fresh when things aren’t going well. It’s all part of the process!
One thing to keep in mind is visual triangles. You want to pair them with repeating color or pattern to keep your eye moving around the page. Too many large scale patterns or too much of one color in one part of the layout can make the entire thing feel unbalanced.
FAQ: What do I do if my layout looks crazy?
This is the number one question I get when it comes to placing patterned papers and my answer is: embrace it! Pattern paper lovin’ is not for the faint of heart. But if you feel like you’ve crossed that line into crazy town, here’s an easy fix: remove some patterns and focus on repetition. Repeating 3 patterns throughout your layout is a lot easier to make feel cohesive than trying to use 12 completely unique patterns.
More than anything, just keep playing! The more comfortable you become with the process of mixing patterned paper, the easier it will become.
For this post Lynnette used the digital scrapbooking kit “A Birthday Wish” from Studio Flergs. You can find this fun, bright birthday kit and more great products from Studio Flergs in our store.