Pocket Cards: Non-Pocket Pages #1 Tip
 I’m popping in with a sweet tip today and wanted to start with a easy-peasy tip that I use all the time with pocket cards. If you’re anything like me you love a good value and most often buying the whole bundle is the best value. Bundles often come with pocket cards but I know not all of us scrap pocket-style pages. So then, what do we do with those pocket cards we spent our hard earned coins on? Use them of course and I bet right now you’re saying to yourself, “Kiana just how do I use all of these pretty pocket cards on my pages?” 😉 Well I’m here to show you my Number #1 Tip for using pocket cards on pages I create.
“Start where you are. Use what you have. Do what you can.” – Arthur Ashe
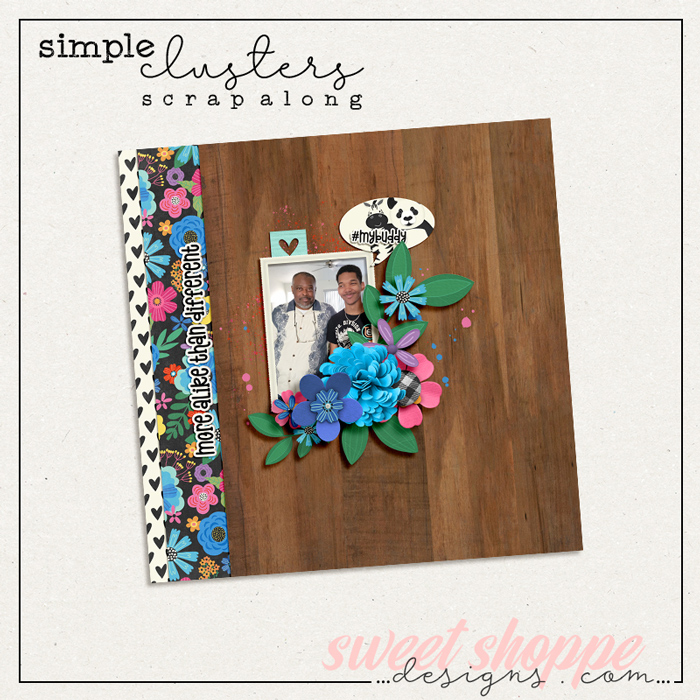
Pocket-style pages are great for a lot of memories we document, but they aren’t always the route we want to take. And those pocket cards are so pretty and lots have some of the coolest sayings on them too so naturally we want to use them, especially after we spend our money on them. Today I am here to tell you to use those pocket cards and the simplest & easiest way to incorporate them into your pages is to just think of them as another photo. This is literally how I think of them. Once you train your brain to think of them as a “photo” then it’s easy to plop them into templates and on pages in placeholders where a photo would go.
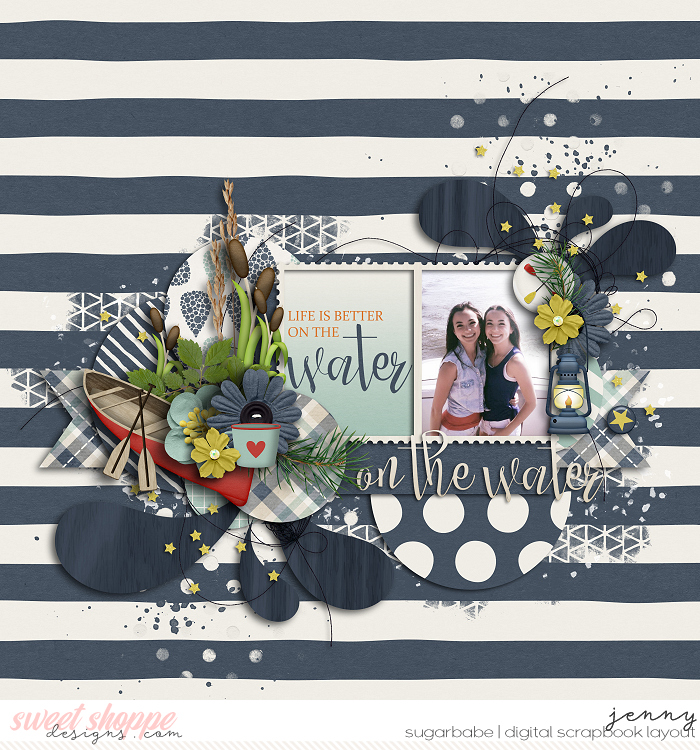
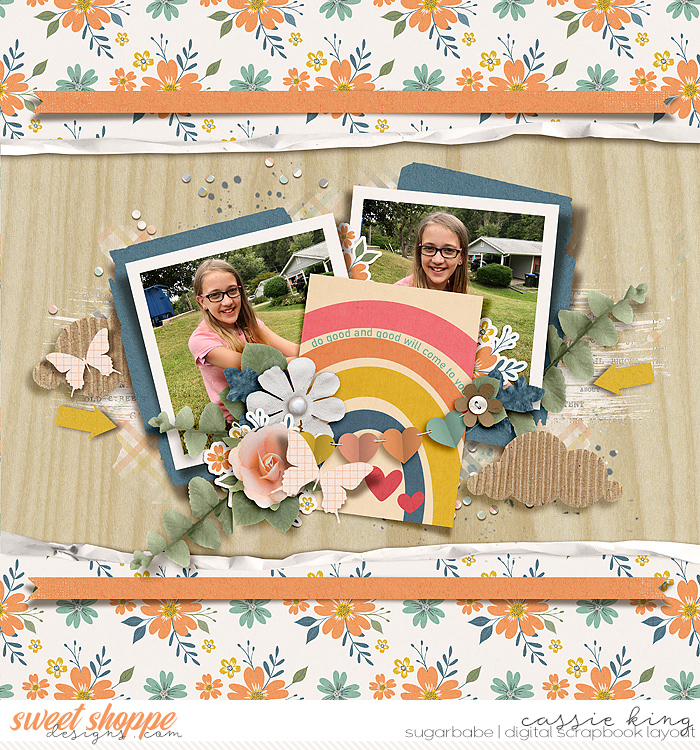
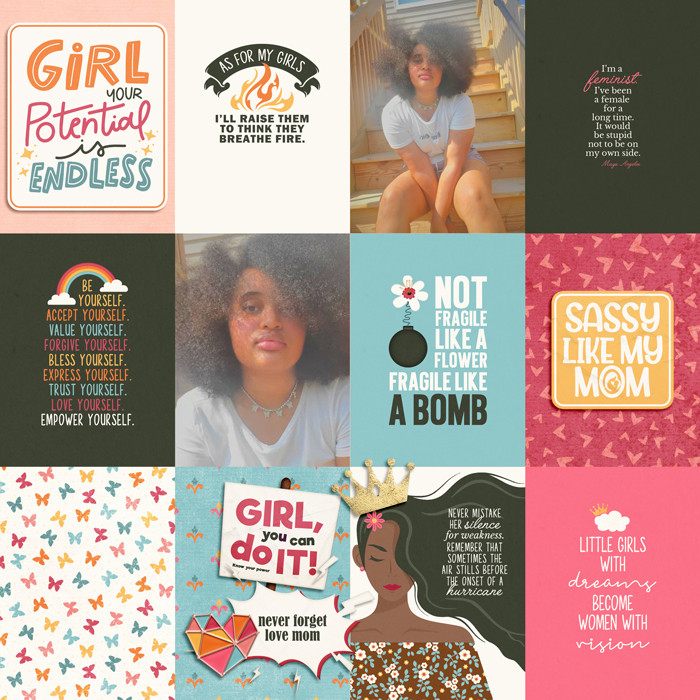
I’ve got a few examples from the Sugarbabes where they used templates with more than one photo spot and switched out one spot to use a pocket card instead. Have a look and then I’ll go over a few more tips when doing this:


But now you’re saying, “Kiana this is great and all, but all photo spots aren’t rectangular.” You are absolutely right and must be reading my mind because of course I’ve got tricks still to give for this Number #1 tip of mine.
I’ve created some visuals but I’ll give a brief overview of how I’ve come to think of pocket cards when I’m creating my pages. Many pocket cards are designed so that the design doesn’t take up the whole card and we can use this to our advantage when thinking about the shapes of things.
- Square shapes – perfect for a pocket card that has a quote or words grouped toward the middle of the card
- Hearts/Misc shapes – perfect for cards that feature an image or pattern that you want to highlight
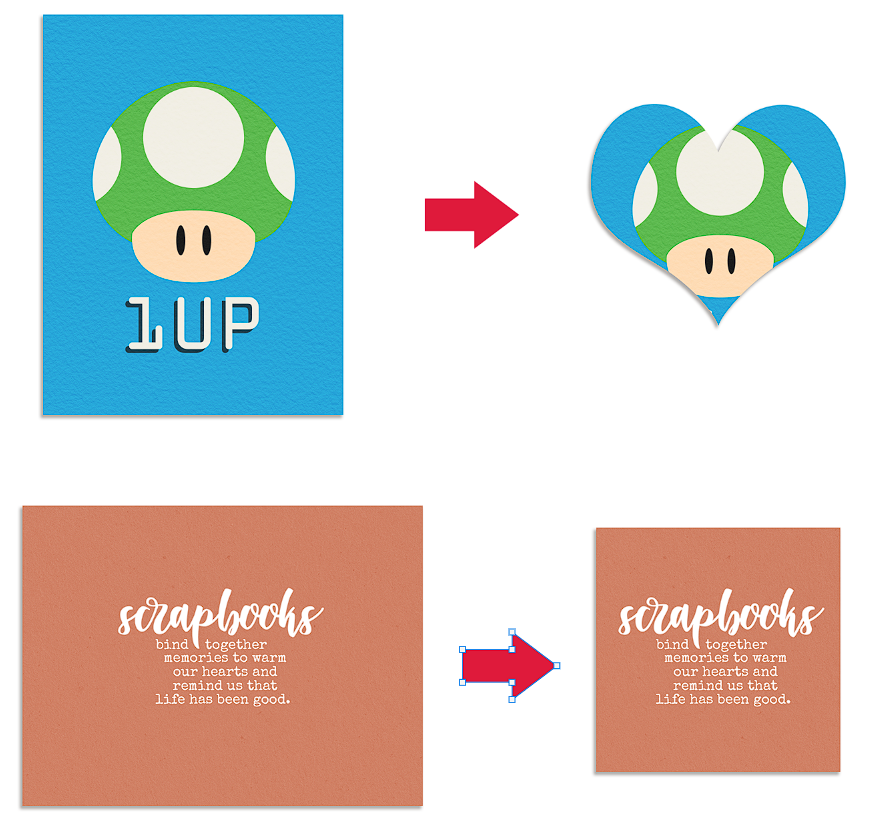
- Circles/Oval shapes – perfect to cut out the portion of a card you want to see, maybe it’s words, a number, an image, something significant
- Banner shapes – perfect for patterns, or just changing up the look of a pocket card with an image
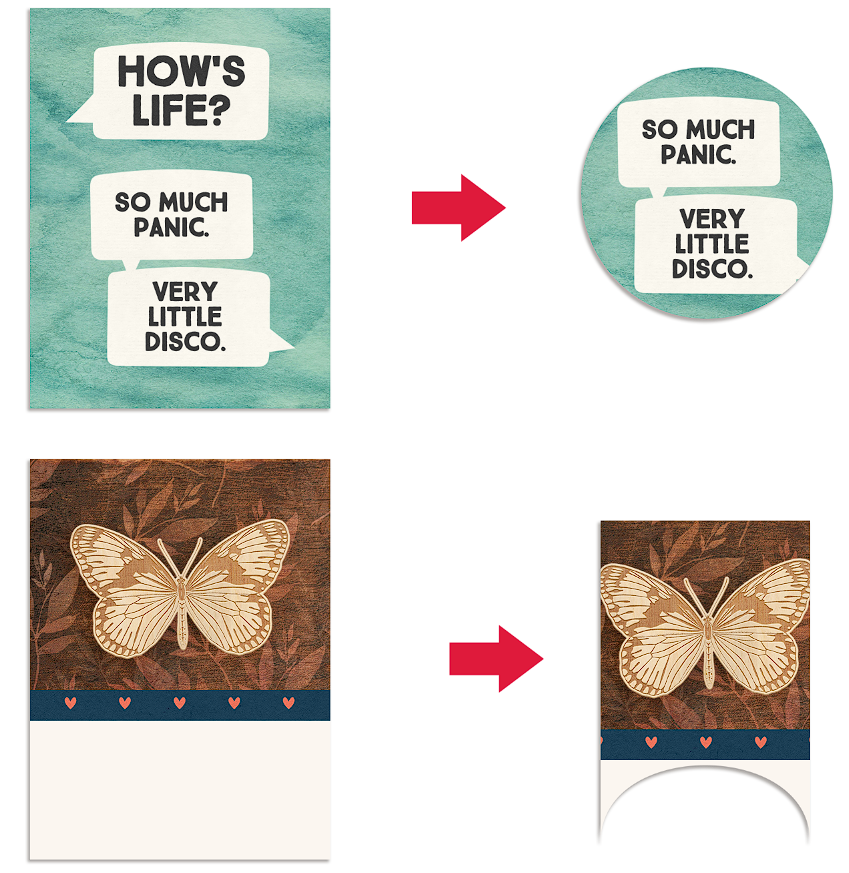
In all these instances, I’m using the shapes to crop a portion of the pocket card I want by clipping my pocket card layer to the shape/photo placeholder layer. And viola! We’ve got a whole new use for these pocket cards.
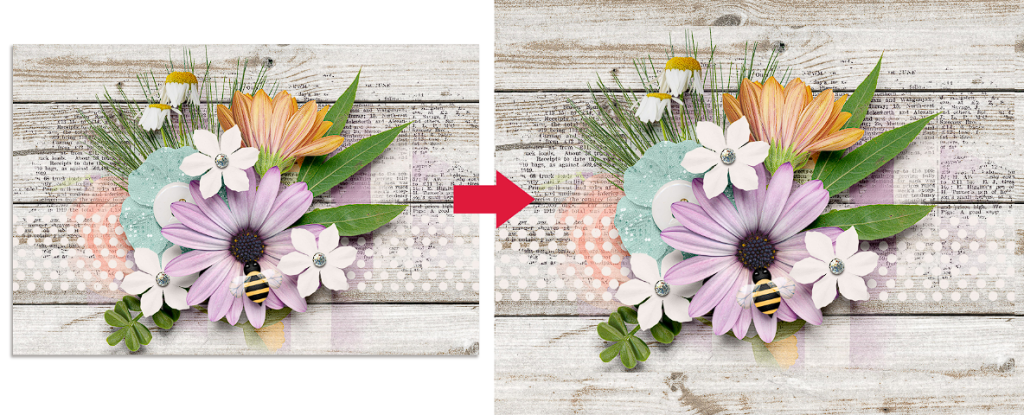
Did you also know, here’s a bonus tip I’ve used before too. Many designers often will create clusters on the pocket card. I know Bobbie of River~Rose Designs has some awesome ones I use often and usually when she does, she uses the papers right from the kit. Many time these will match up exactly (sometimes they won’t) with the card and sort of blend in, and BAM you’ve got an instant cluster on your page. I often will just place this down the corner of a page for balance. This is instant beauty without any hard work of trying to cluster elements if that’s not your cup-of-tea. I’ve placed the pocket card on top of the background paper and on a white background with a shadow (left).
And there you have it, my Number #1 super sweet tip for using all those pocket cards. Now I want to see you all to try it on your next page. Get creative and if you do try my tip, please let me know because I love to come see them in the gallery! Until next time, have fun scrapping.
**Pocket cards used are from the following: Super Bros, Noteworthy, Too Much, Choose Kindness & In Bloom


Mary said...
on April 18th, 2025 at 4:13 pm
Awesome tips. I do buy the bundles because of the value then I never use the pocket cards. This was very helpful.