Dodge and Burn Basics
Have you been curious about what to do with dodging and burning ? I’m here to give you an introduction and some basic instructions on how to use these two very useful tools.
The Dodge and Burn tools, in the most basic terms, lighten and darken respectively. There are various methods of using them so I’m going to highlight just a few and give you some ideas as to how you can add them to your scrapping arsenal. They can be quite handy and offer a multitude of options once you get the hang of them.
Dodge and Burn, find them here:

Dodging and Burning can be done directly on any layer. In this tutorial I’m going to show you how to Dodge and Burn on non-destructive layers. This allows you to experiment and get the full effect of the tools without damaging your original layers.


* ( You can correct any mistakes by “painting” directly on the adjustment layer with a brush set at 50% grey. )
Now to the nitty gritty. Let’s start with Dodging and Burning a clipped piece of paper.


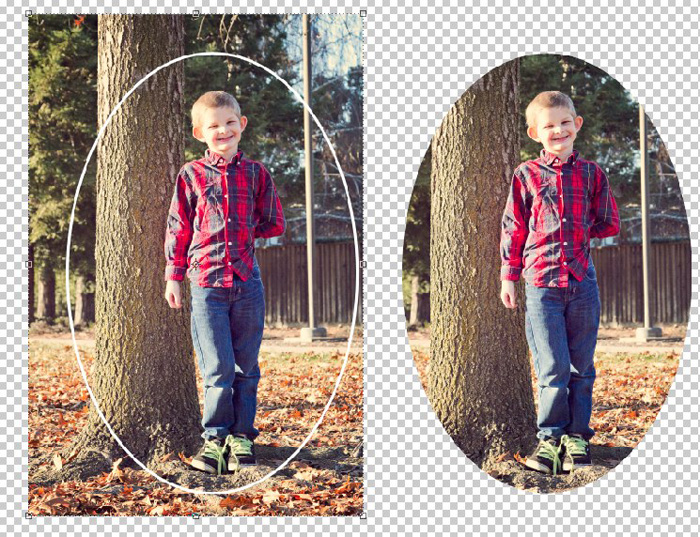
You can use the Dodge and Burn for photos. They are often used to adjust skies and shadows and to brighten up teeth and eyes, or to draw the eye to particular focal points.

Here are a few more examples of how to make the Dodge and Burn tools work for your scrapbook pages. They are both wonderful for shading and adding depth, they can make your journaling standout or add some texture or pattern to your paper. Really, there are so very many possibilities.

Here’s what that assortment looks like without any dodging or burning.

Now that you’ve seen a bit of these tools in action I encourage you to practice and play. Sometimes just a subtle touch with either of these tools can make a huge difference in your pages and photos.


Swati said...
on February 17th, 2016 at 6:53 pm
Brilliant, I learned so much and thank you for sharing the actions as well!!