Create Custom Workspaces in Photoshop

I’m a girl who loves to find new ways to make things more efficient and streamlined. One Photoshop feature I’m a big fan of is the ability to create custom workspaces. It’s a little thing, but it is really nice to have everything right at your fingertips, just as you like it. If you haven’t discovered this little gem, I’m going to show you how to take advantage of it.
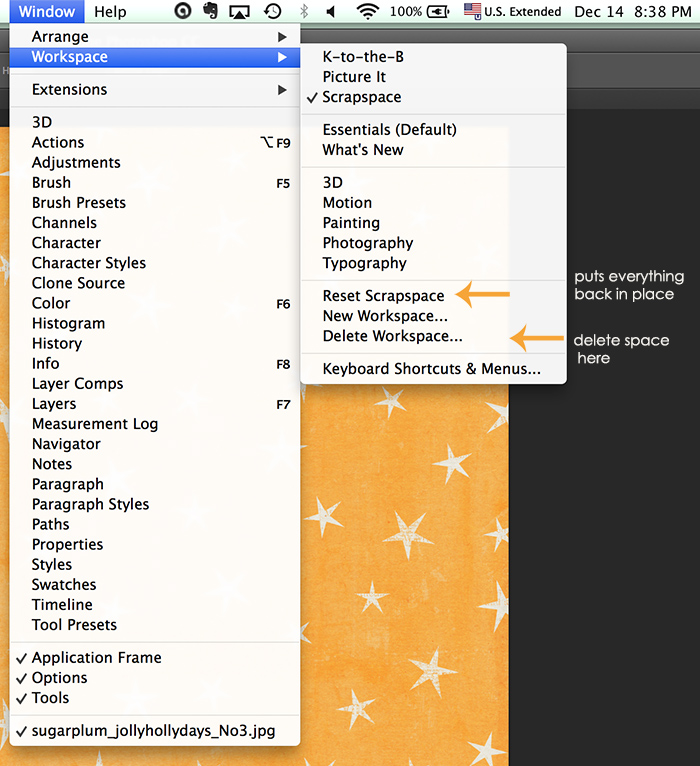
When you open up Photoshop there’s a default Workspace, in PS CC it’s called Essentials, but other versions have this feature as well. It looks something like this.

When you create workspaces you have several options, you can choose your favorite all purpose layout or create workspaces for particular tasks, like scrapping or photo editing. When I’m using Photoshop the tools I use are different for the task at hand so I have a few setups.
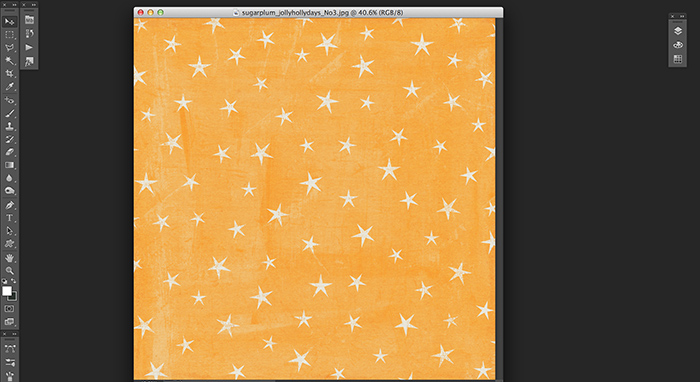
The first thing you’re going to do is to set up yours tools the way you want them, for example, I like to have my Actions, History, Styles and Mini-Bridge grouped together. I like my tools on the left, long and skinny, with brushes and brush presets on the bottom. I keep layers, and colors, swatches together on my right. This is my preferred scrapping set up.
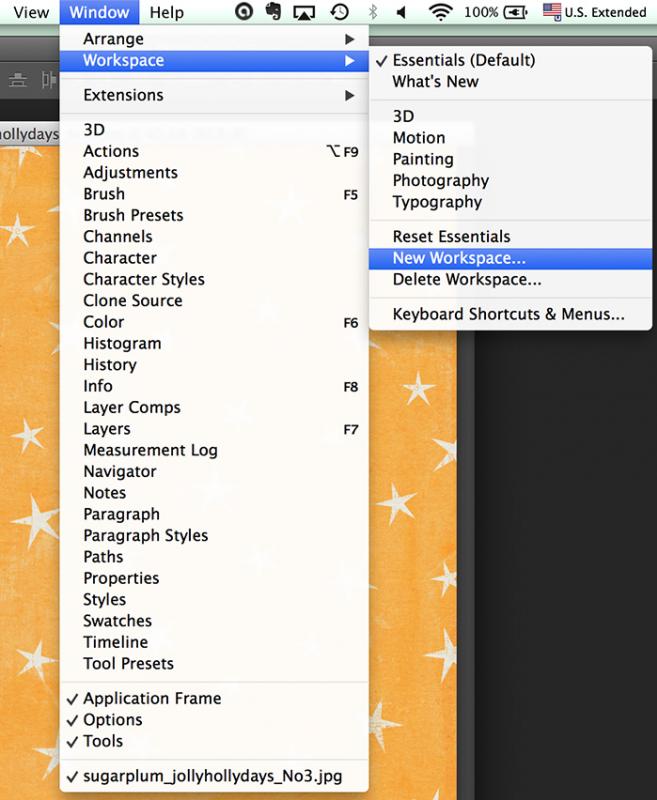
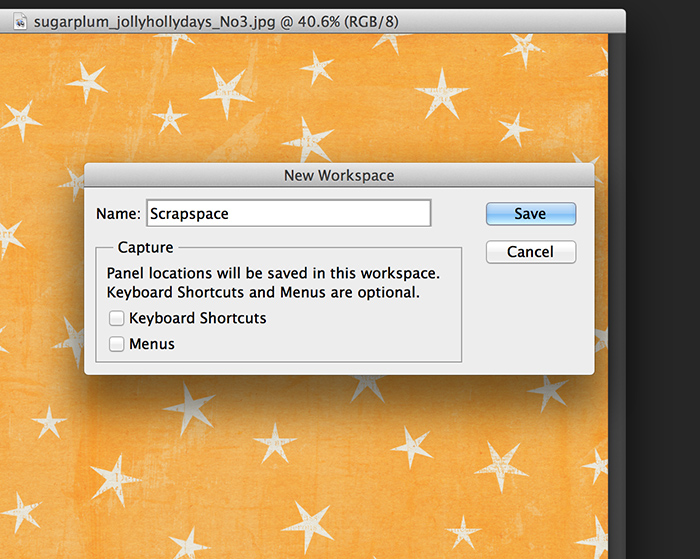
Now I’m going to save this workspace.
Now I can go into Photoshop and load my new workspace with one click.
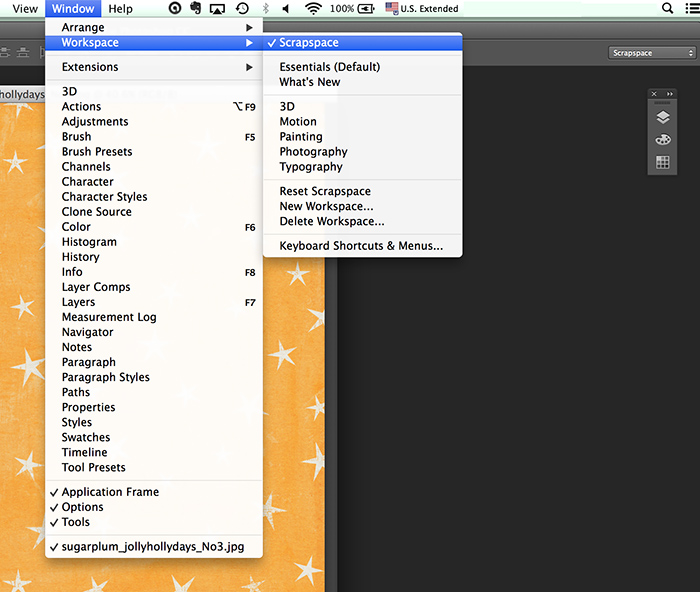
You can choose any workspace you like or go back to the Photoshop default. If you want to reset your workspace ( it places everything into starting position ), or delete them, or save more, you can do that right here.
Now you’re all set to put your Photoshop home in order. Enjoy!