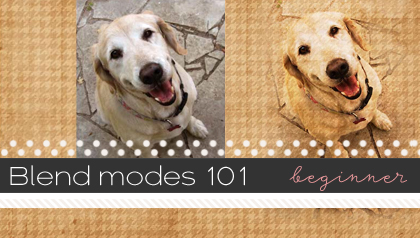
An Introduction to Blend Modes
Blend modes are an incredible tool in working with photos and scrapbook pages. In the simplest terms, they alter the way layers interact with each other. Blend modes are most often used in digital scrapping to enhance photos, add texture, or blend photos into backgrounds. Since Blend Modes depend on the pixels in a photo or texture, there will be variance, depending on exposure, color, contrast. etc. This introduction will give an overview of blend modes and how to use them, but I highly recommend some good old fashioned experimentation to really become familiar and comfortable with them.
Blend Modes are found in the Layers palette.

See what Blend Modes can do using this example photo straight of the camera.

1. Open in Photoshop and duplicate the layer (right click, Duplicate Layer).

2. Change the blend mode and opacity of the top layer until you reach your desired effect.

Here is an example of what each Blend Mode does to this photo using 100% Opacity and 50% Opacity. (Remember, there will be some variance between photos depending on exposure, color, etc.)

Here’s another breakdown using the same photo, this time with a black and white texture.

1. Place the texture layer above the photo layer with the Blend Mode active.

An example of what each Blend Mode does to this photo with texture layer above using 100% Opacity and 50% Opacity.

Putting It All Together
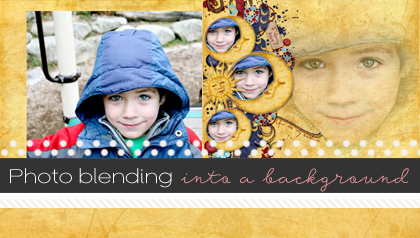
Now we’ll put it into action and blend a photo into a background.
I’m using this straight out of the camera shot and blending into this paper.


I want to darken up the photo a bit so I’ll do this using a quick fix, utilizing Blend Modes.
5. Open the photo and duplicate the layer.

6. With the top layer active, set the blend mode to Multiply, Opacity 64%

7. Merge the layers.

8. Open up your background paper and place the photo on the layer above.

9. Change the blend mode of photo layer to Hard Light / 100% Opacity.

Now I want to tweak it, softening some of the areas and getting rid of the edges around the picture. I’ll do this using a mask.
1. Click the Layer Mask button at the bottom of the Layers palette.

2. Go to the Tools Palette to access your Brushes. Choose a large, soft brush.
3. Set your color to black

4. Using your brush, paint away the edges and anything you want to soften. You may want to adjust the opacity of your brush.


5. When you’re satisfied, merge your layers.

You now have a blended background.


Digital Art Journaling 101 Series | Traci Reed Designs said...
on November 27th, 2012 at 1:08 pm
[…] When you set the overlay’s blend mode to soft light, it takes on the colors of the paper underneath it and can make the effect more subtle. Try experimenting with all the blend modes to see if you find a different one you like, and feel free to lower the opacity too! There’s no right or wrong answer. Sherri has a great article on Blend Modes at SSD Here! […]
Su Hall said...
on April 21st, 2013 at 3:26 pm
I use to start with the first Blending Mode, then, go down the list, seeing which one gave me the results I wanted. Then, I learned something. I’d like to share it.
With the Blending Mode drop down menu open, you can see the Modes are lumped together into sections. The first group, beginning with “Darken”, knock out ‘whites’. The second group, beginning with “Lighten”, knocks out ‘blacks’. The third group interacts with different shades, blending them, whereas, the fourth mode tends to offer the contrasting effects.
Knowing which group to start experimenting with cuts down on my time spent finding the best mode.
Thank you for a good tutorial!
Su