How to Use a Hybrid Template
Hi everyone! Jacinda here, and today I’ll be showing you how to use a hybrid template.
For this project, you’ll need the following:
Supplies
- Scissors/craft knife and ruler
- Scorer or bone folder
- Adhesive
- Digital products of your choice – I used: DIY Printable Purse by Heather Roselli and Discover Beauty by Misty Cato
Step By Step Instructions
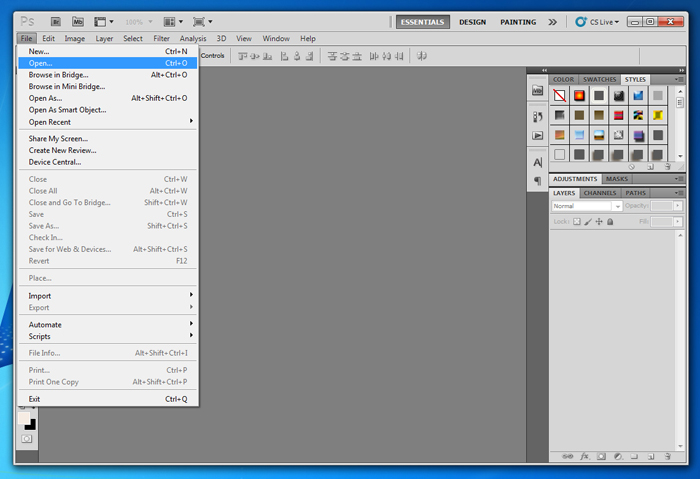
1. Open a new document in photoshop (File>Open).
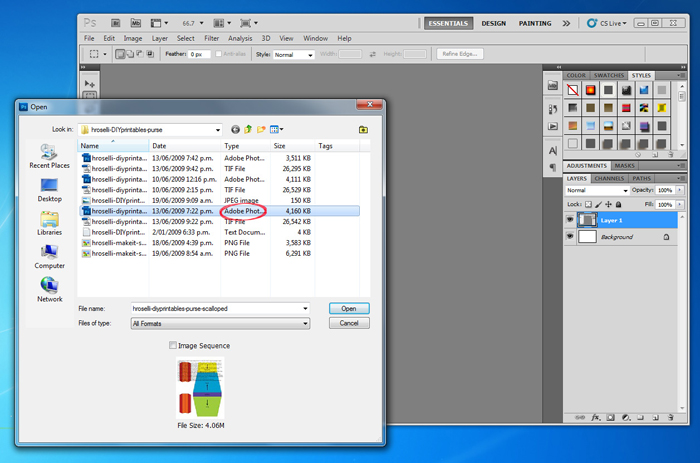
2. Select the .psd or .tif file that came with your template. I like working with .psd, so I’ll select that:
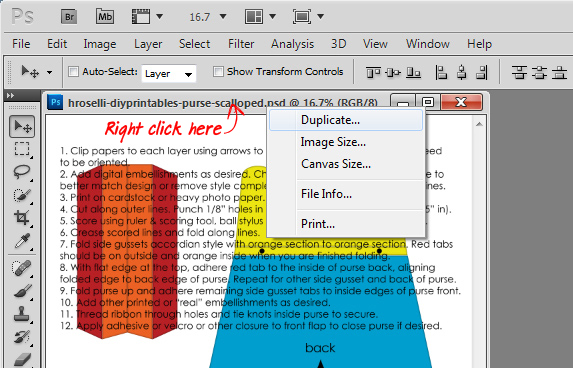
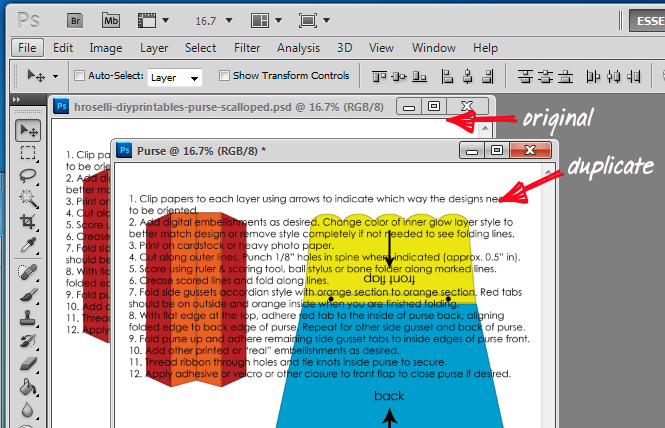
3. Right click on the top bar of the template and select Duplicate, or from the top menu bar, select Image>Duplicate.
4. Rename the duplicate file whatever you want. I renamed mine “Purse.” Close the original file.
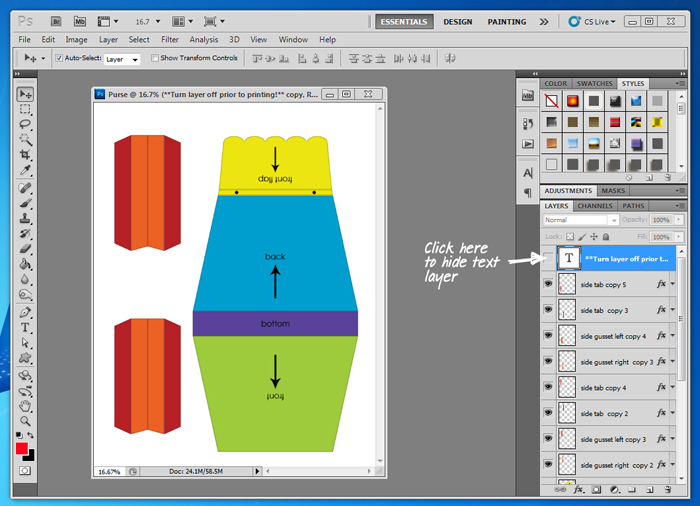
5. Read any instructions on the template, then hide the text by clicking on the eye to the left of that layer in the palette. (You can click on the eye again at any stage to read the text again.)
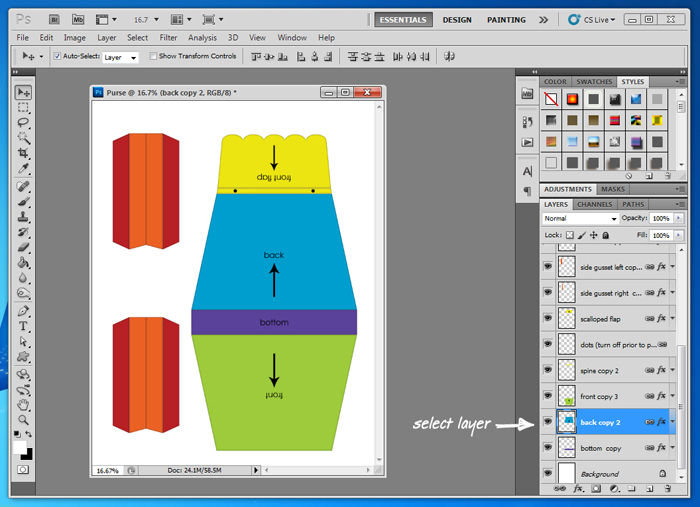
6. Click on the layer you are going to decorate first in the layers palette. I’m going to start with the “back” layer.
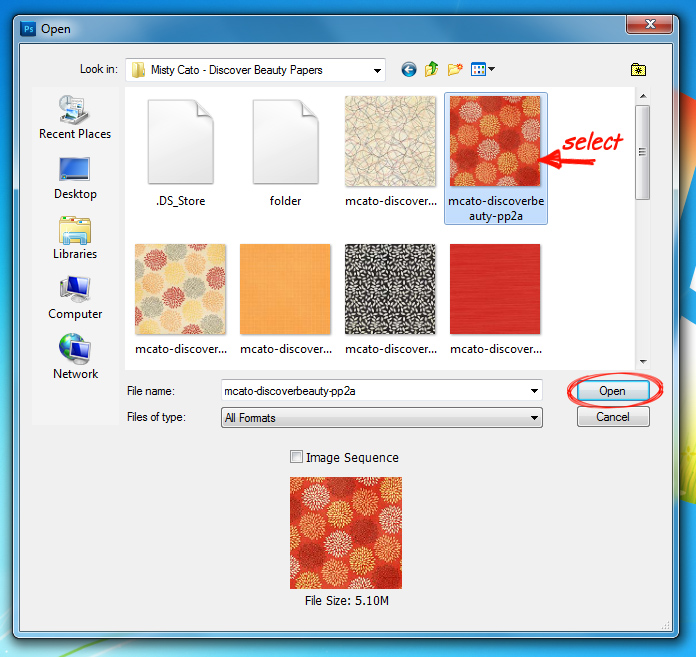
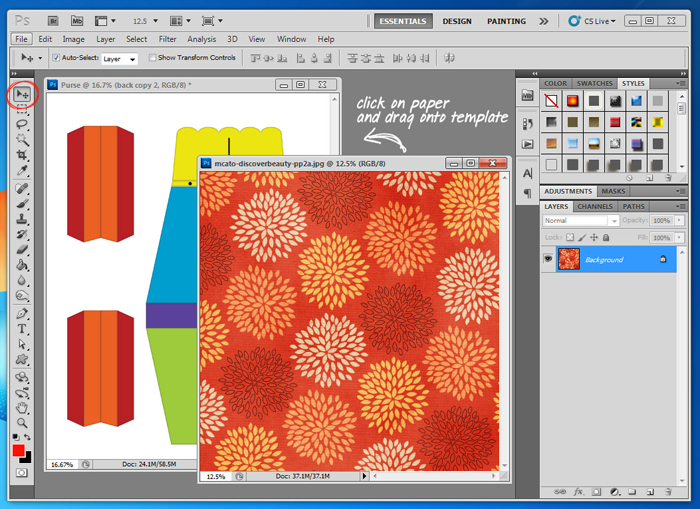
7. Open the paper you want to use (File>Open).
8. Drag it onto the template. (Note: in newer versions of Photoshop, you can drag and drop a paper/element straight from the folder onto the template.)
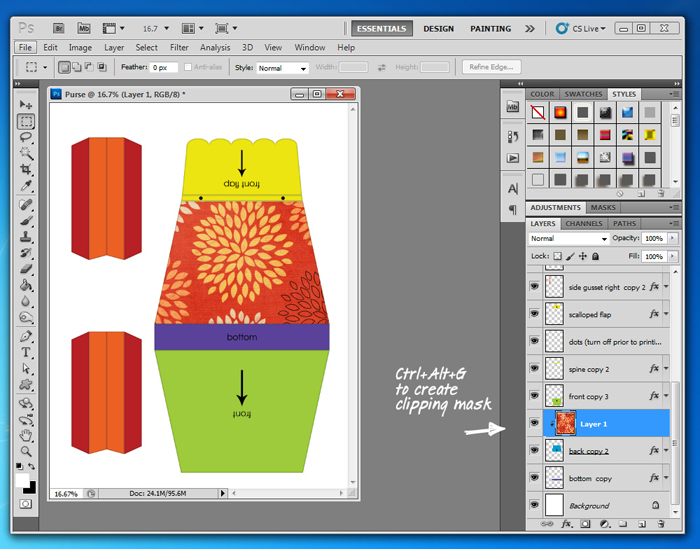
9. Press Ctrl+Alt+G to clip the paper to that layer of the template (or alternatively you can right click on the layer palette and select Create Clipping Mask). When you are done, close the patterned paper window.
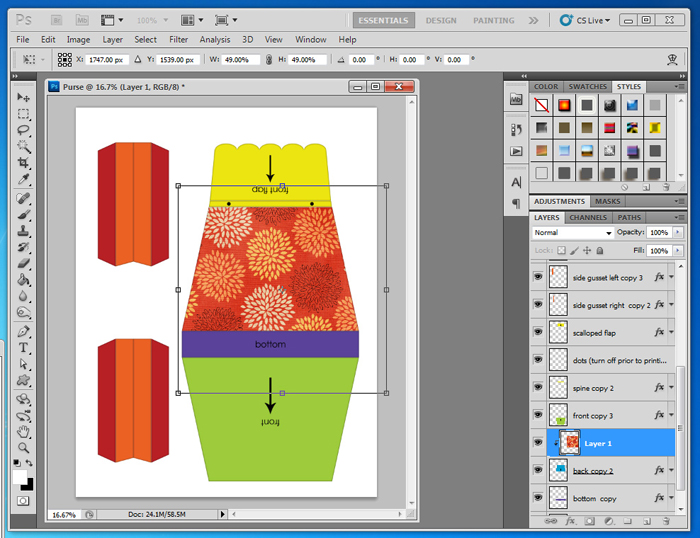
10. Press Ctrl+T (or Edit>Transform> Scale) to change the size of the paper. I want to reduce the pattern size for this purse, so I will hold the shift key as I drag the transformation box corners inward. Holding the shift key maintains the correct proportions of the paper. Press enter when you are happy.
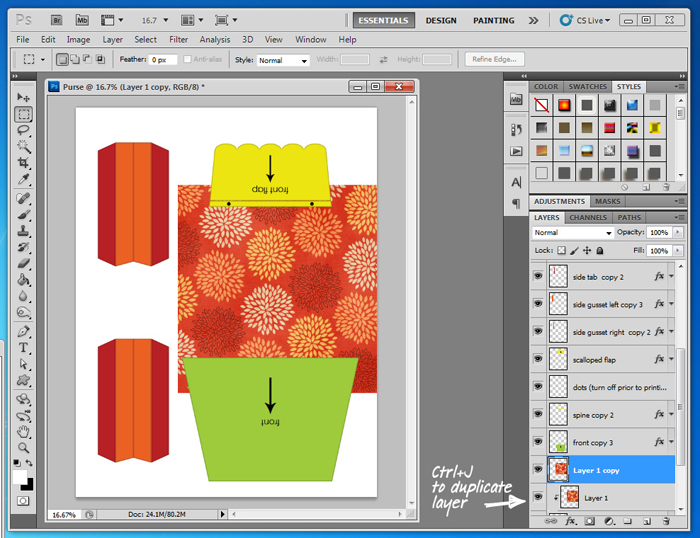
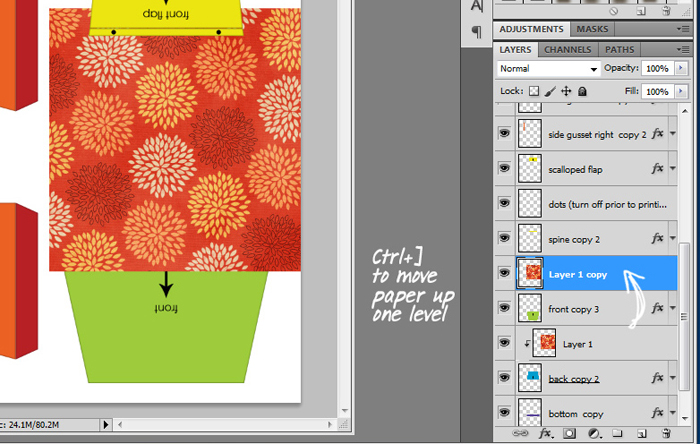
11. Click on the patterned paper in the Layers palette, then press Ctrl+J to duplicate it.
12. Click on duplicated layer and press Ctrl+] to move layer up one level. It should now be above the Front panel of the purse.
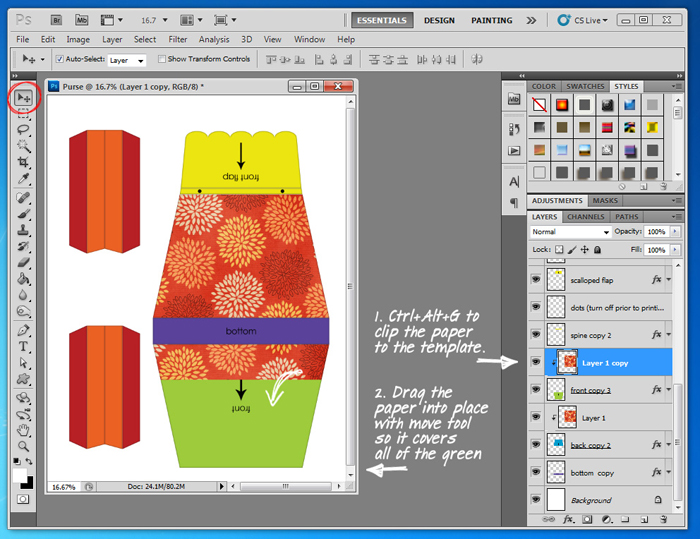
13. Press Ctrl+Alt+G to clip the paper to the Front layer of the template (or right click on the layer palette and select Create Clipping Mask), then using the Move tool (V), drag the paper into place so it covers all of the green.
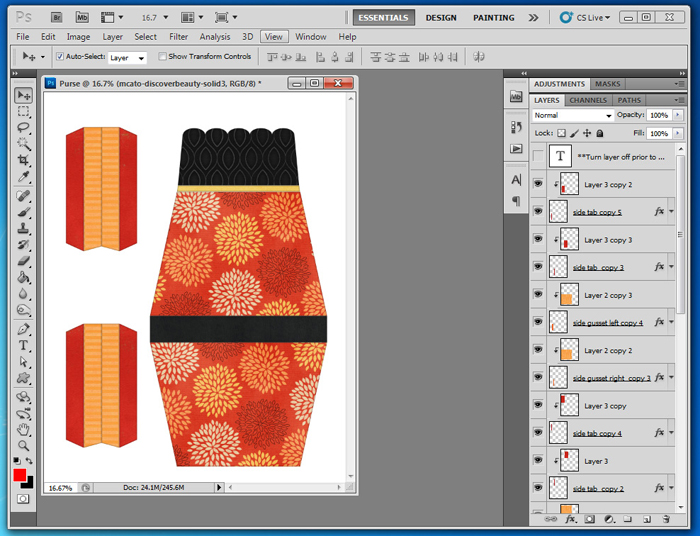
14. Repeat Steps 6-9 for the remaining layers of the template.
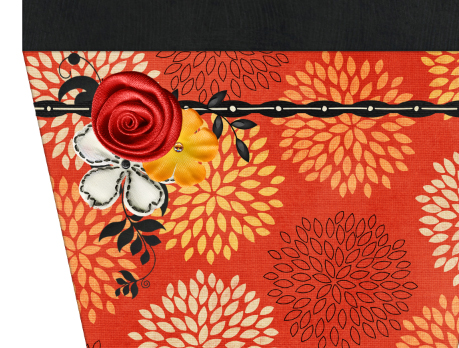
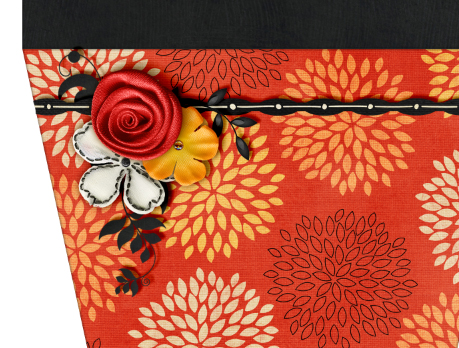
15. Add any embellishments to complete the look. On this template, the Front panel of the purse is upside down until it is assembled, so don’t forget to rotate your papers and embellishments to face right side up.
16. Apply shadows to the elements for a more realistic look.
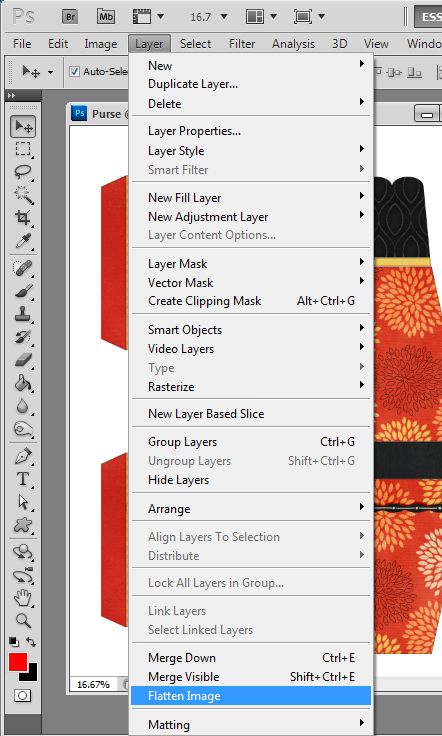
17. Select Layer>Flatten Image. Choose the Yes option when a pop up window asks if you want to discard hidden layers.
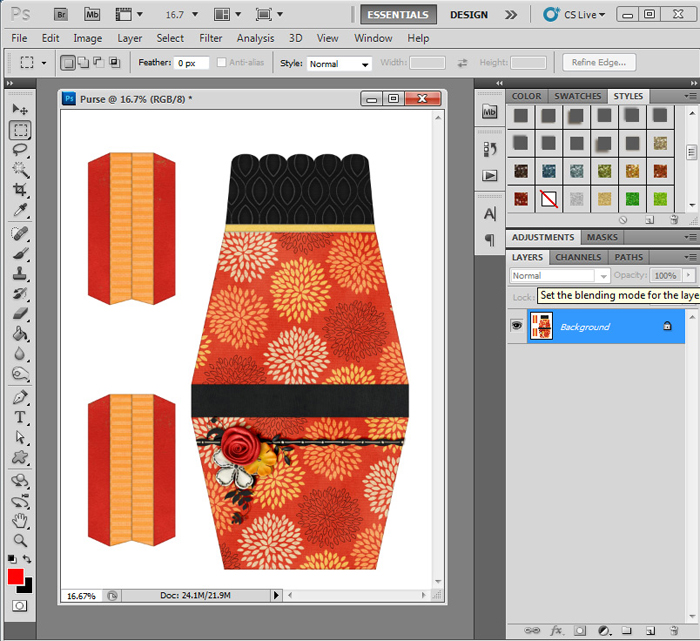
18. Check the Layers palette to make sure there is only one layer left. You are now ready to print.
19. Print on cardstock or heavy photo paper.
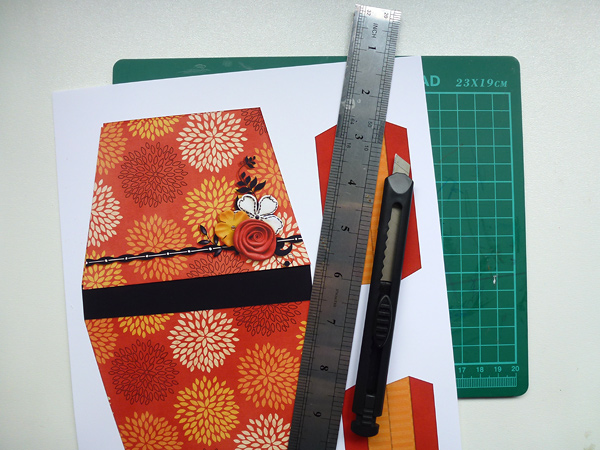
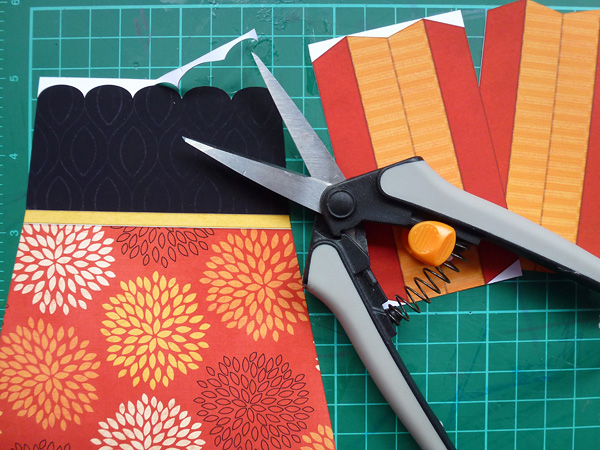
20. Cut along outer lines. I use a craft knife and ruler for the straight lines, and fine pointed scissors for curves and smaller details.
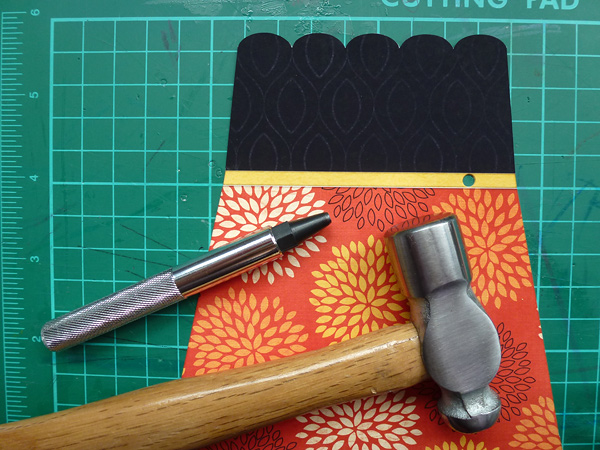
21. Punch 1/8” holes in spine where indicated (approx. 0.5” inch).
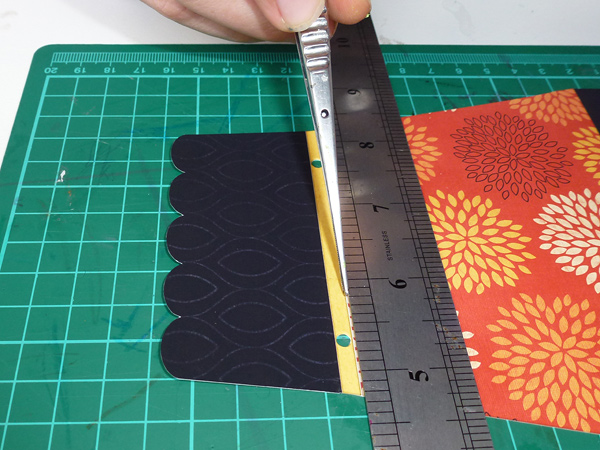
22. Score using ruler & scoring tool, ball stylus, or bone folder along marked lines. I don’t have a proper scoring tool, so I use the back of my needle nose tweezers.
23. Crease the scored lines and fold along the lines.
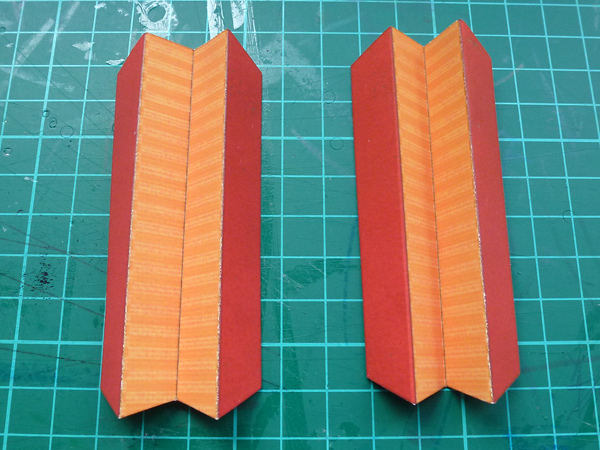
24. Fold the side gussets accordian style.
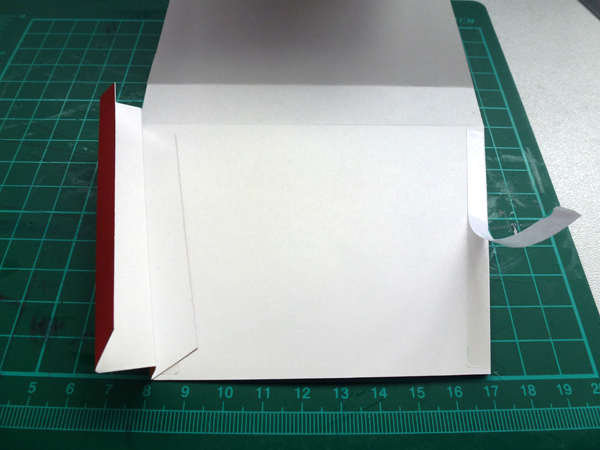
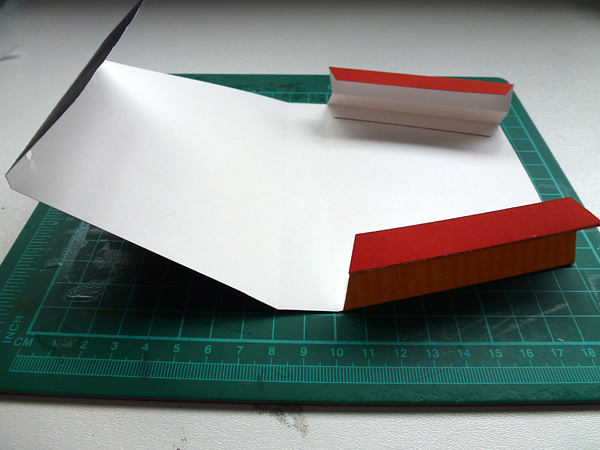
25. Adhere the outside tab to the inside of the purse back, ensuring that the flat edge is at the top and aligning the folded edge to the back edge of the purse.
26. Repeat for the other side gusset and the back of the purse.
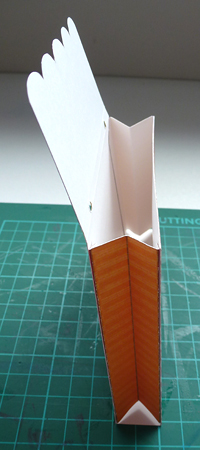
27. Fold the purse up and adhere the remaining side gusset tabs to the inside edges of the purse front. Add other printed or “real” embellishments as desired.
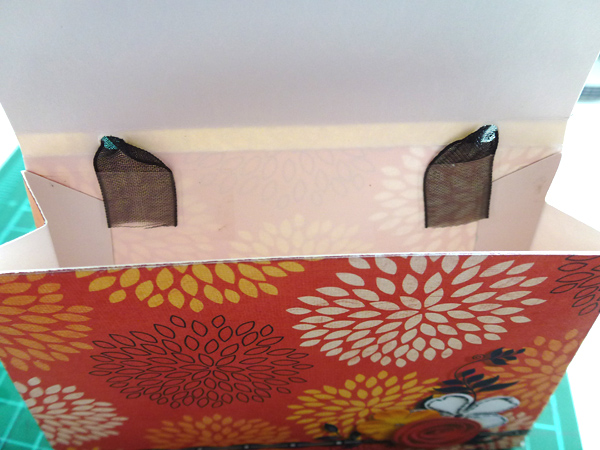
28. Thread a ribbon through the holes and tie knots, or tape them to the inside of the purse, to secure. (I used regular single sided tape for this since the purse won’t be holding any weight.)
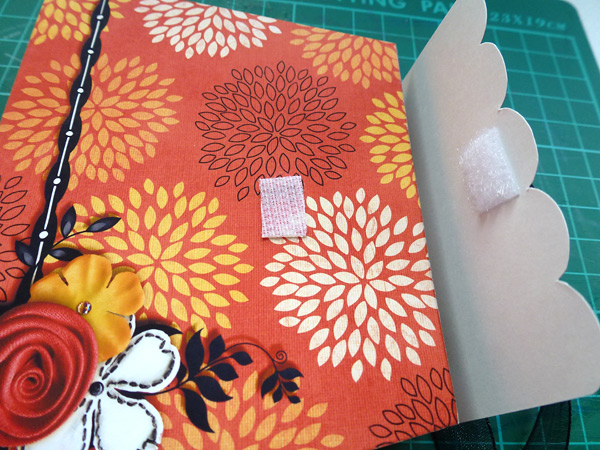
29. Apply adhesive, velcro, or another closure to the front flap to close the purse. I found hook and loop velcro works best for this project.
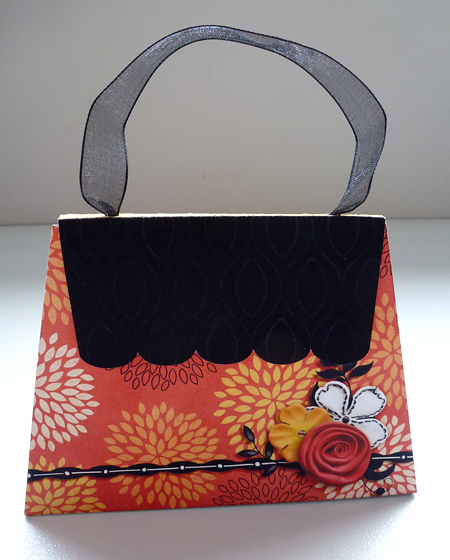
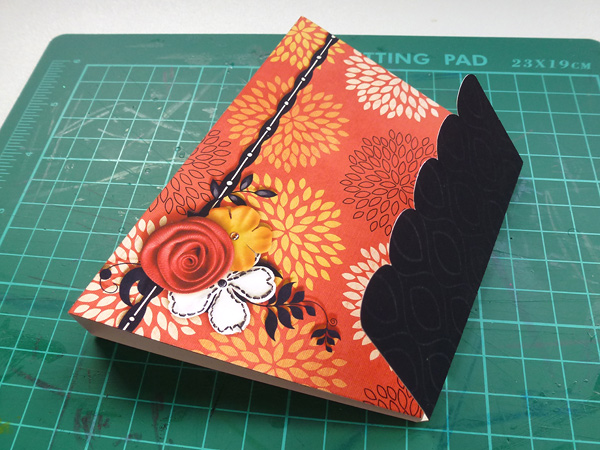
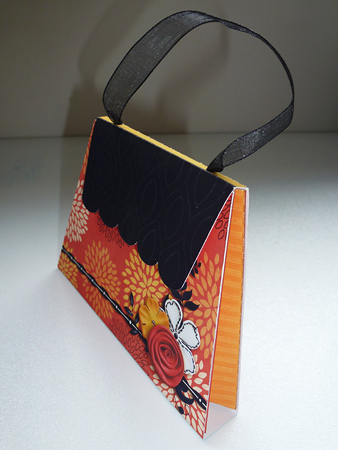
30. Pat yourself on the back – you’re done! Now you have a beautiful little purse that will hold a small card, some money, a gift card, or a note for someone special.
kathy bolduc said...
on February 9th, 2013 at 9:18 pm
I can’t tell you how happy I was to find this tutorial. Your tutorials are so informative. I appreciate what you do for those of us who dabble in scrapbooking. You have a wonderful website. Thank you very much.