Art Journal Technique: Shapes on Paint
Hi Sweet Shoppers! Lex here with an easy-peasy art journal-y tutorial for you. I’m sure everyone by now has noticed the boom of art journaling. I’ve always loved the style and look, but every time I sit down to art journal–without fail–I’ve been overwhelmed with feelings of inadequacy and whatnot. I know I’m not the only one to feel this way. (Side note: It’s really weird, but the whole “it can be anything you want it to be” declaration of art journaling is precisely what gets me into a tizzy, lol. The structured part of myself is screaming for parameters of any kind!)
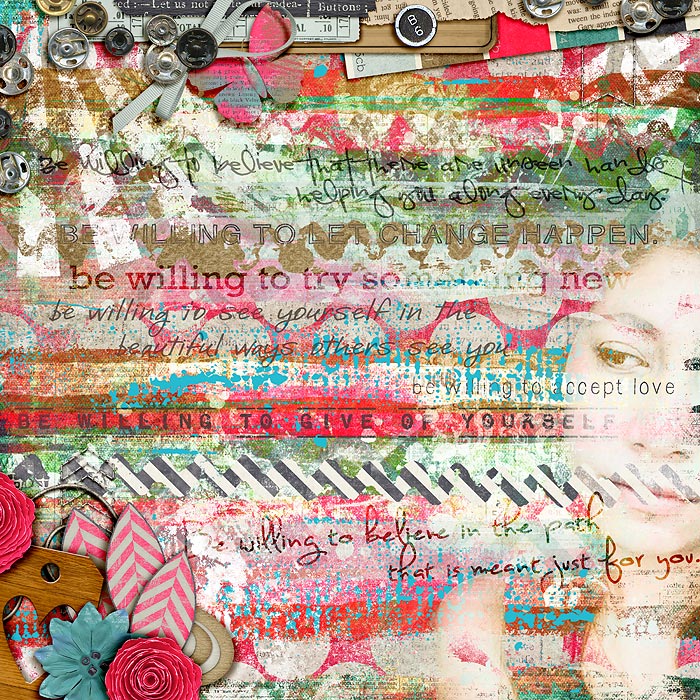
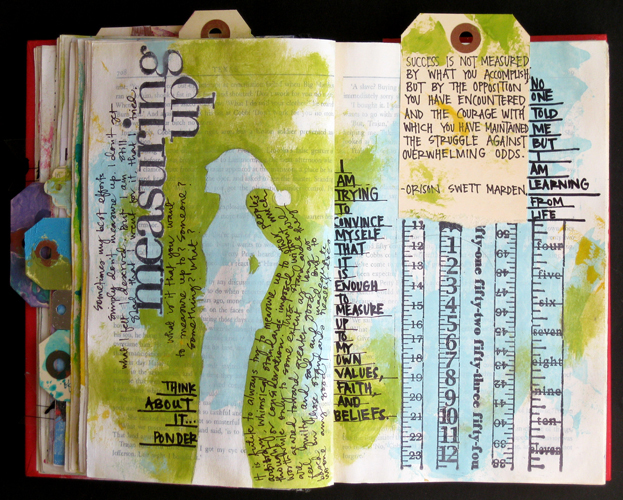
Anyway, as part of my art journal dabbling, as with any style I’d like to play with, I look for people to emulate. There are soooo many wicked talented digiscrappers rawking the look, but I found myself checking out Pinterest and caught this blog post with this awesome spread:
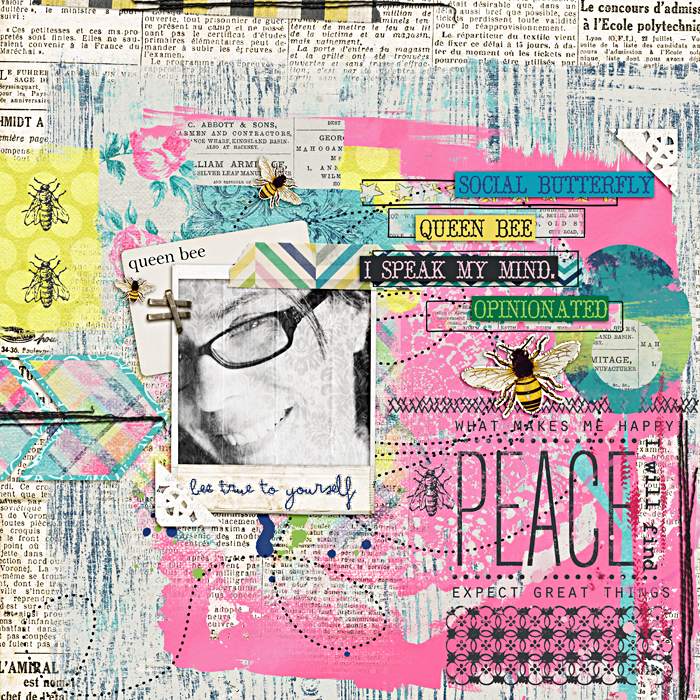
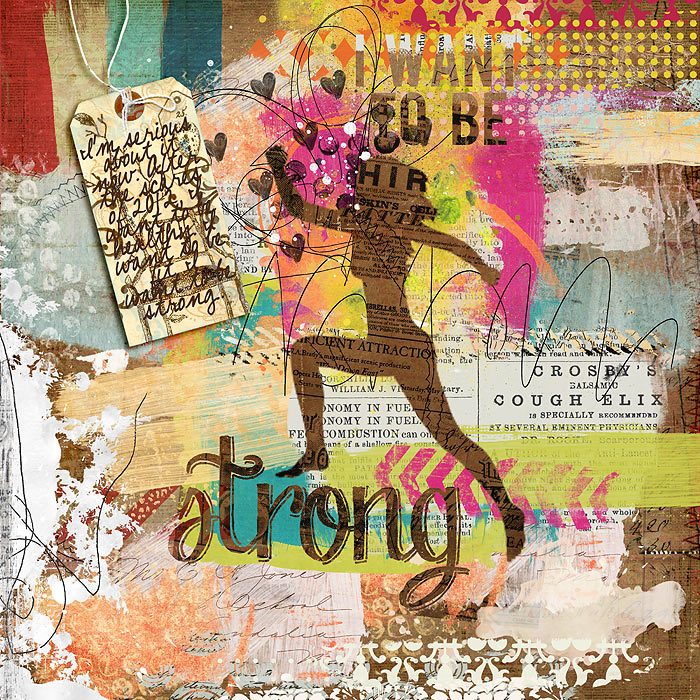
I wanted to do a similar look of an outline “cut out” in the paint, but with digi supplies. So I came up with this:
Here’s how I did it:
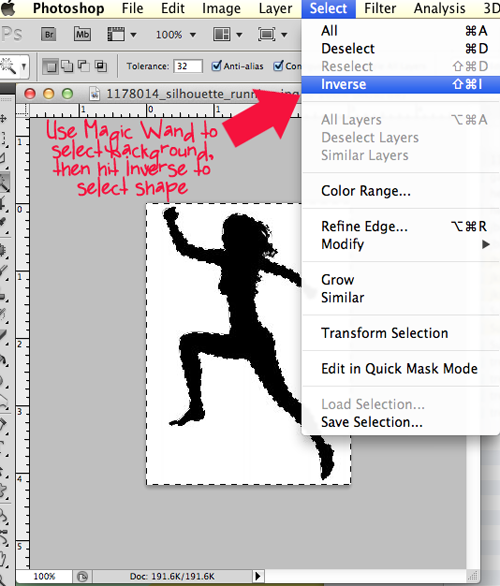
1. First I needed an outline/shape to use. I found this awesome silhouette from stock photo site SXC.HU. I opened it in Photoshop, used the Magic Wand to select the silhouette.
2. I dragged the selected shape unto a blank 12×12 canvas, then clicked the eye icon on its layer to hide it.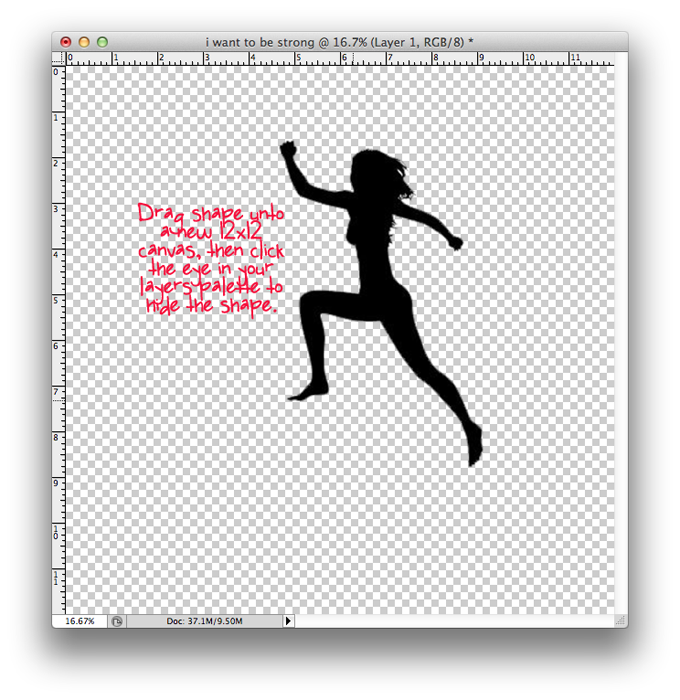 3. Since I was making cut outs, I needed my background paper to be a little more interesting. So I blended together several papers and added some overlays.
 4. Theeeeen I went a little nutty with the painty splats and doodles and overall art journaly goodness.
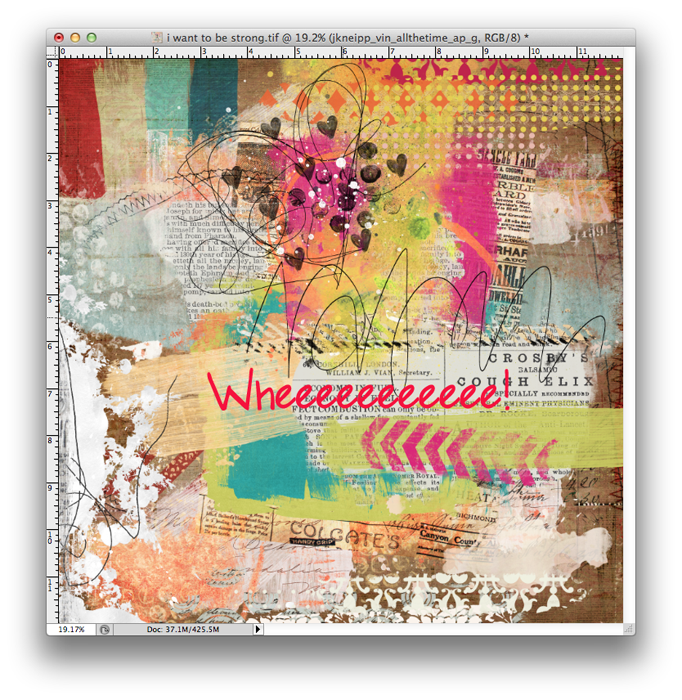 5. When I decided I was happy with where all my layers were, I merged all the layers I wanted to “cut through.”
6. I unhid my silhouette layer and positioned it on the layout.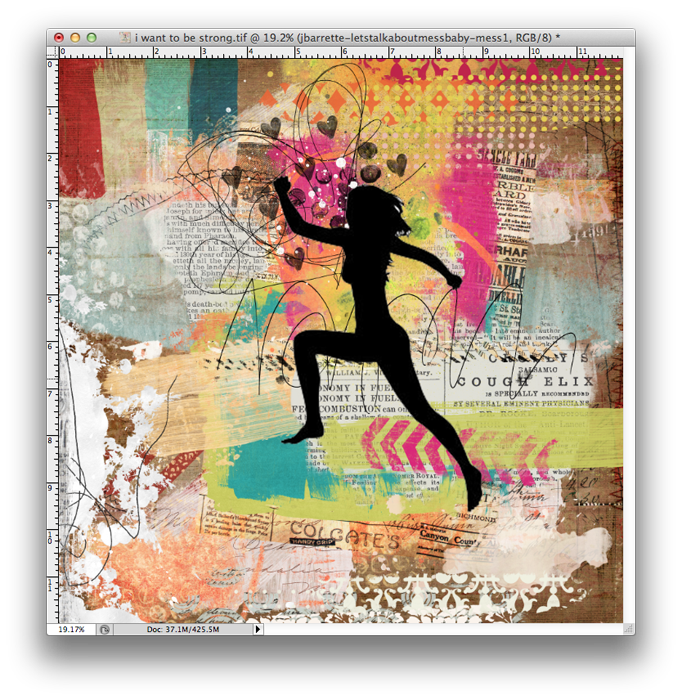 7. I wanted to play with a cutout title as well, so I added some text and a distressed alpha.
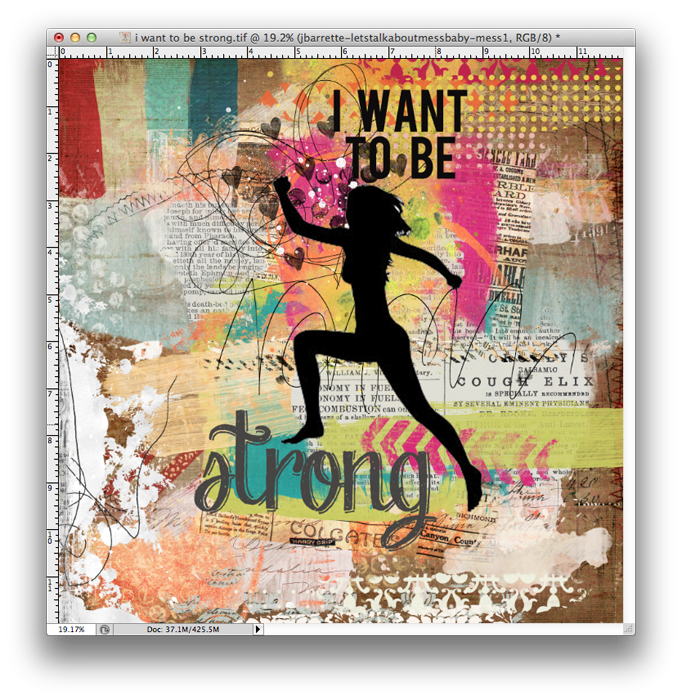 8. With my “painty goodness” layer highlighted, I then “cut out” my silhouette shape by pressing Command + the layer thumbnail (or CTRL + layer thumbnail on a PC) of the silhouette layer and got the marching ants.
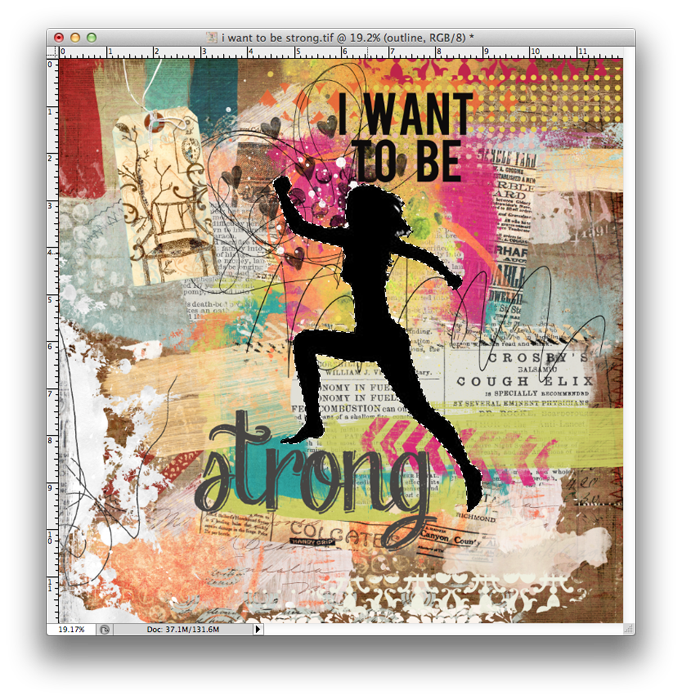 9. I hit the delete button, then hid the silhouette layer and ta-da! There’s my cutout on the paint.
 10. I did the same thing for my text/title.
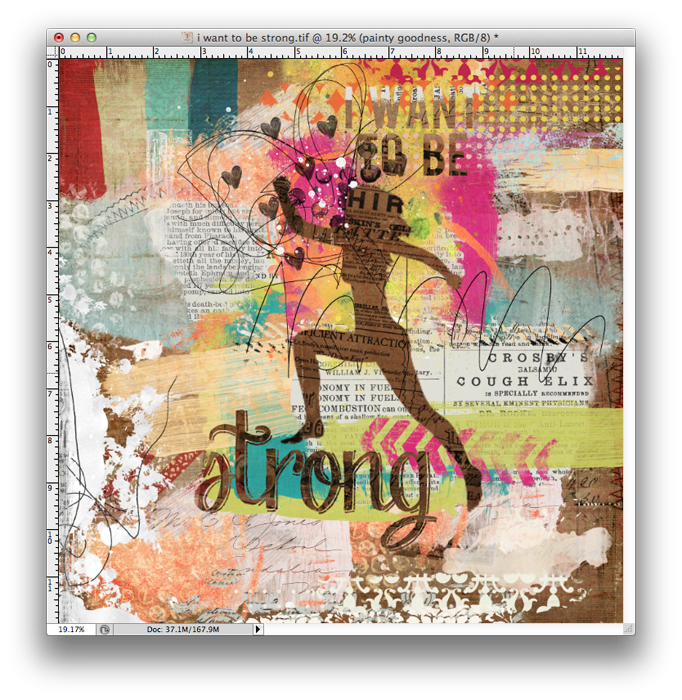 11. I found that the layout kinda lacked something, so I added a tag with some journaling.
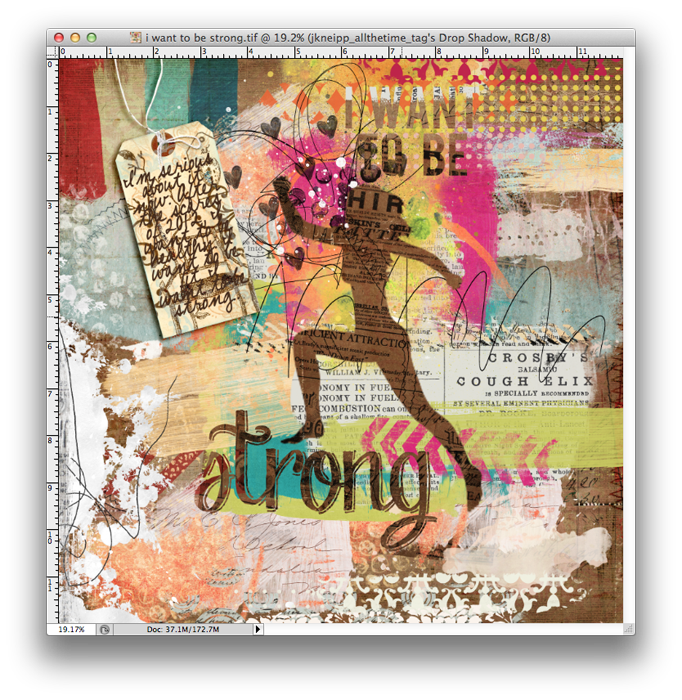 Technique-wise, this is really no different from cutting out shapes on paper. But it’s a cool technique to use when you’re working with brushes and paint. Happy Scrapping!
Credits:
Get Artsy: Hand Crafted by Jenn Barrette
All the Time by Juliana Kneipp and Vinnie Pearce
Let’s Talk About Mess Baby by Jenn Barrette
Heart Art 17: Pack Your Bags by Sugarplum Paperie
Heart Art 19: A Delicate Situation by Sugarplum Paperie
Heart Art 2: Ready to Wear by Sugarplum Paperie
Get Artsy: Get Textured by Traci Reed
Get Artsy: Take a Gesso by Traci Reed
Fonts: Bebas, DJB Mary Magpie