Creating a Template for those Mini Albums!
I have a confession… I am a hoarder of mini albums… be it chipboard, cardboard, plastic… I have boxes of them! I haven’t really made a lot of albums… I just collect the albums, apparently, haha. Well, that needs to change. It’s pretty easy to create a template in your photo editing software so that you can decorate to your hearts content, print and adhere it to a mini album. Now, I know there are many ways to do this… I’m going to show how I do it. 
Supplies
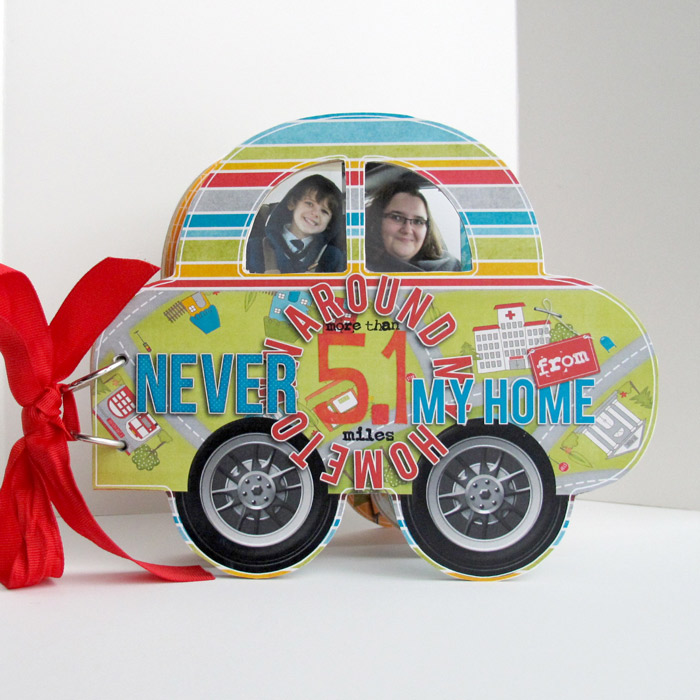
- Mini album (I’m using the Car Album by Kaisercraft)
- Photo editing software (I’m using Photoshop Elements 11)
- Scanner and scanning software (that comes with the scanner)
Step by Step Directions
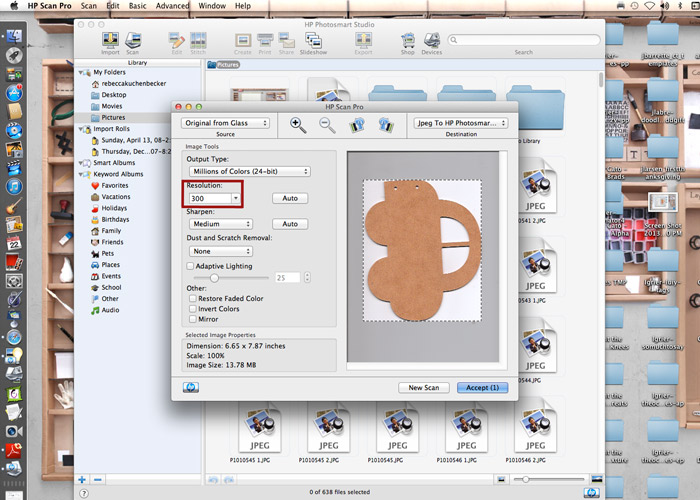
1. Scan the page at 300 dpi. My scanner doesn’t like to scan at 300… so I have to “fight” it to accept it. haha. If you don’t scan at the same dpi you create your layouts in your photo-editing software, when you print out your creation, it may not fit the chipboard.
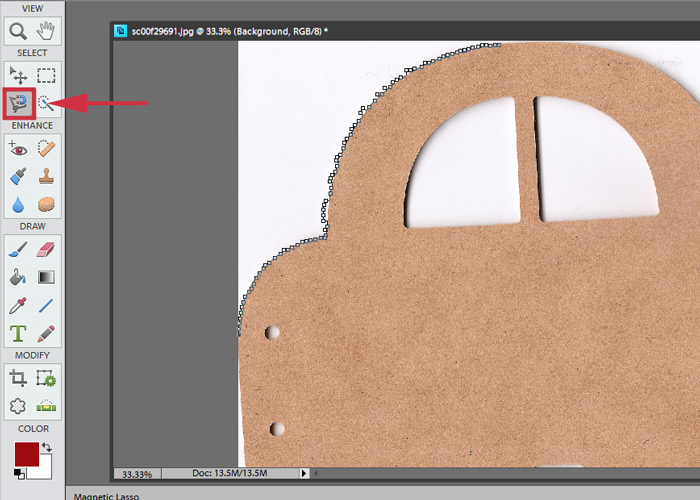
2. In your photo editing software… I am using Photoshop Elements 11… select the Magnetic Lasso Tool from the Tools Panel and start going around the outside of the shape. Note – to go remove the previous anchor, click the delete key as you are tracing the shape. Would you like to know about the Magnetic Lasso Tool? Sheri has a great tutorial here.
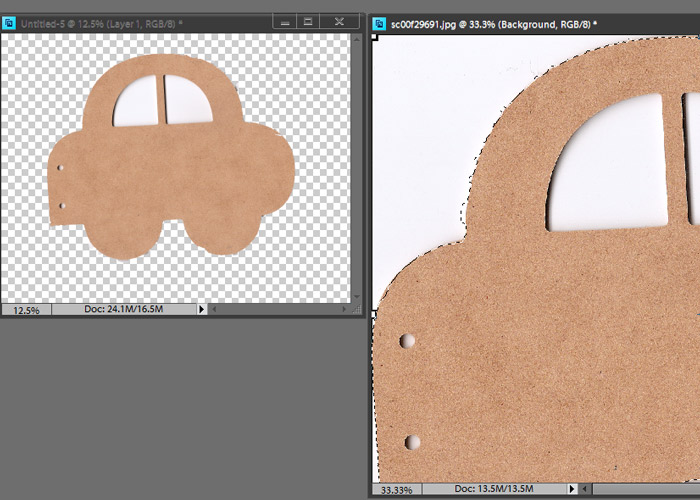
3. Once the item is traced, open up a new canvas and drag the item to the new layout… or you can use the Quick Mask Mode, if following Sheri’s tutorial.
4. Depending on how careful you were, you might have a little extra background or the lasso cut into the shape. Using the eraser and pencil tools, clean up the edges.
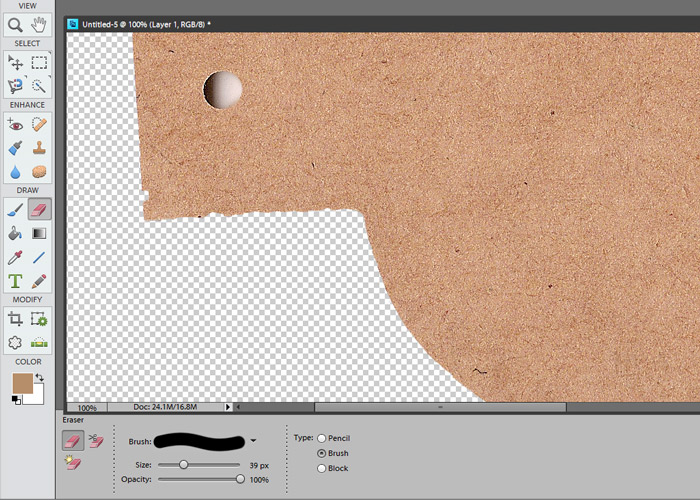

5. To “punch” out the binder holds or other cut outs – like the windows on the cover of the car album, I like to use the Quick Selection Tool and then press the delete key.
And that is it… now you can use it as your background shape so that you can design a page. To same on having to do more extractions… for the car album, I saved a copy of the page before cutting out the window for the rest of the books in the album… and for the back pages, I just flip the page horizontal.
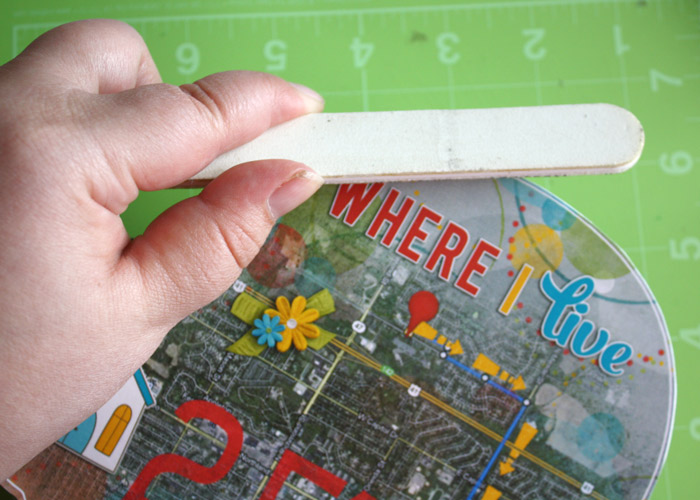
Here is another tip when covering mini albums.
Once you cut out the finished page and glue it on to the chipboard, you might have some paper that is a hair too big for the album… using a nail file is a great way to clean up those edges…
With that I leave you to create one of a kind and awesome mini albums for your most treasured memories!!
{{Hugs}}
Rebecca aka mamabee


Kristi said...
on March 2nd, 2013 at 4:53 am
Fabulous Rebecca! Now I need to go look for my chipboard!