Think Outside the Album: Adult Coloring Pages
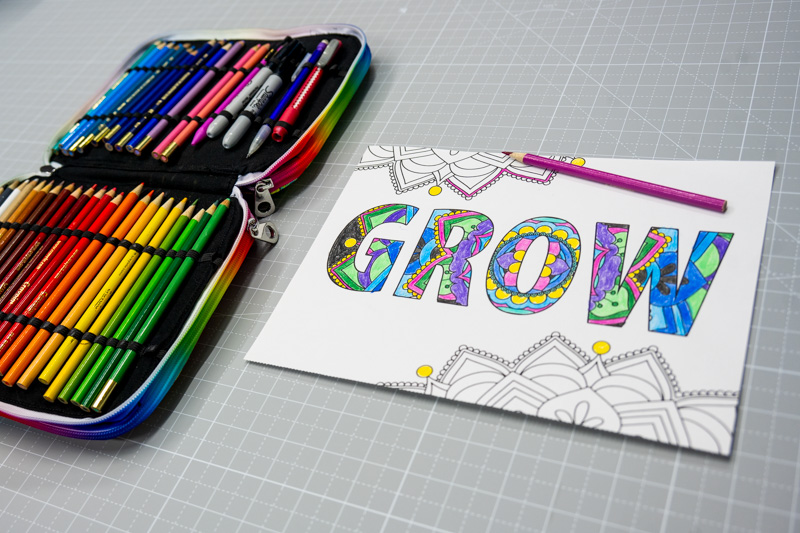
Are you looking for a stress-relieving activity that reduces anxiety, promotes mindfulness, and can take as little as 10-15 minutes? Then adult coloring might be right for you!
“Adult coloring, touted as an approach to self-care and potential relaxation technique, has become something of a trend in recent years,” writes Adrienne Santos-Longhurst for Healthline.
“The repetitive movement of coloring can be soothing and calming for some people who have high stress and heightened anxiety,” says Michele Goldman, psychologist and Media Advisor for Hope for Depression Research Foundation. “Adults tend to forget how to play and be free. Coloring can take us back to our childhood and bring back memories. It can be a pleasurable activity that is simple, distracting, and fun.”
Whether you’re drawn to coloring for nostalgia or as an easy, stress-relieving hobby, you’re in good company. And as a digital scrapbooker, you can create your own custom coloring pages any time you wish!
Welcome to the January 2025 installment of Think Outside the Album, where we look at different ways to take our digital supplies off the scrapbook page and instead, use them to make the rest of our world just a little bit sweeter.
This month, I’ll show you how to turn illustrated images from your favorite Sweet Shoppe scrapbooking kit into fun, custom coloring pages. I’ll show you two different approaches you can take to make your own unlimited supply of pages for yourself and the other color-addicts in your life.
Before we begin, though, it’s time for a quick but important reminder about licensing and terms of use. When you buy a kit from the Sweet Shoppe, it comes with a license for personal, non-commercial use. That means you may use it to make coloring pages for yourself. You may use it to make coloring pages for the kids in your life. And you may use it to make coloring pages to print and give as gifts to anyone you’d like. You may NOT make coloring pages from these designs and sell them on Etsy, on your website, or as a fundraiser, no matter how good the cause. If money is changing hands, it’s considered commercial use, and you may only use SSD supplies for that if you have prior written permission from the designer. So personal, non-commercial use only. Got it? Cool.
DIY Adult Coloring Pages – Option #1: Use outline elements
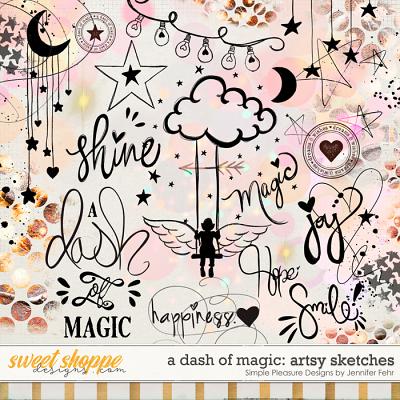
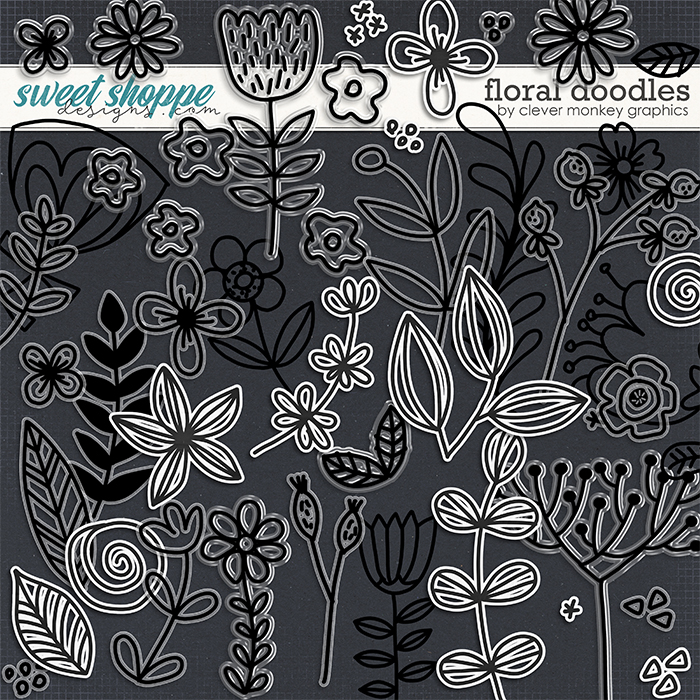
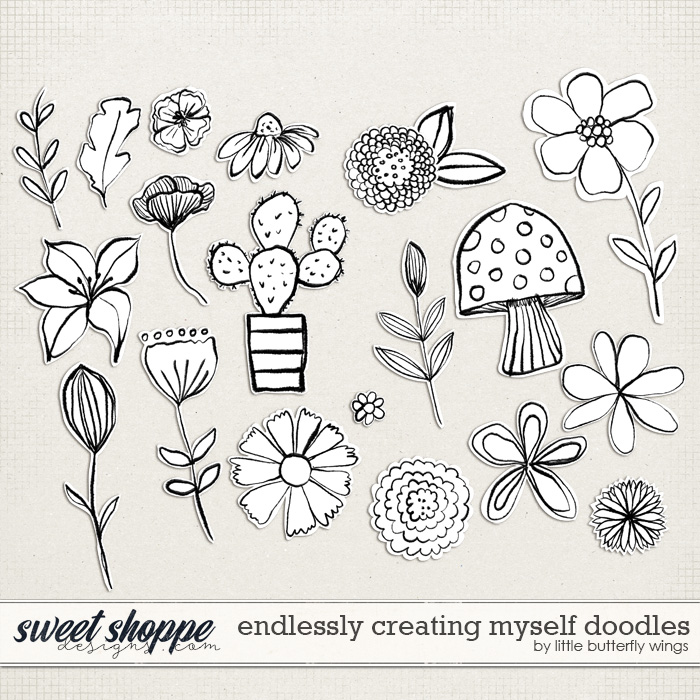
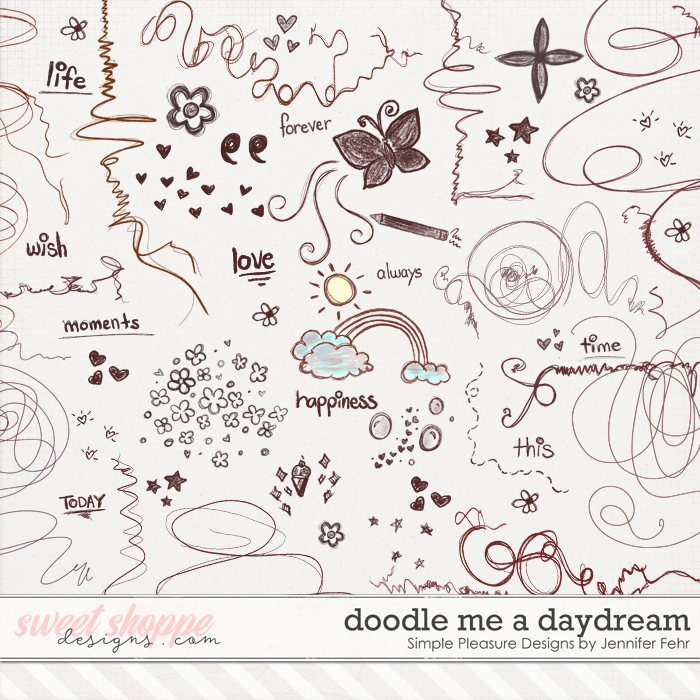
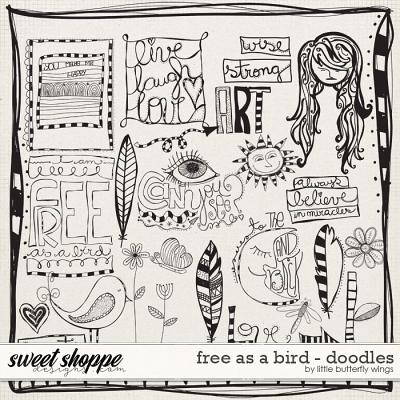
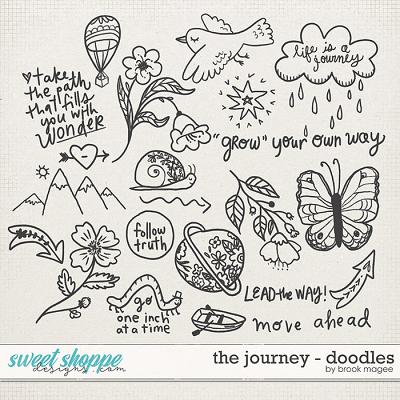
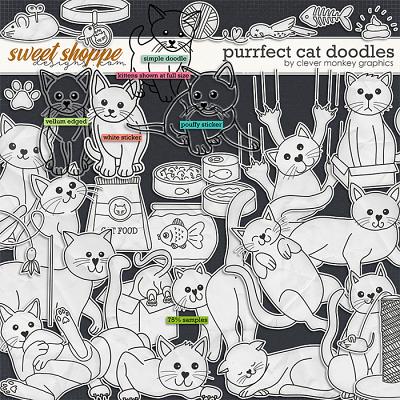
The first, and easiest, option to create a custom coloring page with digital scrapbooking supplies is to look specifically for elements that are doodles or outlines. You’ll find these types of elements mixed in with full-kit element packs, as well as for sale as individual “doodle” or “brush/stamp” or “mixed media” packs. Here are just a few examples of the kinds of outline element packs you’ll find for sale in the Sweet Shoppe:
Step-by-Step
Once you’ve selected your favorite line-art doodles, launch your preferred digital design software and follow these steps:
- Set up your canvas to the same dimensions as the paper you’ll be printing on (ex: 8.5×11 @ 300dpi).
- Drag the outline/doodle elements onto your canvas.
- When you’re happy with your design, hit print!
Tips & Tricks
Here are a few tips, tricks, and ideas to keep in mind as you’re designing your coloring page.
- Use the type tool and your favorite fonts to include words on your page. Then add a layer style that changes its color to white and gives it a 10px stroke in black. Your words will be converted to an outline and are ready to color!
- If the doodle includes accent color, simply select everything that’s black (in Photoshop, try Select … Color Range) and create a layer mask on your selection.
- When you overlap doodles, go back with an eraser or a layer mask and brush to remove the areas where they overlap.
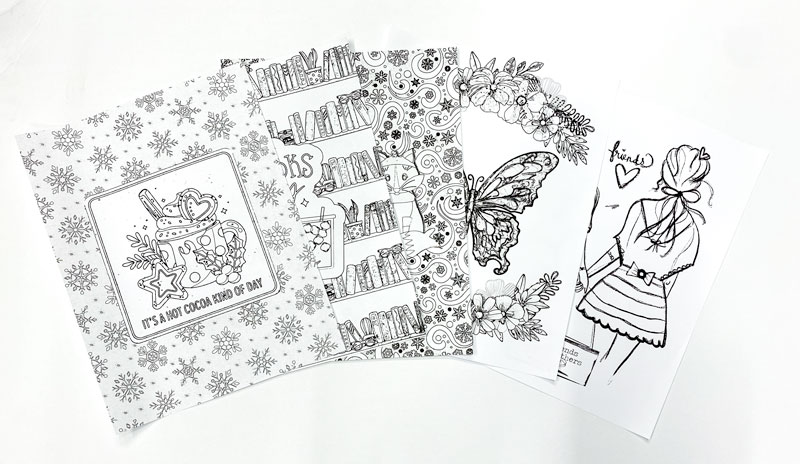
Samples
Here are a few of the coloring sheets I created using line-art doodle elements from The Sweet Shoppe:
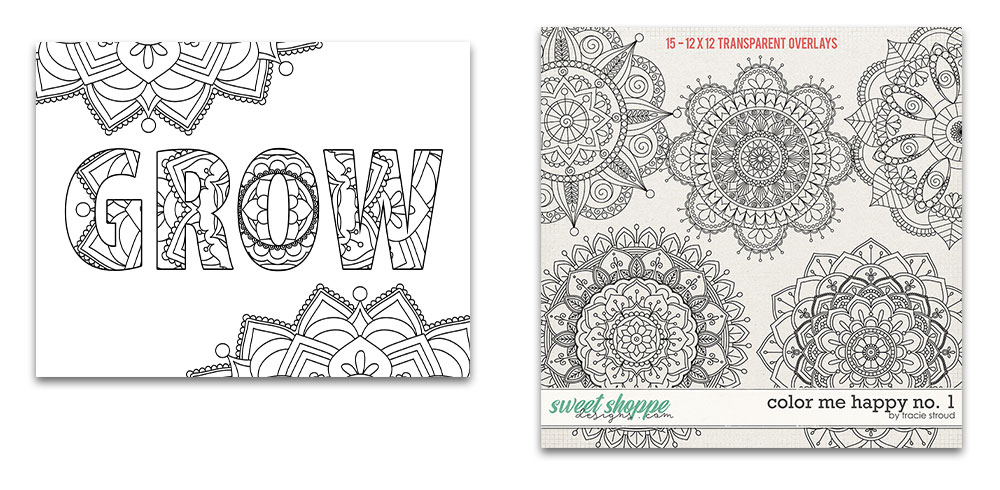
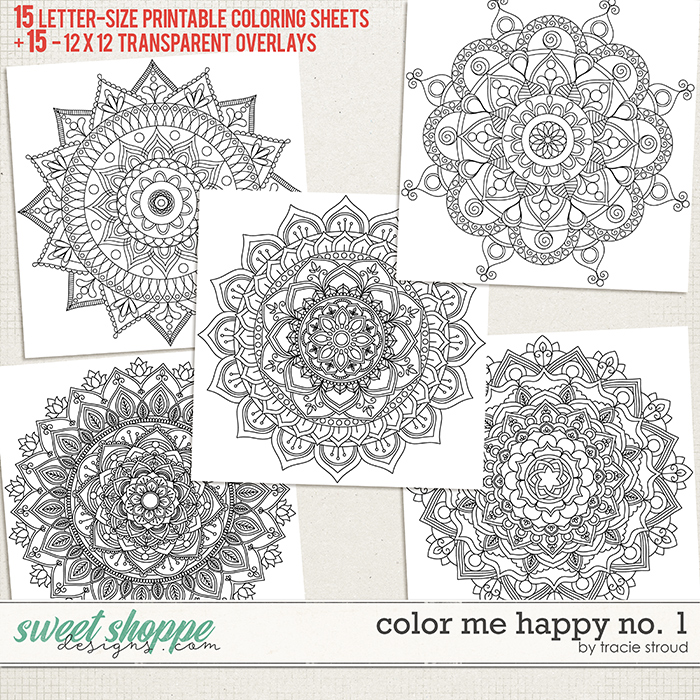
Coloring page created with Color Me Happy no. 1 by Tracie Stroud
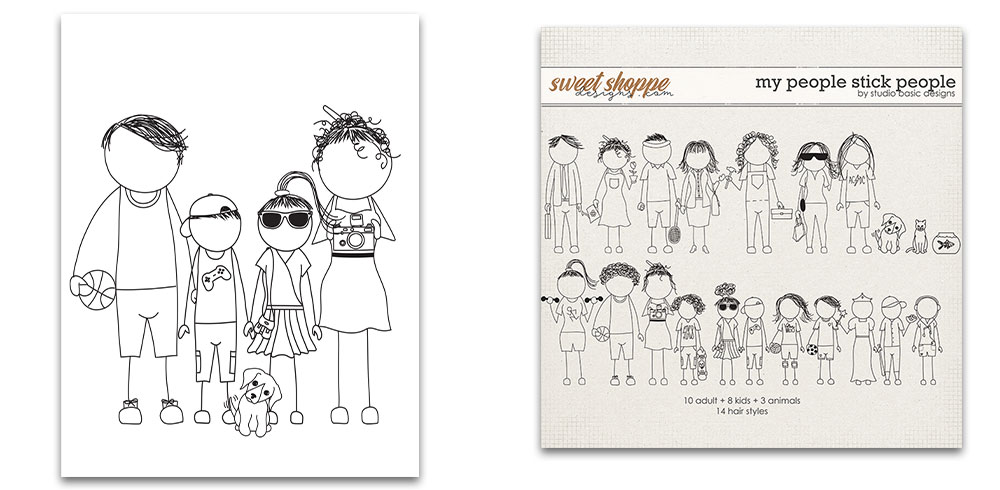
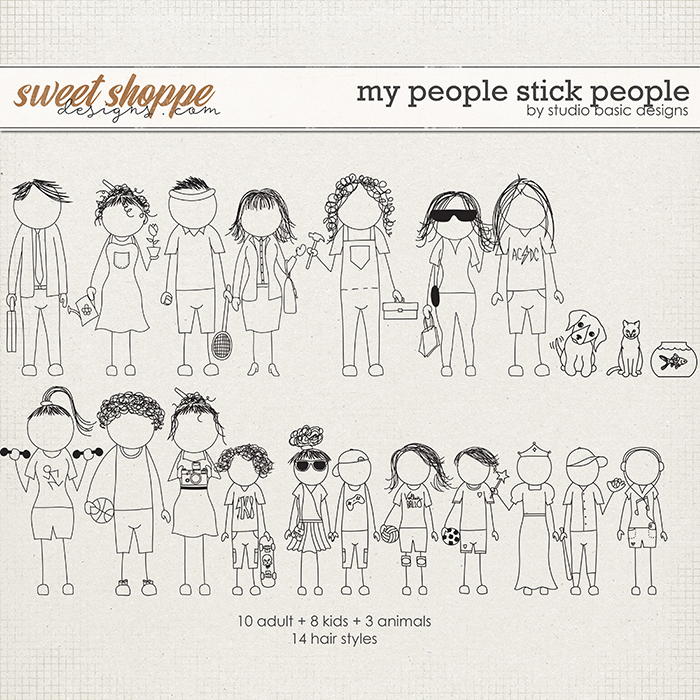
Coloring page created with My People Stick People by Studio Basic Designs
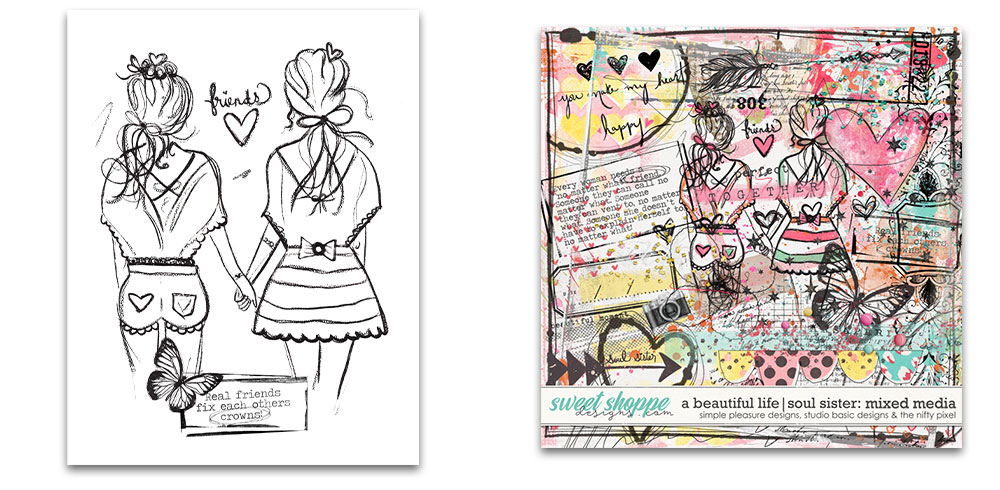
Coloring page created with A Beautiful Life | Soul Sisters: Mixed Media by Simple Pleasure Designs, Studio Basic Designs & The Nifty Pixel
DIY Adult Coloring Pages – Option #2: Turn any illustration into a coloring page in Photoshop
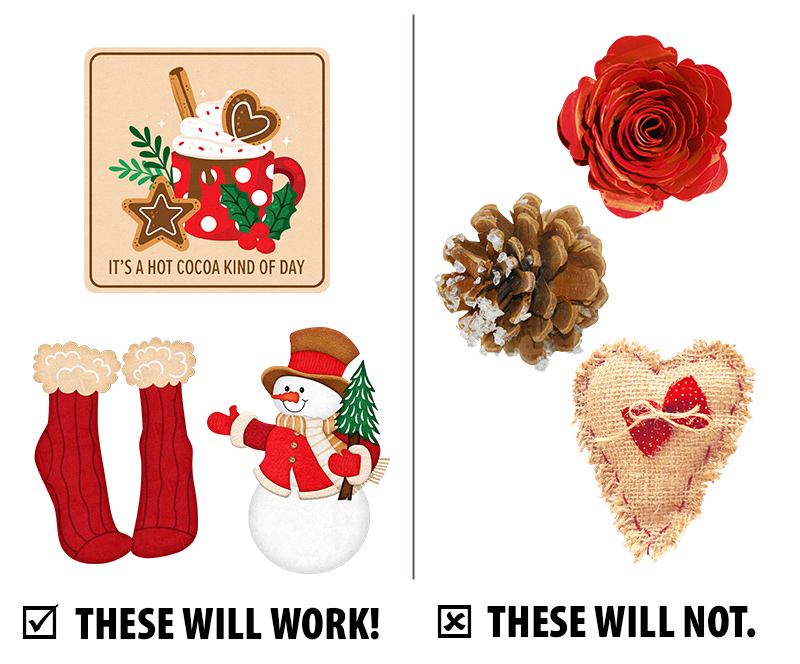
When you work with Photoshop, you’re not just limited to those elements that are black-and-white outlines … you can turn any illustrated element into a coloring book element! This will not work for photo-realistic elements; only illustrated elements work with this approach.
Step-by-Step
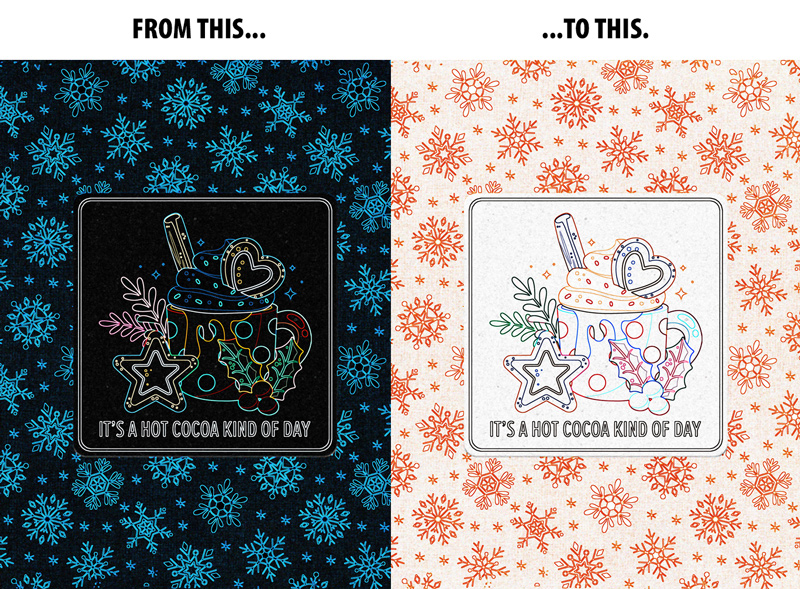
For this example, we’re going to work with the bundle Winter Warm Up by LJS Designs. Launch Photoshop, and follow these steps:
PART A – Create your artwork
- Set up your canvas (8.5×11 @ 300dpi)
- Drag the elements onto your canvas to create your design. I pulled a large piece of word art and a sheet of patterned paper from the kit Winter Warmup by LJS Designs and laid them out on my canvas like this:
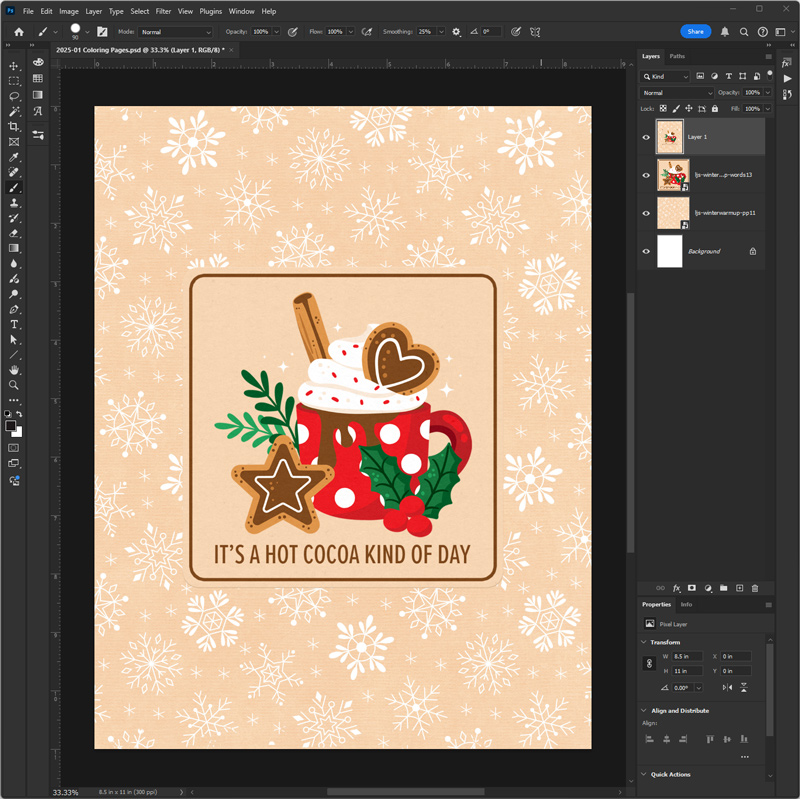
When you’re happy with your design, you’ll need to either flatten it into a single layer, or if you want to retain the option to edit it later, you can Select All, Copy Merged, and Paste it to a new layer. Before we proceed, you will need one layer that includes your graphics on a background, whether that’s a patterned paper like I’ve done here or a solid white background. This will not work if you leave the background transparent.
PART B – Create Your Outlines
Now, the magic happens!
3. Go to Filter … Filter Gallery; under the Stylize set, choose Glowing Edges.
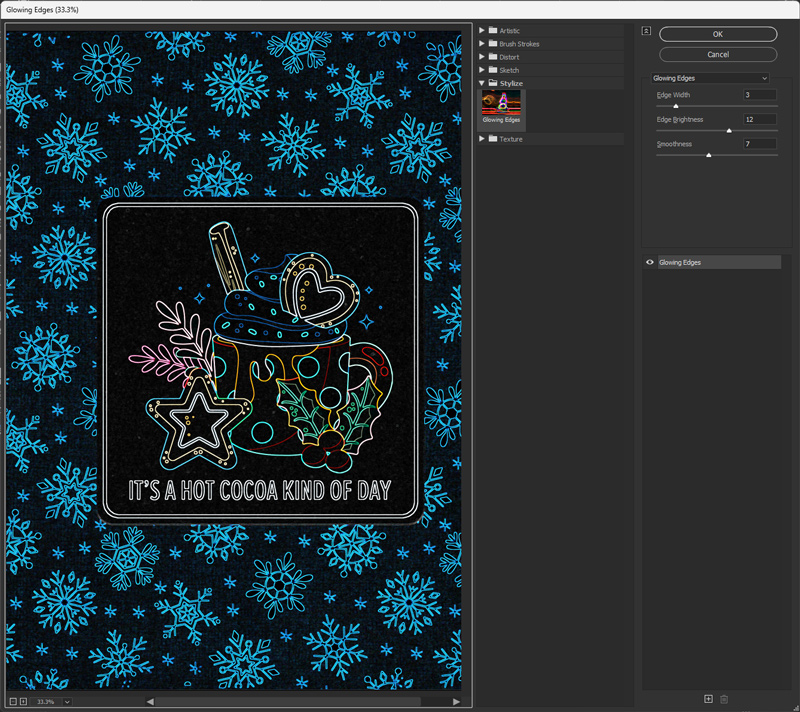
On the far right side of the window, you’ll see the three parameters you can adjust for this filter: edge width, edge brightness, and smoothness. I recommend starting with these values
- Edge Width – 2
- Edge Brightness – 10
- Smoothness – 12
Now, play with these values until you’re happy with the amount of detail in your design. You want to strike a balance between having as many of your coloring areas outlined as possible against there being too much “noise” with extraneous detail, which is usually caused by whatever texture the designer added to their paper & elements to give it dimension and make it look realistic. (The less texture, the better your coloring page will look.)
When you’re happy with the amount of detail in your outline, hit OK to apply the filter.
PART C – Turn it to black-and-white
Now go to Image … Adjustments … Invert (or press CTRL + I). What was black will now become white, and vice-versa.
The last step is to take this colored line-art image and turn it into black-and-white line art. Depending on the design you’re working with, one of two approaches will work:
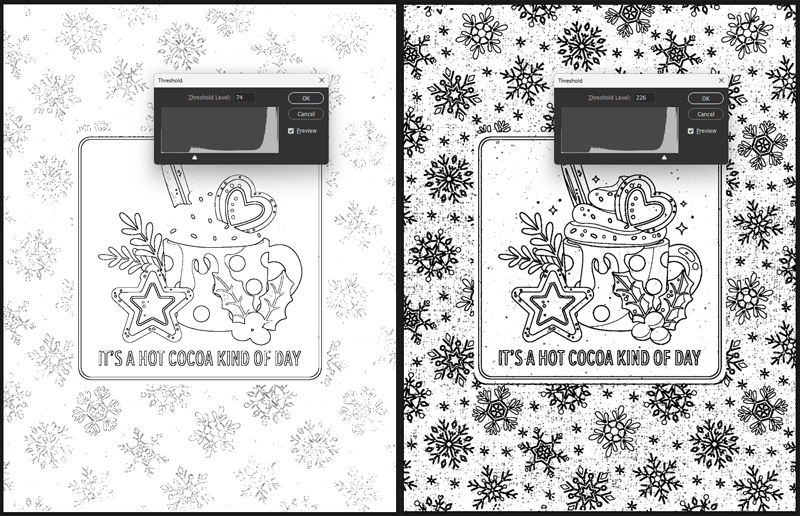
OPTION 1 – Go to Image … Adjustments … Threshold. This adjustment turns every pixel to either black or white, with no greyscale in-between.
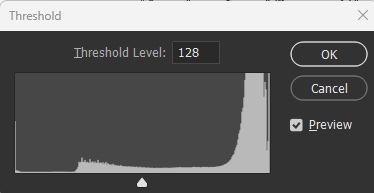
Slide the arrow marker along the curve to the right and you’ll see more of the image turn black; slide it to the left, and more will turn white. Play with the position of the slider until you’re happy with the amount of detail and click OK.
If the Threshold adjustment didn’t work well for your design, you can try this instead:
OPTION 2 – Go to Image … Hue/Saturation and set Saturation to -100. Your entire image will now be greyscale.
You’ll want more black and less grey, so duplicate the greyscale layer and set the blending mode for your top layer to Overlay. Finally, play with the opacities of each layer until you have results you’re happy with.
If the elements & papers you chose have lots of texture in them, you may need to try one more approach before you get good results:
OPTION 3 – Duplicate your line art layer so you have 2 copies of the line art.
- Select the bottom line art layer and go to Image … Hue/Saturation and set Saturation to -100.
- Select the top line art layer and go to Image … Adjustments … Black & White and play with the sliders until you’re happy with the detail in your image; hit OK.
- Finally, set the layer blending mode of your top layer to either Multiply or Overlay. (Try them both, and see which one works best.)
Tips & Tricks
Here are a few more tips & tricks to keep in mind as you’re creating and printing your custom coloring pages:
- You’ll get the best results converting an illustrated image to coloring book line art when the original element does not have a texture applied to it – or if the texture is very faint. Look for elements that look more like stickers and less like cardstock or fabric.
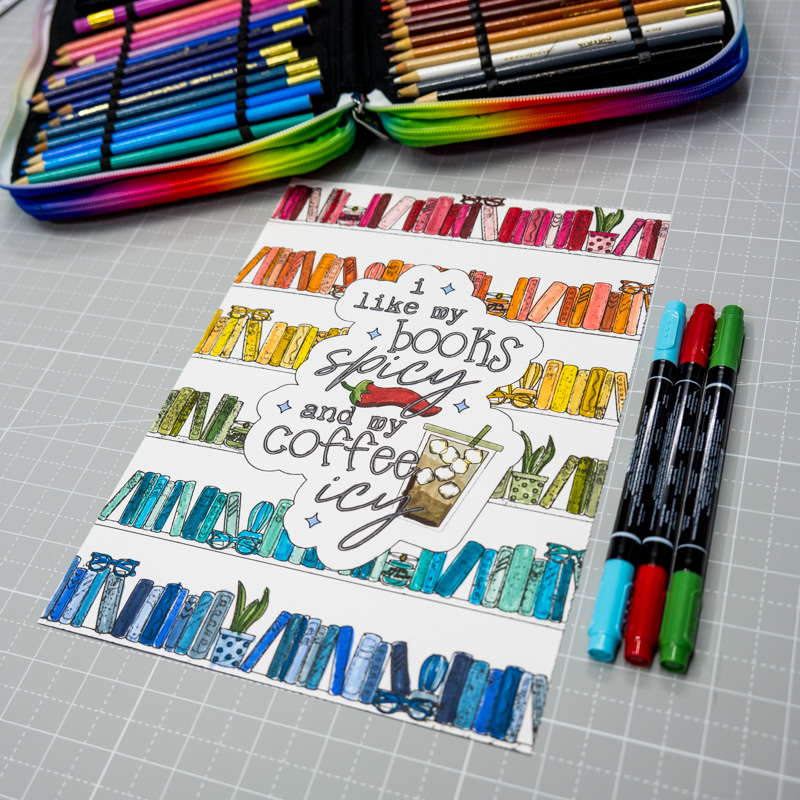
- If you’re going to color your page using watercolors or alcohol-based markers, be aware that ink jet printouts will bleed. The black ink becomes reconstituted when it comes in contact with water or alcohol. So, if you plan to use these types of coloring tools, you’ll get the best results when you print your coloring page with a laser printer.
- The type of paper you use for your coloring page also makes a difference. Inexpensive copy paper will often cause ink to migrate through the fibers to areas you didn’t intend to color. If this is important to you, consider printing your coloring pages on sketchpad-quality paper or, better yet, watercolor paper.
Samples
That’s all there is to it! Here are some coloring pages I created while playing with kits from the Shoppe:
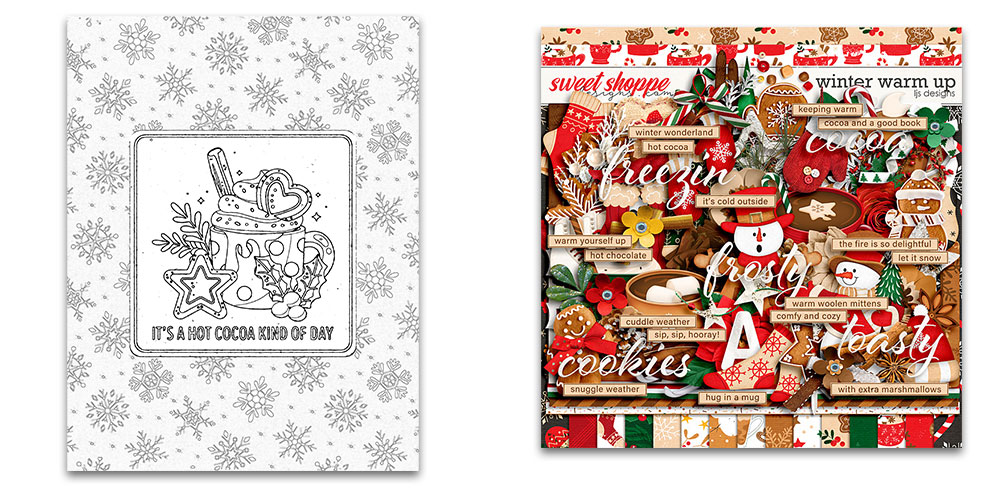
Coloring page created with Winter Warm Up by LJS Designs
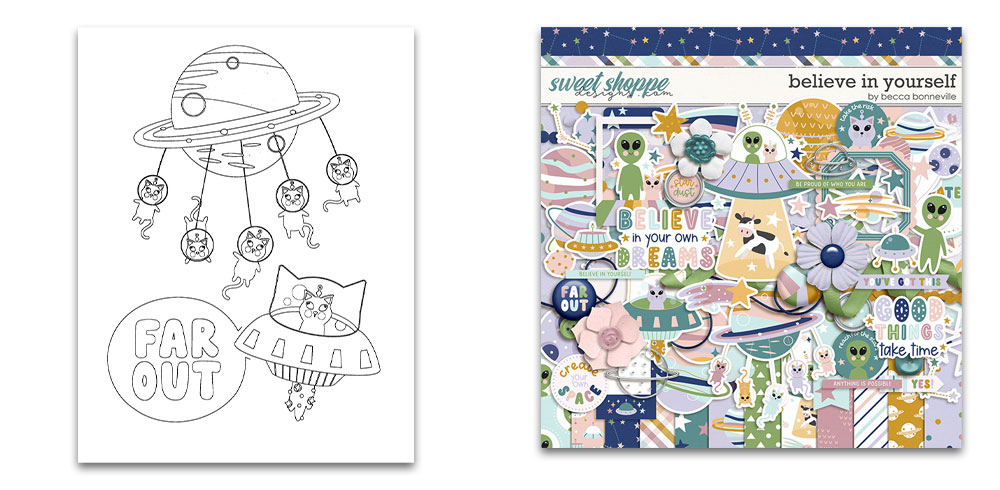
Coloring page created with Believe in Yourself by Becca Bonneville
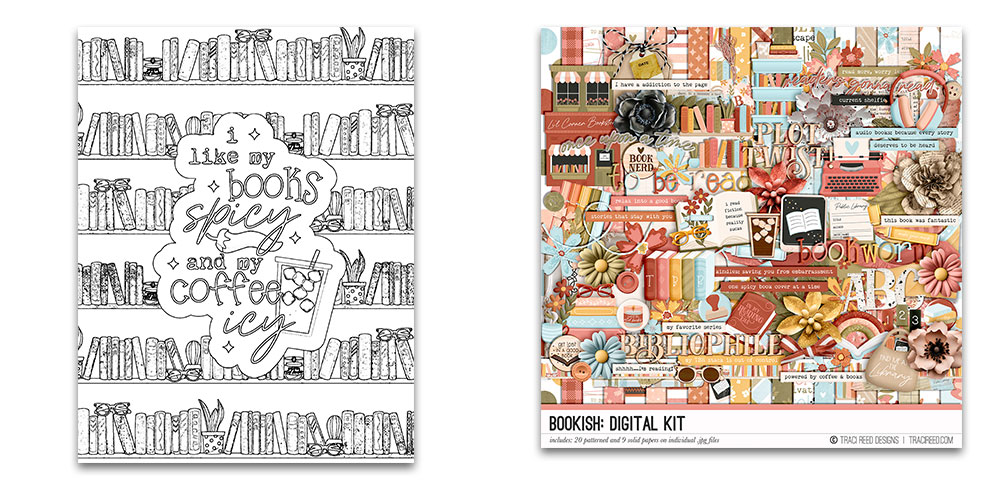
Coloring page created with Bookish by Traci Reed
That’s all it takes to create your own custom coloring sheets from your favorite Sweet Shoppe digital scrapbooking supplies! Whether you’re creating them for yourself, as a gift for a friend, or even just as an activity to keep a child busy indoors while the weather is frigid outside, when you combine Photoshop with your favorite digital scrapbooking kits from the Sweet Shoppe, the possibilities are endless! Have fun creating and printing, but most of all, coloring. And be sure to share your finished pages with us in the Gallery – because I can’t wait to see what you create when you Think Outside the Album!


