Think Outside the Album: Wood Transfers
Welcome to the February 2025 installment of Think Outside the Album, where we look at different ways to take our digital supplies off the scrapbook page and instead, use them to make the rest of our world just a little bit sweeter.
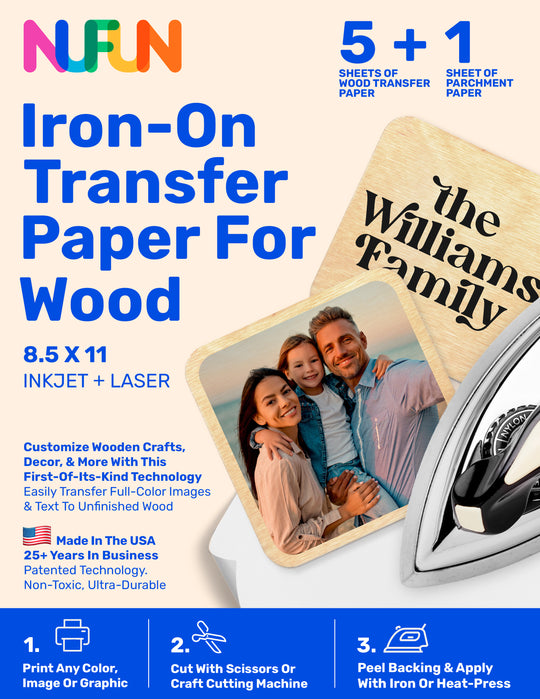
This month, we’re playing with a cool little product I found on Amazon: printable iron-on heat transfer paper for wood.
Can you even imagine the possibilities?!? Let’s start simple, though, and use some inexpensive wooden coaster blanks to create a set of custom drink coasters. You’re going to love the results!
What You’ll Need:
Wood Transfer Paper
I purchased the NuFun Activities brand of Printable Iron-on Heat Transfer Paper for Wood. There are other brands available, but this is the one I tested for this project.
A color inkjet printer
I used my HP OfficeJet Pro 9010 All-In-One.
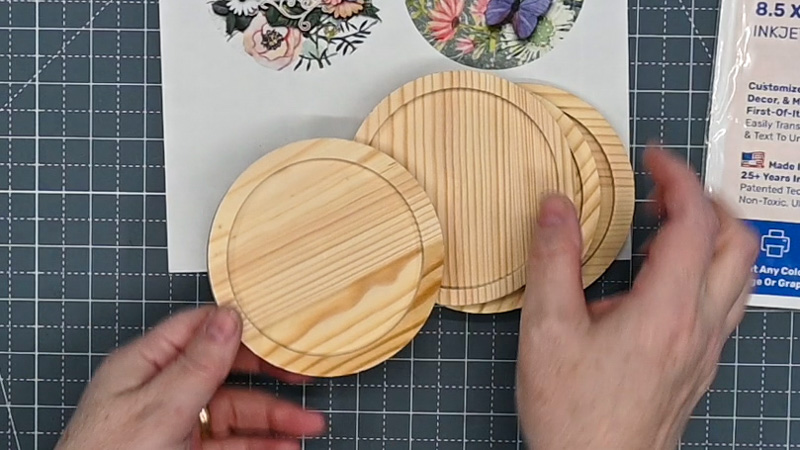
Wooden coaster blanks
I purchased a set of 4 wooden coaster blanks from my local Michael’s craft store, but you can find these everywhere from Walmart to Hobby Lobby. There’s even a ton of different styles available on Amazon. Just make sure you purchase an unfinished set – ones that haven’t been stained or sealed. You want raw wood for this project.
NOTE: buy more than you think you need so you have extras to test your heat settings.
An iron or heat press
I was successful in transferring to wood with my standard iron as well as my Cricut heat press. Because the coasters I chose have a raised rim, I used my Cricut Mini Heat Press as it fit inside the rim. Don’t have a tiny iron or heat press? Just make sure the coaster blank you choose has a completely flat surface.
A microfiber cloth
You’ll need this for the transfer.
Something to cut out your transfer
I used a pair of scissors, but you can also run the wood transfer paper through a Cricut or Silhouette to cut out more detailed designs.
Something to measure the size of your coasters
A ruler or measuring tape will work best.
Clear varnish or sealant
You can use an aerosol sealant or one you brush on.
Step 1: Design your transfer
Open your preferred digital scrapbooking software – I used Photoshop – and create a new canvas that’s the same size as your Transfer Paper. (In my case, that’s 8.5″ wide by 11″ high and 300dpi.)
Using a ruler or measuring tape, measure the size of your coaster; specifically, determine the size of the area for your transfer. In my case, the rounded center of the coaster (inside the raised edge) came to 3 3/8″ diameter.
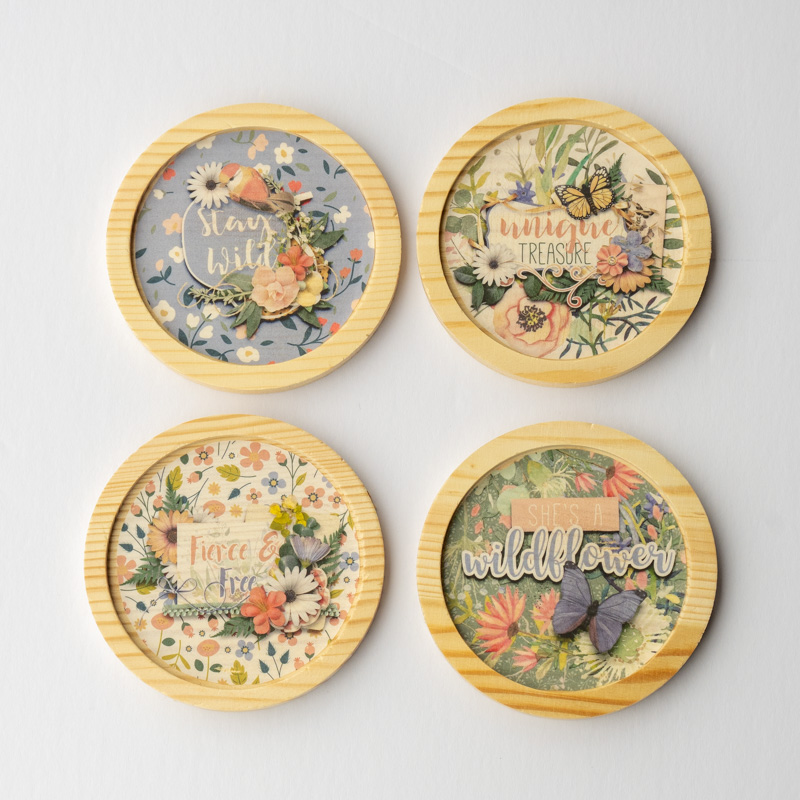
Mark out an area that size on your canvas, pull out some of your favorite Sweet Shoppe digital scrapbooking supplies, and start designing! I’m looking forward to warmer weather here in Texas and the early spring wildflowers that come with it, so I used the “She’s a Wildflower” bundle from Meagan’s Creations. By combining word art and patterned paper, I was able to quickly whip up a coordinating set of four designs for my coasters (and I mean quick – this took me less than 5 minutes! I just love Meagan’s cluster-filled pre-designed word art packs.)
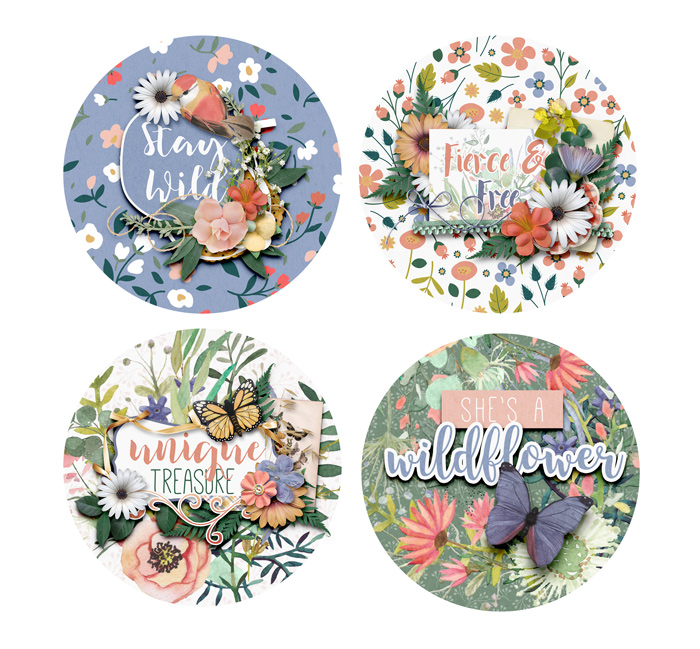
Created using “She’s a Wildflower” by Meagan’s Creations.
Step 2: Print your design on the transfer paper
After reading the instructions included in your package of transfer paper, carefully load a sheet into your printer. Make note of which side should be face-up; you want to print on the blank, textured side of the transfer and NOT the side with the blue line.
Send your design to print using the print settings recommended in the transfer paper instructions.
Now allow plenty of time for your transfer to dry. (Nothing is more frustrating than smudging your printout when you move on to the next step too quickly!)
Step 3: Cut out your design
Using a pair of scissors, a straight-edge trimmer, or even a digital die-cut machine like a Cricut or Silhouette, cut out your printed design. Double-check it against your wooden blank to make sure it fits.
Step 4: Apply heat to transfer the design to wood
At this point, you should re-read the instructions that came with your transfer paper and pay close attention to heat settings and time recommendations. Then preheat your iron or heat press.
Separate the transfer from its backing paper. This may take a couple tries. Throw away the backing paper.
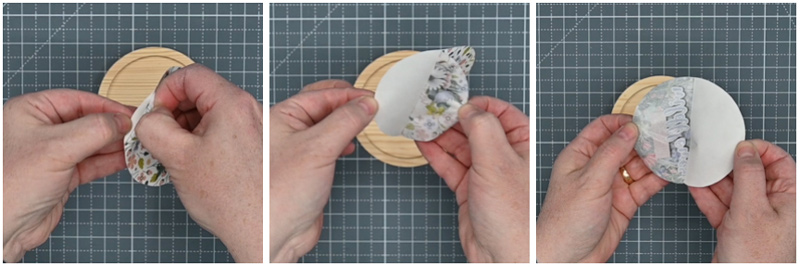
Place the transfer on your wooden blank and cover it with the microfiber cloth. Why microfiber instead of the included parchment paper? By using a thicker, more heat-absorbent cloth between your iron and the transfer paper, the white background will not melt into the wood. Instead, it will adhere to the wood but the white remains – giving you a true-to-print result. Otherwise, if you use parchment paper, the white will melt and the wood will show through, resulting in a more distressed look.

Apply heat for the recommended length of time. (For me, I used 350-degrees and approximately 30 seconds.)
Remove the heat and the microfiber cloth – and marvel at the results!
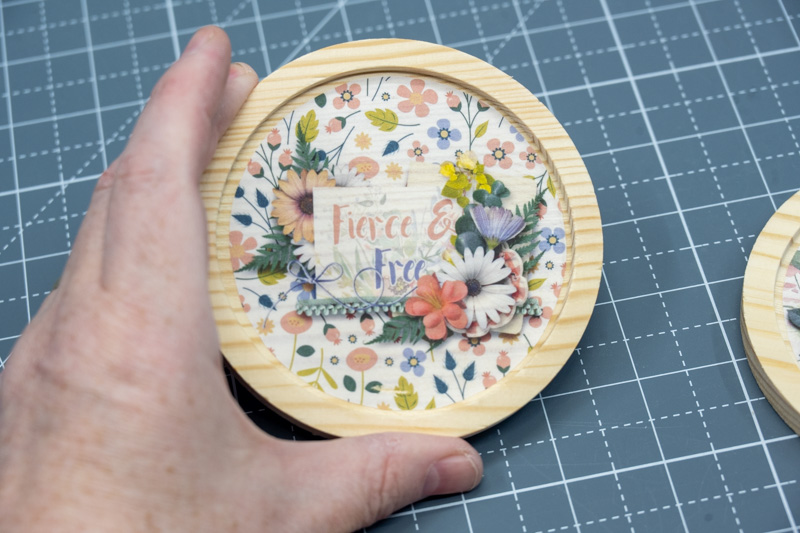
Created using “She’s a Wildflower” by Meagan’s Creations.
Step 5: Seal your project with clear varnish
Use an aerosol spray clear-coat or brush-on clear varnish to seal your project… especially if you plan to actually use the coasters with beverages.
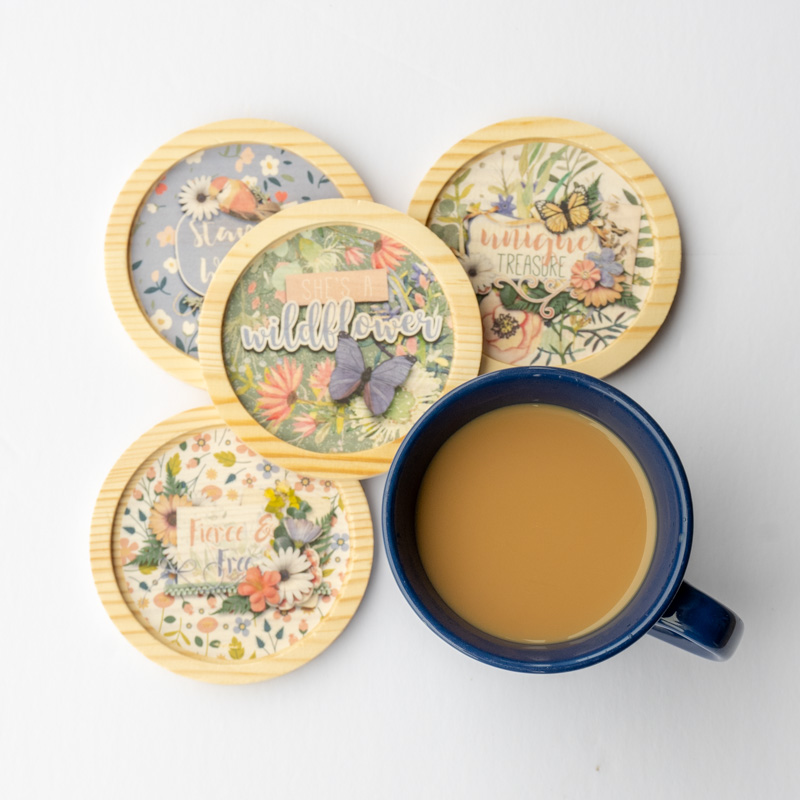
Created using “She’s a Wildflower” by Meagan’s Creations.
Talk about a quick and easy project that looks like it took way more time than it actually did! I think these would make a lovely housewarming gift. Or you could create a custom design using any of our school-themed kits and you’ve got a perfect teacher gift! Or use any kit to create a sweet “thinking of you” gift for a friend (hint: include a gift card to their favorite coffee shop!).
Created using “She’s a Wildflower” by Meagan’s Creations.
Of course, now that I’ve made myself this set of coasters, my brain won’t stop coming up with other ideas for projects I can make with this wood transfer paper. After all, with the help of Sweet Shoppe digital scrapbooking supplies, if you can dream it, you can design it! So order yourself a pack of wood transfer paper and get started on your next DIY craft project. Be sure to snap some photos and share them with us in the Hybrid Project Gallery … because I can’t wait to see what you create when you Think Outside the Album!


