Scrap Like A Sugarbabe: Celeste Smith

I’m pleased to introduce you to our resident minimalist, Celeste! It’s no secret that SSD is the land of clustery, scrappy, layered goodness, so how does Celeste manage to make gorgeous page after gorgeous page without succumbing to all that layer pressure? Better yet, how does she still manage to somehow show off a kit to it’s full potential while doing it? Let’s take a walk through a simple page with Celeste and see what it’s like to dare to be a minimalist.
My Claim To Fame
Hi I’m Celeste and my claim to fame is clean and simple scrapbooking. I always have been a clean, simple scrapper, but my belief in this style of scrapbooking was really cemented after I read Cathy Zielske’s book, Clean & Simple Scrapbooking. It blew me away. I realized then that this was my style and how I wanted to scrapbook with a major focus on the photos and the stories and less of a focus on using tons of product. This philosophy has served me well in the paper scrapbooking world. It even came to the point that I was on the design team for Simple Scrapbooking magazine and my layout was on the cover of the last issue. I’d have to say it has also served me well in the digital scrapbooking world – I’m so blessed to be a Babe!

Why clean and simple scrapbooking is important to me:
There are many reasons clean and simple scrapbooking makes my heart sing. First off, I enjoy the aesthetic of a clean page. I love neat straight lines and blocks of photos and paper. I enjoy well designed titles and type. The approach is just appealing to me. Second, the focus on the photos and the story goes along with the reason I scrapbook in the first place to tell our family stories. Third, time is my enemy these days. Working full time, raising two kids, and juggling scrapbooking means I don’t have hours to devote to each page. This style fits my lifestyle!
Celeste’s Favorite Simple Layouts:


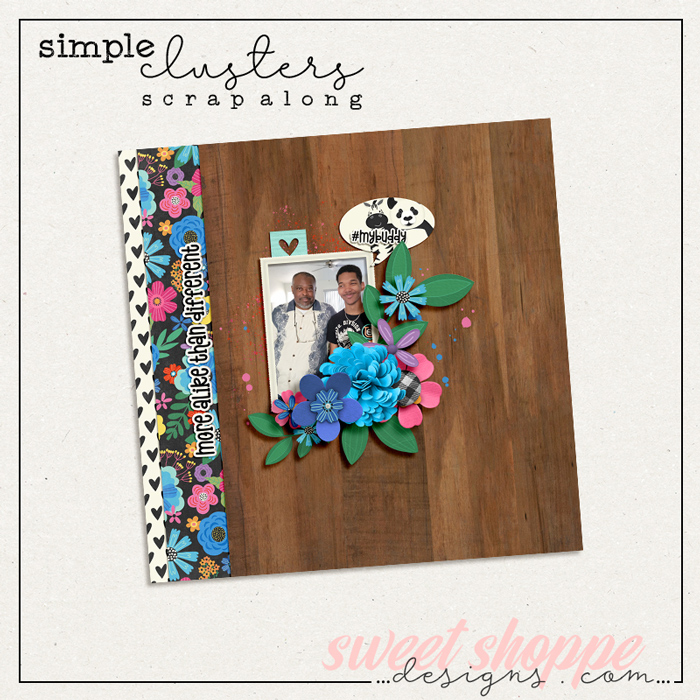
How To Scrap Simple, (but still take advantage of all the scrappy goodness out there!)
To achieve a great clean page, I start with my photos. I only select photos that are of good quality. I use RadLab or Pioneer Woman’s Actions to edit my photos – adding a bit of a boost to the colors and a sharpness to the photos. Once I am happy with the photos I open up a 12×12 blank canvas and usually add one of two colors of cardstock to the background – white or kraft. These neutral backgrounds help the photos, papers, and elements stand out on their own. Now I drag the photos over to the canvas and arrange them on the cardstock. I try to leave a good deal of white space – I love white space!

After the photos are on the canvas, I resize and move them around until I’m happy with where they are placed. I almost always add a white stroke around my photos to make them pop against whatever background I’ve created.
I use the rectangular marquee tool to create boxes and rectangles on my page. Resizing them with the Transform tool until I’m happy with how they look. On this page I made banner boxes.

Typically, I scrapbook with kits. I just find having all of the elements and papers coordinated and together so much easier than digging through my (somewhat disorganized) stash. At this point drag all of the patterned papers in a kit into Photoshop and tile them behind my layout so I can see what I have to work with.
I clip papers to the blocks I’ve created. I may be a little atypical for a clean scrapper, I love to use lots of patterned paper on my pages. In fact, I frequently challenge myself to use all of the patterned paper in a kit. This means that I create more spaces for papers. I love to play with the scale of paper and frequently shrink down papers in kits so that I can use them all. Typically, I only use one larger print and then shrink the others down to work on my page. You can see I added a strip of paper across the top of the photos here.

After the paper is all placed, I figure out my journaling block. I typically journal on the background page, a journaling card, or strips of paper. I tend to use typewriter fonts or Darcy’s handwriting fonts for my journaling. Some of my go to fonts lately are: Another Typewriter, Traveling Typewriter, DJB Celeste, and DJB Miss Cranky Pants. I try to keep my journaling at 12 point at the very least and I tend to only justify the left edge. I pay close attention to the leading of the journaling; if it’s too cramped the journaling becomes harder to read.
Next, I add a title. If there is appropriate word art in the kit, I try to use that first. Then I go for an alpha. My titles tend to be really short – usually I take a word from the journaling or make the title the last word of the journaling.

This next part is where my page building varies from most other styles of scrapbooking. At this point, I add my embellishments. I try to look for one main embellishment to add to the page and I will leave that embellishment a little larger so the eye is drawn to it. I place it near the most important photo. Then I use buttons (my favorite scrapbooking product of all time) to draw the eye to other parts of my page – photos, journaling, date elements, etc. I date all of my pages either at the end of the journaling or on a date label somewhere on the page. I frequently place borders on my page; I am a firm believer that borders keep the readers eyes on the page! As well, at the very end I usually add a little stitching to finish off the page and add some texture.
I end up with something that is clean, simple and quite focused on the photos and the story.

I hope you learned a little bit about the way I scrapbook and have gained a little insight into one way to accomplish a clean and simple page!


Andrea said...
on February 26th, 2012 at 8:31 pm
Thanks Celeste, I loved reading this!
Melissa said...
on February 28th, 2012 at 11:20 am
Beautiful!
Toni said...
on September 28th, 2012 at 5:30 pm
I was SO inspired by reading this!!! My philosophy behind scrapbooking is VERY similar to yours (but you said it so nicely) and my goal is to really share my photos and our stories. Thank you so much for sharing how you put your pages together. It was so methodical and so easy to follow your thought process. You encouraged me to start my next project (sometimes I don’t know how to begin because I’m immediately hindered by trying to layout a page and figuring out how to incorporate “all” the elements). Many, many, thank you’s again!!! You made my Friday so much more exciting. 😀
Janet said...
on April 20th, 2013 at 4:52 pm
Thank you for sharing your workflow. As a new scrapbooker, it is very helpful to read how a pro creates a page. Love your pages!
lonely lifer said...
on July 3rd, 2013 at 3:57 am
I want to start making layouts and actually start laying myself out on paper before I dye.. I do not have children or lots of updated photos of myself or friends I hate myself in photos so to make this short I have learned more about what to do from this sugarbabe series than all the 6 years of buying digital kits and I even think of myself as a minimalist type scrapper to be I think I am finding my inner scrapper thank you Sugarbabes…
lonely lifer
Aafreen said...
on September 22nd, 2016 at 6:56 pm
this was grt. normally i make randon pages without thinking abt how i want it to be. or something try a tutorial or try to lift (a part) of someones page. but u made it so clean and easy. i now know what i can start with and how i can make most of my kit.