Hybrid Shaped Card
Hello my sweet friends! I am here today to show you a quick and easy card that happens to be my favorite style… the shaped card! You will be surprised at how easy it is to make a great card out of your favorite designer’s elements! Let’s get started!!
Materials
- Digital Elements (I am using “You Say It’s Your Birthday – Traci Reed and Celebrate Cards – Julie Billingsley)
- Photo editing software (I am using Photoshop Elements 11)
- Card stock or heavy weight double sided presentation paper
- scissors
- bone folder
- foam adhesive
- ribbon
Instructions
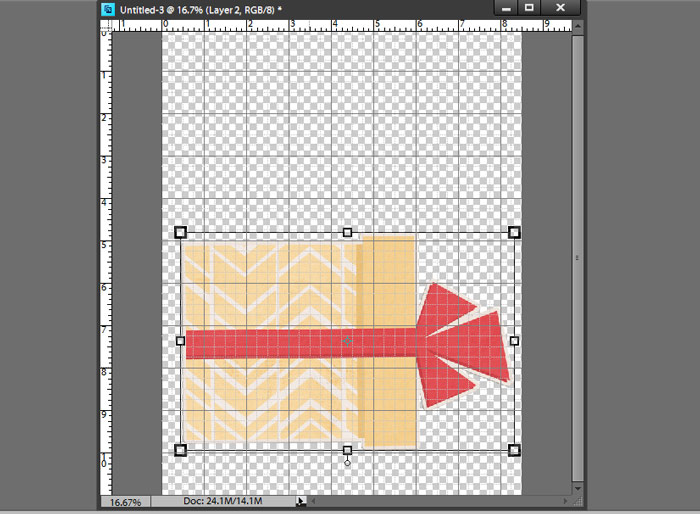
1. Open up the element you want to make into a card in your photo editing software. Note: The best elements have a flatter side that can be used as the hinge of the card.
2. Position the element on the bottom half of your page, we are going to fold the printed page in half where the top part will be behind the element.
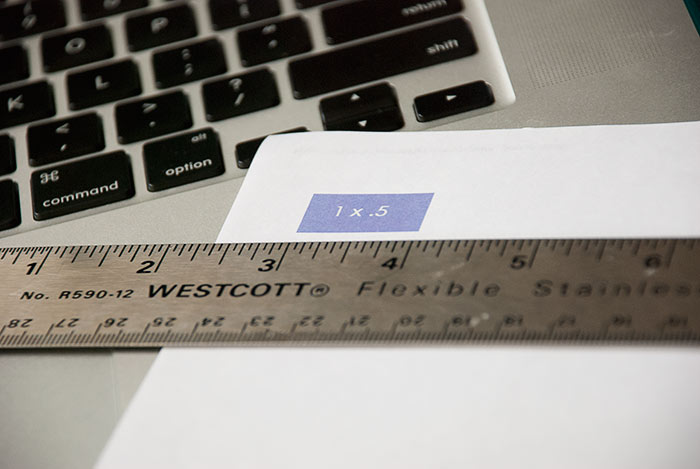
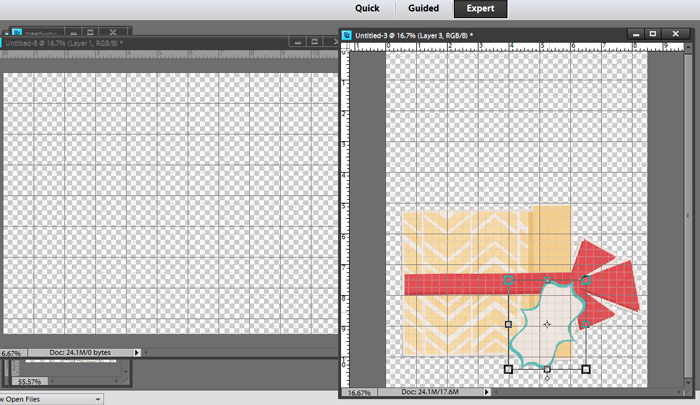
3. Plan out any elements you want to decorate on the card. I love to use foam adhesive to give a little dimension to my cards. I pull in my elements and place them on top of the “card” to ensure they are sized correctly.
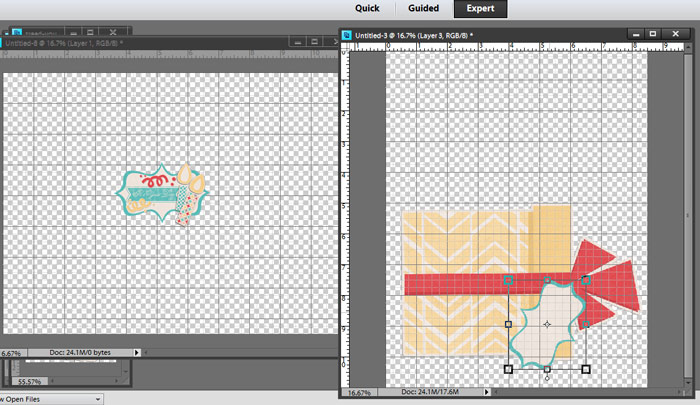
4. Once I have the size correct, I drag the element to a new document and finish my design.
5. Once I’m done, I send it to print and gather my next supplies.
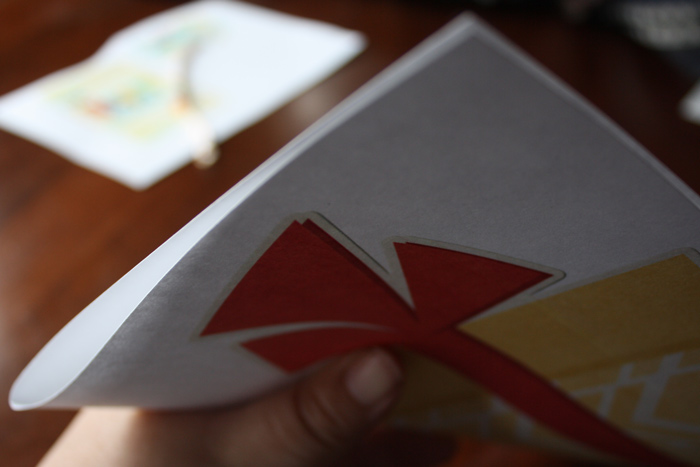
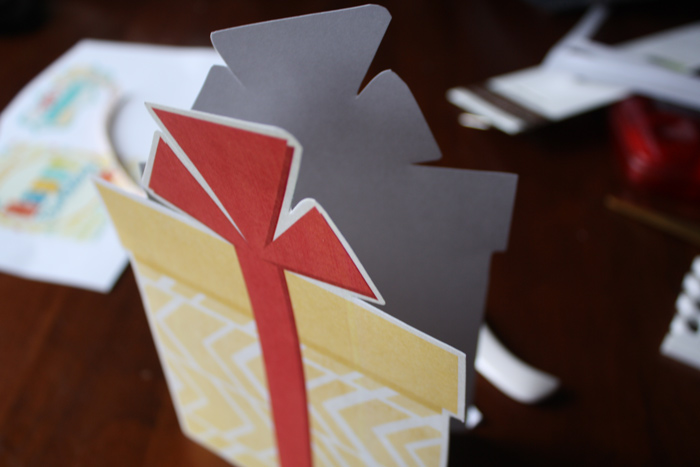
6. Since the shape I selected has a “lip,” I create a soft fold on the edge so I can cut out that section.
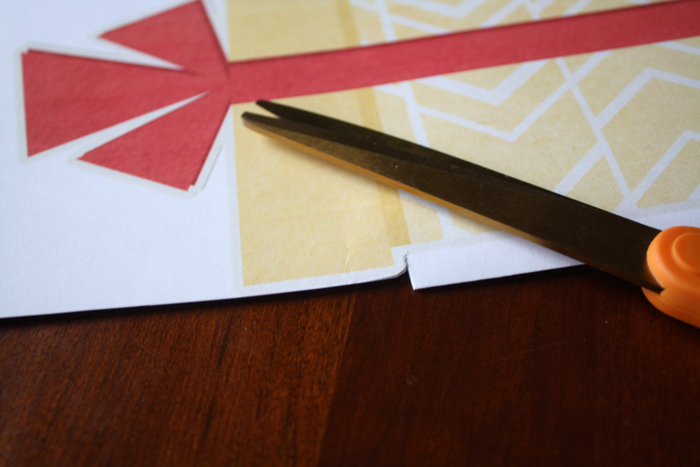
7. Cut out the lid.
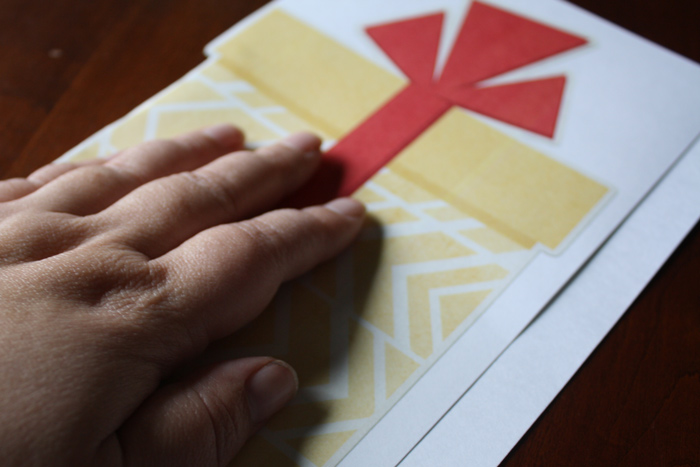
8. Refold the card along the long edge.
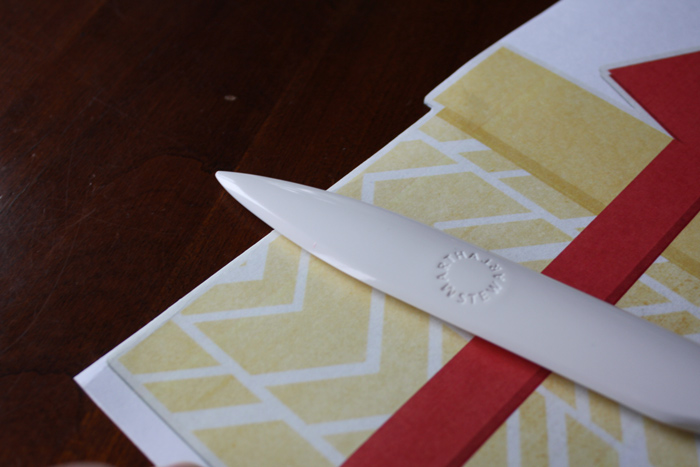
9. Note: Use a bone folder to create a really sharp edge… you can also use a pen edge or a butter knife. 
10. Cut out the shape of the card, leaving the edge intact.
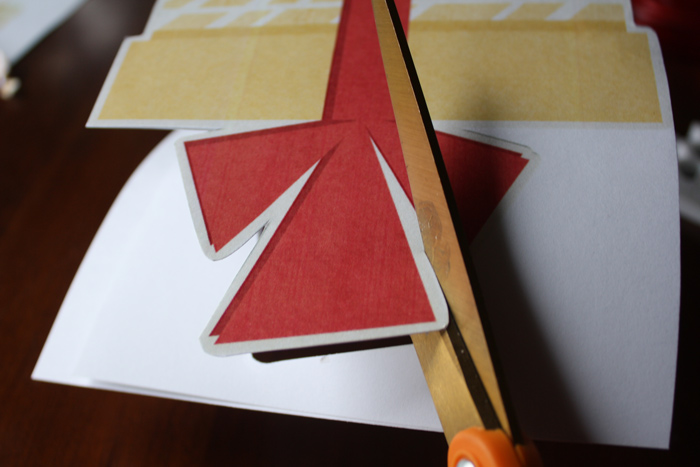
11. And this is what it looks like cut out…
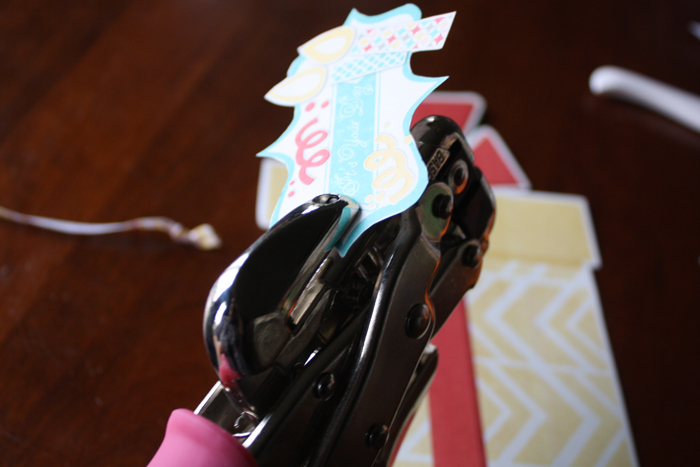
12. Next cut out the tag and pop a hole to add the ribbon.
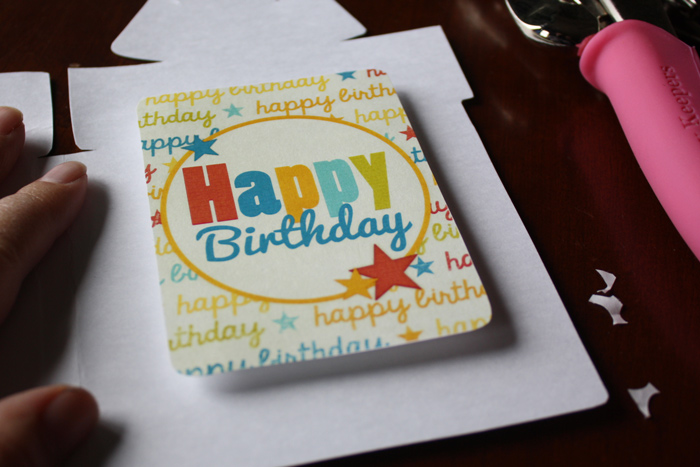
13. Add the foam dots and adhere to the card.
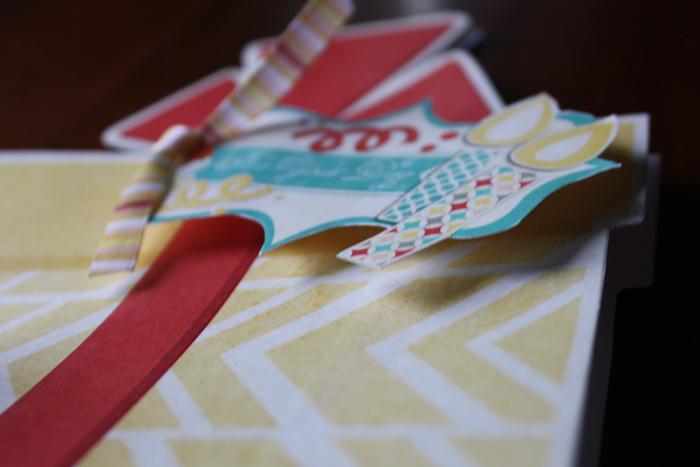
14. The store has so many awesome cards for those that do pocket scrapping… well, they make the perfect touch for inside the card, too!! I added some foam dots to make it really pop!
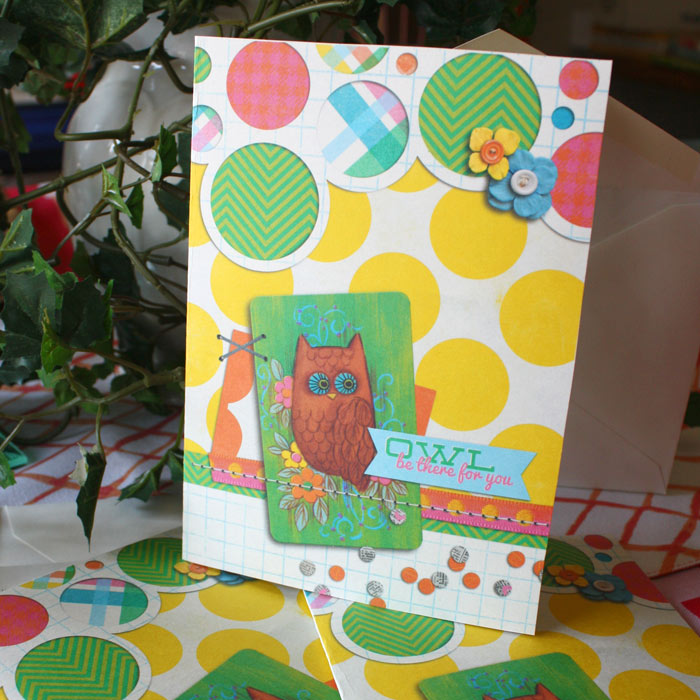
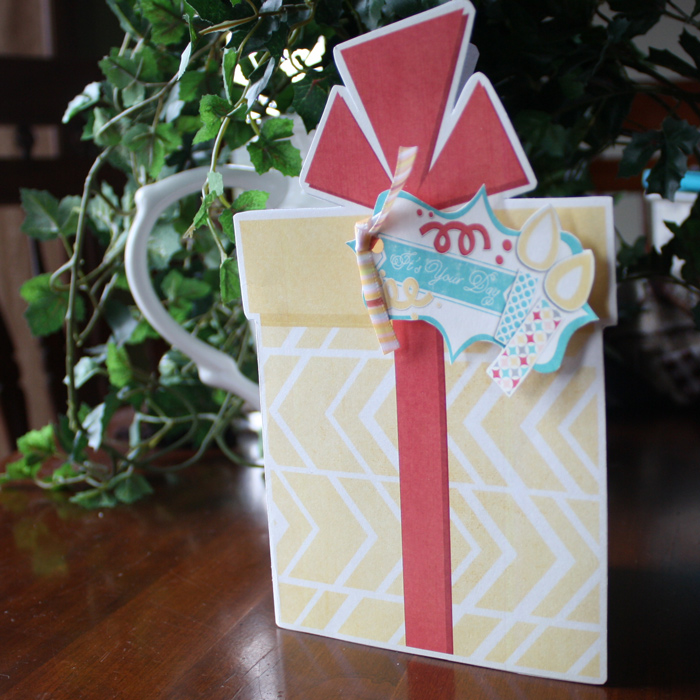
And here you have it… a quick and easy card that will make the recipient of the card feel very special!
I hope you enjoyed this little tutorial and would love to see your projects… link us up!
{{hugs}}
Rebecca aka mamabee