Print & Cut With Your Silhouette Cutting Machine
I’ve been using my Silhouette Portrait on a weekly, almost daily, basis since I got it in January. My main purpose for it, is to do print and cut for Project Life. I will fill up my page with labels and cards and such and then do a “trace” around them to do all the cutting. I have also been asked how I did this particular layout, so I’m going to show you two things tonight using the trace tool.
The above layout is a trace and cut of the white mat from one of Cindy’s templates. Cindy’s Layered Templates – Half-Pack 81: Framed 1
Print and Cut
The first tutorial will be a print and cut, and the second will be a trace and cut. they are basically the same thing only the second one skips printing.
Step 1: Open up your Silhouette Software and your kit. I like to see them side by side to just drag over what I want to use.
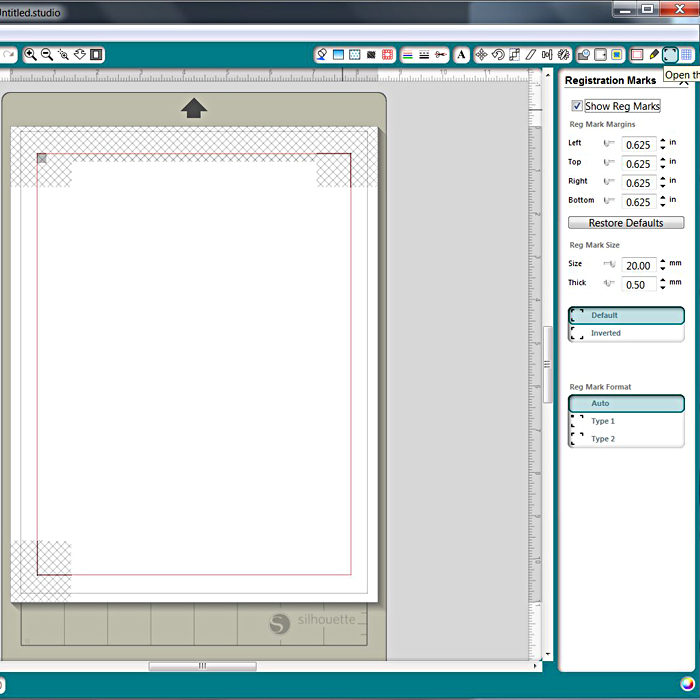
Step 2: Click on the “registration mark settings window” button on the top right tool bar, it’s the symbol that looks like three photo corners… this is the most important step, if you don’t add registration marks your machine won’t get an accurate cut. It needs the marks to find where to start it’s cutting.
Step 3: Click on the box that says “Show Reg Marks”… I usually just keep it at it’s default settings, that should give you plenty of space to add your pngs to.
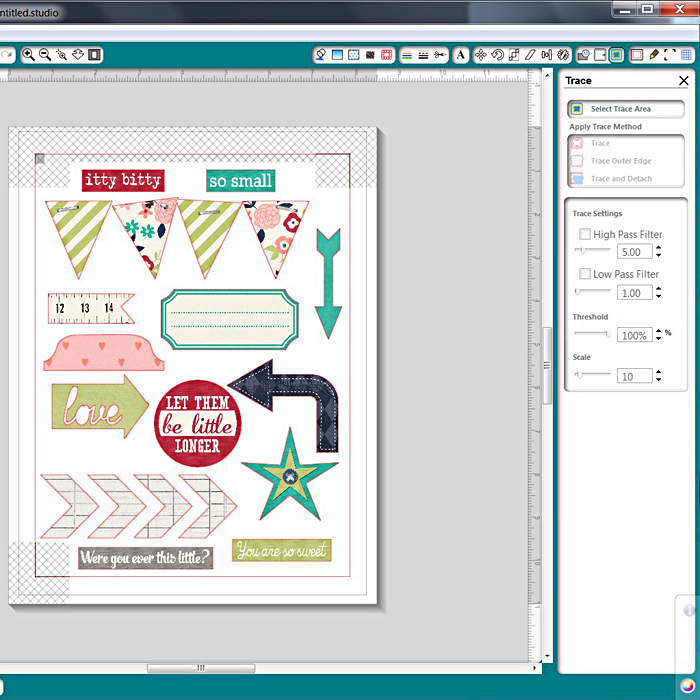
Step 4: Fill your paper with everything you want to print, I usually just drag and drop everything and then move them around to make them fit
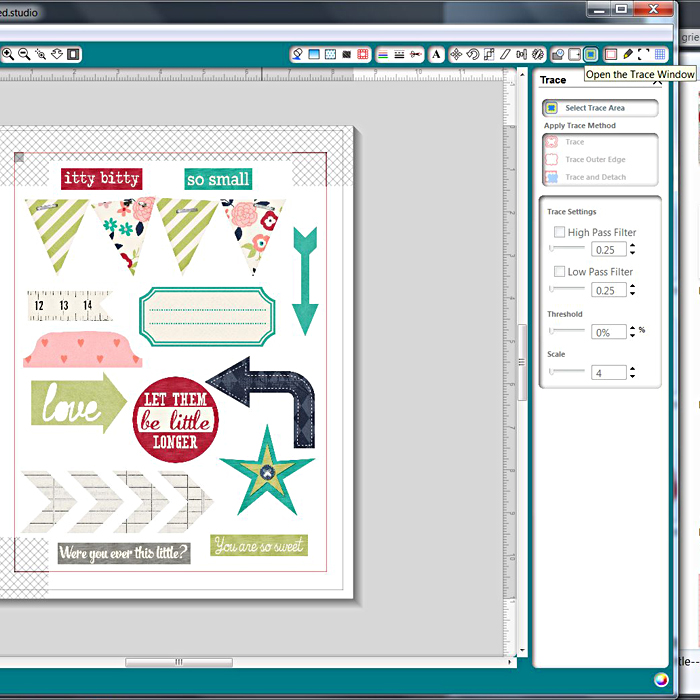
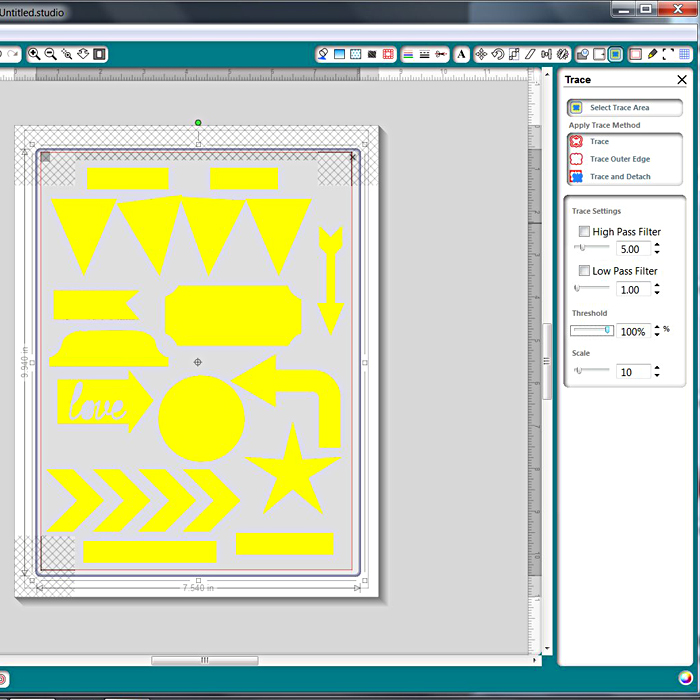
Step 5: Click on the “trace window” icon in the upper right toolbar. It looks like a blue blob in a square
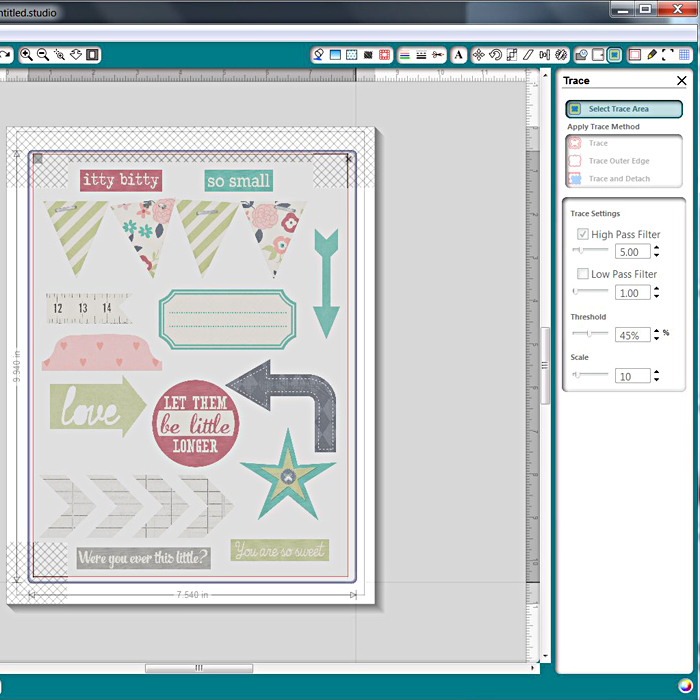
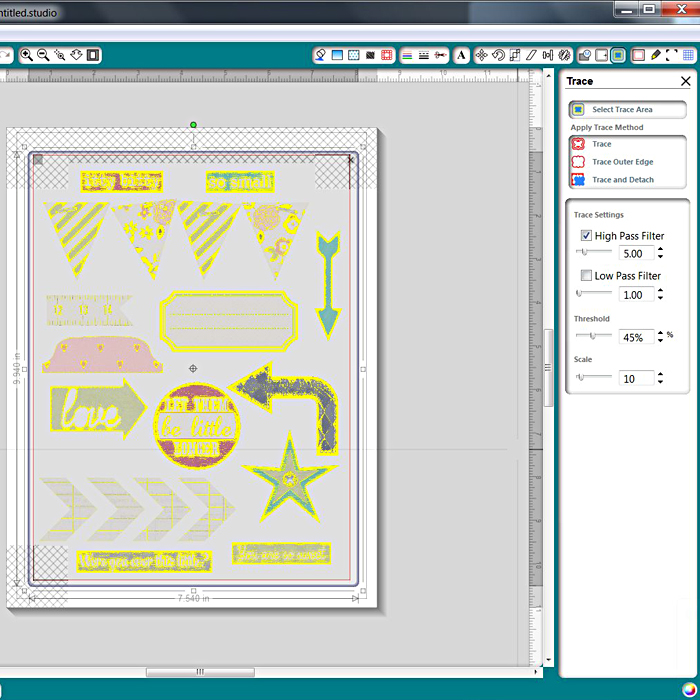
Step 6: Click on “Select Trace Area” and drag a box around everything on your page that you want to cut, you will see yellow spots everywhere for the highlighted areas, and you want your whole png to be yellow to get an nice cut… to get that nice solid yellow, see steps #7-8… it’s super super easy 
Step 7: Click the “High Pass Filter” OFF
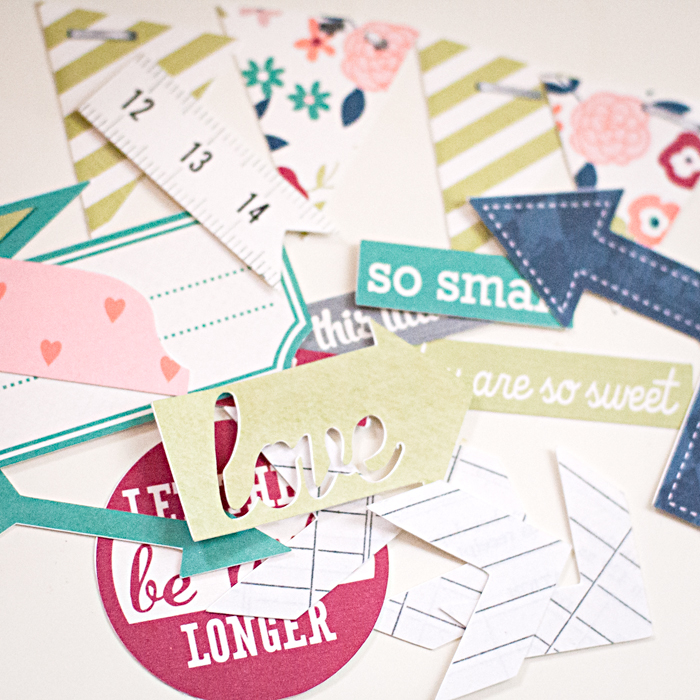
Step 8: Move the “Threshold” bar all the way to 100%, you should see each of your pngs highlighted in yellow… if there is any white or clear spots in your element, it will not see it… like the “love” arrow where the “love” is cut out…
Step 9: if you just want to trace the outside edge, click on “Trace Outer Edge”, if you want to trace everything, including the white or clear spots in your element, click on “Trace”. As you can see in my print screen, I wanted the word “love” cut out of the element, so I chose “Trace”, but if you want that part to just stay white but not cut-out, then you would click on “Trace Outer Edge”
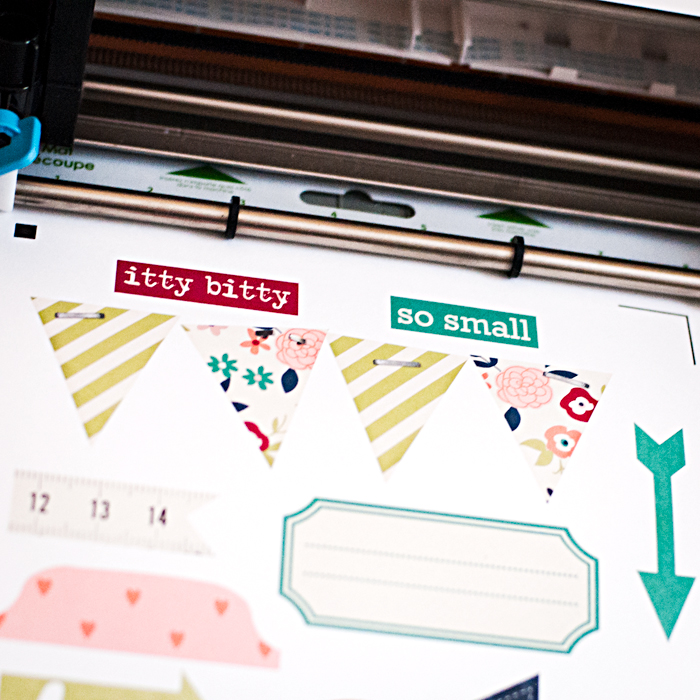
Step 10: if everything looks ok and has a red line showing where to cut, go ahead and click on the “printer” icon in the upper left toolbar and print your page… you will see the registration marks printed in the three corners… these marks need to be there so that your Silhouette can read your paper so it can cut in the right places to cut out your elements.
Step 11: after you are done printing, you will line your paper up on your cutting mat… be sure that it is as straight as possible.
Step 12: Load your cutting mat into your Silhouette
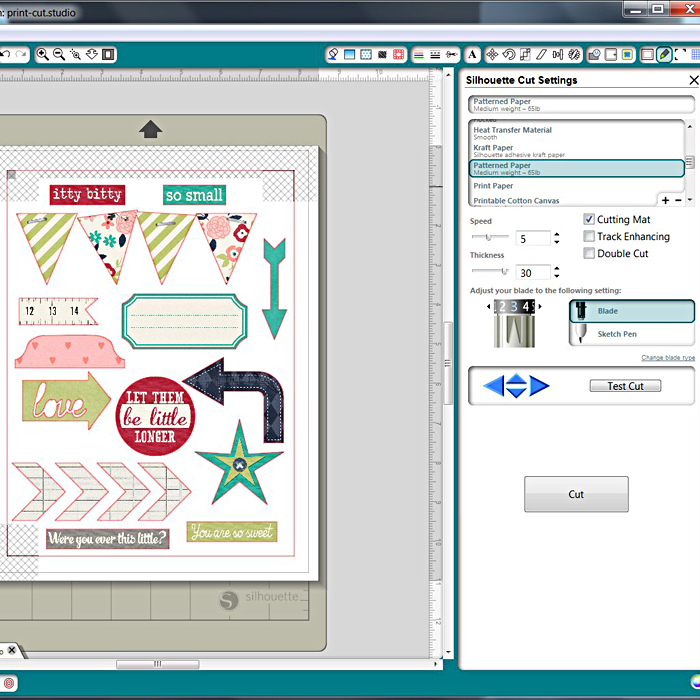
Step 13: Click on “Silhouette Cut Settings” window, it’s the pen looking icon in the upper right toolbar.
Step 14: Mark sure all your settings are correct for your cut… I use a 65lb cardstock for printing, so I choose the “patterned paper” setting and it automatically chooses my settings for me…
Step 15: the Silhouette Software tells you what setting to put your blade, make sure you have your blade at the correct setting
Step 16: click “CUT” and watch that Silhouette do her handiwork while you sit back and look at your poor scissors and x-acto knife that haven’t been used in a long time LOL
Trace and Cut
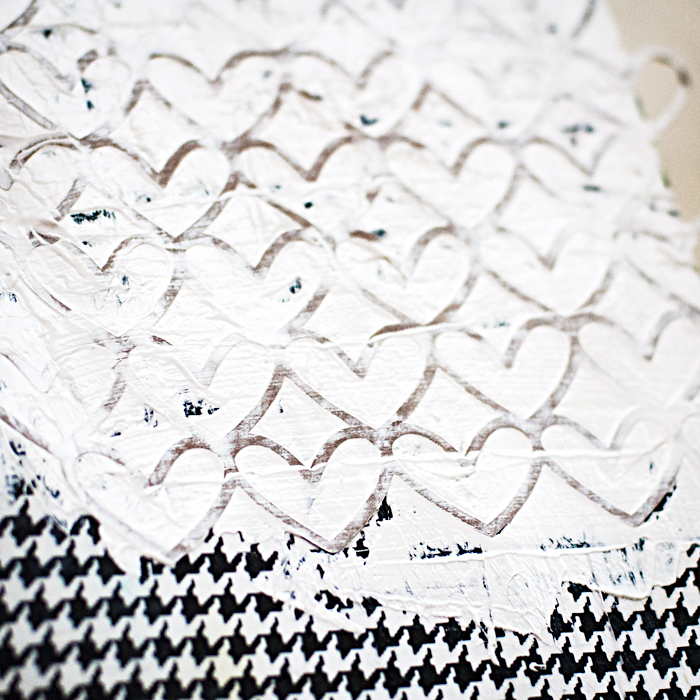
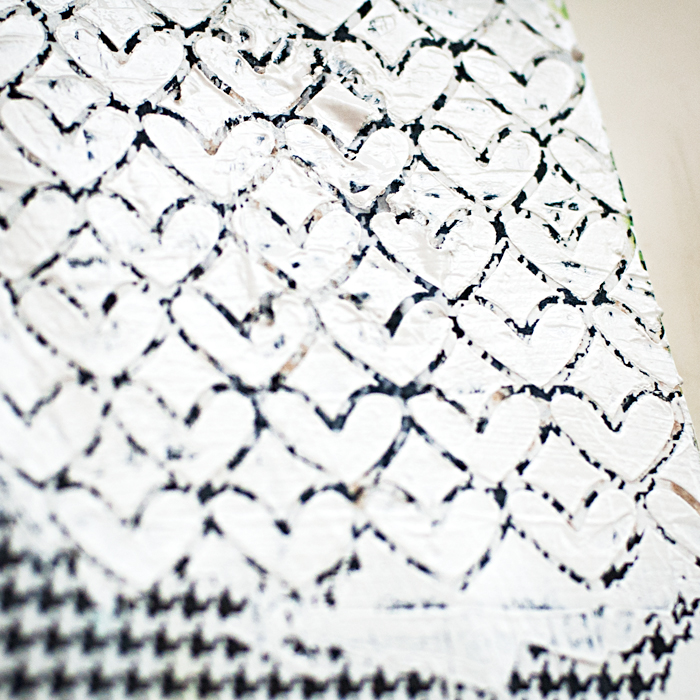
For my next example, I’m going to just do a trace and cut, so I’ll be skipping the printing part. I’m going to cut one of Erica’s yummy background mats. I’m planning to use it as a stencil for painting in my art journal.
Step 1: Open up your Silhouette Software and your kit. I like to see them side by side to just slide over what I want to use.
Step 2: Drag your png over to your “paper” in Silhouette Software… I used a cute background file from Cut It Out by Erica Zane. Since I have a Portrait, it can only cut up to 8″ wide, so I had to resize it to fit, which is easy to do, just drag a corner of your box while holding the SHIFT key to keep from distorting it.
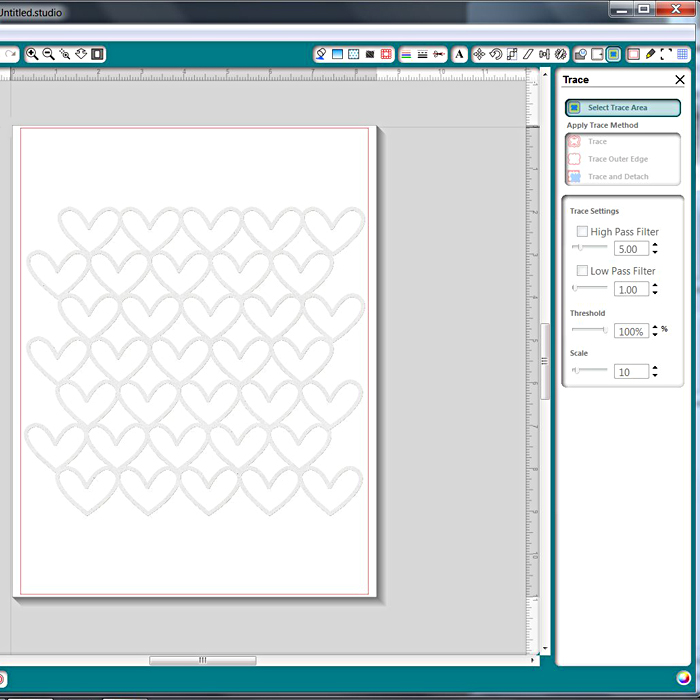
Step 3: Click on the “trace window” icon in the upper right toolbar. It looks like a blue blob in a square
Step 4: Click on “Select Trace Area” and drag a box around everything on your page that you want to cut
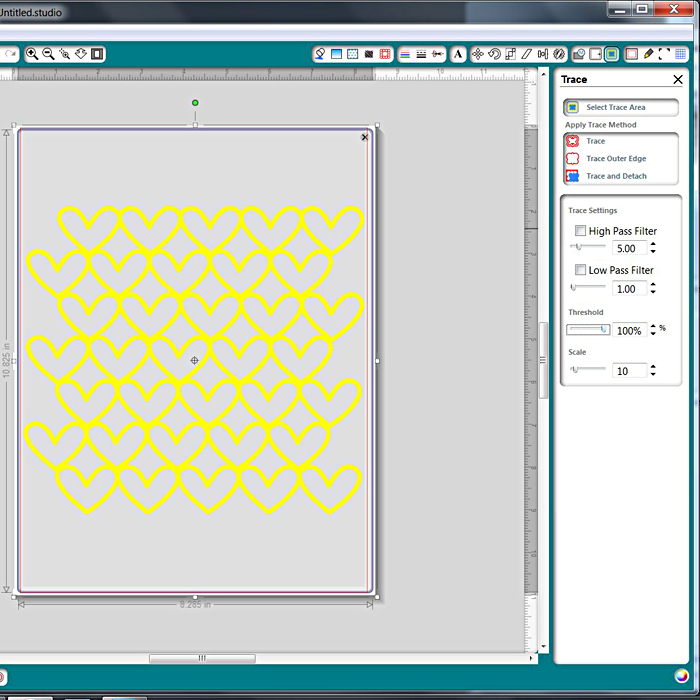
Step 5: Click the “High Pass Filter” OFF
Step 6: Move the “Threshold” bar all the way to 100%, you should see each of your pngs highlighted in yellow… if there is any white or clear spots in your element, it will not see it… so you see how nicely it highlights this background mat…
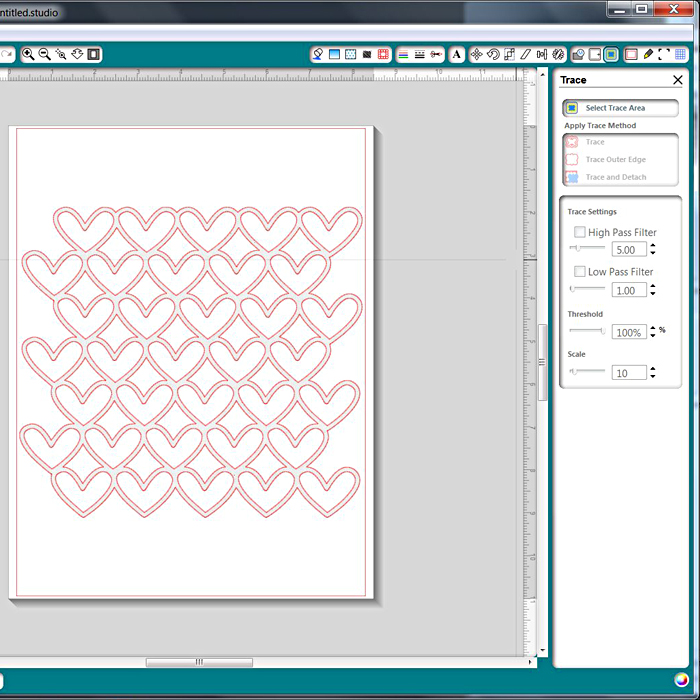
Step 7: click on “Trace” to be sure to get all the intricate cuts and not just the outline…
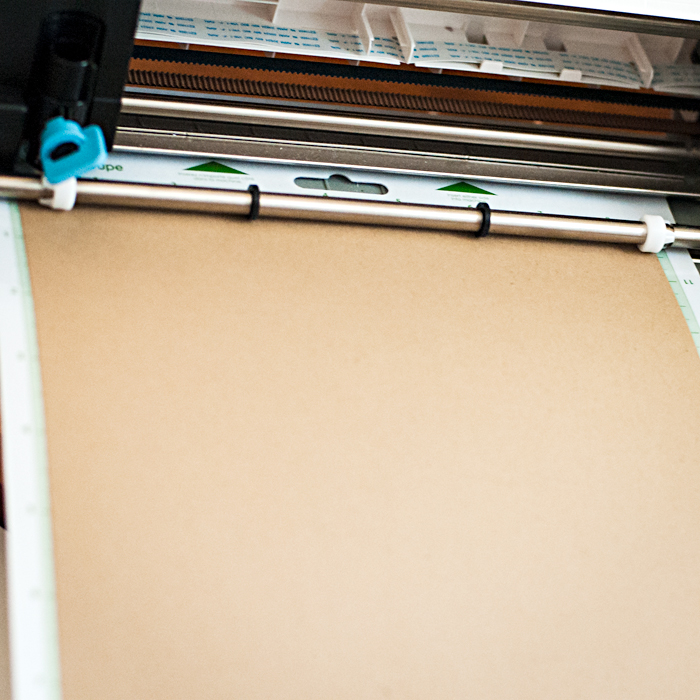
Step 8: if everything looks ok and has a red line showing where to cut, go ahead and line your paper up on your cutting mat
Step 9: Load your cutting mat into your Silhouette
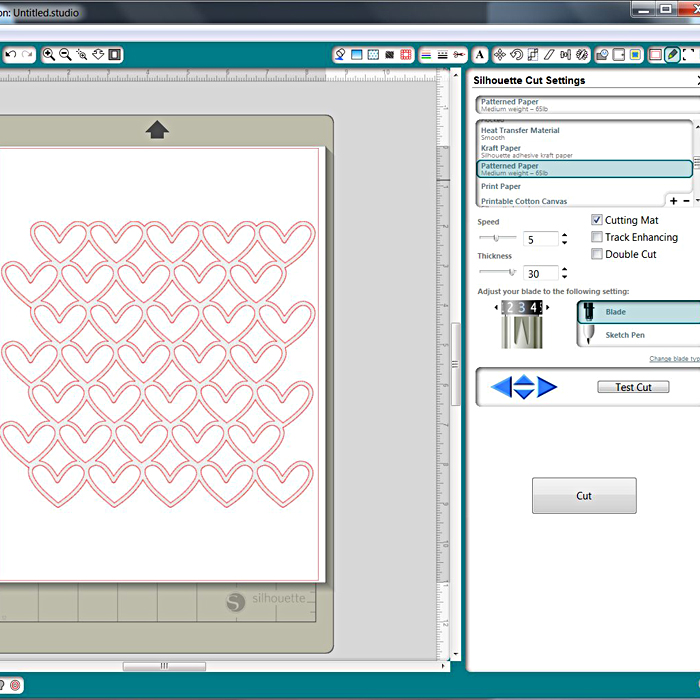
Step 10: Click on “Silhouette Cut Settings” window, it’s the pen looking icon in the upper right toolbar.
Step 11: Mark sure all your settings are correct for your cut… I use a 65lb cardstock for background mats or stencils, so I choose the “patterned paper” setting and it automatically chooses my settings for me…
Step 12: the Silhouette Software tells you what setting to put your blade, make sure you have your blade at the correct setting
Step 13: click “CUT” and watch that Silhouette do her handiwork while you sit back and giggle at your poor scissors and x-acto knife that wouldn’t be able to cut this so nicely 😉
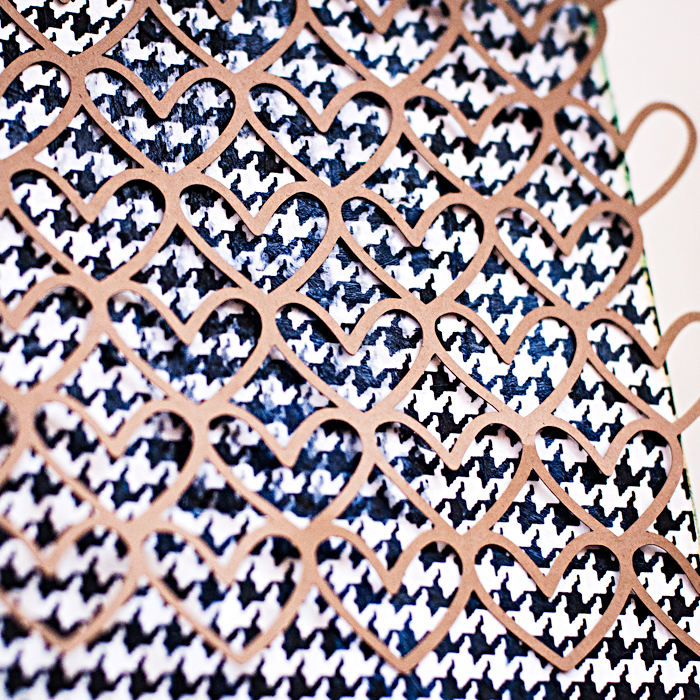
Bonus: you have some cute hearts to add to your pages too, I don’t like wasting papers, so I collect fun shapes like this to use in my layouts and journal.
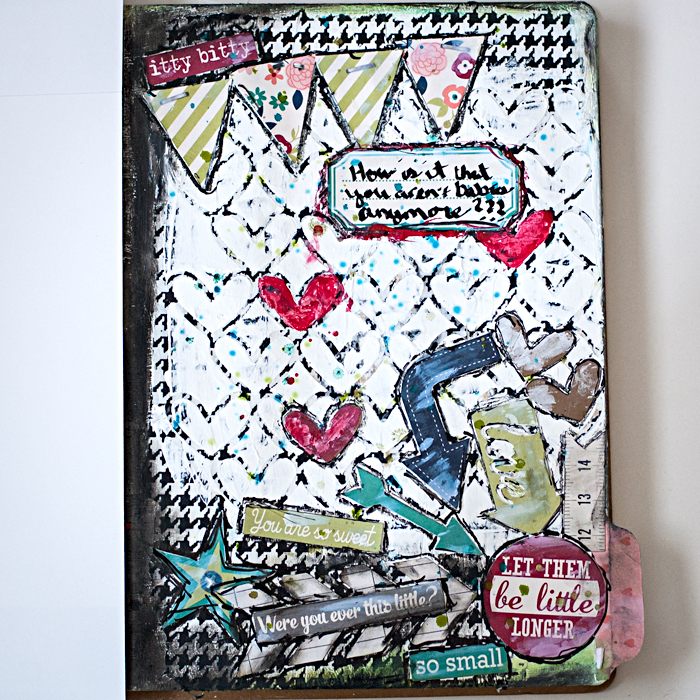
My Art Journal:
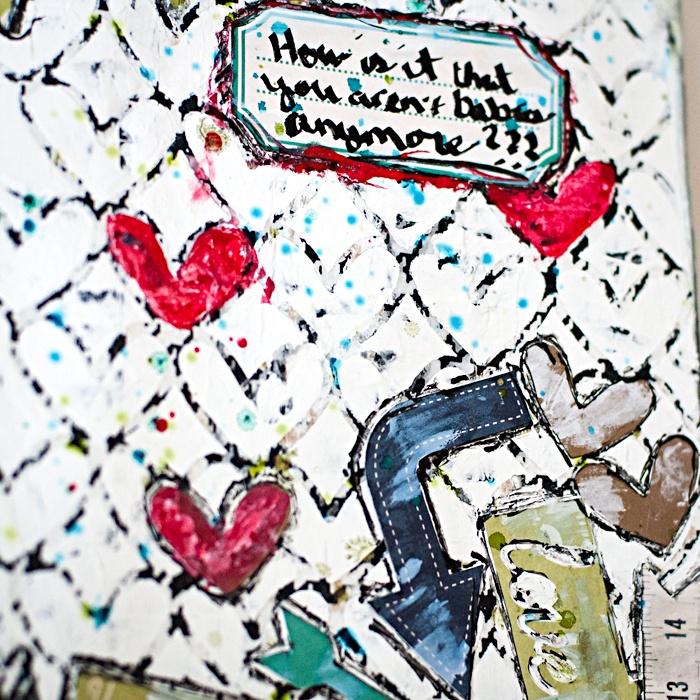
I couldn’t just cut them and not use them… so I made this art journal page using the print and cut pieces and the background mat as a stencil… I had such a blast putting this together… This is the first time I’ve actually done a hybrid art journal page and see myself doing this again and again… Click on images to see credits…
Note:
Now back to the first layout pictured in this tutorial with the white frame/circle mat. I followed my second tutorial, trace and cut, but I had to do a couple things first before I could start… I downloaded the template pngs folder in addition to the tiffs. I wanted to cut the mat separate from the rest of the layout. Because the png is white, I had to adjust the color of it in Photoshop prior to following the steps above… so I opened up that png file in Photoshop and “fill”ed it in black and saved it. I then was able to drag and drop it into Silhouette Software to do my trace and inserted white cardstock to cut it out. So, this is one easy step in using templates to create a hybrid layout which I hope to share with you next time. I wanted to teach you print and cut and trace and cut first before jumping into doing a whole hybrid layout from beginning to end. 


melissa b said...
on August 2nd, 2013 at 9:44 pm
Awesome tutorial, thanks!!!
Sandy_in_MD said...
on August 3rd, 2013 at 2:00 pm
Thanks so much for the detailed tutorial. Your art journal looks awesome.
K in KS said...
on October 14th, 2013 at 4:12 pm
Thanks for the tutorial! Just what I was looking for!
Gene Brunson said...
on December 7th, 2013 at 10:33 pm
when you print, is it sent to another printer?
Silhouette Cut File Freebies You Will Love! | Shawna Clingerman Designs said...
on January 23rd, 2014 at 4:17 pm
[…] file per-say, BUT if you have loads of digital elements you would like to make into paper goodies THIS tutorial by Heather Greenwood over at the Sweet Shoppe is awesome!! I’ve already printed out […]
Printable Fever | Shawna Clingerman Designs said...
on February 27th, 2014 at 8:20 pm
[…] and are wondering how to get it to print and cut out things from your stash, go check out this awesome tutorial at […]
Morgan said...
on July 11th, 2014 at 1:48 pm
Thank you for such a detailed tutorial. I am still very new to using the sillhouette and love that I can find some great answers to many of the issues I am encountering as I navigate the program! THANK YOU!!
Barbara said...
on January 1st, 2015 at 12:58 am
OMG, a lesson learned without a video, just step by step instructions, my adrenaline is surging. I won’t be able to sleep
Toni said...
on February 10th, 2015 at 10:51 pm
Thanks for this. So helpful … especially with oodles of cutsie Valentine’s to cut in the next couple of days.
Sarah said...
on August 3rd, 2017 at 11:10 pm
This is great, but how do I print words only and not graphics? When I type a word in the Silhouette program, it is red and nothing is printing