365 Days Of Bliss: Pretty Bows
Hello, it’s my turn (Andrea) to share something pretty on the blog today. I’ve been a Hybrid Babe for quite a few years now and as well as creating with paper (pretty obvious huh?) I also love to add ribbons and pretty bows to almost every project I create. During my time as a Babe I have had a lot of questions about how I tie my bows so I thought that it was about time I got my act together and make a little step by step for you all. There are several methods that I use for tying bows so there will be more to come over the next few months.
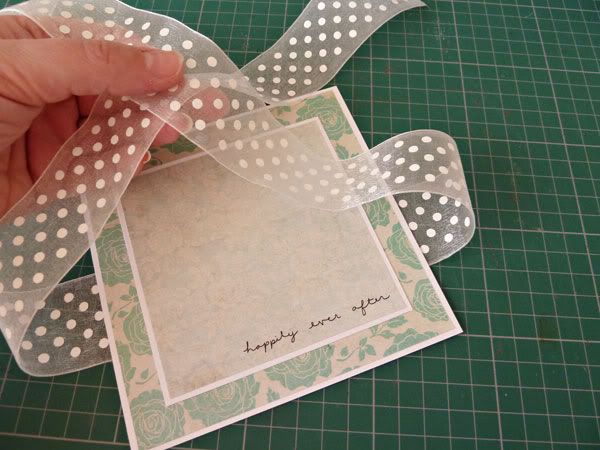
So, today I made this pretty card. It’s really simple and just showcases those gorgeous papers from Lauren’s Daydreamer kit and a large puffy bow with a few pretty embellishments

I printed the papers and added the wordart from the Daydreamer kit, cut out the squares, matted onto white cardstock and glued the layers together. So, now to tie teh bow.
Make sure the ribbon you’ve chosen is long enought to wrap all around your card, tie a pretty bow and leave enough spare for the ‘tails’ . Wrap the ribbon around the back of your card and knot
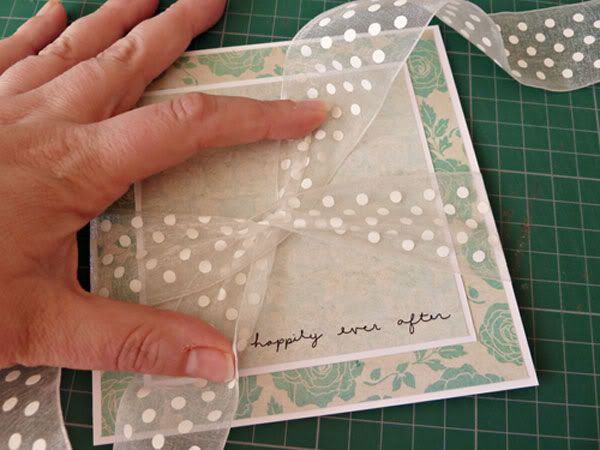
Pull the ribbon really tight and snug and it won’t slip down your card when it stands up
Turn your card around so that it is facing you upside down (this will keep the tails of your bow facing down after it is all tied)
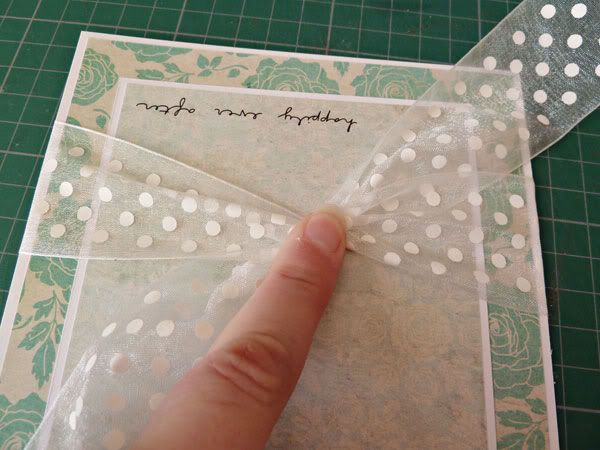
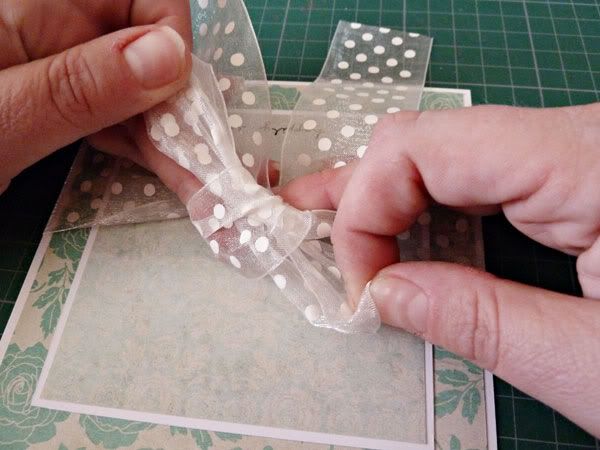
As you tie the bow hold a finger in the middle of the knot to keep everything in place. Make two ‘bunny ears’ with the ribbon
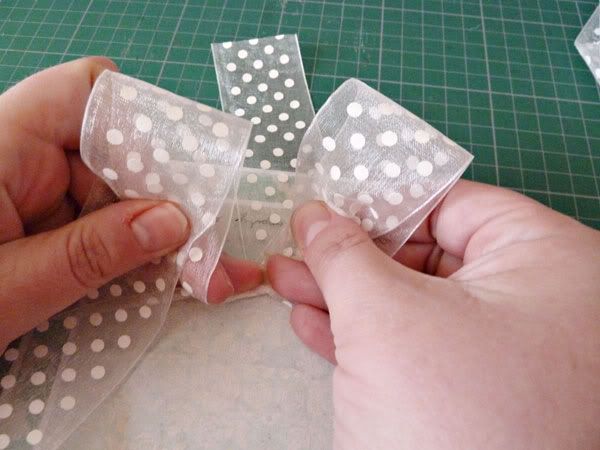
Fold one of the ears over the other, push through and pull to create the bow
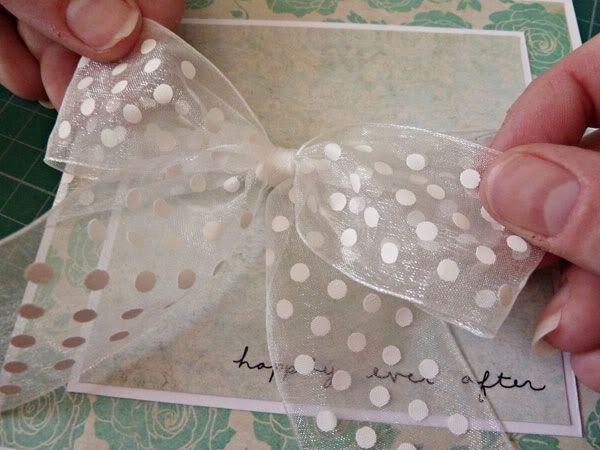
Turn your card around and tweak the ears to puff them up
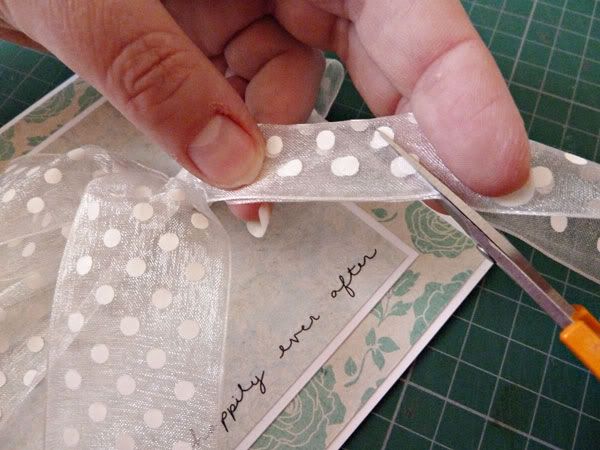
Use a small pair of sharp scissors to trim the tails of the bow
Add a few pretty embellishments and your card is finished
My tips for tying pretty bows:
- Use good quality ribbons that will hold their shape, I try to avoid ribbons with a wired edge as the wires create too much bulk through the knot
- Store your ribbons so that they aren’t creased or folded as these irritating creases will always find their way to the most obvious part of your bow! A friend of mine uses her hair straighteners to straighten out the creases in her ribbons, I just store mine in jars or on spools with enough space around them so they don’t get squashed.
- Always trim the ends of your ribbon after you’ve tied the bow with sharp scissors to get a sharp, crisp edge. If you are serious about making pretty bows for cards, parcels and crafts I would suggest keeping a pair of scissors just for ribbons. It doesn’t take much to get a raggy edge which doesn’t look so good
- Double sided ribbons are the easiest to use for tying bows as you know that both sides are the same and you won’t end up tying a marvellous bow and then find out that one tail of the bow is facing the wrong way!
- Practice – it really is true what they say that practice makes perfect. And if it isn’t as perfect as you want it to be then pull it out and start again, it is after all only a piece of ribbon 🙂
Supplies:
Daydreamer digital kit by Lauren Grier
Ribbon, flower and pins from Ribbon Girl


Sara said...
on September 19th, 2011 at 8:25 am
Great tut Andrea 🙂 Now maybe I can tie a neat bow!
Jackie (tettletop20) said...
on September 20th, 2011 at 12:37 pm
Gorgeous!
shar said...
on September 21st, 2011 at 9:27 am
Very nice!