Hot 4 Hybrid
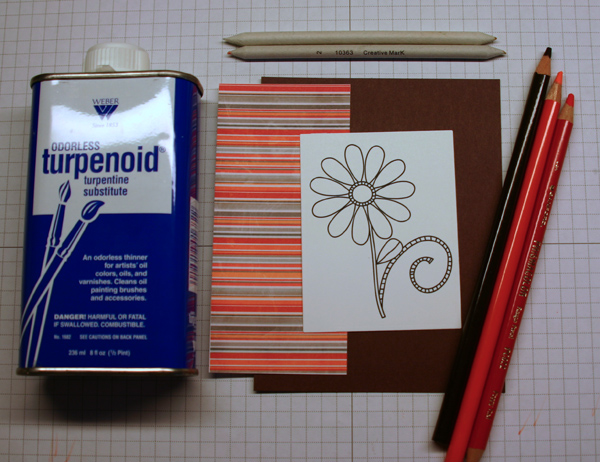
Hey there! Jen Tapler here with the first installment in a little monthly mini-series of coloring tutorials I will be bringing you over the next several months! Have you guys noticed all those FABULOUS digital stamps in the shoppe but wondered what to do with them? Well, hopefully this starts to give you some hybrid coloring ideas and will introduce you to the oh-so-fun world of digital stamps! For today’s tutorial I’ll be using a flower stamp from Lauren Grier’s Funky Garden digital stamp set. I’ll be showing you guys the “Gamsol” technique, or Colored Pencils and OMS (Odorless Mineral Spirits) technique today. The first thing you’ll need to do (after you’ve decided on a digi stamp set) is re-size and print out your stamp on smooth cardstock. The smoother your cardstock, the smoother your blending will be when coloring. Once you’ve printed your stamp, you can gather your remaining supplies. You’ll need some wax-based colored pencils and some Odorless Mineral Spirits (Turpentine). I use Prismacolor pencils, which are kind of expensive – I only use them because I still have them from a college art class – but any wax-based pencil will work just as well, including Crayola brand pencils! You’ll also need a blending stump, which can be purchased at most art and hobby supply stores in the drawing or drafting department.
To begin coloring, typically you would start by coloring in the darkest colors first. However, for this sample I wanted my petals to be a solid light orange with darker shading towards the center of the flower, so I started by coloring a very light shade of orange over the entire petal, then adding in a darker shade towards the center:
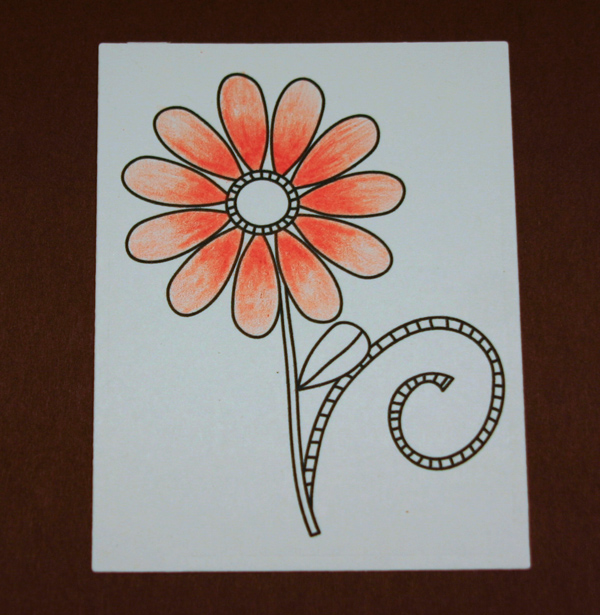
Once all of the darker shading has been added, it is time to start blending. Dip a blending stump into a small amount of OMS (I usually just pour some into the lid), then use the blending stump to “drag” the waxy darker shading into the rest of the petal, until the entire petal is blended. The OMS will “melt” the wax and allow you to drag the color around:
Here you can compare the one blended petal to all the other non-blended petals:
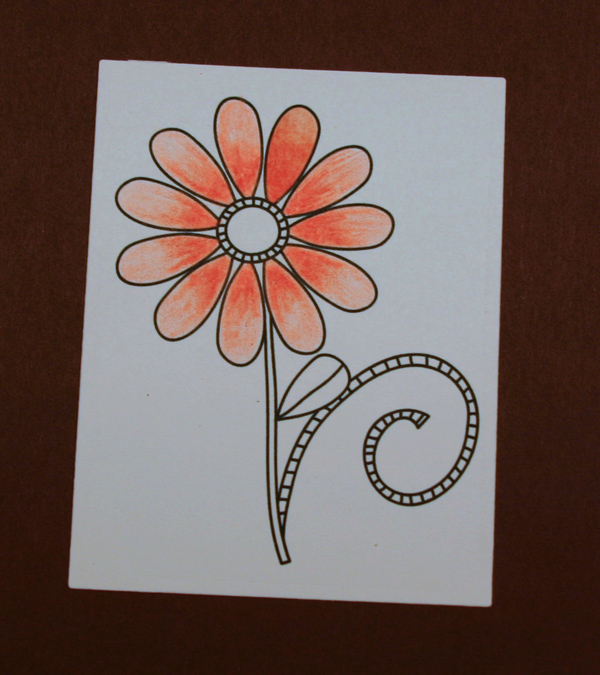
I prefer to color and blend all like-colored areas of an image before moving on to another color. However, this is only a personal preference. Many people color their entire image first, then go back and do all of their blending. You will find the method that works best for you as you practice and experiment. Here’s a look at my finished image after all coloring and blending is complete:
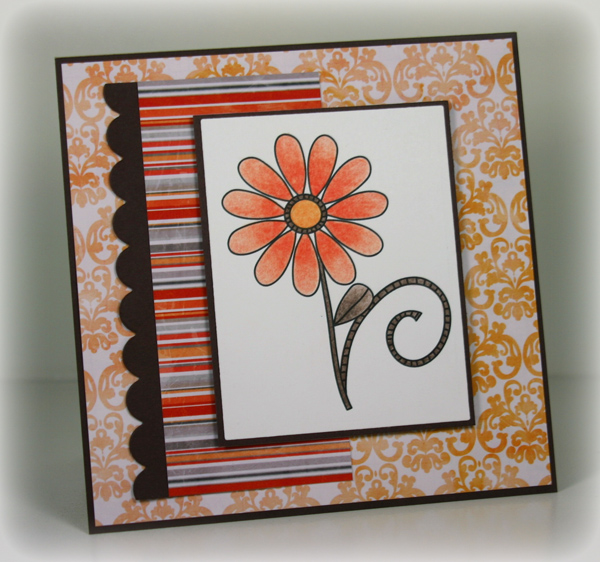
Once I was done, it was ready to be used on a card or other project. I decided to create a card and used Lauren Grier’s You Make Me Intensely Happy to finish the project:
Digital Stamps allow for so much personalization in your hybrid projects – not to mention how fun it is to get in touch with your inner child and do some coloring! I hope you’ll try the Gamsol technique with some digital stamps. I’d love to see some in the gallery! HERE is a link to just a portion of the many digital stamps currently available in the Shoppe – they’re sure to get your creative juices flowing!
And if you’re looking for more detailed information on the Gamsol technique, GinaK has a fantastic Video Tutorial series on YouTube and she’s the real expert on the technique. Just keep in mind that by using digital stamps, you’re eliminating the need for rubber stamps and ink!! Check out the videos and prepare to be amazed by her talent! Here are the links:
Coloring with Odorless Mineral Spirits – Part 1
Coloring with Odorless Mineral Spirits – Part 2
So has this coloring tutorial been helpful? I’m planning to do a few more in the future – including watercoloring with inks, a Copic marker tutorial, and possibly coloring with chalks. Let me know if there are any other coloring techniques you’d be interested in for using with digital stamps!!




Tamara said...
on April 15th, 2010 at 8:51 am
Thanks for the step-by-step photos! *Before digi* I loved to stamp and color in with watercolor pencils and then use a blending pen.