Hot 4 Hybrid – Watercoloring Digi Stamps
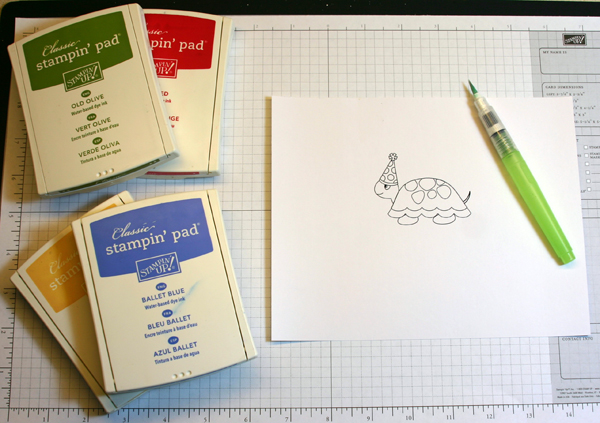
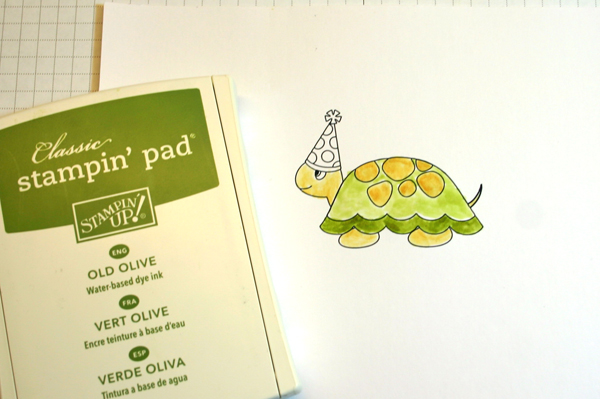
Hey there! Jen Tapler here with the 2nd installment of our monthly mini-series of coloring tutorials to help you customize all those fabulous Digital Stamps the designers have been coming up with lately. In case you missed it, last month I talked about the Gamsol Technique and using colored pencils with Odorless Mineral Spirits to color those printed digi stamps. Well, this month I’ll be going over my personal favorite – Watercoloring with Dye Inks! For today’s tutorial I’ll be using the adorable turtle image from Dani Mogstad’s Party Animal Digital Stamps. The first thing you’ll need to do is re-size and print out your stamp on the paper of your choice. I’ll be coloring on basic white cardstock today because that’s all I had on hand, but I prefer to use thin watercolor paper for this technique. Just make sure you use a light-weight paper that will go through your printer OK. Some of the thicker, heavily textured papers might have trouble in some printers (but as you can see, cardstock works just as well!). Once you’ve printed your stamp, you can gather your remaining supplies. You’ll need some water and a small paint brush (I use a special water-filled brush I picked up at my local craft store) and several water-based dye ink pads in the colors of your choice (I used Classic Stampin’ Up pads for this tutorial). Just be sure you’re not using pigment inks – it needs to be water-based dye inks.
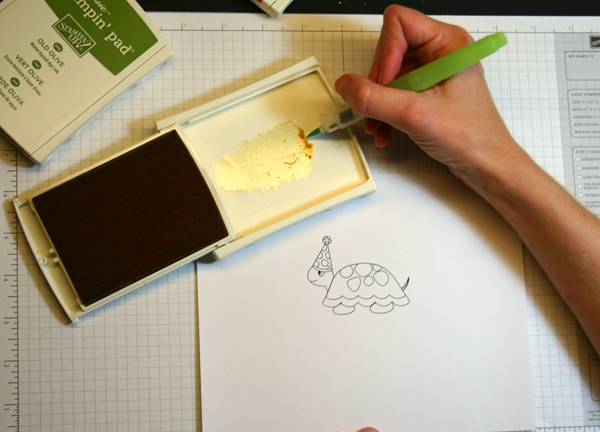
Before I begin coloring, I usually squeeze my ink pads – “squishing” the pad into the lid so that there’s a little puddle of ink in the lid when I open it up – allowing me to use the lid like a palette. To color, I get a little water on the tip of my brush and then “pick up” some ink with the brush.
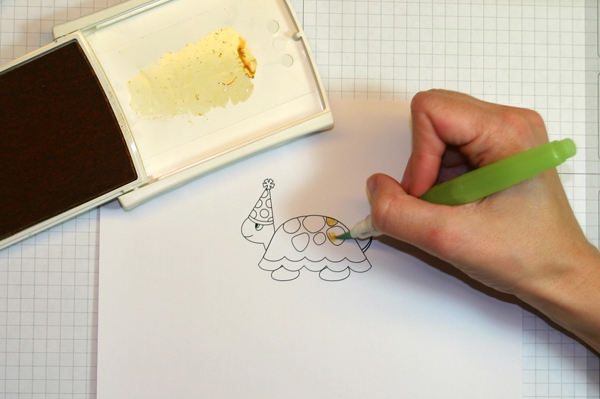
Use the brush to quickly spread the watery ink around the image where you want the color. It takes a bit of practice to figure out the correct ratio of water to ink, but I’ve found you really don’t need too much water, just enough to keep the brush damp – and too much water will cause your paper to bubble and warp.
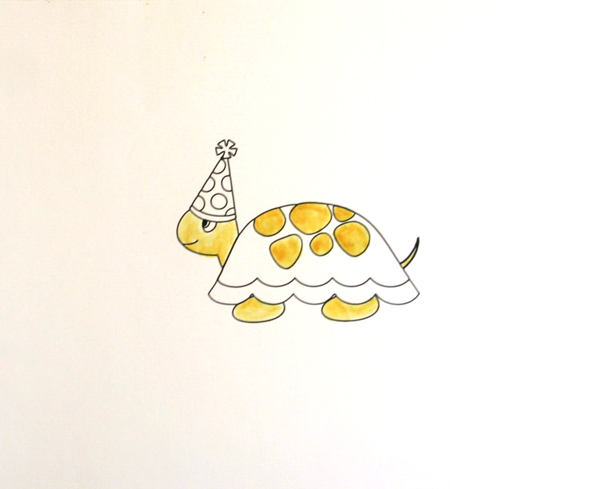
I typically like to finish coloring all areas of the image that will be the same color and then let it dry completely. It’s important to let that color dry completely before moving on to another color to prevent the two colors from bleeding together.
You can control the intensity of color with the amount of water in your brush – the more water you use, the lighter the color; the less water you use, the darker the color. In the image below, I used the same green ink to color the light green on the top of the turtle’s shell as I did to color the darker green band along the bottom of the shell. I just used less water for the darker green band along the bottom:
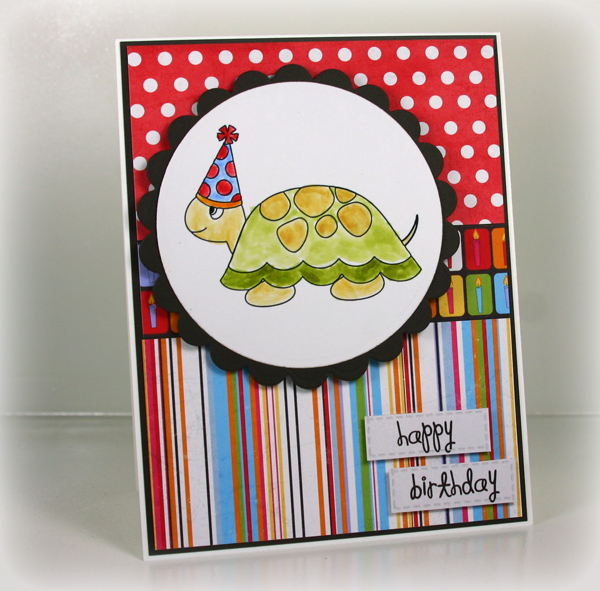
Finish coloring your image and use as you would any other stamped image or other printed element on a card or other hybrid project. Here you can see I’ve used papers and some sentiments from Dani’s coordinating Party Animal kit to create this fun child’s birthday card:
The nice thing about watercoloring, especially for beginners, is that you don’t have to be perfect – the technique lends itself nicely to an almost “crude” look and it’s fine to get outside the lines and not do a perfect job of blending. I personally think it almost looks better when the finished image isn’t perfect!
So there you have it – another fun hybrid coloring technique for you to try with all of those amazing Digital Stamps in the Shoppe. I can’t wait to see some watercoloring pop up in the gallery soon!!


blurooferika said...
on May 12th, 2010 at 3:01 pm
Cute card. Thanks for the show-and-tell on the technique!
Jackie said...
on May 13th, 2010 at 10:18 pm
Loved learning how you do this! Thanks!
Sallie Hayes said...
on July 24th, 2011 at 9:09 pm
Please contact me. I would like to get custom fonts for myself and 5 friends, have enabled all cookies, and your site still says it won’t work with me. I tried cookies for your site before for every site. Help. Is there another way?