Think Outside the Album – Custom Candy Bar Wrappers 5/4
Welcome to the first in a new series of posts here at the Sweet Shoppe Blog, where we look at different ways we can take our digital scrapbook supplies Outside the Album and use them to make the rest of our world just a little bit sweeter!
Since the month of May sees us gearing up for the end of the school year and beginning of summer, I thought we’d take a look at a quick and easy way to jazz up store-bought candy bars and use them for anything from teacher thank-you gifts to birthday party invitations to shower gifts and more. It’s the custom candy bar wrapper, and the plethora of gorgeous kits available here in the Sweet Shoppe make these projects fast, fun, and fancy!
Before we begin, though, a quick word about licensing and terms of use. When you buy a kit from the Sweet Shoppe, it comes with a license for personal, non-commercial use. That means you may use it to make these custom candy bar wrappers for the shower you’re hosting next month. You may NOT make custom candy bar wrappers and sell them on Etsy, at a craft fair, or as a fundraiser, no matter how good the cause. If money is changing hands, it’s considered commercial use, and you may only use SSD supplies for that if you have prior written permission from the designer. So personal, non-commercial use only. Got it? Cool.
Making a custom candy bar wrapper is a bit like making a tiny scrapbook page, except there’s a little more measuring involved. First, the best candy bars for this have a large, flat surface on the top; Hershey’s bars and Mr. Goodbar work well, but a Snicker’s bar or Mound’s bar doesn’t. They simply won’t give you enough room for your design.
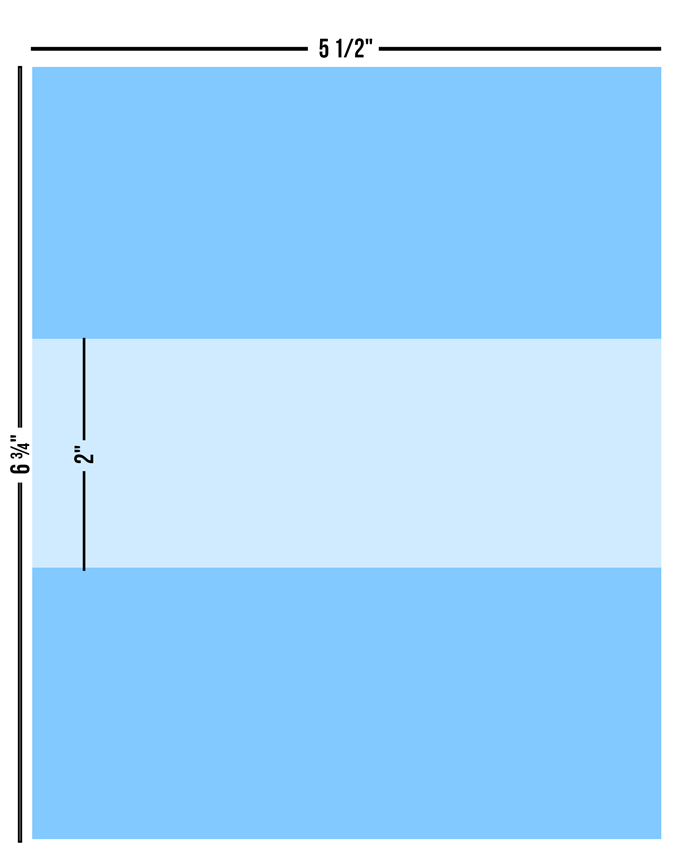
Use a measuring tape (not a ruler) to measure the width and height of your candy bar as well as the distance you want it to wrap around the bar. You’ll use these numbers to build yourself a quick template in your scrapbooking software.
My Mr. Goodbar is 5 1/2″ wide, 2″ high, and 6 3/4″ around for a full wrap on the back. Here’s what my template looks like:
Then I just start to play! For my first wrapper, I designed a candy bar that can be used as a birthday party invitation. How fun for a little boy to hand out chocolate bars to his friends instead of just printed invitations! This is what it looked like when my design work was done:
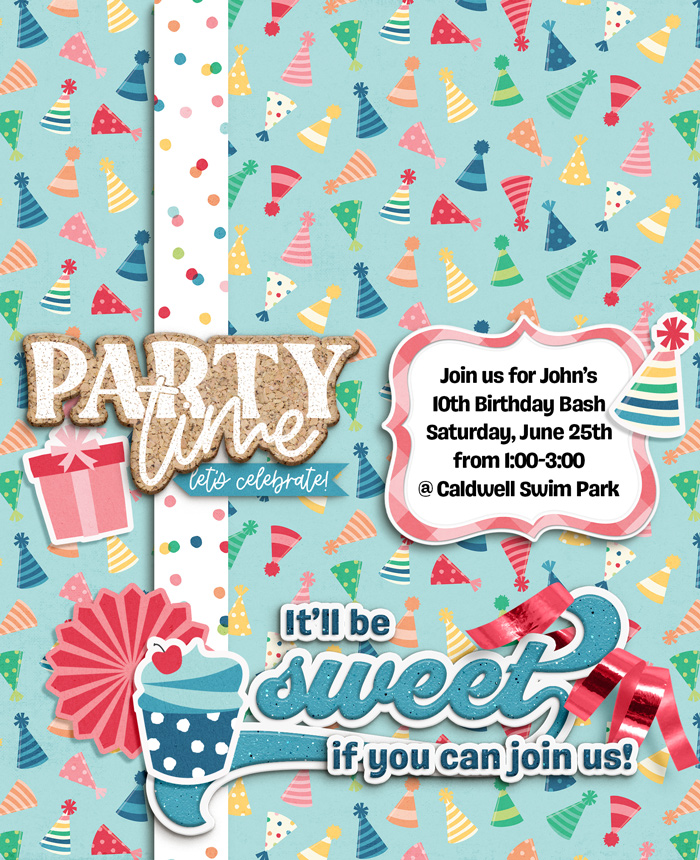
Birthday Invitation wrappers created with a kit from our new Featured Designer you can earn for FREE with a $10 purchase starting Friday, May 6th.
Now all that’s left to do is print, cut, and wrap it around my candy bars. I printed these on a bright white heavy-weight paper (not cardstock, but 28lb paper rather than standard 20lb copy paper) using my inkjet printer. If you want to be really fancy, they’d look great on a glossy inkjet paper. Note that for best results, you should avoid using photo paper for this project.
Once printed, I cut them on my paper trimmer and used a double-side roll-on adhesive to adhere the wrapper to itself. You could also use double-stick tape or a glue stick. Here’s the results:
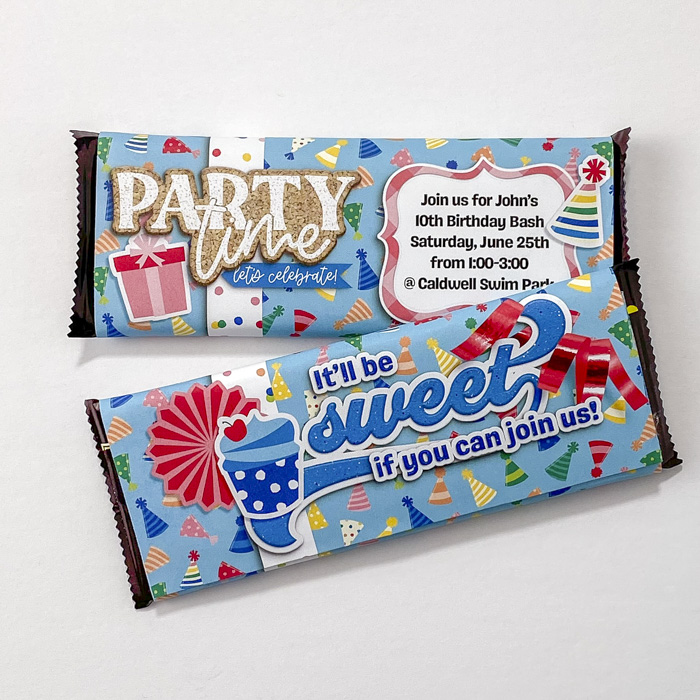
Birthday Invitation wrappers created with a kit from our new Featured Designer you can earn for FREE with a $10 purchase starting Friday, May 6th.
How fun is that?!? Of course, once I got started, I couldn’t stop thinking about all the different ways I could use custom candy bar wrappers. Here’s a quick end-of-school thank you gift for an awesome teacher:
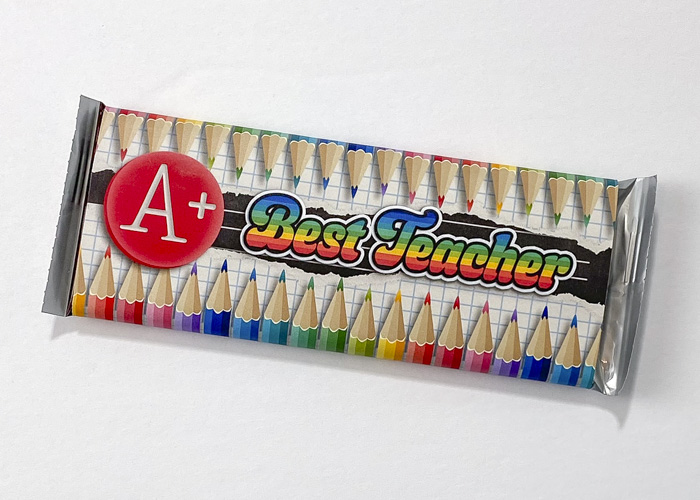
Best Teacher wrapper created with Academic Collection by Studio Flergs
We did a birthday party invitation; how about a party favor instead?
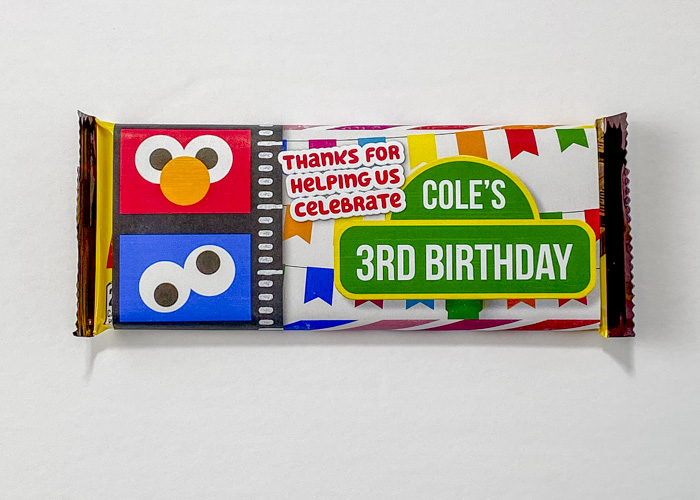
3rd Birthday Favor wrapper created with Animated Dream: Learning Street Bundle by Meagan’s Creations & WendyP Designs
The best part is these are easy to make in bulk once you’ve created your wrapper design. Just print as many as you need and start an assembly line of trimming, wrapping, and taping.
Speaking of party favors, I saw the rounded top of a Hershey’s bar with Almonds and I couldn’t stop thinking about using that “bump” for a baby shower favor. What do you think?
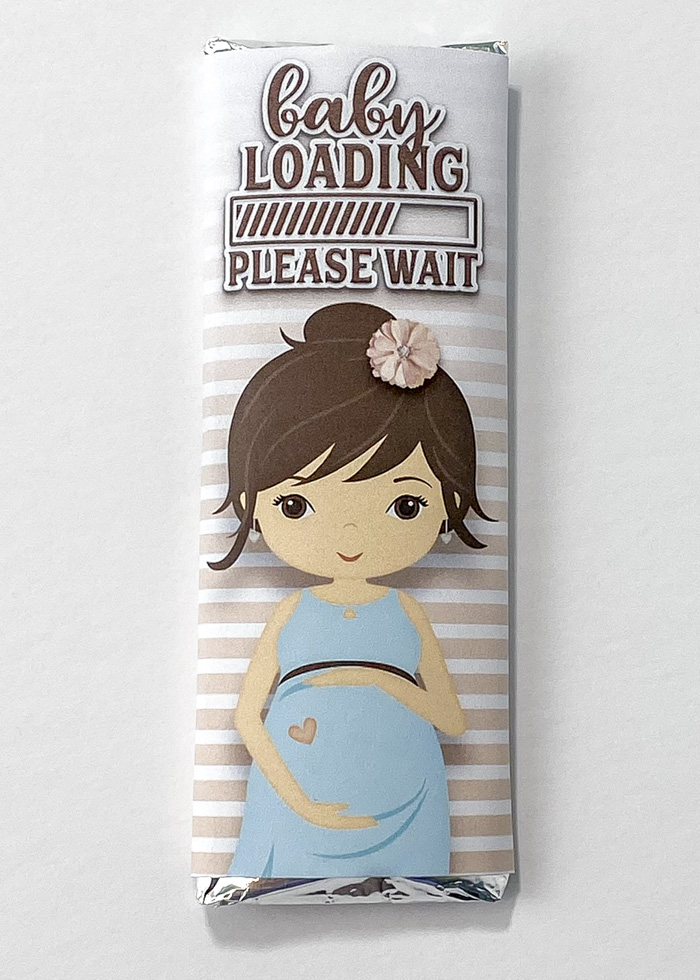
“Baby Loading” shower favor wrapper created with a new collection from Ponytails Designs making its debut in the Shoppe for iNSD weekend 7 May
The eagle-eyed among you might notice this candy bar is wrapped in foil before I wrapped it in its custom paper wrapper. I wanted something a little more up-scale for this one, so I simply used aluminum foil – no need for expensive foil paper unless you want to buy it – and wrapped the sealed candy bar in foil first. There’s a great instructional video on YouTube here.
And speaking of something a little more up-scale, let’s wrap up this edition of Think Outside the Album with a little bit o’ fancy. After all, Mother’s Day is coming up in just a few weeks … why not show all the Moms in your life how much you appreciate them with a bit of chocolate wrapped in some of your personal creative style?
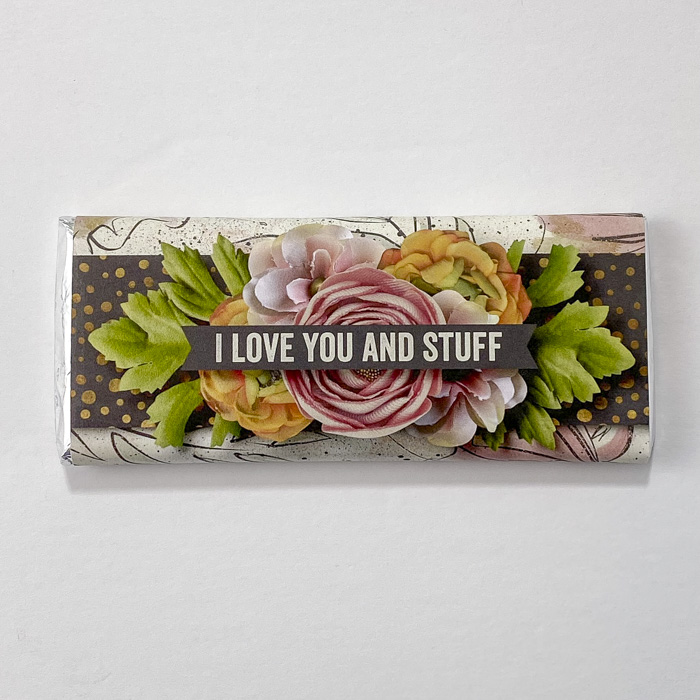
Mother’s Day wrappers created with a new collection from Erica Zane making its debut in the Shoppe for iNSD weekend 7 May
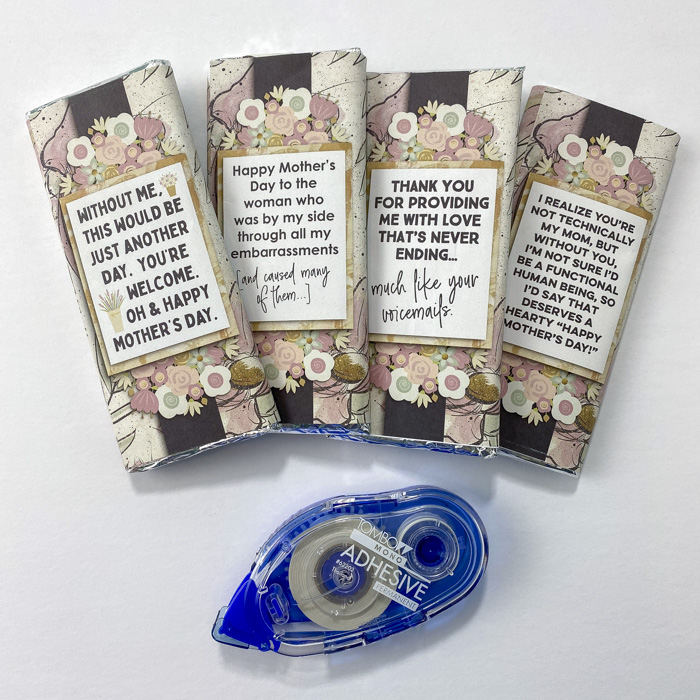
Mother’s Day wrappers created with a new collection from Erica Zane making its debut in the Shoppe for iNSD weekend 7 May
What I love most about this wrapper is how quickly I can customize the back simply by swapping out the journaling card. One for my Mom, one for a Bonus Mom, one for a sister-in-law and one for my best friend. Super cute but also quick and easy!
What other ideas do you have for making use of custom candy bar wrappers? Tell me in the comment section below, and be sure to snap a few pics of your next project to share in the Gallery. I can’t wait to see what you create when you Think Outside the Album!


leablahblah said...
on May 4th, 2022 at 9:56 am
Wow! This is so good! I’m so glad I stopped by on the blog today!
Thank you for the reminder about PU and CU too. It’s always important to know these things.
This seems so easy to make now that you showed us the template part. Thank you!
Also, the last example I must ask if it’s all printed on one sheet or did you also cut out the flowers and banner and glued them together afterward? It’s so good looking that it’s hard to tell.
Angie Key said...
on May 4th, 2022 at 10:19 am
Lea, I’m so glad you enjoyed today’s post! I’m glad to know that seeing the template was helpful; I’ll be sure to include that in each of our upcoming “Think Outside the Album” projects. As for that final example, it’s all printed on one sheet of paper. What you’re seeing is the magic of deep drop shadows! If you wanted to get super fancy, you absolutely could create this as multiple pieces and assemble it to give it dimension, but I was focused on keeping this project quick-and-easy. Hope that helps!
Natasha Kitos said...
on May 4th, 2022 at 2:48 pm
Absolutely adorable, and oh-so-clever! I’ll have to give these a try some time. I’m sure my daughter would love to have little gifts to give her classmates next time there’s an occasion to celebrate.
jaye said...
on May 4th, 2022 at 4:35 pm
what a fantastic post and quick tips about how to create these!! Thanks Angie.
jaye said...
on May 4th, 2022 at 4:36 pm
oh, what type of paper did you use? I hit send before finishing my thoughts, lol
Angie Key said...
on May 4th, 2022 at 11:51 pm
I used a 28lb Bright White inkjet paper. I bought mine at Staples, but Amazon carries a similar product. You’ll want a brightness rating of 98 or higher.