Think Outside the Album: Iron-Ons & Fabric 6/29
Welcome to the third installment in our series of posts here at the Sweet Shoppe Blog where we look at different ways to take our digital scrapbooking supplies Outside the Album and use them to make the rest of our world just a little bit sweeter!
We started back in May with custom candy bar wrappers, perfect for gifts and invitations and party favors, and followed it up by learning to customize double-walled tumblers to stay hydrated this summer in style. But with this project, we’re going completely away from paper-based projects and, instead, working with fabric!
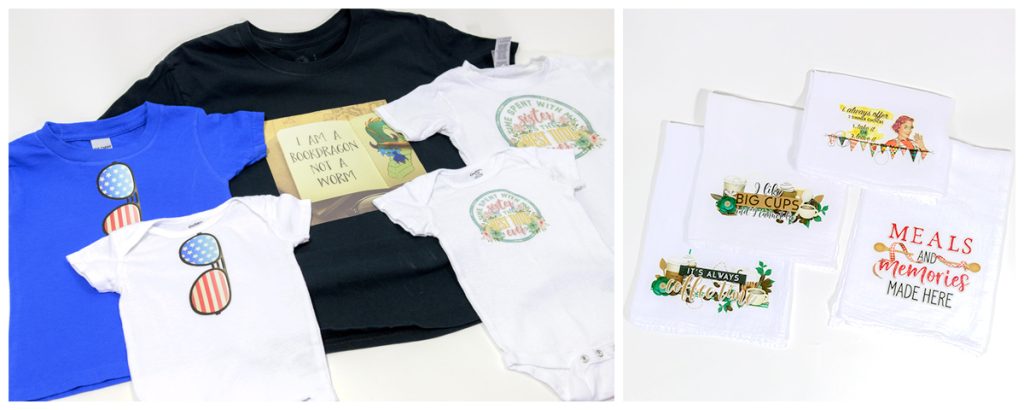
Did you know that with a home inkjet printer and household iron you can create one-of-a-kind t-shirts and home decor like this?
All you need is a product called Printable Iron-On Heat Transfer Paper. There are several different brands available, but the one I used for my projects comes from NuFun Activities and is available on Amazon. There’s one version for light-colored fabrics, which allows the fabric color to show through your design and works best on white, and another for dark-colored fabrics, which puts a white vinyl-like surface between your design and the fabric, and makes sure the colors in your design aren’t tinted by the fabric behind it. I bought both types of the NuFun Activities DIY Transfer Paper, and as I show you each of my projects, I’ll tell you which version I used.
Before we begin, though, we need to have a quick but super important talk about licensing and terms of use. When you buy a kit from the Sweet Shoppe, it comes with a license for personal, non-commercial use. That means you may use it to make matching t-shirts for a party you’re hosting next month, or to make all the gifts you want. You may NOT use them to make shirts or onesies or towels or pillows and sell them on Etsy, at a craft fair, or as a fundraiser, no matter how good the cause. If money is changing hands, it’s considered commercial use, and you may only use SSD supplies for that if you have prior written permission from the designer. So personal, non-commercial use only. Got it? Awesome – thanks!
Project #1 – Americana Sunglasses on Dark Shirt
Let’s start with my first project – a pair of sweet shirts for the littles in my life on the 4th of July. I saw a cute shirt online with the black outline of a pair of sunglasses “hanging” from the neckline that was no longer being made. I knew with some SSD supplies, I could make it even cuter!
What you’ll need:
- Inkjet printer
I used my HP OfficeJet Pro 9010 All-In-One - Printable Iron-On Heat Transfer Paper
For this project, I used NuFun Activities DIY Transfer Paper for Dark Fabric - A household iron or Heat Press
I used my Cricut EasyPress 2 - An item made of fabric
I used a Gildan 3T shirt in Royal Blue and a Gerber 6-9mo onesie in white
Step 1: Create your design.
The design for this shirt was very simple. I used the sunglasses from Gnome of the Brave by WendyP Designs. Once I sized them as big as I wanted (5″) I was ready to move on to step 2.
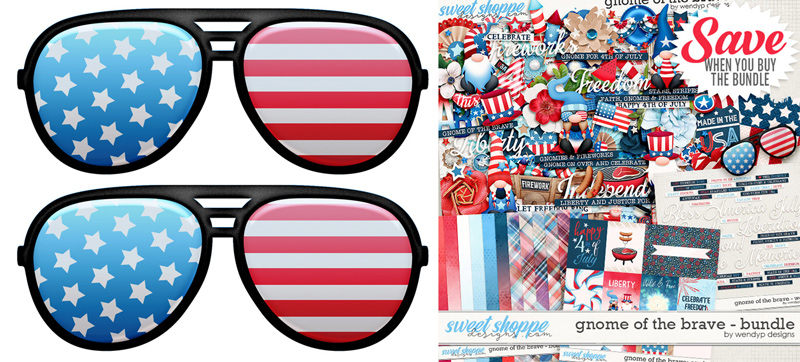
Created with Gnome of the Brave by WendyP Designs
Step 2: Print your design.
Follow the instructions for the Iron-On Heat Transfer Paper and your printer to ensure you’re printing on the correct side and with the correct settings. The Dark Transfer paper does not require you print the image in reverse.
Allow it plenty of time to dry, and then cut out the design.
NOTE: If you have a cutting machine like a Cricut or Silhouette, you can absolutely use the print & cut feature to get a clean cut around your design. That’s what I did with these sunglasses!
Step 3: Prepare your fabric for transfer.
You’ll want to make sure the item you’re putting the design on has been pre-washed and dried so any shrinkage that’s going to happen is done before adding your artwork.
Then, carefully read the instructions on your Iron-On Heat Transfer Paper for the temperature and duration required. Each brand and type of paper is unique. I suggest doing a few practice transfers on scrap fabric first to make sure you’ve got all your settings dialed in correctly. I didn’t have any trouble with the NuFun Transfer Paper for Dark Fabric, but their Light Fabric version required lots of tweaking before I got it right.
Step 4: Apply your design with heat.
As I said, each brand of transfer paper will be unique, but here’s what I did with my NuFun Transfer Paper for Dark Fabric:
- Preheated my Cricut EasyPress 2 to 350º.
- Pressed the naked shirt (no design) for 5 seconds to warm it up and remove any moisture that might be in the fabric.
- Peeled the backing from the cut sunglasses.
- Placed the design precisely where I wanted it.
- Covered the design with parchment paper that came with the transfer paper.
- Placed the EasyPress on top of the parchment paper and started 25 second timer, keeping medium to firm pressure on the EasyPress handle.
- When the timer ended, I lifted straight up – do not rub your iron back and forth as it will smear the design! – and removed the parchment paper.
Step 5: Marvel at your own brilliance
These littles will be super stylin’ on the 4th of July!
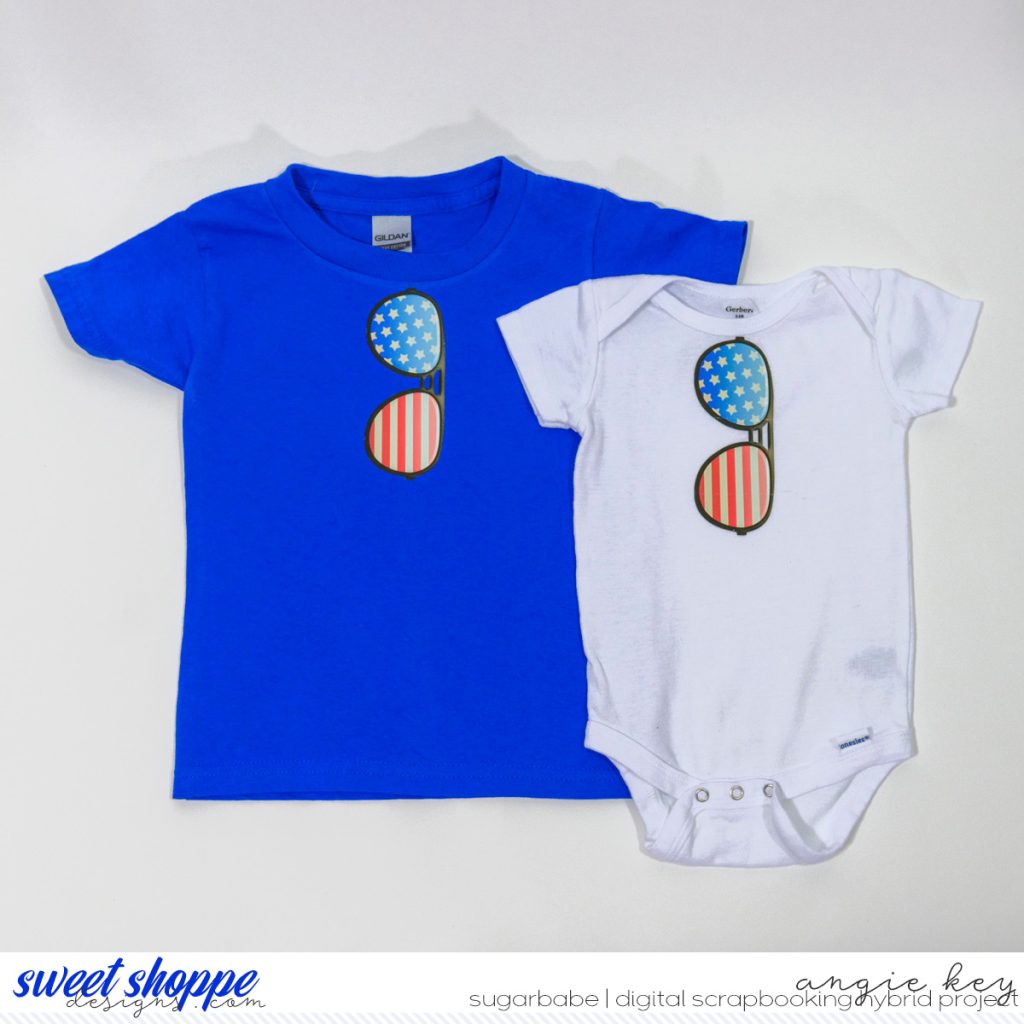
Created with Gnome of the Brave by WendyP Designs
Project #2 – Bookdragon on Black Shirt
My second project was a t-shirt for a voracious reader in my life. There’s a decorative journaling card in Erica Zane’s All Booked Up Bundle that was so perfect for him, I couldn’t resist! Most of my work was spent in Photoshop coloring the sketch of the dragon:
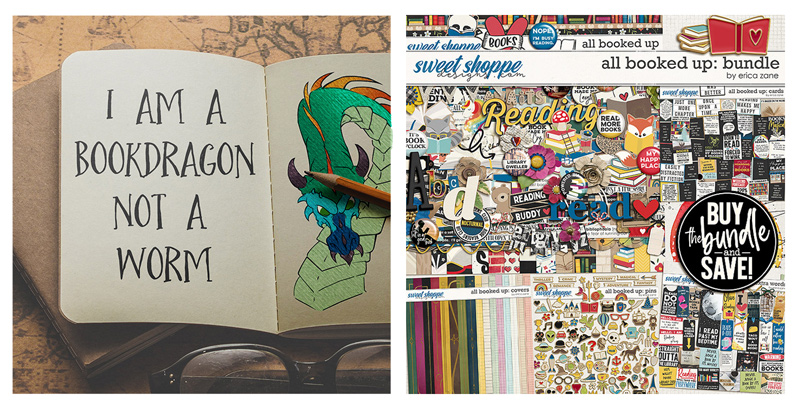
Created with Erica Zane’s All Booked Up Bundle
I followed the same steps as I did in Project #1, using the Dark Transfer Paper and a black Hanes t-shirt. Here’s the finished shirt:
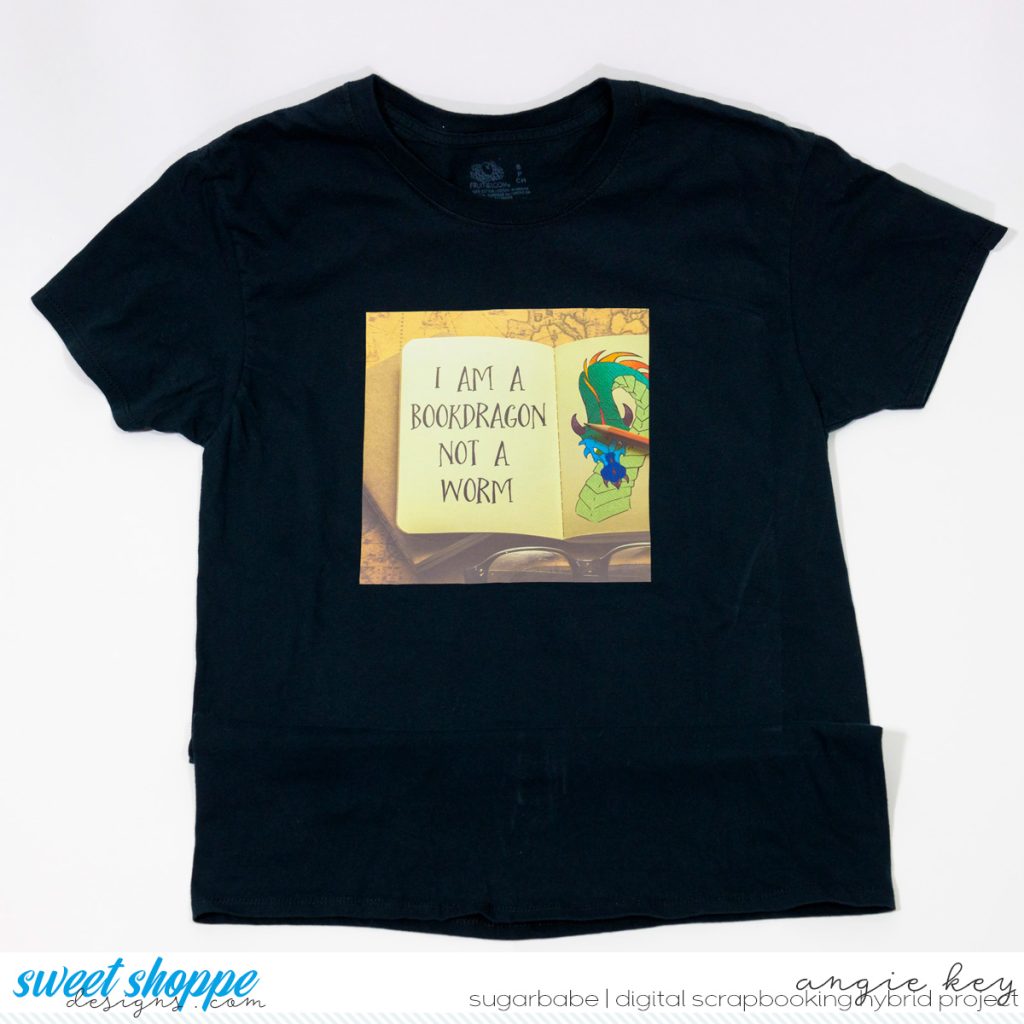
Created with Erica Zane’s All Booked Up Bundle
Of course, t-shirts aren’t all you can make with iron-on transfers. What about some cute decorative kitchen towels?
Project #3 – Decorative Kitchen Towel
What you’ll need:
- Inkjet printer
I used my HP OfficeJet Pro 9010 All-In-One - Printable Iron-On Heat Transfer Paper
For this project, I used NuFun Activities DIY Transfer Paper for Light Fabric - A household iron or Heat Press
I used my Cricut EasyPress 2 - Plain white woven kitchen towel
I bought these flour sack kitchen towels from Walmart, but you can use any kind so long as it does not have a raised pile
Step 1: Create your design.
My first design came from the new Country Kitchen Bundle by Ponytails Designs:
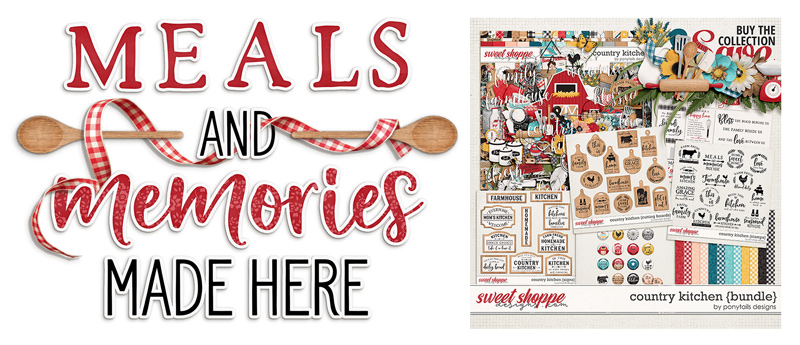
Created with Country Kitchen Bundle by Ponytails Designs
Step 2: Print your design.
Follow the instructions for the Iron-On Heat Transfer Paper and your printer to ensure you’re printing on the correct side and with the correct settings.
NOTE: The Light Transfer paper DOES require you print the image in reverse. In the latest version of Photoshop, that option is found under the Print Settings in the Functions group as Emulsion Down.
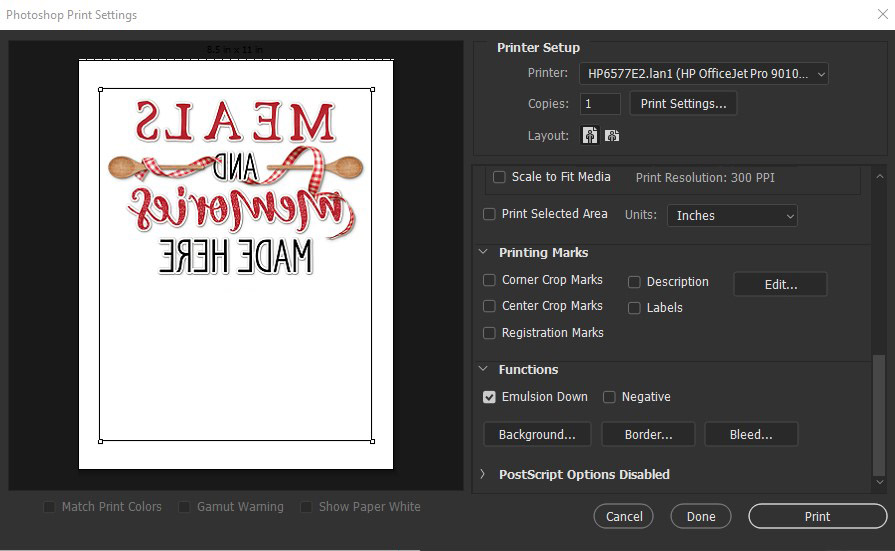
Allow it plenty of time to dry, and then cut out around the design.
Step 3: Prepare your fabric for transfer.
Again, you’ll want to make sure your tea towel has been pre-washed and dried so any shrinkage that’s going to happen is done before adding your artwork.
Then, carefully read the instructions on your Iron-On Heat Transfer Paper for the temperature and duration required. Each brand and type of paper is unique. I suggest doing a few practice transfers on scrap fabric first to make sure you’ve got all your settings dialed in correctly. I didn’t have any trouble with the NuFun Transfer Paper for Dark Fabric, but their Light Fabric version required lots of tweaking before I got it right. My designs kept coming out yellow, which was a sign my heat was too high. After trial-and-error, I found the sweet spot to be 275º for 45 seconds and a cold peel, which means removing the paper once the transfer has cooled.
Step 4: Apply your design with heat.
As I said, each brand of transfer paper will be unique, but here’s what I did with my NuFun Transfer Paper for Light Fabric:
- Preheated my Cricut EasyPress 2 to 275º.
- Pressed the naked towel (no design) for 5 seconds to warm it up and remove any moisture that might be in the fabric.
- Placed the design face-down precisely where I wanted it.
- Placed the EasyPress on top of the design and started 45 second timer, keeping medium to firm pressure on the EasyPress handle.
- When the timer ended, I lifted straight up – do not rub your iron back and forth as it will smear the design!
- Allowed the design to cool, and then carefully peeled off the backing paper.
Step 5: Marvel at your own brilliance
My husband took one look at this and said, “We definitely won’t use this towel to wipe up any spills!” I think that means he likes it…
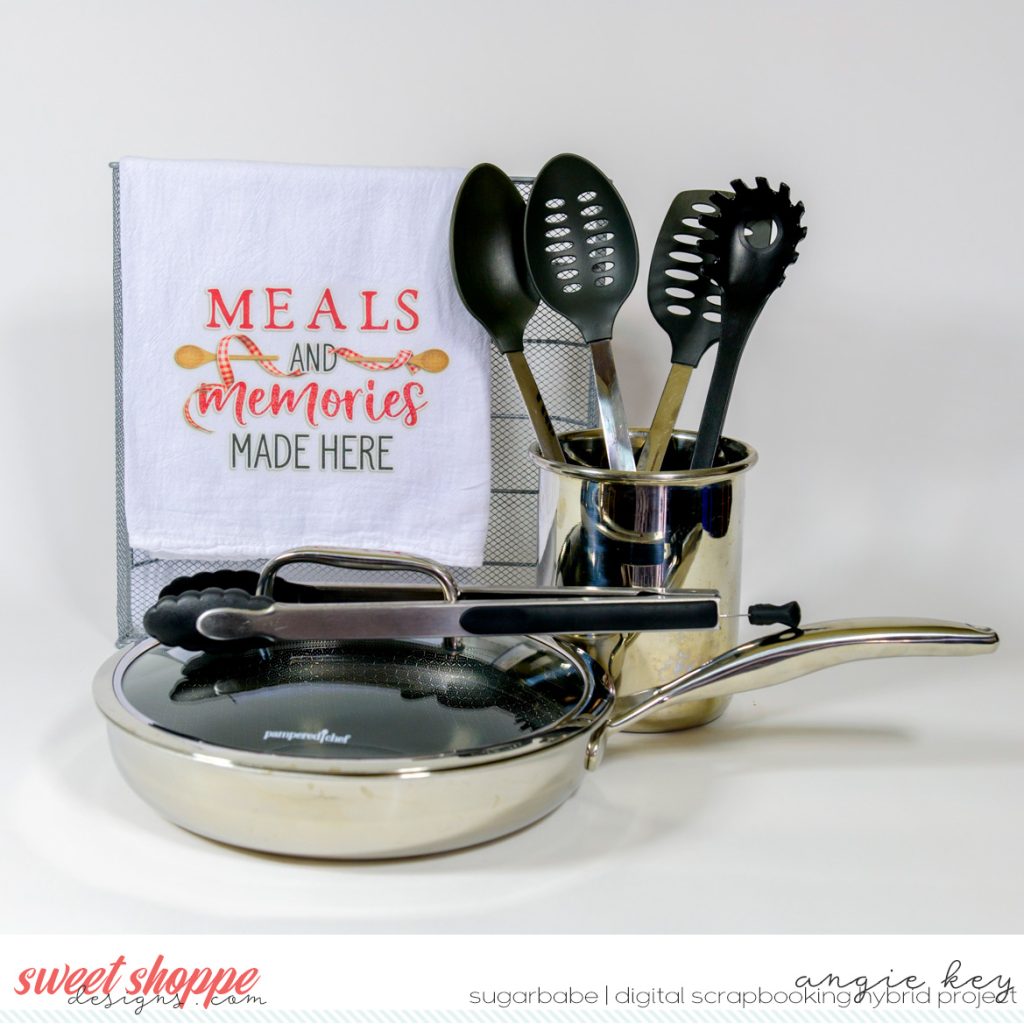
Created with Country Kitchen Bundle by Ponytails Designs
Project #4 – Humorous Kitchen Towel
Once I got started, I just couldn’t stop! Jennifer Fehr’s collection #eat-sleep-stay-home-repeat as Simple Pleasure Designs has some absolutely hilarious word art that’s just perfect for a kitchen towel to hang on the stove!
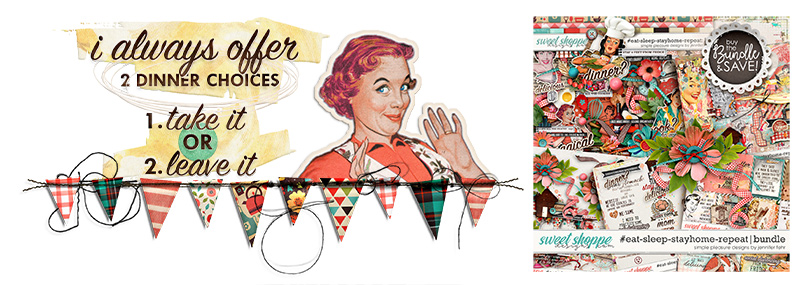
Created with #eat-sleep-stay-home-repeat by Jennifer Fehr as Simple Pleasure Designs
I followed the same steps as I did in Project #3, using the Light Transfer Paper and another white tea towel, and here’s the finished result:
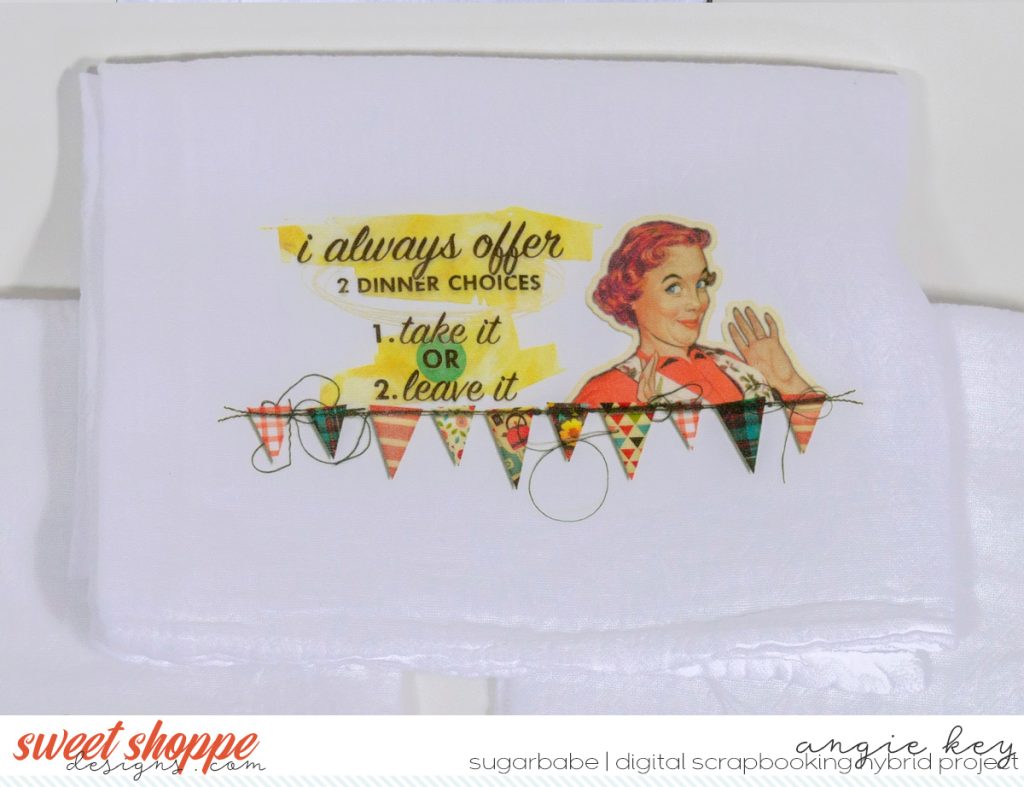
Created with #eat-sleep-stay-home-repeat by Jennifer Fehr as Simple Pleasure Designs
Project #5 – Coffee-Themed Kitchen Towels
Do you have a coffee bar at home? Or a coffee-obsessed friend with an upcoming birthday? Eating Out: Coffee by Meagan’s Creations has the cutest pre-made word art and it looks great on a tea towel!
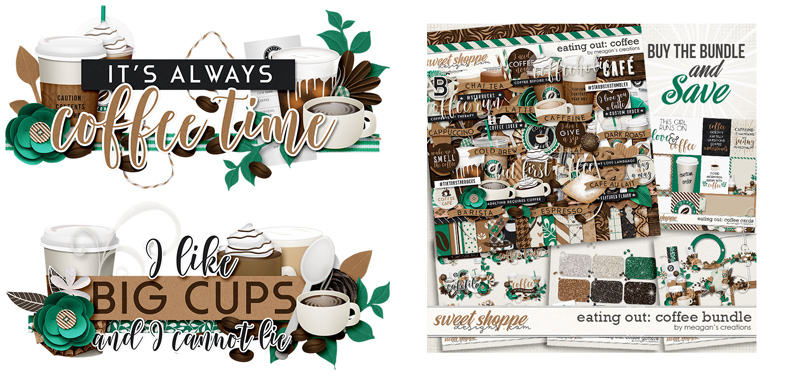
Created with Eating Out: Coffee by Meagan’s Creations
I followed the same steps as I did in Project #3, using the Light Transfer Paper and two more white tea towels, and here’s the finished result:
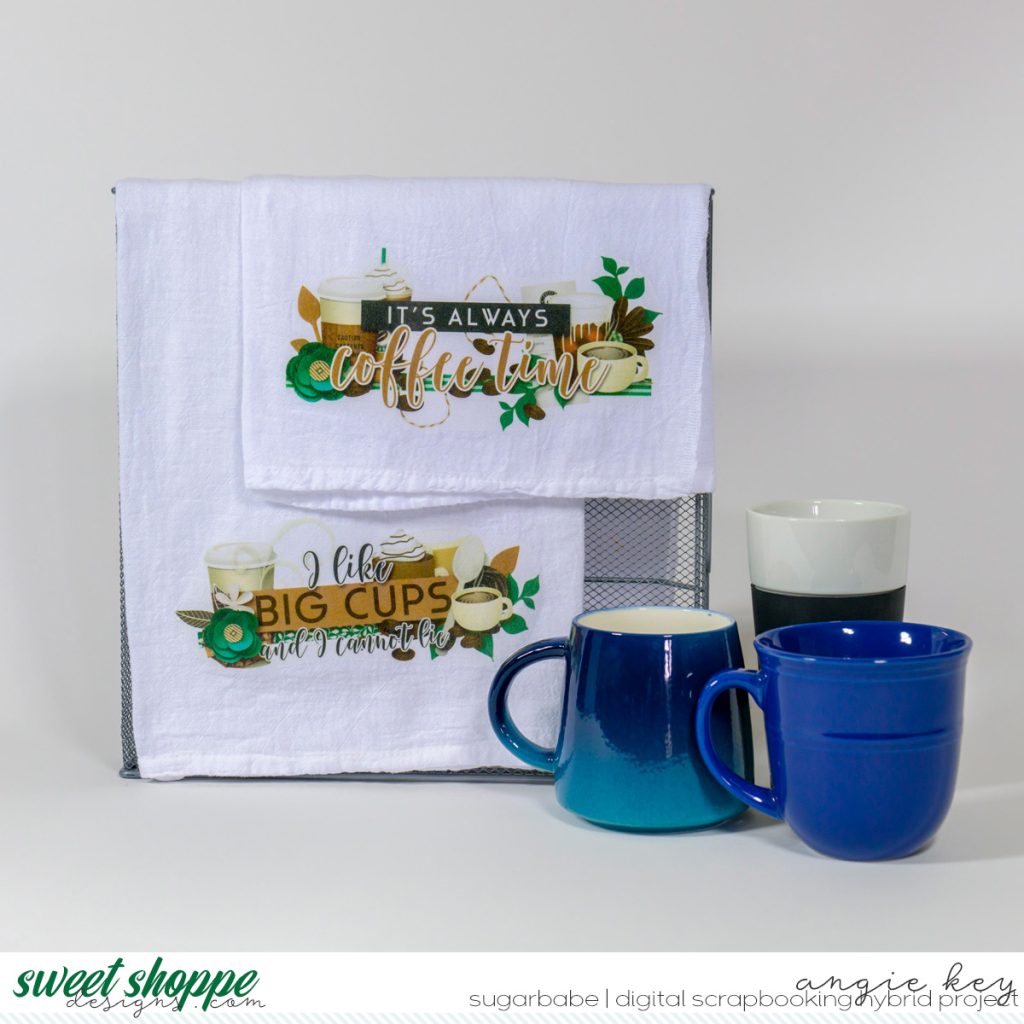
Created with Eating Out: Coffee by Meagan’s Creations
I had so much fun working on this edition of Think Outside the Album that I just had to take it one step further. Because you don’t have to stop at iron-ons when it comes to putting your digital art on fabric, my friends. Have you ever had fabric custom printed?!? It will change your crafting life! Let me show you how with two bonus projects.
BONUS Project #6 – Me & My Sister Shirts & Matching Shorts
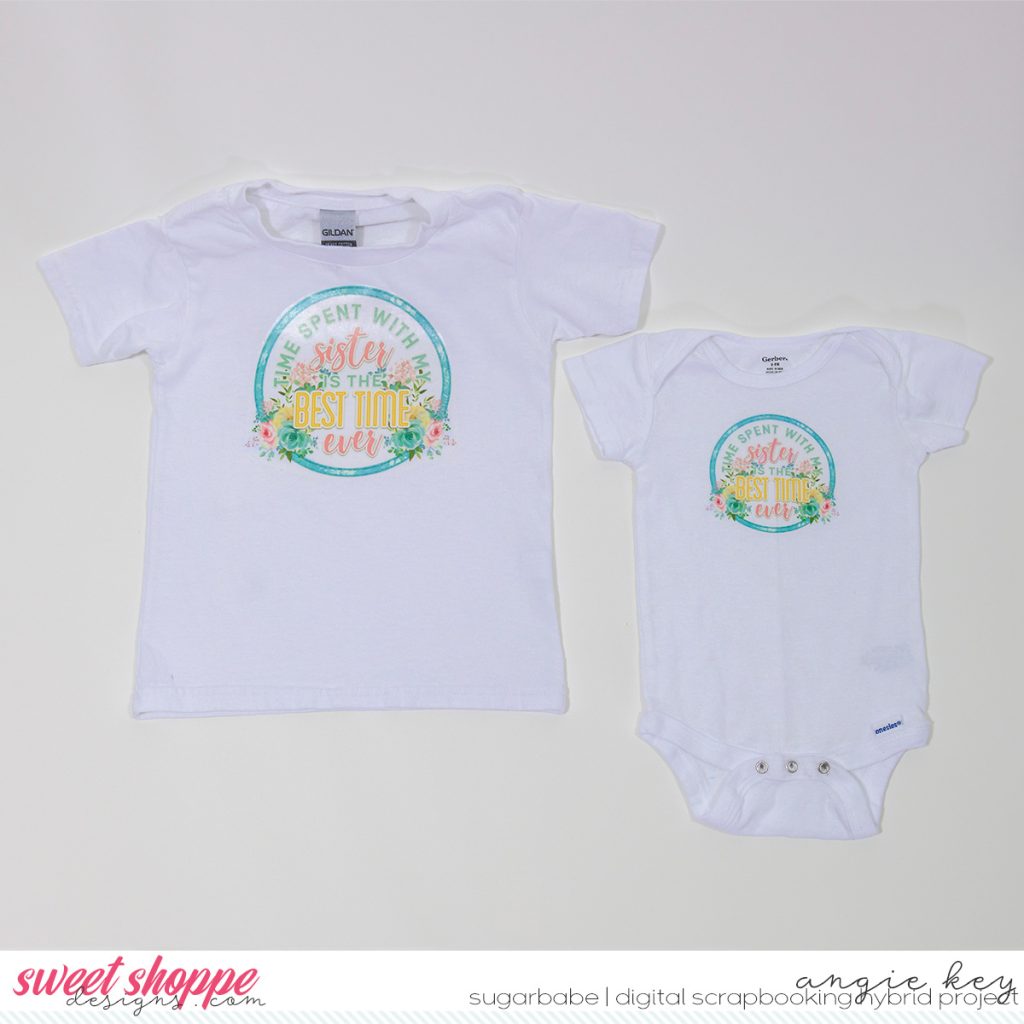
I decided to make a set of matching sister-themed shirts for my granddaughters. I created the design using a template from Label It: Sisters by Cindy Schneider and the kit Among the Wildflowers by Kristin Cronin-Barrow.

Created with Label It: Sisters by Cindy Schneider and Among the Wildflowers by Kristin Cronin-Barrow
Following the same steps in Project #3 above, I printed and transferred the design to a white Gildan t-shirt and a white Gerber onesie using Light Transfer Paper:
But that’s not all … I also used a patterned paper from the same kit, Among the Wildflowers, to create a 36″ x 60″ JPG @ 300dpi – in other words, the print for one yard of fabric at 60″ wide:
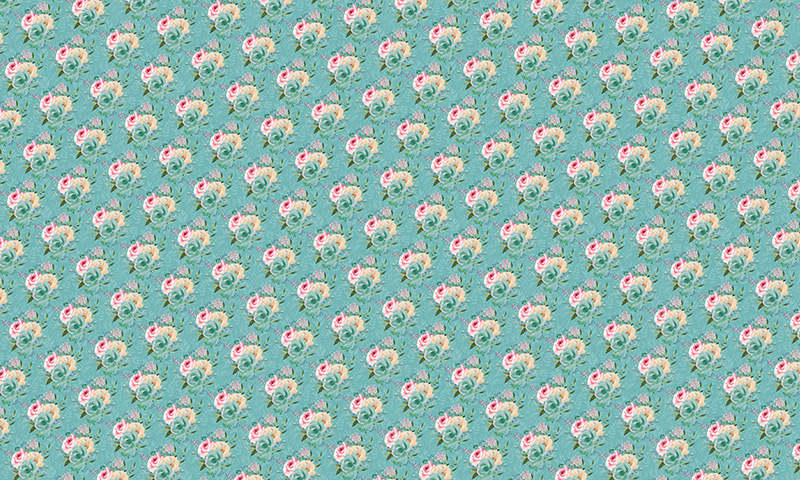
I placed my order with Violet Snow Custom Fabric. They’re a small, family-owned business located in Arizona. You can Print Your Own Custom Fabric on-demand on your choice of 18 different fabric bases, everything from woven to knits, faux leather to vinyl and even super-soft minky. It’s all printed right in their warehouse with a 7-day turn-around-time, from order to shipment. I ordered this print on 1 yard of their Soft Woven (taslan). Now, it’s fair to note that custom-printed fabric is not cheap – this ran me $23 for the yard – but then again, good quality fabric isn’t cheap, period. And for something really special? It’s worth it!
I was able to make 2 pairs of Rose & Rail Patterns Ruffle Shorts from this one yard of 60″ wide fabric. Drum roll, please…
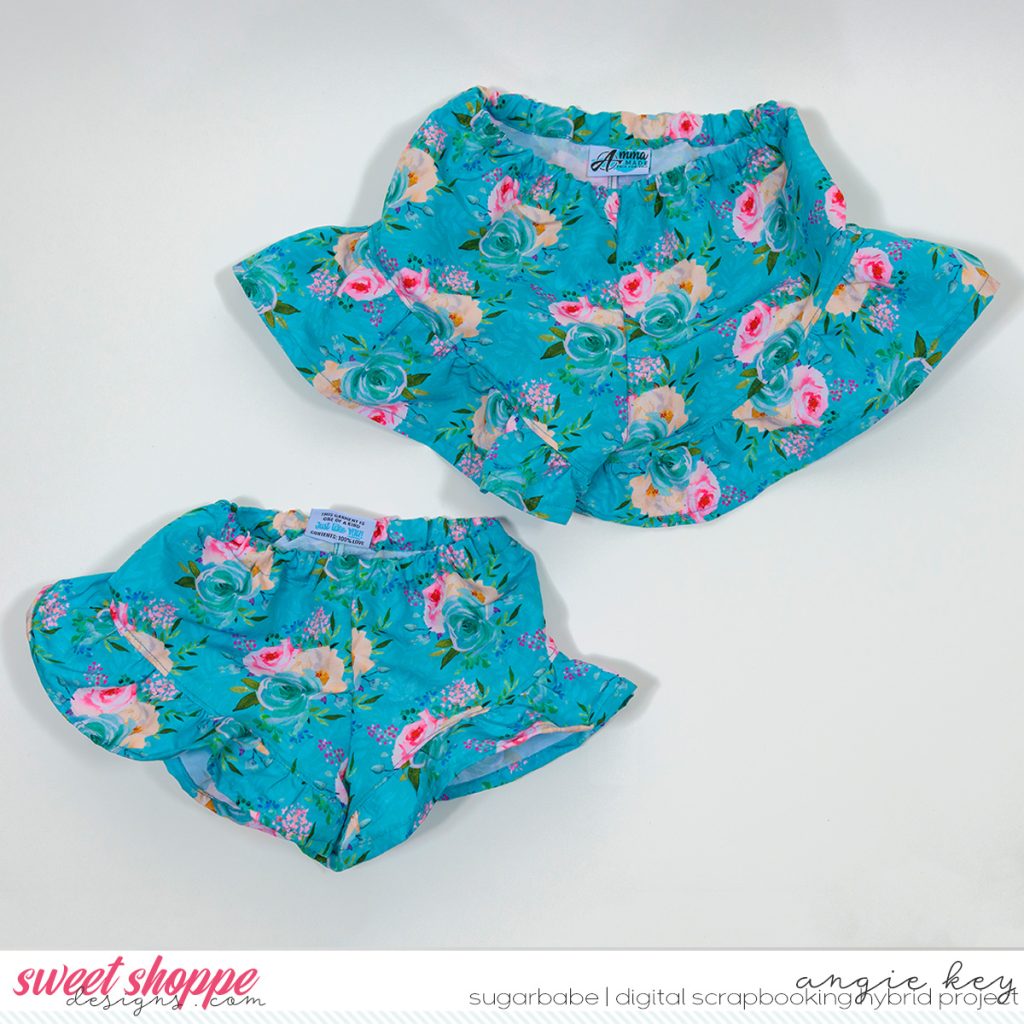
Made from custom fabric created with Among the Wildflowers by Kristin Cronin-Barrow.
Pattern for Ruffle Shorts by Rose & Rail Patterns.
And when you put it all together?
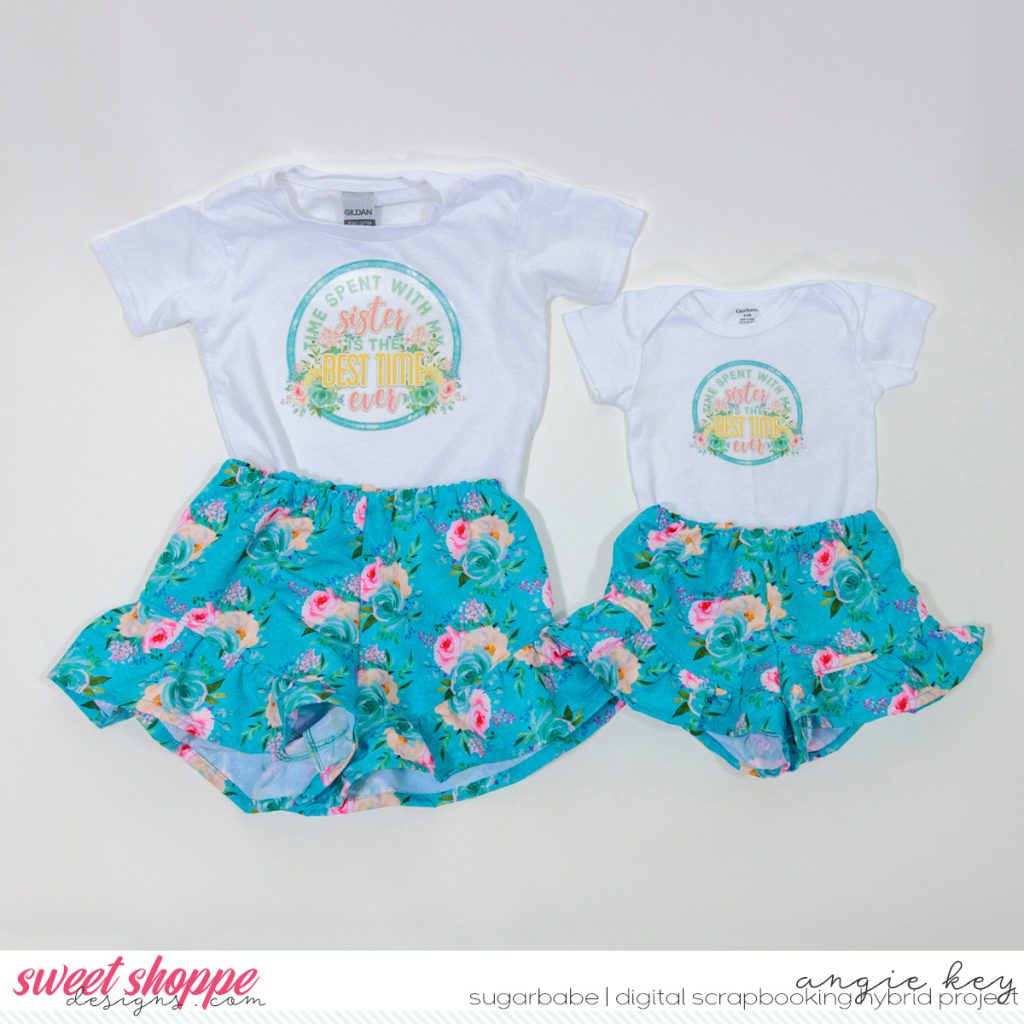
Shirt & onesie created with Label It: Sisters by Cindy Schneider and Among the Wildflowers by Kristin Cronin-Barrow
Shorts made from custom fabric created with Among the Wildflowers by Kristin Cronin-Barrow.
Pattern for Ruffle Shorts by Rose & Rail Patterns.
I can’t wait to see my sweet granddaughters in these!!!
Let me take a quick moment to remind us all about our earlier talk about licensing and terms of use. Remember, this fabric that you’ve designed using a Sweet Shoppe kit is for personal, non-commercial use. Make clothes for yourself, or your children, or your grandchildren; make items as gifts … no problem! But you may not make items to sell with fabric you’ve designed using SSD supplies unless you have prior written permission from the designer. So personal, non-commercial use only.
How about one last project before we close out this post? I decided it was time to do a little sewing for myself, and I’ve had my eye on making a new shoulder bag for a while now. If I was already ordering custom fabric, why not really treat myself?
BONUS Project #7 – Enchanted Forest Convertible Bag
One of my all-time favorite kits is Great Outdoors: Enchanted Forest by Kristin Cronin-Barrow. I chose 3 patterned papers from this kit and got to work in Photoshop. Here’s what I created, and what I ordered from Violet Snow Custom Fabric:
Exterior Fabric, Print #1 – 1 yard Waterproof Canvas
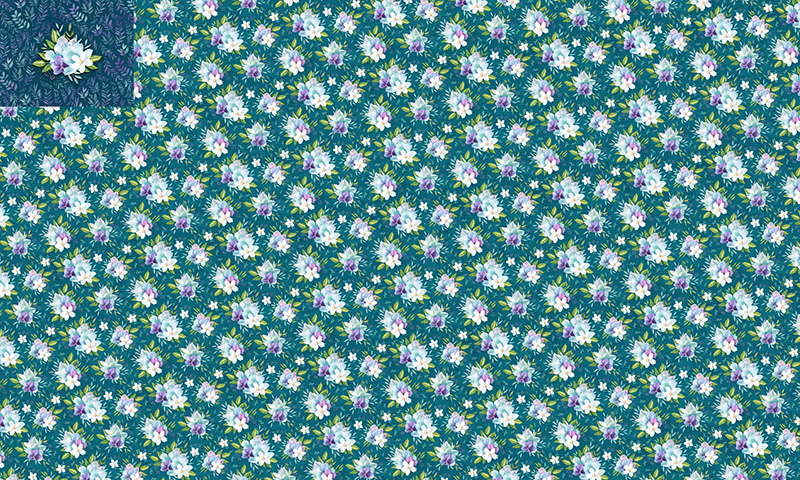
See that square in the upper left corner? That’s for the pocket that will be on the outside of my bag. How cool that you can include things like that when you create your own fabric design!
Exterior Fabric, Print #2 – 1 yard Waterproof Canvas

Lining Fabric, 1 yard Soft Woven (taslan)
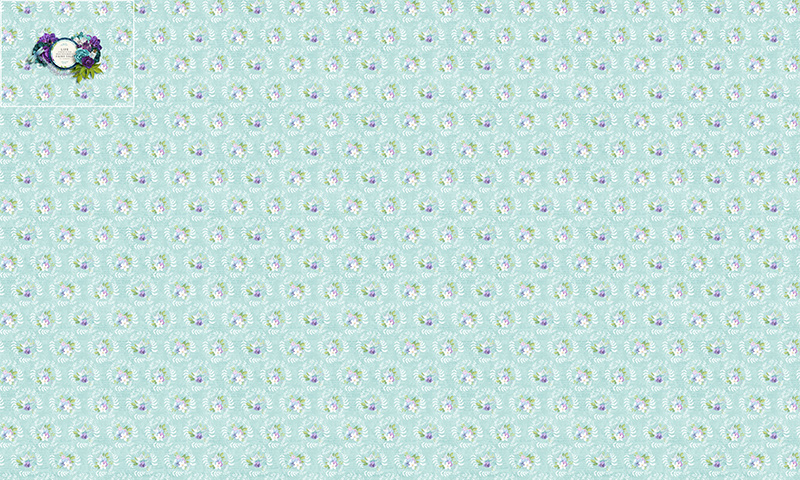
See the square in the upper left corner of this one? I wasn’t quite sure if it would work, but I wanted to try and make that design appear on the underside of the pocket flap on the outside of my bag. It was a bit of an experiment. I created an element cluster in Photoshop – just like I would for a scrapbook page – shadows and all.
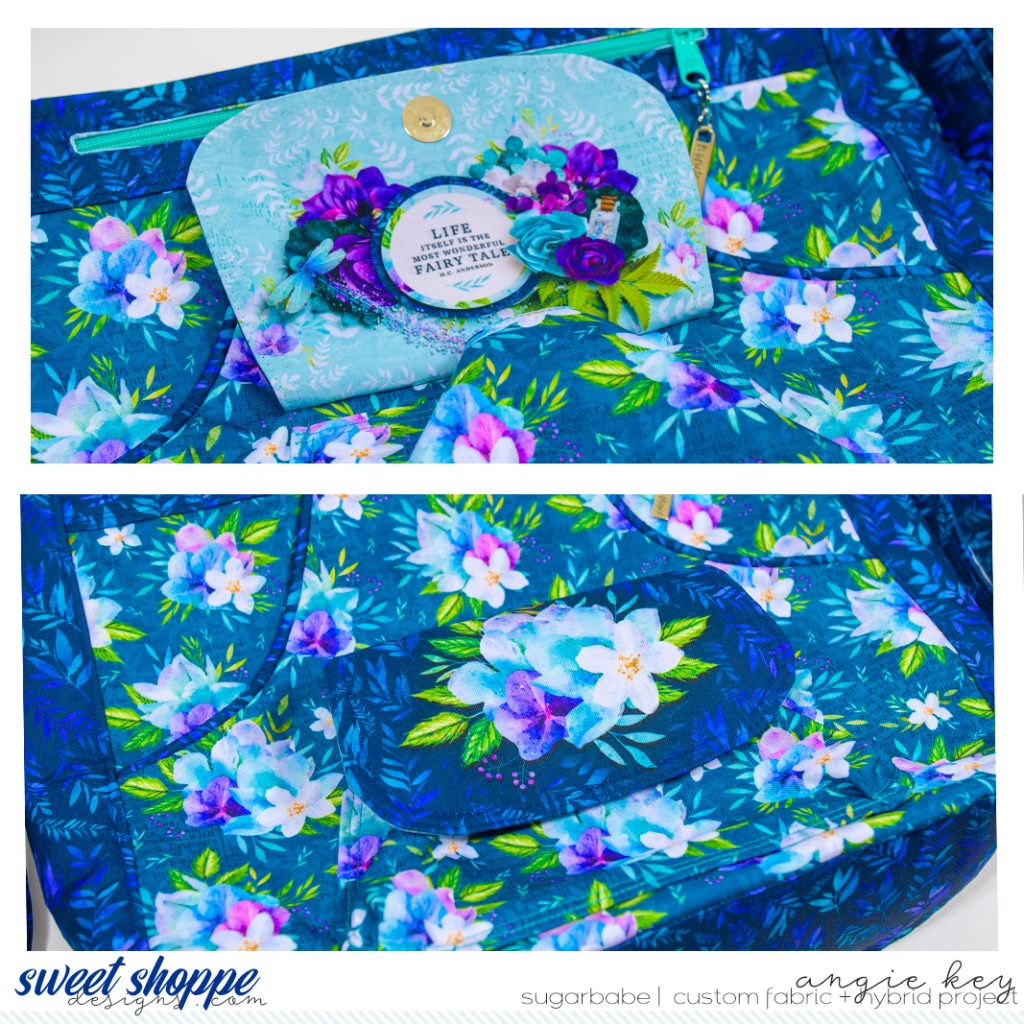
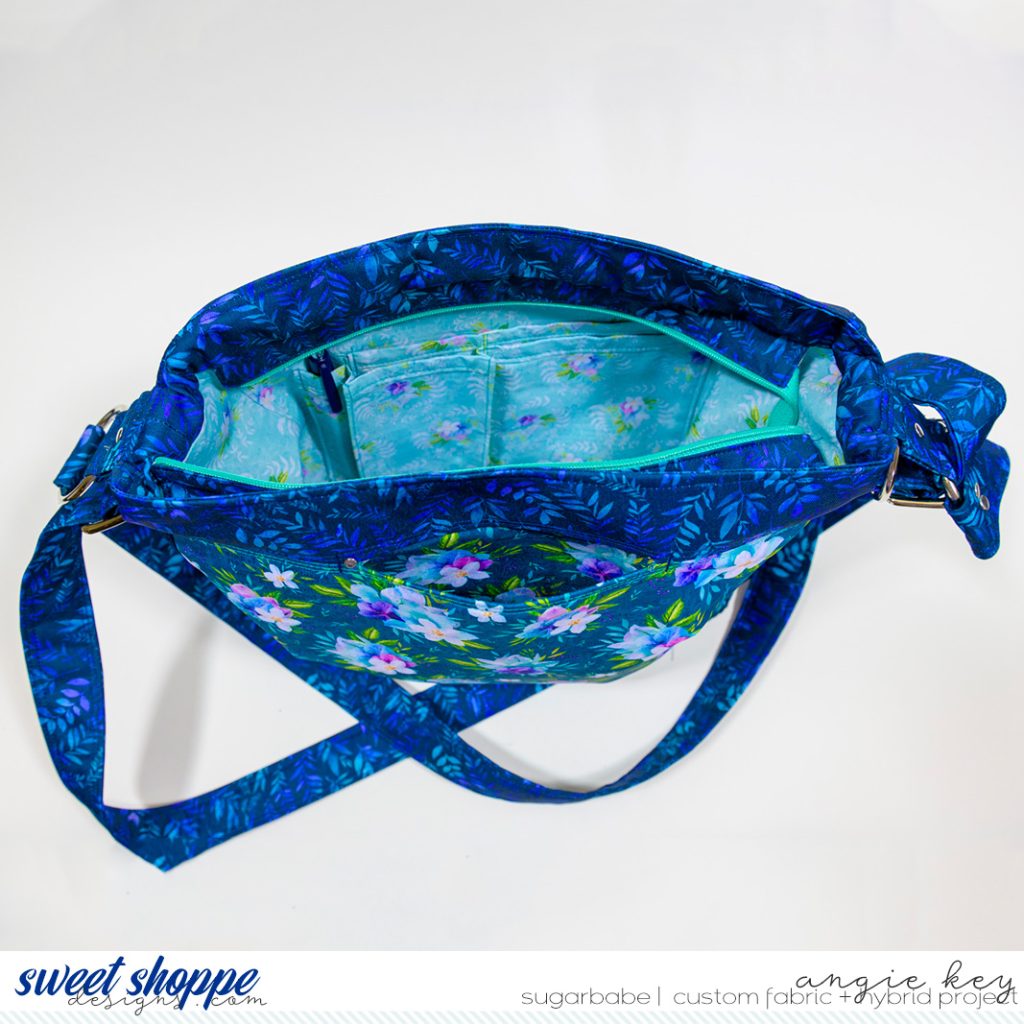
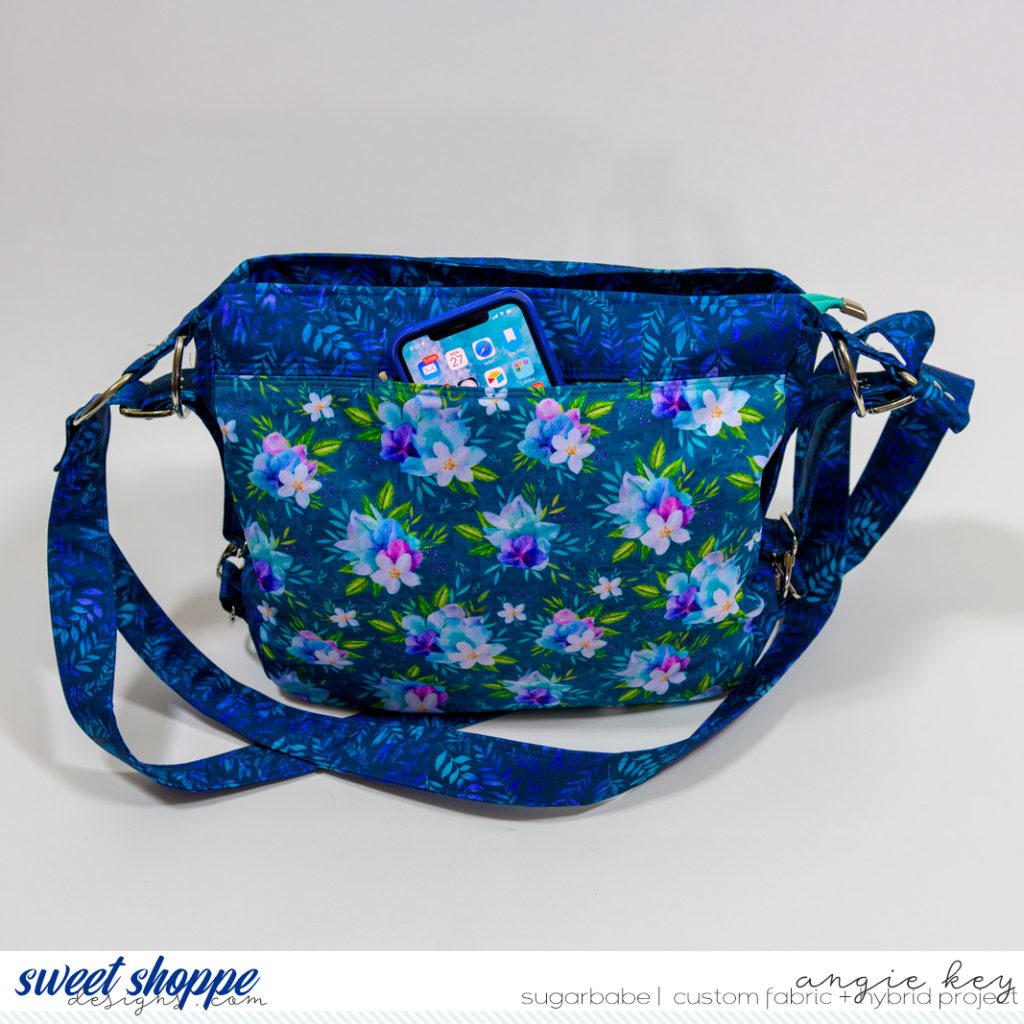
I won’t bore you with the process of the whole make, but instead, I’ll skip straight to the end result. Are you ready? Using the pattern from Chris W Designs for her Strapfield Convertible Crossbody/Shoulder Bag/Backpack/Handbag, here is my new Enchanted Forest Convertible Bag:

Created using custom fabric designed using Great Outdoors: Enchanted Forest by Kristin Cronin-Barrow.
Pattern for Strapfield Convertible Bag by Chris W. Designs.
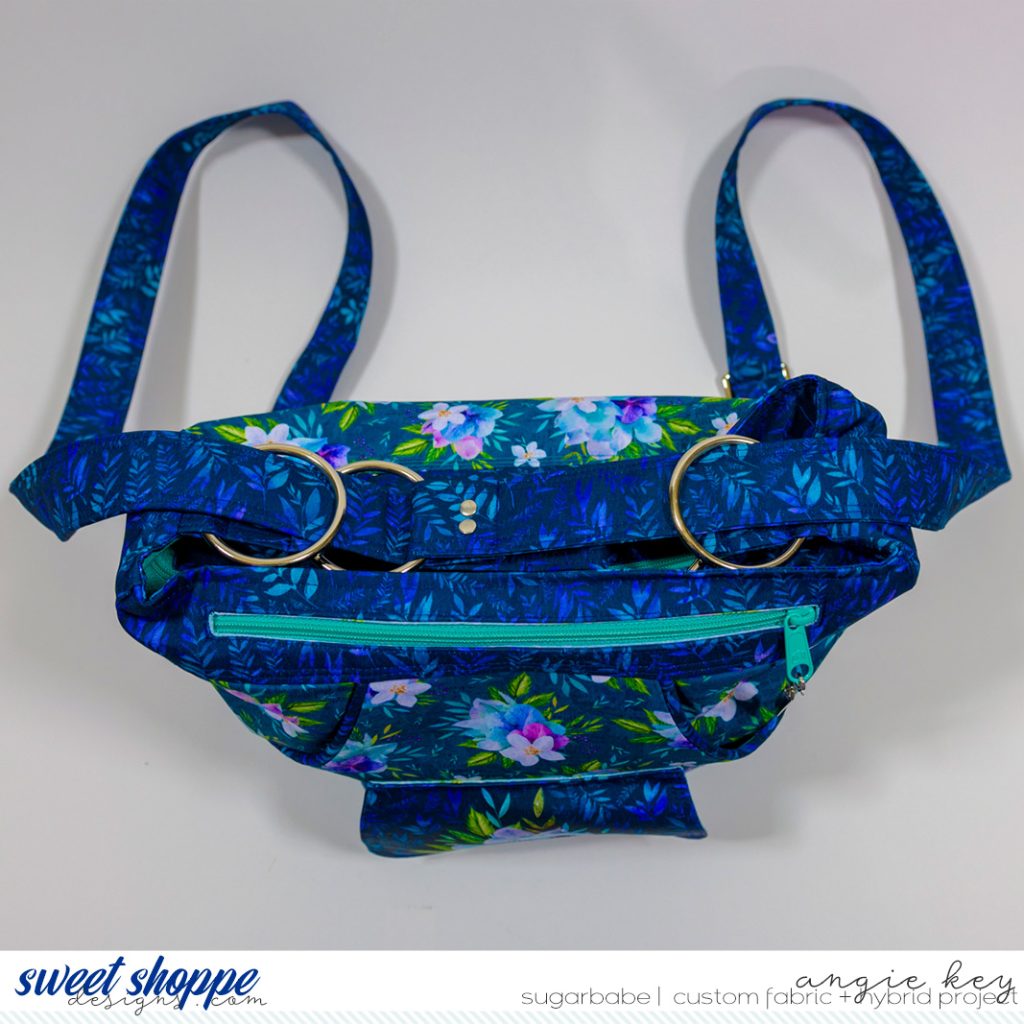
Created using custom fabric designed using Great Outdoors: Enchanted Forest by Kristin Cronin-Barrow.
Pattern for Strapfield Convertible Bag by Chris W. Designs.

Created using custom fabric designed using Great Outdoors: Enchanted Forest by Kristin Cronin-Barrow.
Pattern for Strapfield Convertible Bag by Chris W. Designs.
Created using custom fabric designed using Great Outdoors: Enchanted Forest by Kristin Cronin-Barrow.
Pattern for Strapfield Convertible Bag by Chris W. Designs.
Created using custom fabric designed using Great Outdoors: Enchanted Forest by Kristin Cronin-Barrow.
Pattern for Strapfield Convertible Bag by Chris W. Designs.
Created using custom fabric designed using Great Outdoors: Enchanted Forest by Kristin Cronin-Barrow.
Pattern for Strapfield Convertible Bag by Chris W. Designs.
So, what do you think? What other ideas do you have for making use of iron-on heat transfer paper? What about printing custom fabric? Tell me in the comment section below and be sure to snap a few photographs of your next project to share in the Gallery. I can’t wait to see what you create when you Think Outside the Album!


Stephc said...
on June 29th, 2022 at 10:49 am
Wow – great ideas and those sewing projects are top notch!
Jenna in Canada said...
on June 29th, 2022 at 3:53 pm
I am blown away at your creativity! These projects are amazing. I love your blog posts.
Jacinda said...
on June 30th, 2022 at 6:49 am
I can’t believe you sewed a whole bag. It’s gorgeous! LOVE how you used the scrapbook products on fabric.
Lisa said...
on July 2nd, 2022 at 4:18 pm
Now this is thinking outside the 12×12 box! Wow!
Dalis said...
on July 3rd, 2022 at 7:02 pm
Angie, these turned out better than I could even imagine. Wow, you are a real seamstress! WOWSY!
– Dalis